

Print Profile(12)




Description
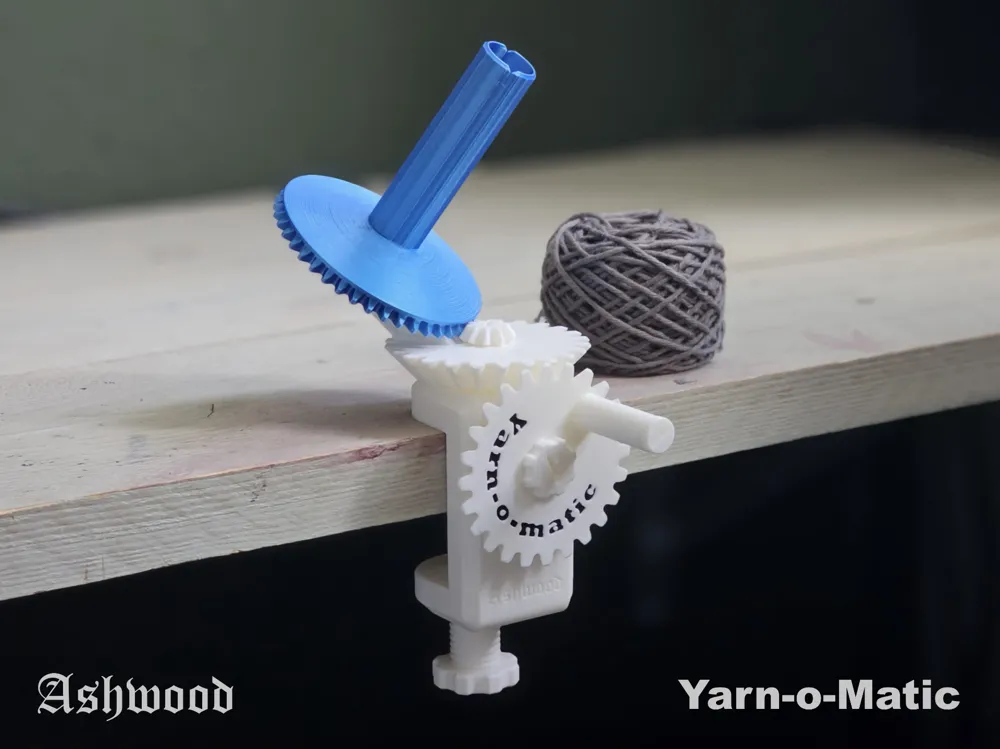
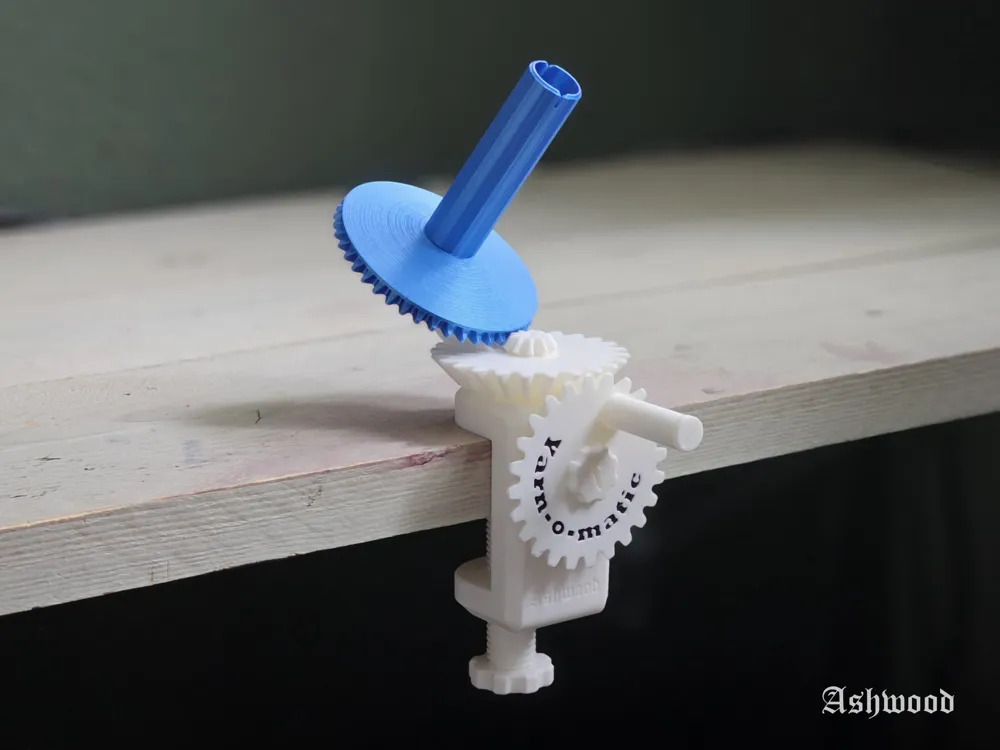
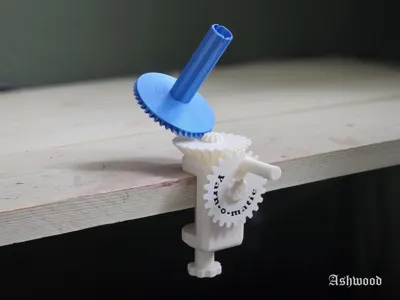
Electic Yarn-winder
Hodzinets got inspired by the design to make a electric yarn-winder. Make sure to check out their amazing design here: https://makerworld.com/en/models/1212875-motorized-usb-yarn-winder#profileId-1228102
Add-on piece:
Rubenzugamorle made an amazing add on for the Yarn-o-matic: A guide for the yarn. You can download it here: https://makerworld.com/en/models/983487#profileId-957632
Description
My girlfriend received a yarn winder for Christmas, and I thought to myself: “I could 3D print that”. So, I set out to design a 3D printable yarn winder. I challenged myself with two design constraints:
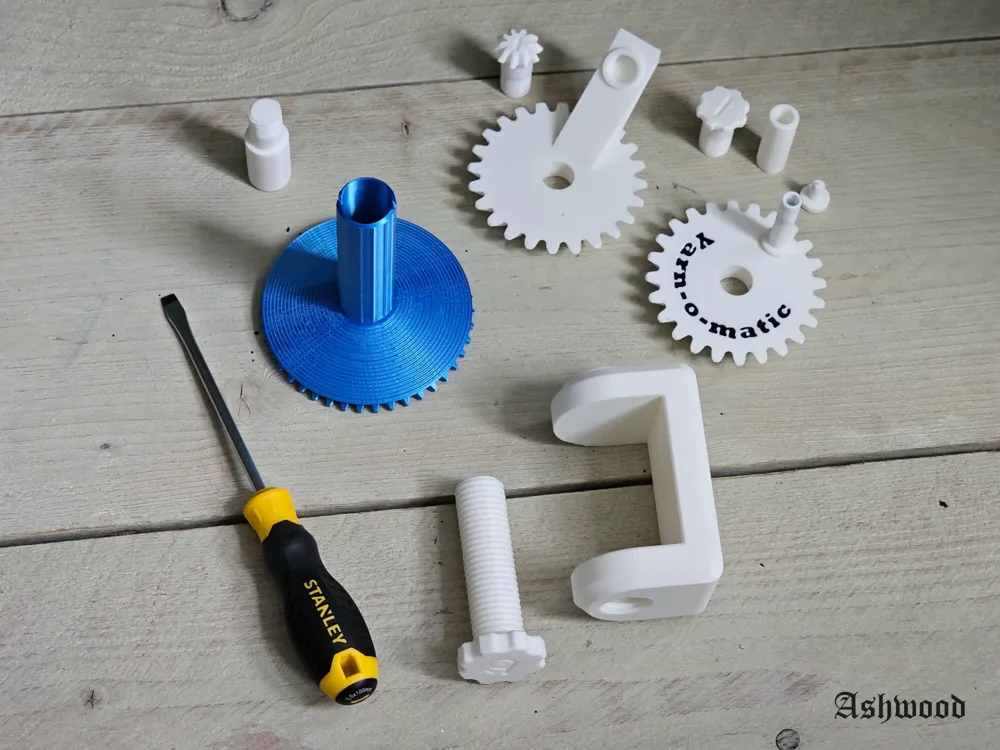
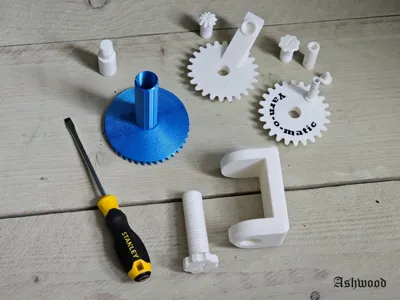
- No additional hardware needed: I wanted the yarn winder to be fully 3Dprintable, so you do not need to go out and get extra hardware. The project is also fully glue free (I really dislike glue)
- Sub 200g filament usage: The yarn winder should not cost too much filament. Sub 200 grams was a realistic goal. The result is a print of around 150 grams. (If you would use Bambu basic PLA refill the print would cost €3,50)

How to wind yarn:
- Place the end of the yarn in the slit on the top piece.
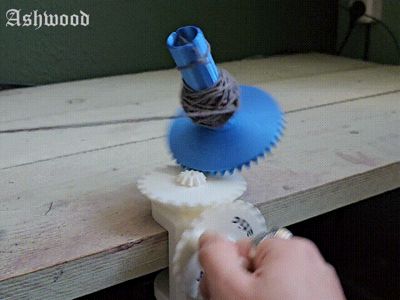
- You need to spin the crank to the right. Hold the yarn steady next to it.
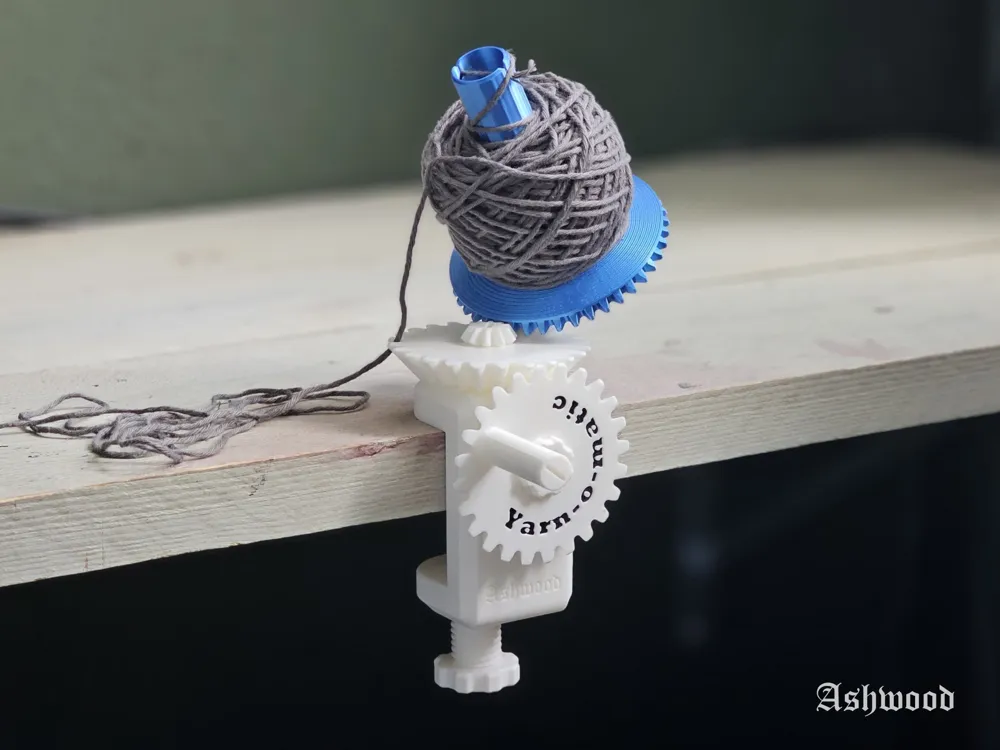
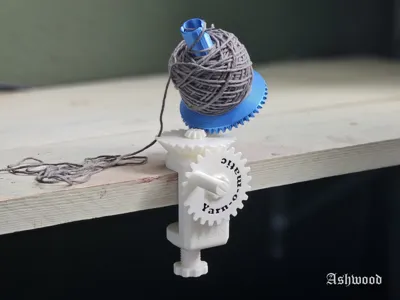
- That’s it, keep spinning till you have a nice ball of yarn.
Caution:
With my testing I found out that silk PLA is not suitable to be used for pieces that bear force. So, I recommend not using silk PLA for any piece other than the piece the yarn winds around.
Also: all parts are 3D printed, so bear that in mind when you tighten the screws. Too much force will break them, so do not overtighten them.
Assembly
For the assembly you will only need to have a flat head screwdriver. You can find the assembly instructions in the provided PDF document.
Documentation (1)
License

You shall not share, sub-license, sell, rent, host, transfer, or distribute in any way the digital or 3D printed versions of this object, nor any other derivative work of this object in its digital or physical format (including - but not limited to - remixes of this object, and hosting on other digital platforms). The objects may not be used without permission in any way whatsoever in which you charge money, or collect fees.


Comment & Rating (2097)