Rak Wisblock Case


Print Profile(1)

Bill of Materials


Description
Changelog:
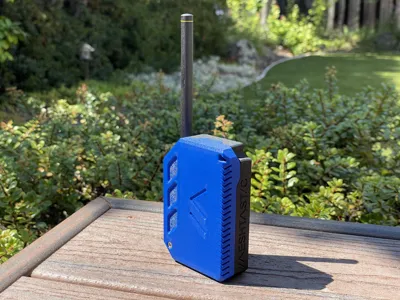
9/6/2025: Added an updated version with some small changes. Added a new bottom case with the “Meshastic” text
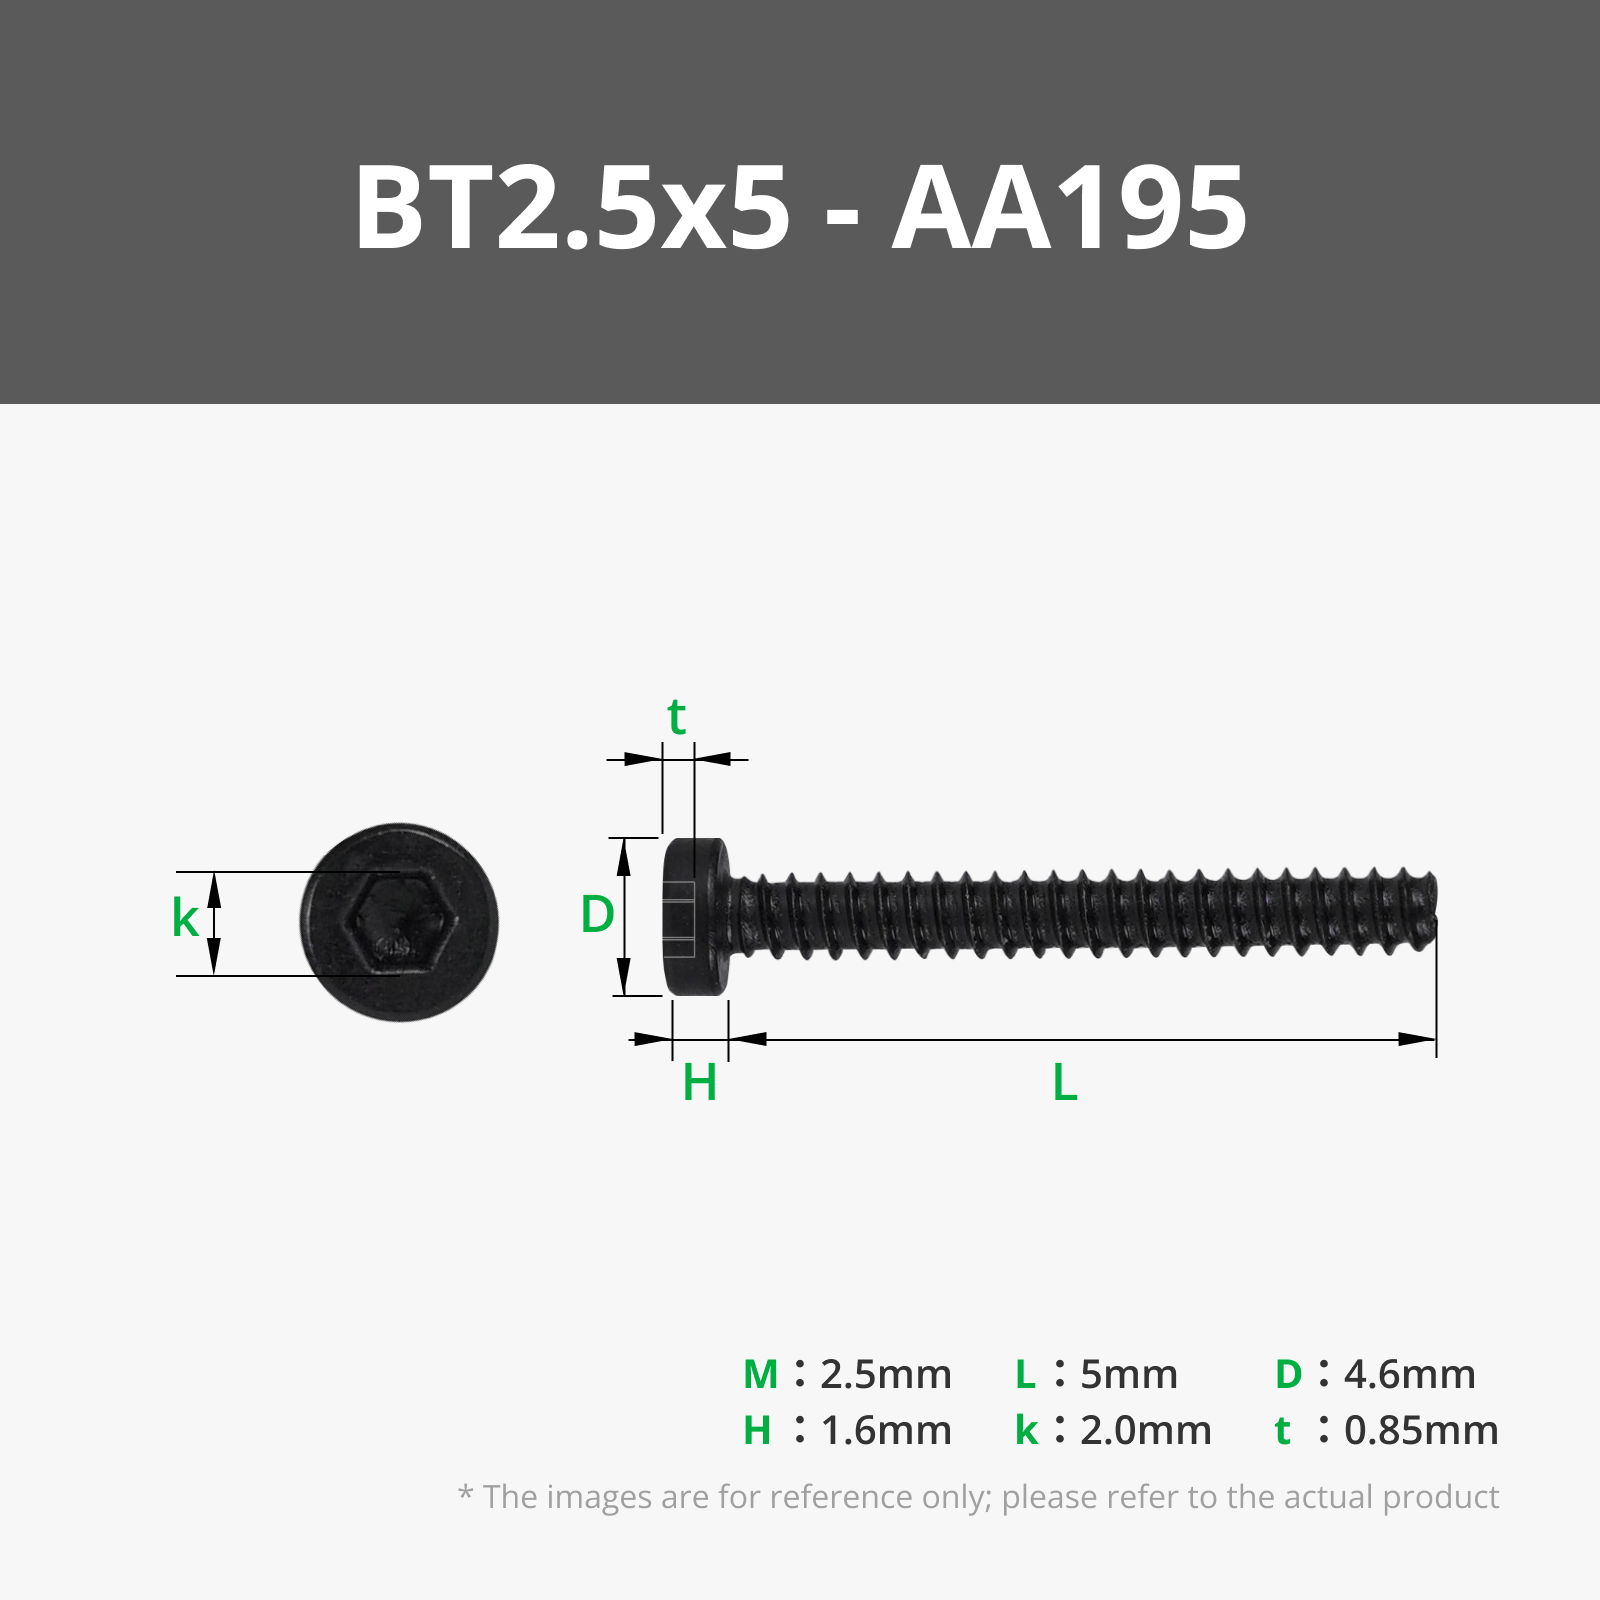
2/17/2025: Added a bottom case that uses self taping M2.5x5 screws (Maker Supply, also should have some that came with printer for nozzle wiper)
1/6/2025: Made parts thicker on top for extra strength.
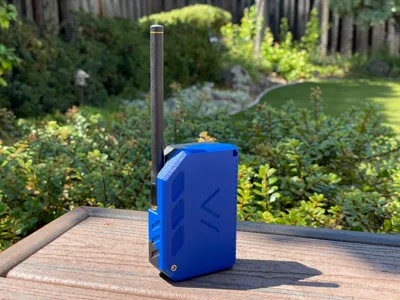
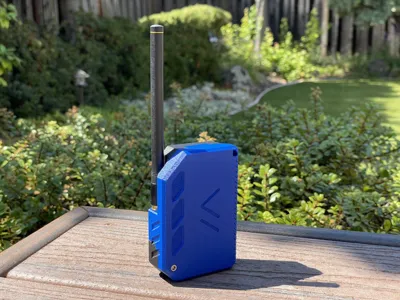
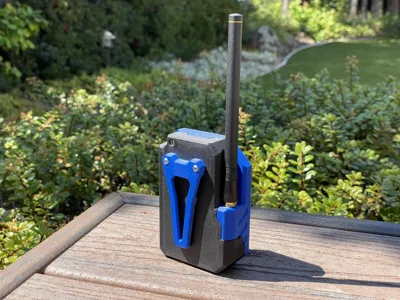
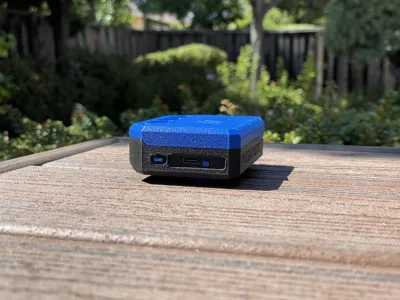
I wanted a good looking case for my Rak Wisblock 19007, GPS, and battery. I really like how the Muziworks case for the Heltec boards look, so I took inspiration from his models. Not only is this a functional case with a 3000 mAh battery (lasts a full week) it also houses a GPS. There are two bottom case options, one with and one without text. You can find the belt clip I used here: https://makerworld.com/en/models/1770827-low-profile-baofeng-belt-clip#profileId-1885227
BOM:
2x M3x14mm screws
6x M2.5x3x4mm heat set inserts
Assembly:

Clean up all of the holes (3 light holes and 2 button holes) Insert the buttons and check if they are smooth. If not, clean them up with an exacto knife.


Install the heat set inserts

Screw in the wisblock, solder the user button onto the board (refer to this guide), connect all of the antennas onto the right UFL connectors. Use double sided tape to attach the battery to the top case. DO NOT PLUG IN THE BATTERY WITHOUT CONNECTING ALL OF THE ANTENNAS, YOU WILL BURN OUT YOUR BOARD. ATTACH THE BATTERY CONNECTOR LAST.

Attach the battery connector and screw in the two M3x14mm screws on both the back and the front.

Screw on the Baofeng clip into the heat set inserts.
Congrats! You have finished the build!
Boost Me (for free)
If you liked this model and want to see more, please give me a boost!
License
You shall not share, sub-license, sell, rent, host, transfer, or distribute in any way the digital or 3D printed versions of this object, nor any other derivative work of this object in its digital or physical format (including - but not limited to - remixes of this object, and hosting on other digital platforms). The objects may not be used without permission in any way whatsoever in which you charge money, or collect fees.
Comment & Rating (57)