
Print Profile(2)


Description
Want to sell physical prints of my original designs?
Commercial Use Membership available here:
👉 https://www.patreon.com/animuL67
————
Update 3/3/2026: Join my Patreon for commercial use membership: patreon.com/animuL67
Thank you for the support! The model remains free for personal use.
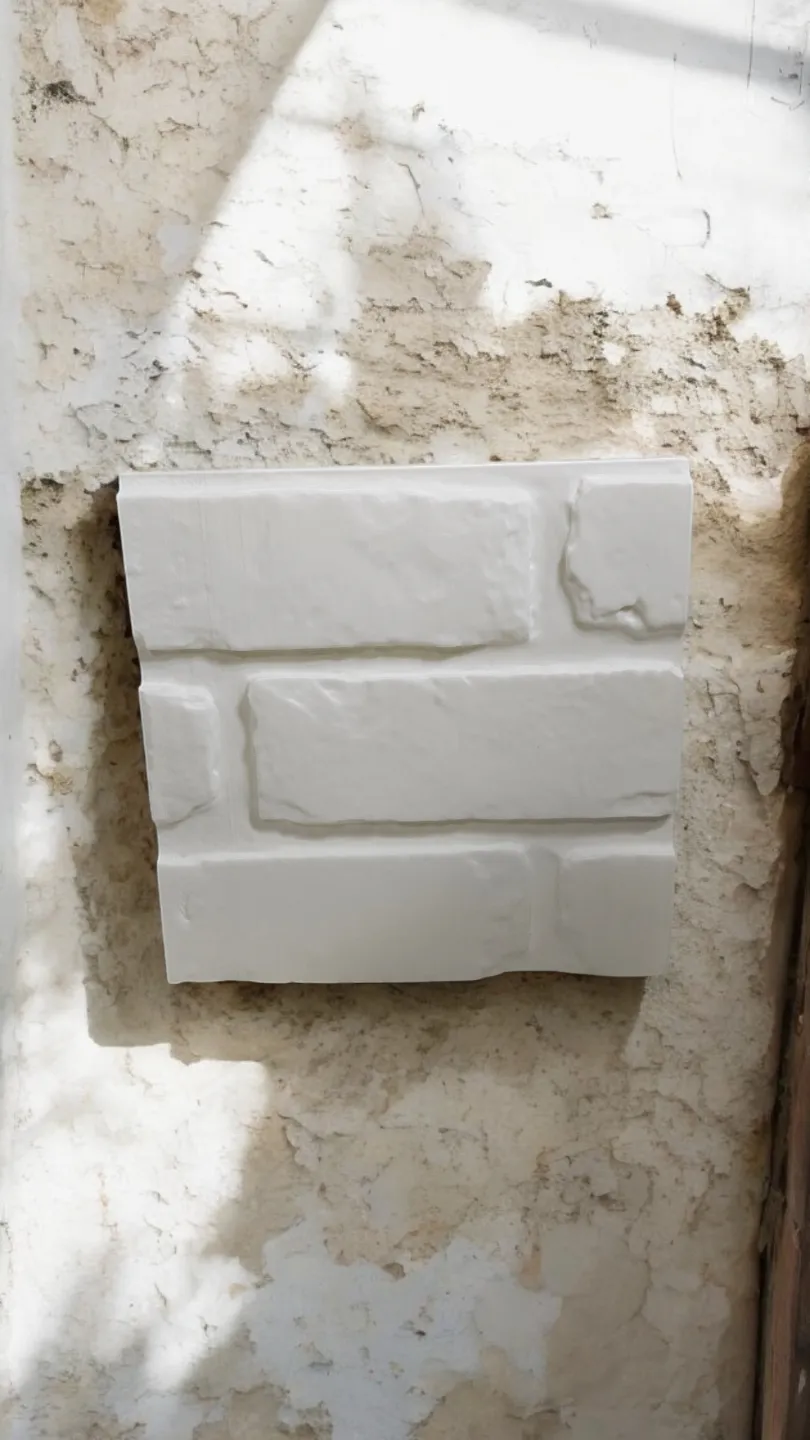
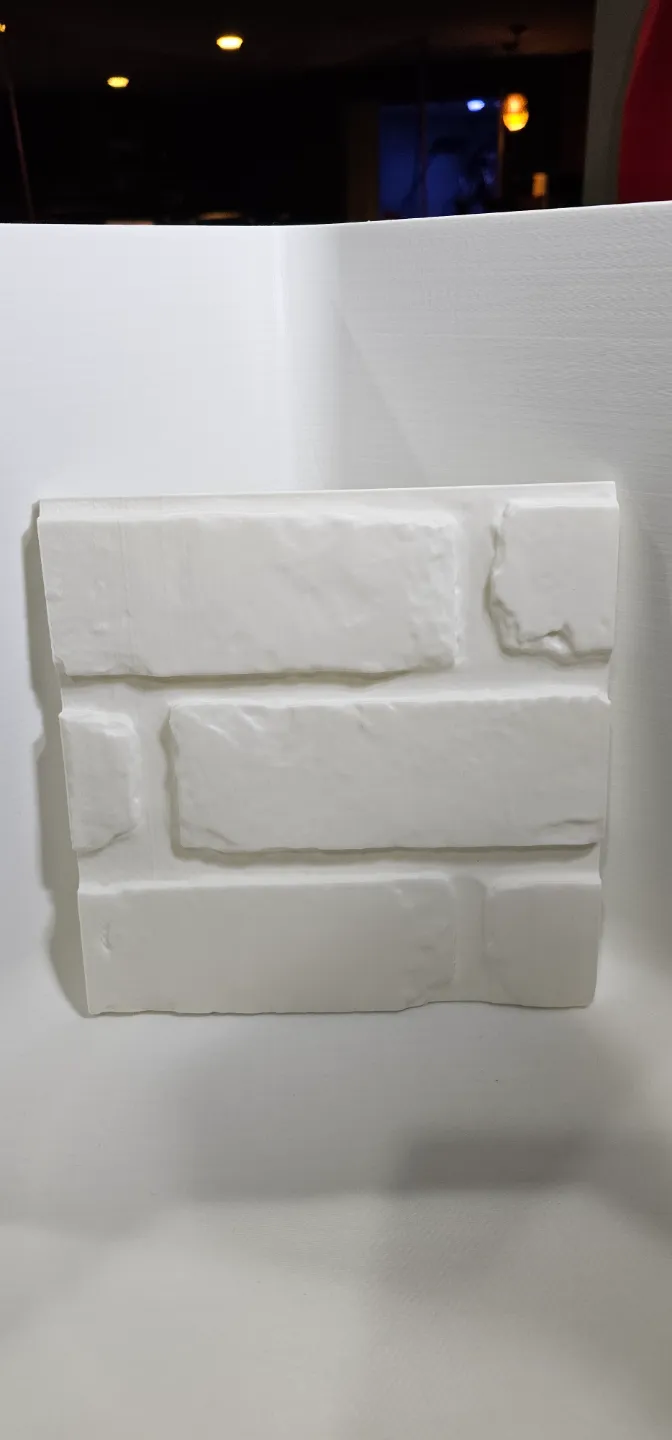
I designed these 3D wall project panels by scanning a brick wall pattern. They are intended to be used individually or tiled to cover larger areas. Offset the rows to get the best pattern results and avoid the checkerboard affect. Use the joiner fittings to attach panels together, use the recesses on the back of the panels for double sided tape or adhesive. Native dimensions are 8 inch square and about ½ inch thick but can be scaled, trimmed, etc.
There are several things to consider when printing these:
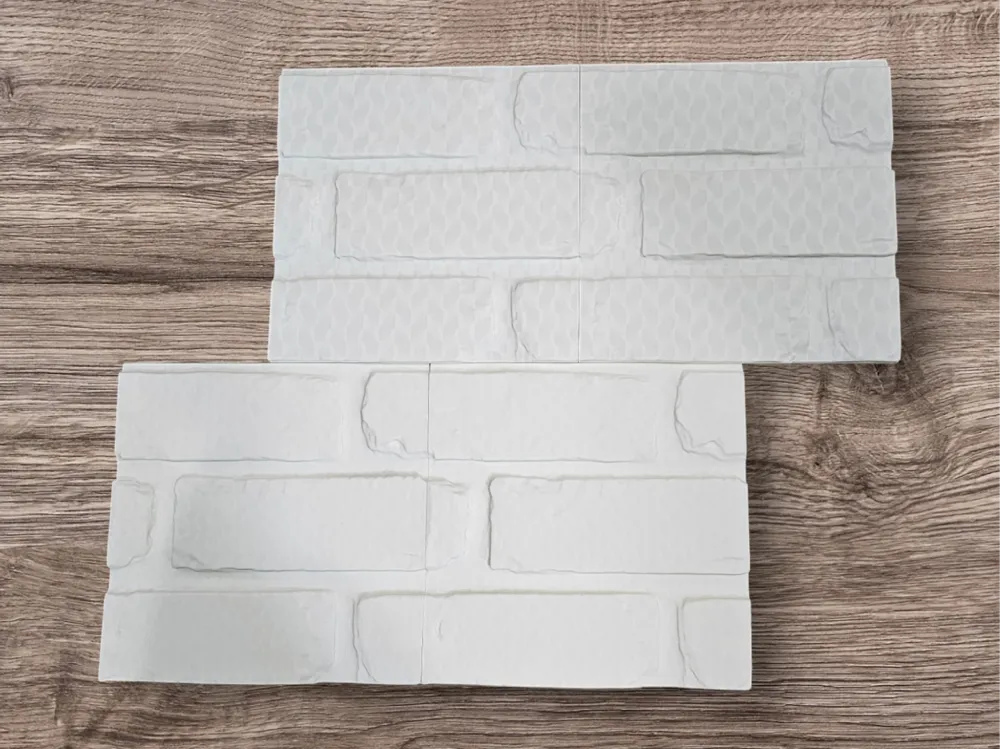
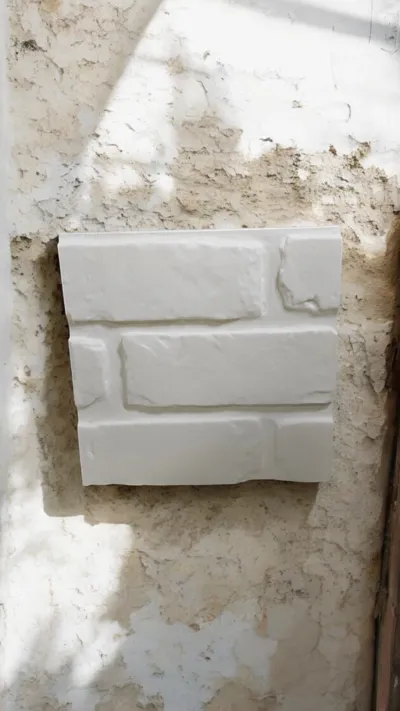
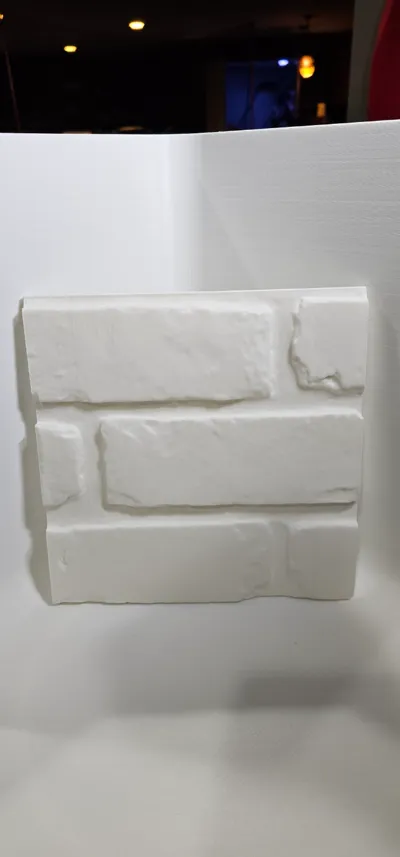
1. Number of walls: The profile is a minimum material condition- add walls if needed for your materials and settings. You can see in the pictures two versions, one is a single wall and the other is 2 walls. The single wall with this material shows the infill but other more opaque material may be fine, or you can add walls or paint to hide the infill. I find that 1 wall is robust enough for most applications and it saves time and materials.
2. Support column: Depending on your printer and speeds, you can use or omit the support column. This is included to help support the tall prints but the samples in the pictures are done without the support. If you want to remove just right click, split to objects, then click on the column and hit delete.
3. Upright vs laying flat: These are oriented vertically to provide best surface aesthetics, if you lay it down it may print faster but the layer lines will have an effect on aesthetics.
4. Customization: Scale the panels and connectors as needed to best fit your wall. You can use Bambu Studio to create negative parts for holes, notches, cutouts, etc. or to cut panels down when starting or finishing a row.
Thanks for supporting my work — this is an original design and reflects the time and care that went into creating it.
————
If you’re printing this for personal use and would like to support what I do, tips are always appreciated and help keep new designs coming:
💰 Patreon: https://www.patreon.com/animuL67
💰 PayPal: @animuL67
💰 Venmo: @animuL67
💰 Cash App: $animuL67
Commercial use licensing for my original (non-trademark) designs is available separately — see the header above for details.
Enjoy, and happy printing!
Boost Me (for free)
Boosts are always appreciated. They help fund my setup and make it possible for me to keep designing and sharing new models. If you’re able to spare one, it helps more than you know!
License

You shall not share, sub-license, sell, rent, host, transfer, or distribute in any way the digital or 3D printed versions of this object, nor any other derivative work of this object in its digital or physical format (including - but not limited to - remixes of this object, and hosting on other digital platforms). The objects may not be used without permission in any way whatsoever in which you charge money, or collect fees.


Comment & Rating (26)