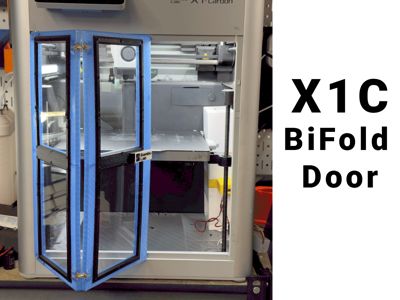
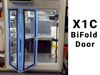
X1C bi-fold Doors


Print Profile(1)
Bill of Materials


- 6x4x1/8 Acrylic x 4: Amazon https://amzn.to/4fwUxdL
- 8mm hidden hinge x 4: Amazon https://amzn.to/4fPXjex
- M3x8mm flat head self tapping screws x 48: Amazon https://amzn.to/3DxAO0f
Description
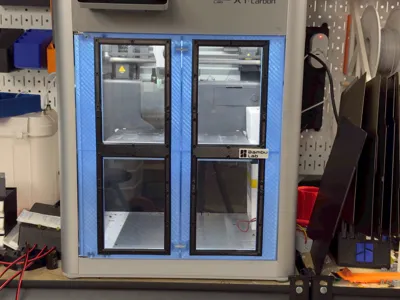
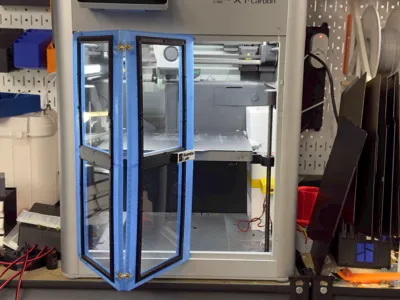
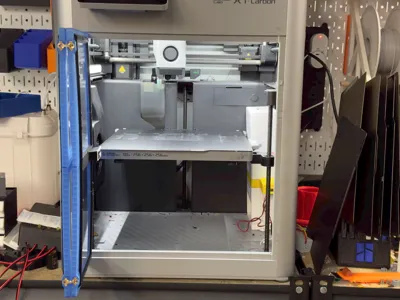
Bi-fold doors for the X1C
This model replaces the standard glass door with two smaller ones that fold in the middle (bi-fold). This makes it easier to work from either side of the printer without having to work around the door.
The model uses four sheets of 6"x4" x 1/8" acrylic (normally for picture frames) and hidden barrel hinges. It's sliced for PETG, it will work in PLA but you'd have a small gap between the door parts because PLA shrinks more than PETG. Additionally if you print high temp filaments I don't recommend PLA as the chamber can get hot enough to soften it.
(I'd appreciate it if somebody can tell me if they also fit the P1S).
Parts and Assembly
You will need (sorry most of these parts are not available on Maker Supply)
6x4x1/8 acrylic sheet times 4 https://amzn.to/4fwUxdL
8mm hidden barrel hinges time 4 https://amzn.to/4fPXjex (these come with needed screws)
M3 x 8mm self tapping flat head screws. x 48 https://amzn.to/3DxAO0f
Optional: two 6mmx3 magnets (press fit into right hand door)
Four printed door frames (PETG)
Four printed U bezel (PETG)
One left center bezel
One right center bezel with handle
Four printed screw plugs

- Print all the parts
- Assemble the right door ("R" on the back of each frame)
- Remove the backing and insert the acrylic into the frames
- Secure by screwing the bezel to the door with M3x8 screws
Use the center bezel with the handle.

- Repeat for the left door
Do not attache the top and bottom bezels yet, just use the center “H”

- Insert the hinges
Important: Make sure they are at 90 degrees to the frame

- Use the small screws that came with the higes to lock them in place (hand tighten gently)

- Remove the door from the printer
- Save the small ribber grommets in case you want to put it back.
You will need the four screws to secure the new door

The hinges are intentionally tight, you may need to gently squeeze them into place with pliers. Then secure them with the screws from the original door.
- Insert the four plugs to cover the screws (the plugs have small hole in the middle that you can put a hex key in to get them out if you need to remove the door)
Attach the top and bottom “U” bezels over the plugs

You are done!
Thank you for looking at this model. You can find the rest of my designs here. I really appreciate suggestions for improving my models, feel free to message me or comment.
Boost Me (for free)
Boosts are appreciated but not expected. They help fund my filament habit :-)
License
You shall not share, sub-license, sell, rent, host, transfer, or distribute in any way the digital or 3D printed versions of this object, nor any other derivative work of this object in its digital or physical format (including - but not limited to - remixes of this object, and hosting on other digital platforms). The objects may not be used without permission in any way whatsoever in which you charge money, or collect fees.
Comment & Rating (7)