

Modular Arduino UNO Breadboard Holder/ Workstation




Print Profile(19)



Description
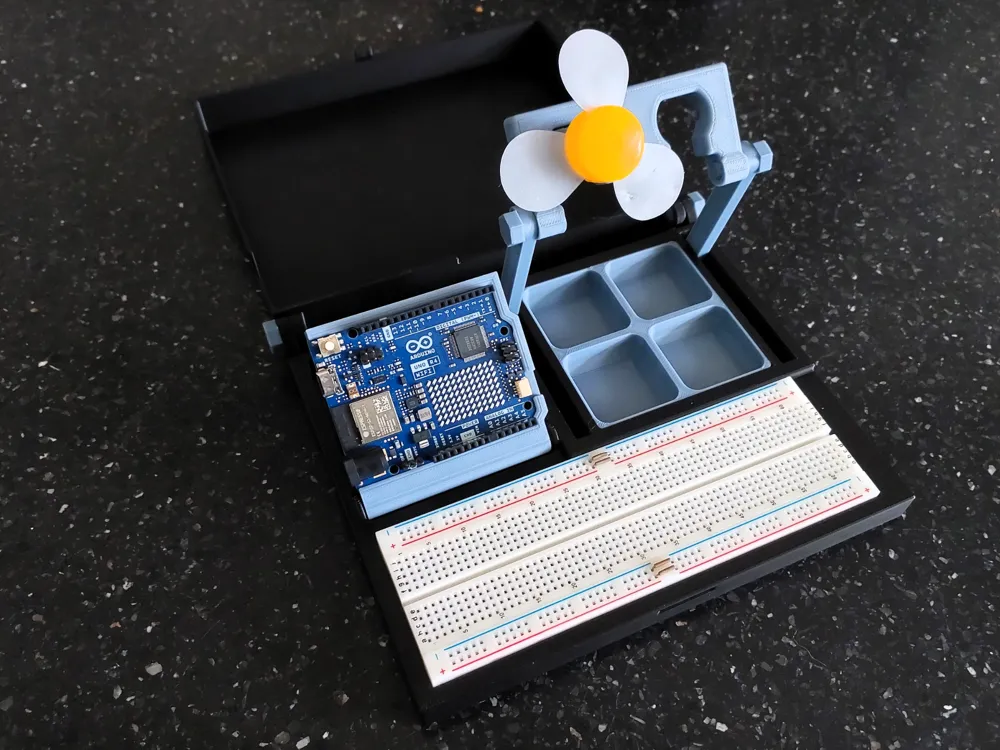
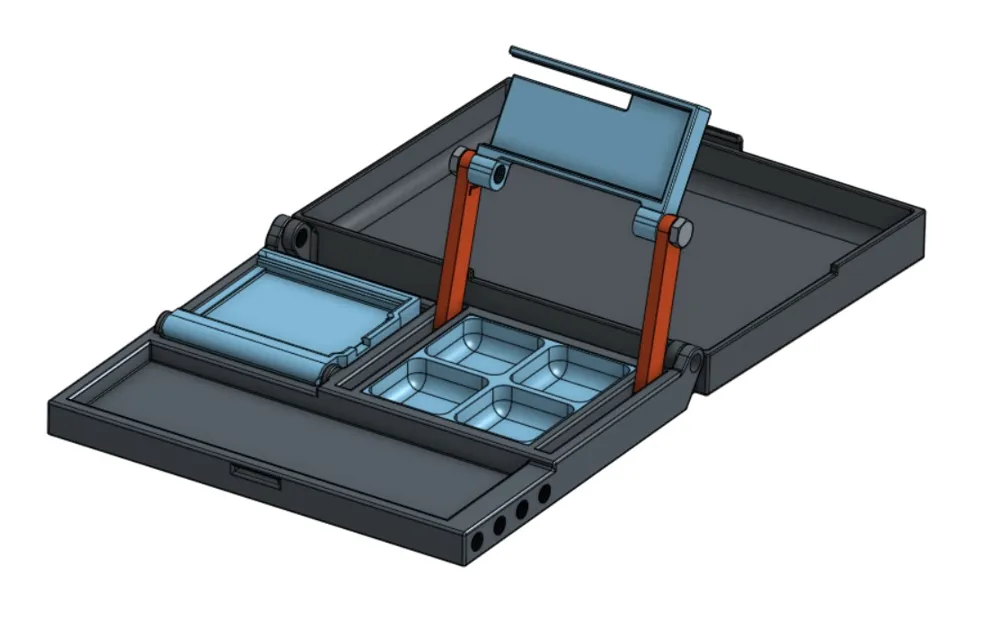
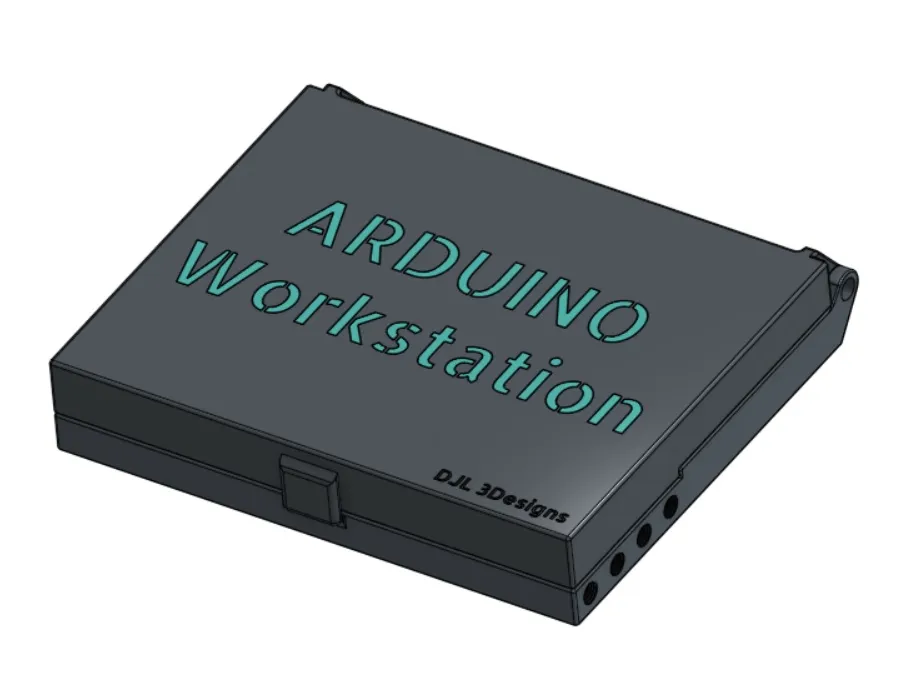
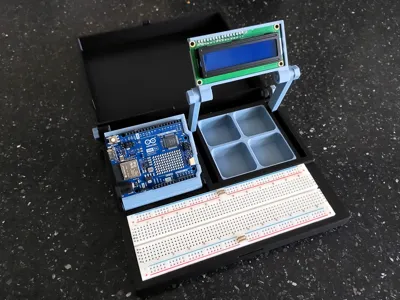
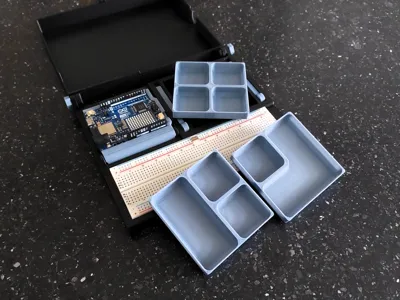
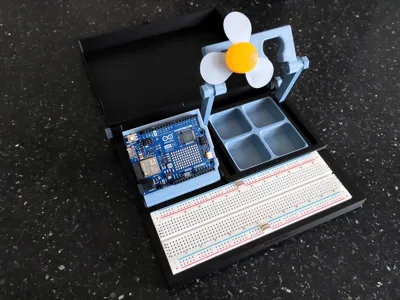
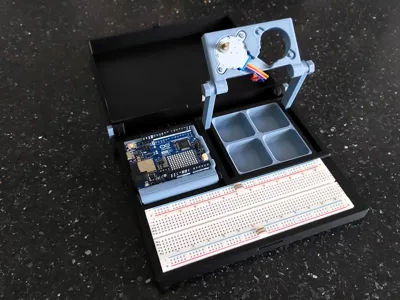
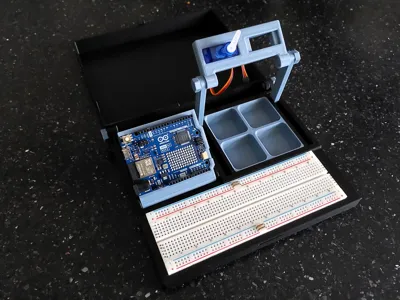
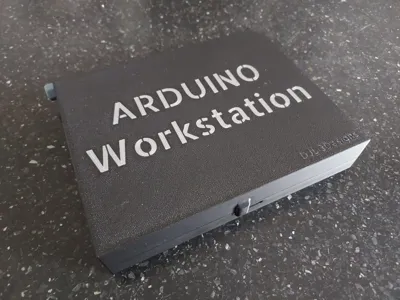
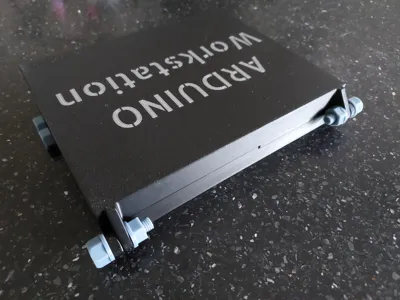
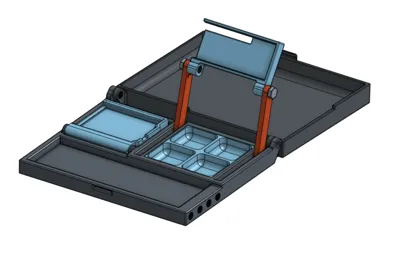
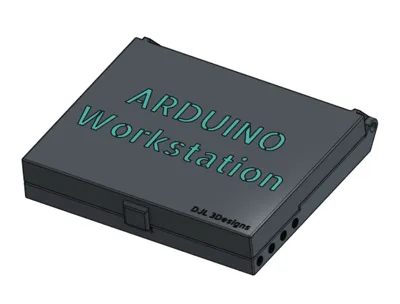
Adjustable Arduino Workstation V2 – Modular
The perfect companion alongside any Arduino starter kit available!
Supported with more modules and mounts being released with future updates.
Please keep in mind that this is a work in progress! Any feedback, changes or ideas that you have to improve this workstation will be received with open arms! I intend to turn this workstation into something unique and versatile but I cannot do that without your help!
I have already received some amazing DM's from you guys and it has truly been very motivating to see such positive and helpful feedback. Thank you for that, your support and keep it up :)
For updates on the project, please scroll to the update section down below.
Newest update on: July 25th 2025, release of ESP32 and Arduino NANO breakout support bracket!
Compatible with the following Bambu printers: X1 series, P1 Series, A1
Printable with or without AMS!
IMPORTANT NOTE:
- This models' bracket (microcontroller holder) has been designed using 3 different brand controllers mainly: Arduino, ELEG00 and an unnamed clone. Sticking with the Arduino dimensions meant that the others didn't properly hold. So, I opted to go with a little smaller clearance. That way all controllers fit but unfortunately the genuine Arduino might be a little bit of a tight fit. If this happens DO NOT force the controller in place but perhaps use a small file to remove a small layer of the gripping part.
- If you've already printed the first version of the workstation, the bracket and hinge can be reused :)
Instructions
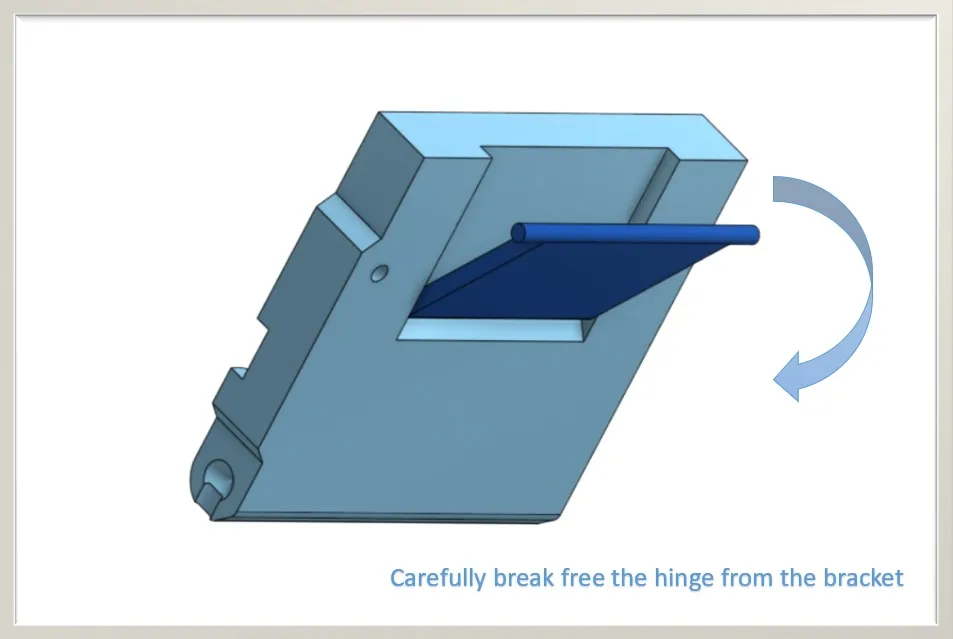
Use profiles included! This insures the hinge from the bracket comes loose without excessive force.
Changing layer thickness may result in fusing and render the print unusable.
- Choose preferred breadboard width profile: narrow or wider breadboard slot (difference between cutting off the tabs or not)
- Print baseplate, bracket, hinge and arms.
ALLOW BUILDPLATES TO COOL!
Removing the models prematurely can cause them to warp and not fit or close properly.
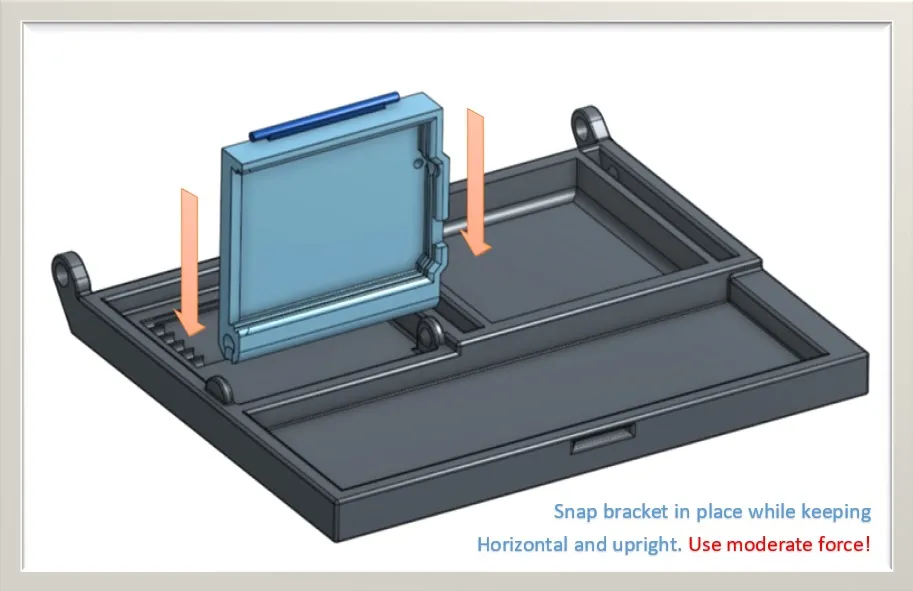
Important to print the plate with the bracket and hinge in place! The model has been designed with print in place hinges.
Moving these parts around will result in print failure (unless moved as a group).
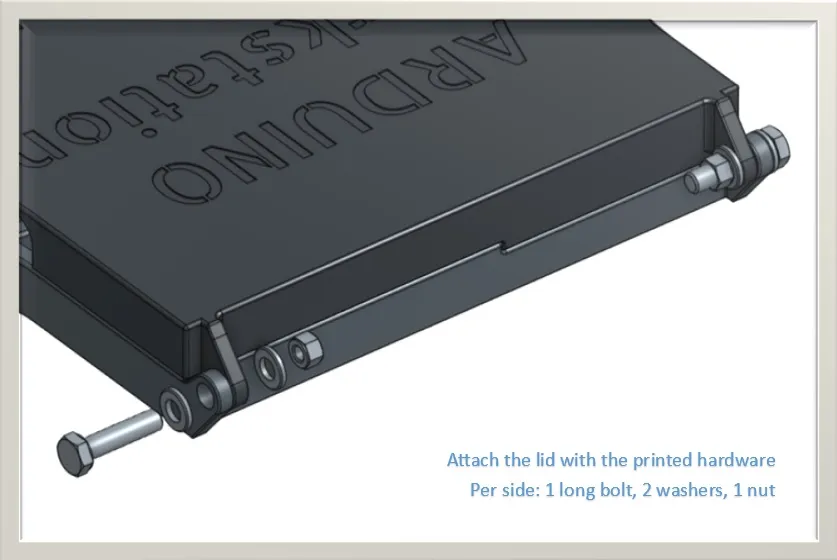
- Print bolts, nuts and washers (print per object is enabled)
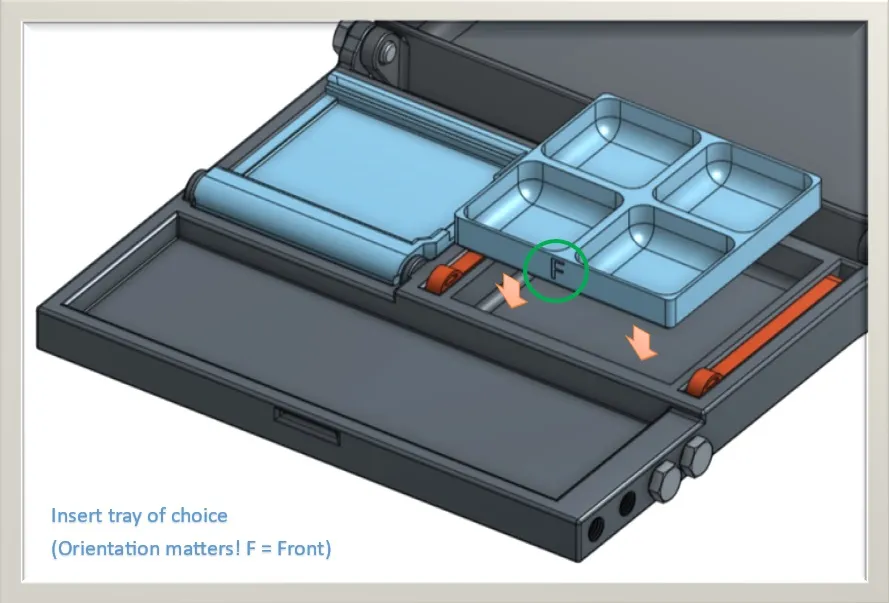
- Select print profile for tray inserts and print those you want to use!
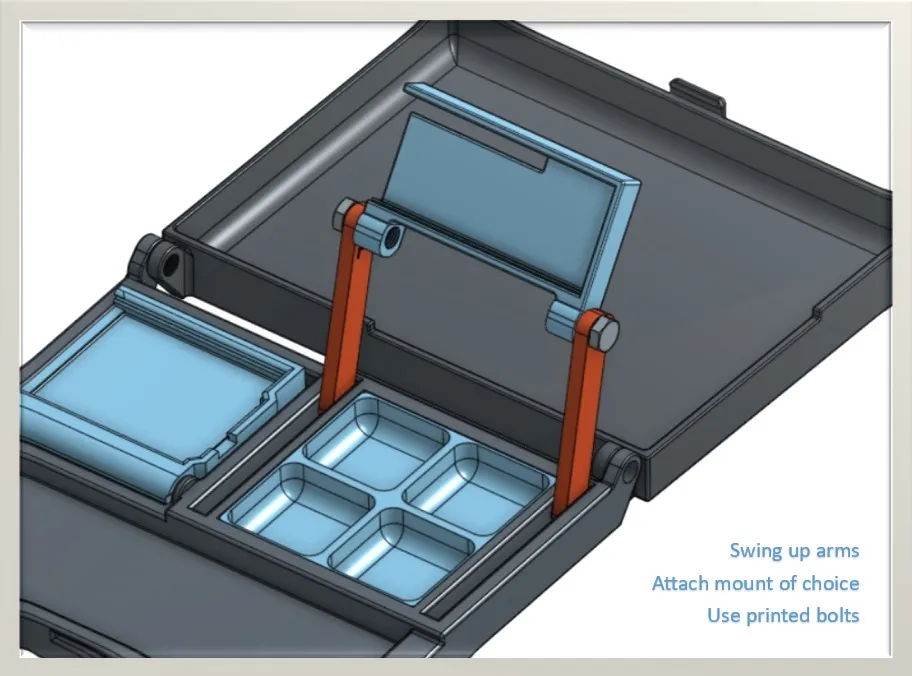
- Select print profile for module mounts and print those you want to use!
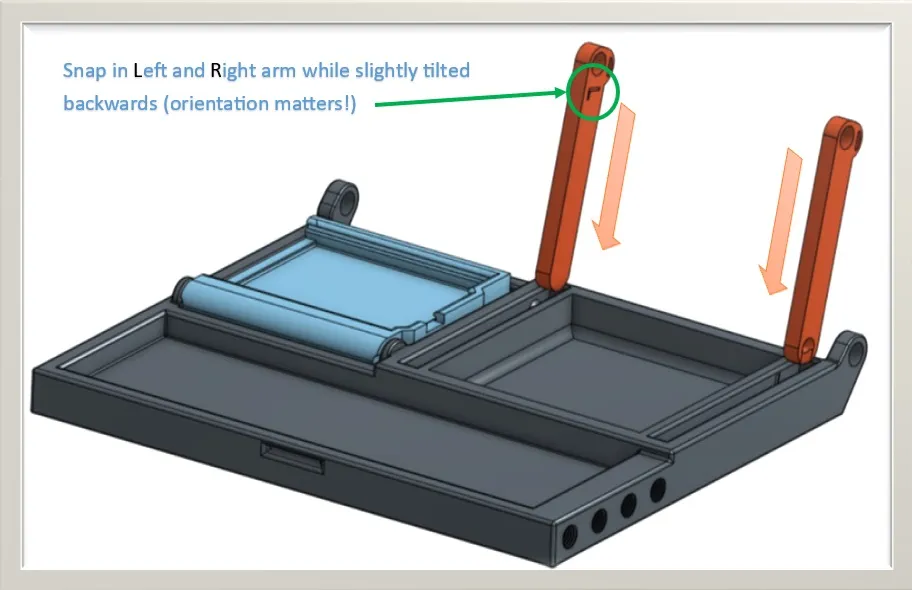
Assembly:
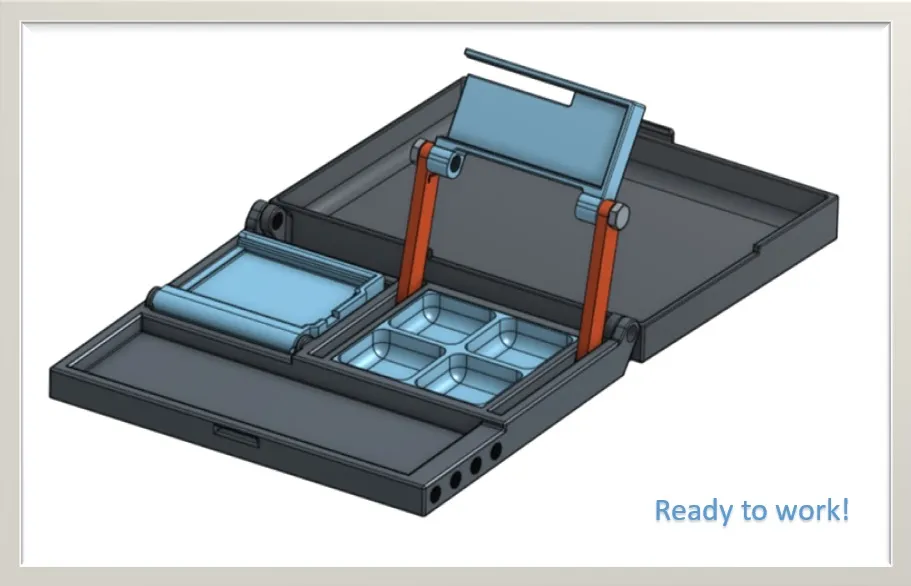
Tips
- Like most printed objects, any friction will loosen over time. The microcontroller might become easier to remove and place over time.
- The UNO can be secured using an M3 screw, but it is not required. The bracket is designed to keep the UNO in place using friction.
- NOTE: print per object is highly recommended for the small parts! NOT ACTIVATED BY DEFAULT TO ENSURE PRINTER COMPATIBILITY
Print Settings (recommended)
- No supports needed
- 0,2mm layer height (needed for clearance between bracket and hinge)
- All print in place
- AMS requirements is based on your choice!
UPDATE SECTION:
UPDATE (July 25th 2025):
- Released a new print profile that contains the ESP32 and Arduino NANO breakout board brackets as well as a bracket to support a mini breadboard for small ‘pinned’ microcontrollers!
UPDATE (June 14th 2025):
- Uploaded STEP Files for the microcontroller bracket, inserts and mounts! Create some amazing add/ons for this workstation and share them :) Either upload them as a print profile on this models' page or upload them as a stand-alone. Make sure to link back to this model see people know what is for ;)
UPDATE (June 9th, 2025):
To those who are interested in using other microcontrollers! Starting with the Arduino NANO and ESP32. The links below are from the breakout boards that will be supporting in the VERY near future:
UPDATE (April 4th 2025):
- Increased the depth of all type of lids to allow for projects to remain in place :)
- Minor increase of tolerance of the microcontroller bracket for easier insertion.
UPDATE (Jan 27th 2025):

- Released the storage Add-on! Find it here
UPDATE (Jan 23rd 2025):
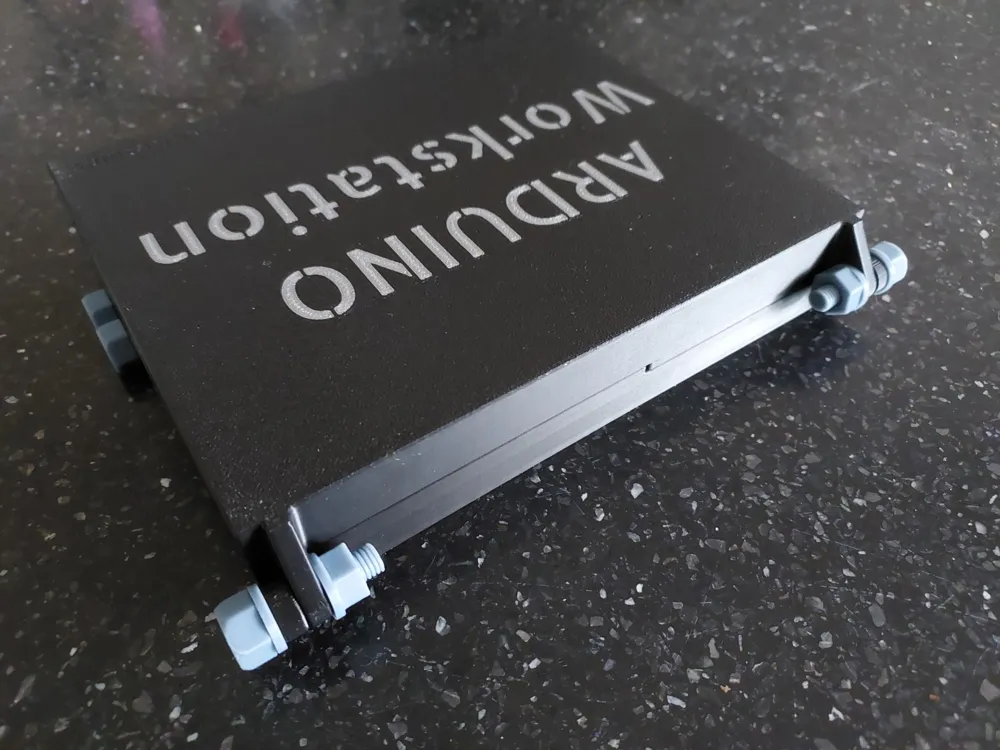
- Increased size of the bolts ‘handling’ part which should make them easier to use. Settings have been improved slightly to increase their durability. In the future storage add-on the threads on the lid and baseplate will be removed and replaced by separate customs bolts which will make the bolts much more reliable (due to print orientation). And, since the whole set-up is 3D printed, in case of failure will be easier to replace rather then having to reprint the entire lid.
In preparation for the introduction of the storage add-on, I released an updated version of the lid and added the adjusted, printable hardware to attach it to the baseplate (new bolts and nuts are with the base plate profile).
If you have already printed to lid you can re-work it in order to use it with this new, more reliable hardware.
Carefully remove ONLY the threads from the lid part with a drill bit or a file so that the new bolt passes through nicely (it can still be a snug fit). Or maybe you needed a reason the switch colors and you can print a new lid ;)
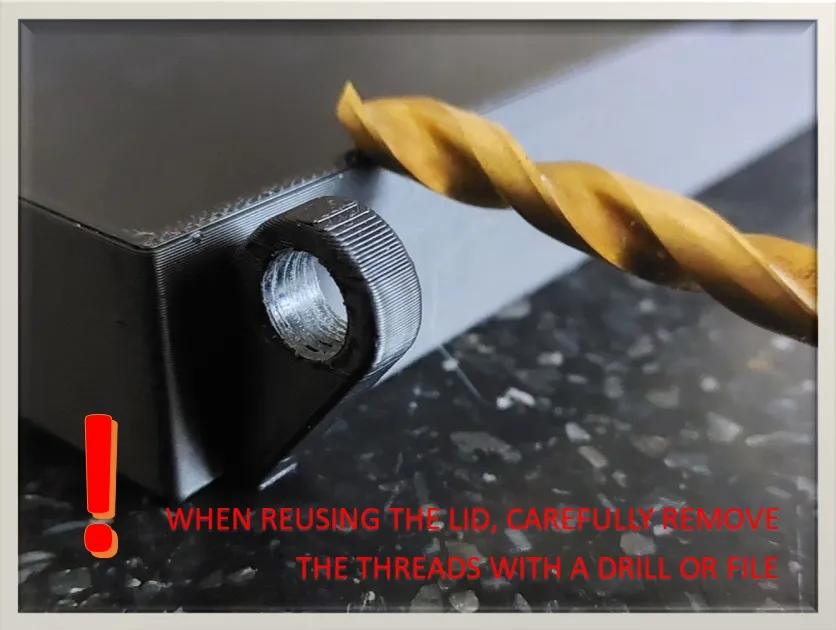
UPDATE (Jan 11th 2025):
- Added a small extruded cut on the left side of the breadboard slot to make removing of the breadboard much easier. Just use a small tool to pry them out.
- Slightly increased the tolerances of the breadboard slot to make inserting and removing of the breadboards easier.
- Slightly decreased the depth of the breadboard slot to make them protrude ever so slightly.
UPDATE (Jan 3rd 2025):
- Just a small change made to the lids.
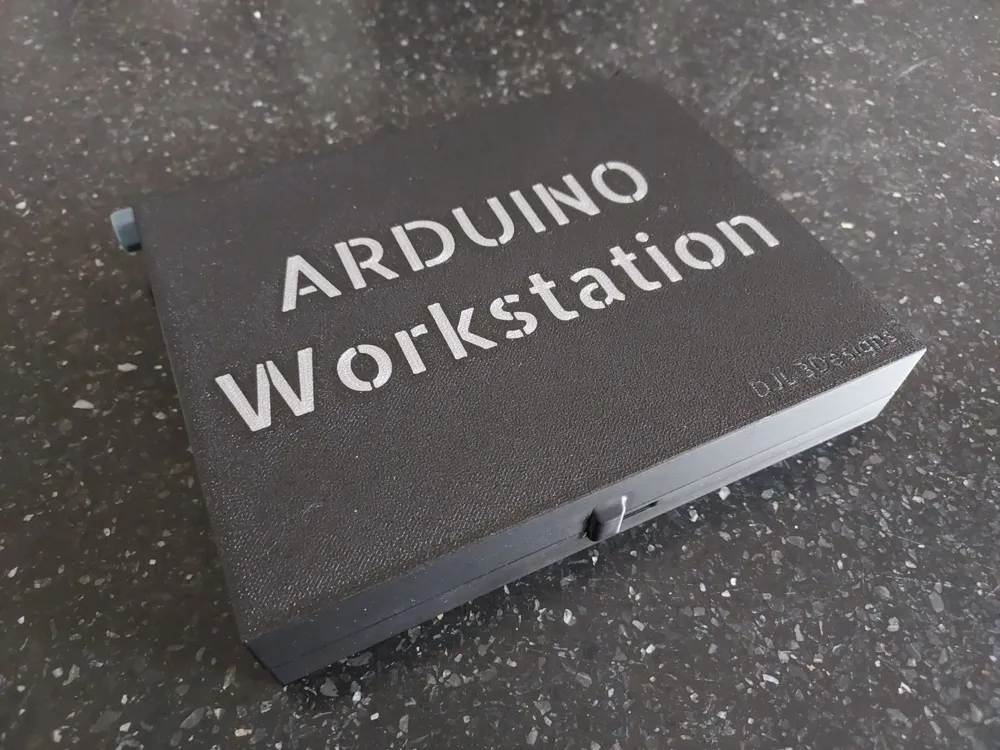
I've reduced the size of the latch on the lid by half. This is in preparation of the future storage add on that I will be releasing. I am aware the the current locking latch might not be perfect but I wanted to keep this workstation fully printable (no hardware requirements).
==========================================================================
Let's work together and improve this design with your ideas and feedback. I'm only starting this workstation but my intention is to keep evolving it.
If you like the model, please consider leaving a like and a rating with pictures of your makes! It is encouraging to see my creations out there.
Also consider leaving feedback regarding the models as it will help improve my overall skills as a beginner 3D designer!
Want to support me with some coffee? :)

Boost Me (for free)
Your support is much appreciated :D
Membership
Interested in selling physical prints of my work? The commercial license is now available!
License

You shall not share, sub-license, sell, rent, host, transfer, or distribute in any way the digital or 3D printed versions of this object, nor any other derivative work of this object in its digital or physical format (including - but not limited to - remixes of this object, and hosting on other digital platforms). The objects may not be used without permission in any way whatsoever in which you charge money, or collect fees.


Comment & Rating (735)