
Adjustable Arduino UNO Breadboard Workstation

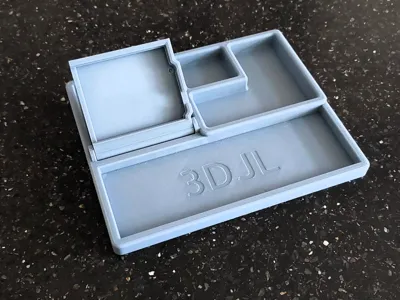
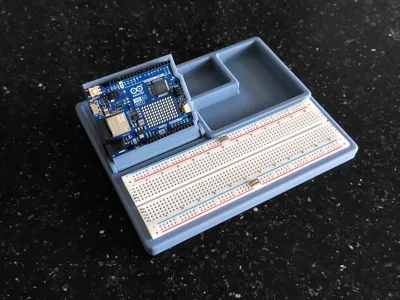
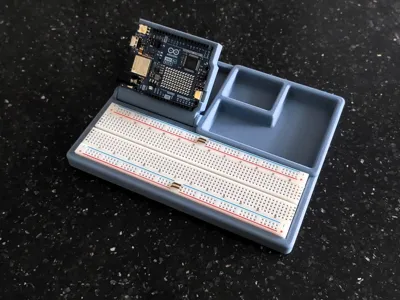
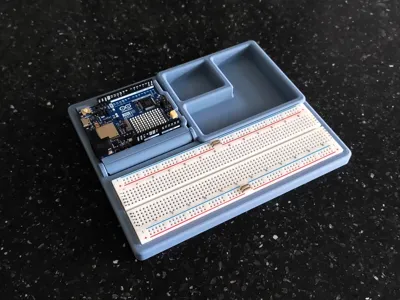
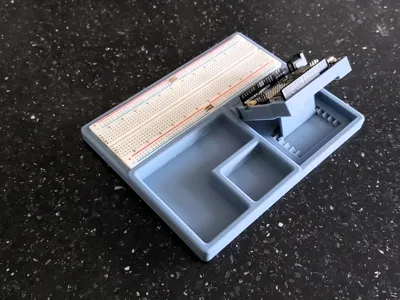
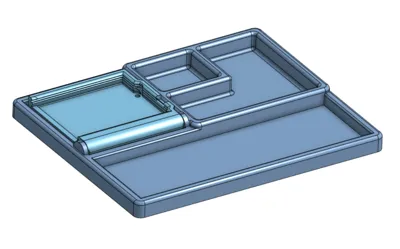
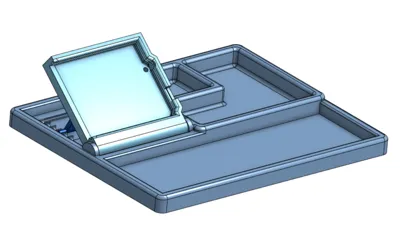
Print Profile(3)


Description
Boost Me (for free)
It is free for you but helps me offset costs in the long run!
A good amount of time went into designing this workstation.
Help support me :)
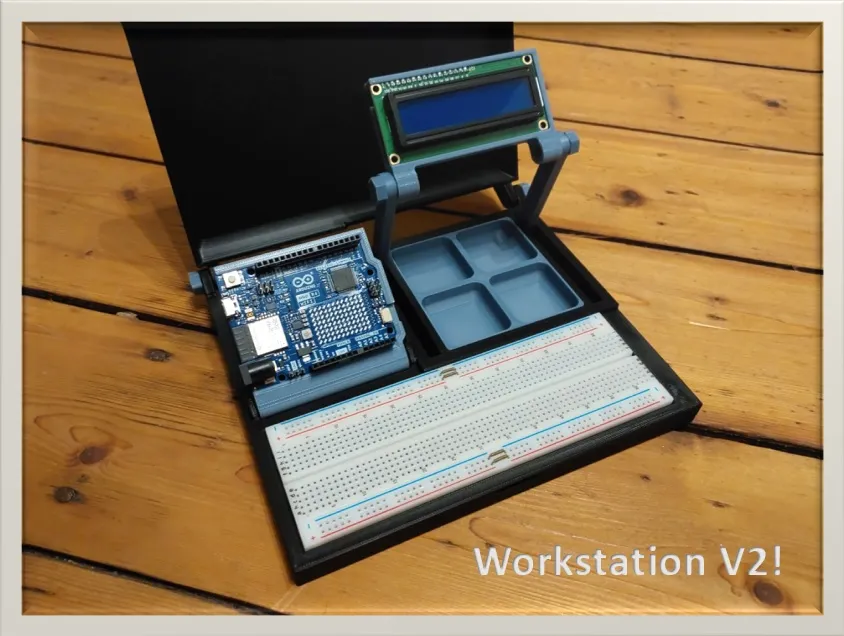
Very excited to share my newest version of my Arduino workstation!
Find it here (Click on image):
======================================================================================
ORIGINAL VERSION:

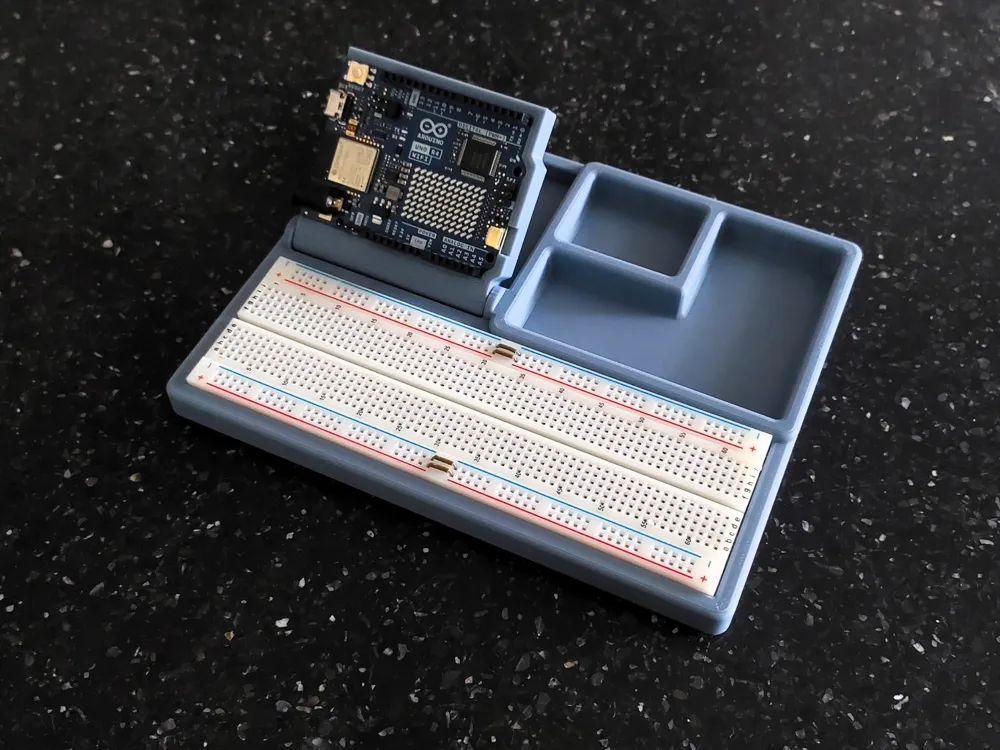
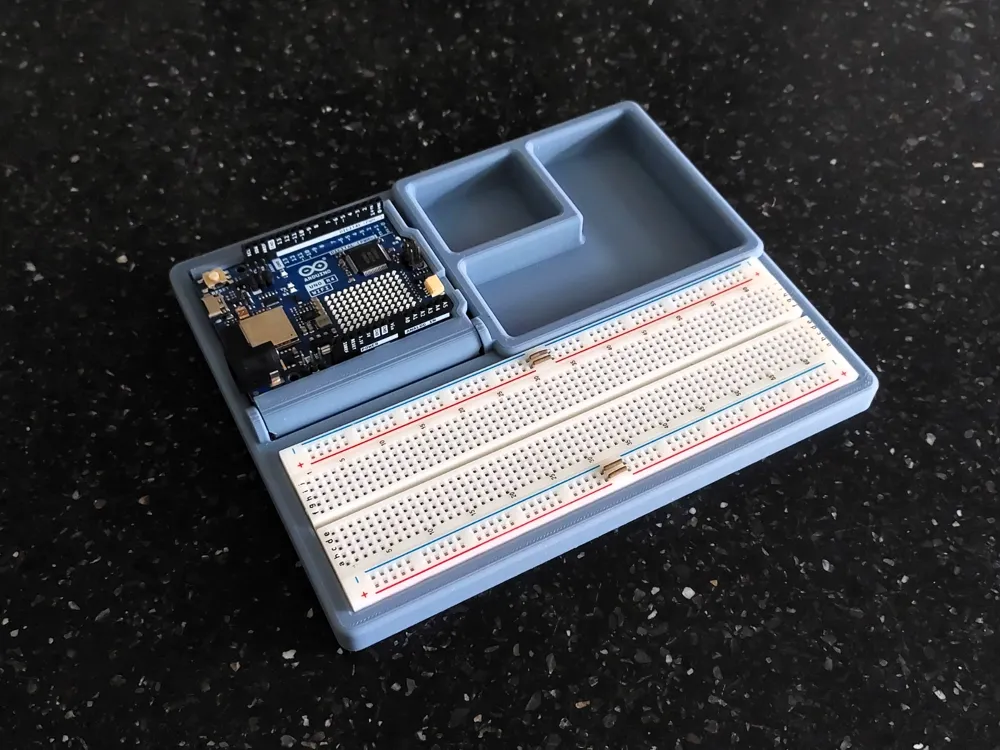
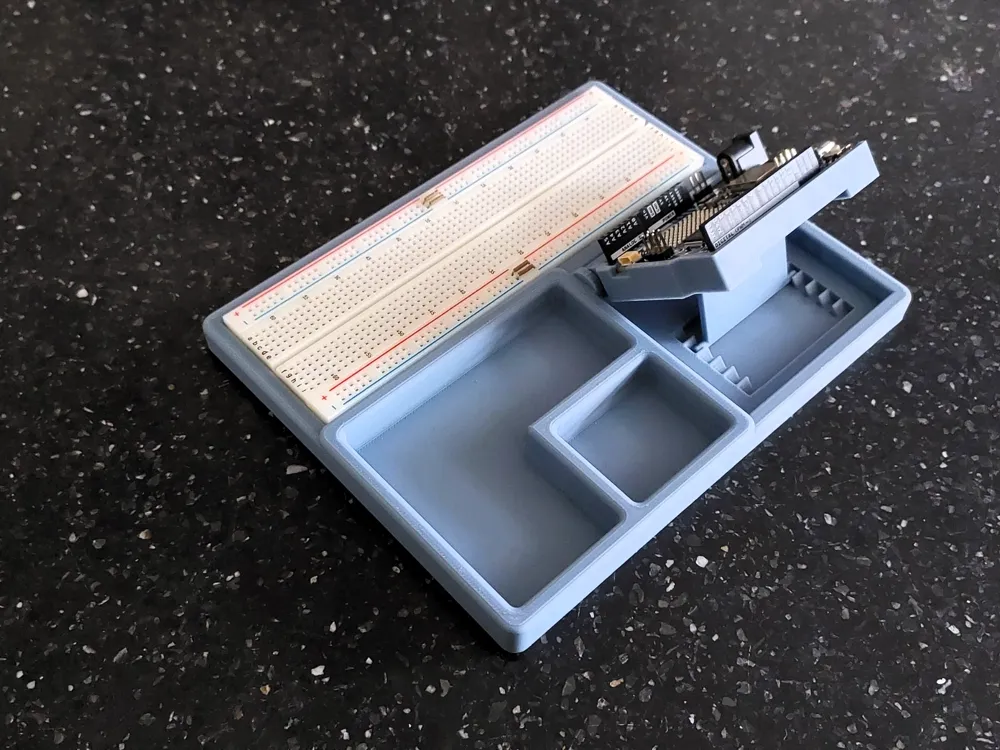
Arduino UNO Breadboard Workstation - Adjustable Work Angle
Building, learning and prototyping with Arduino has become quite the hobby of mine! One of my first prints was a breadboard workstation to organize my setup but all models out there have the microcontroller in a fixed position. This has led me to finally come up with my own design!
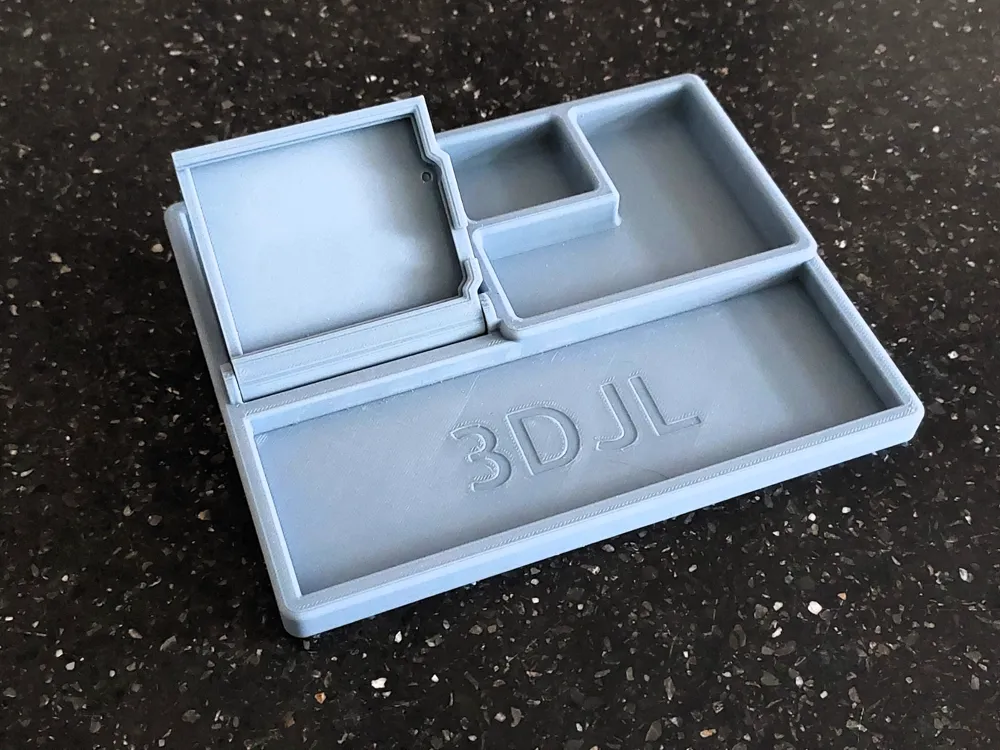
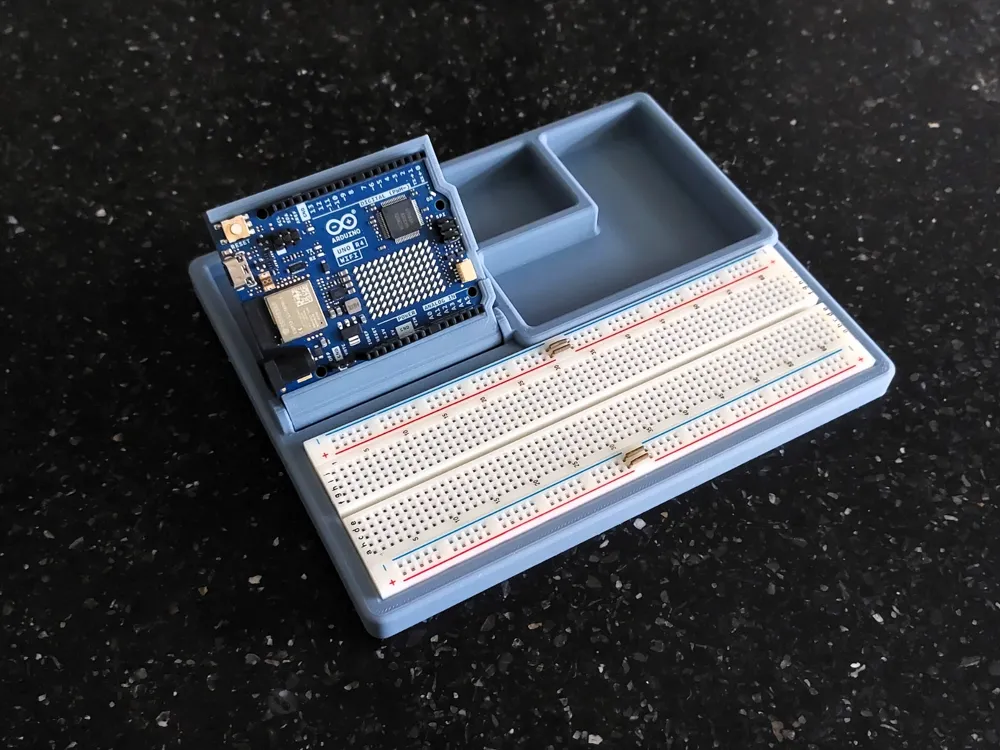
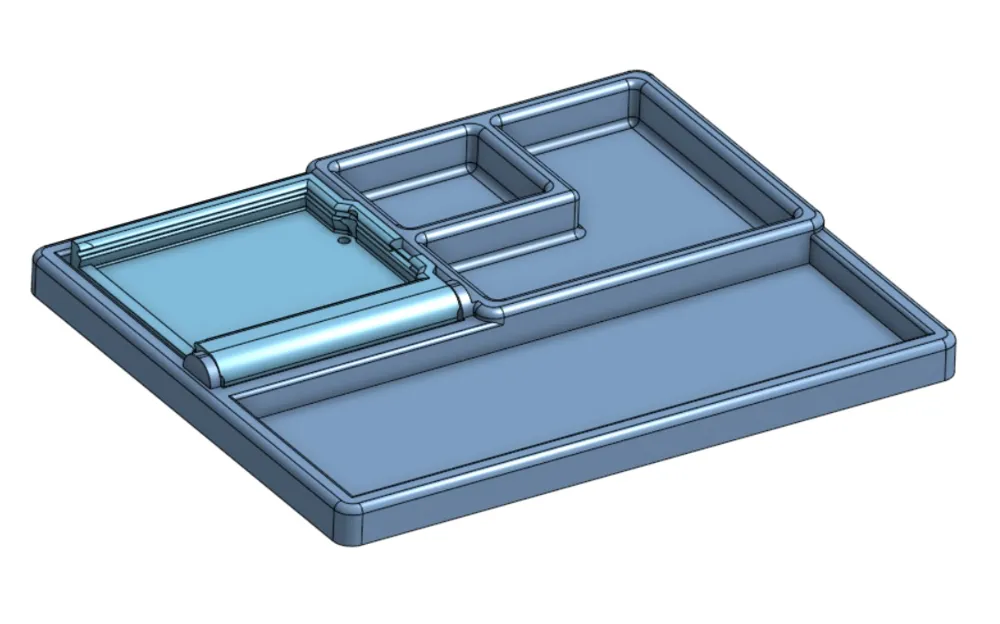
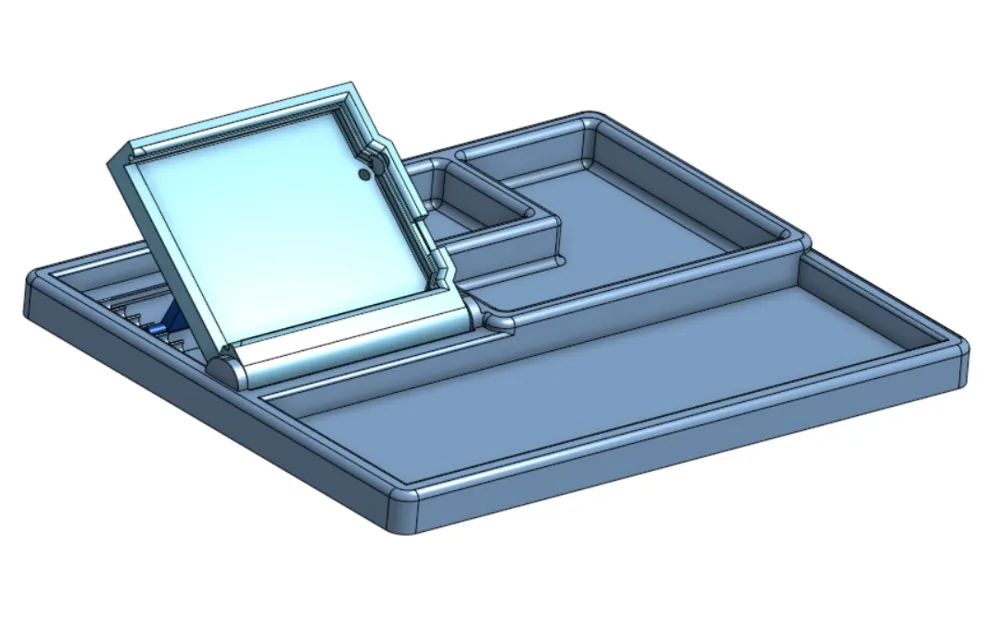
An adjustable yet simplistic workstation for the Arduino UNO series. The model is fully print in place. No screws needed. The only assembly that is required of you is to attach the bracket + hinge to the base plate.
For updates on the project, please scroll to the update section down below.
Newest update on: July 25th 2025, release of ESP32 and Arduino NANO breakout support bracket!
Compatible with all Bambu printers: X1 series, P1 Series, A1 and A1 Mini
IMPORTANT NOTICE:
This models' bracket (microcontroller holder) has been designed using 3 different brand controllers mainly: Arduino, Ele-goo and an unnamed clone. Sticking with the Arduino dimensions ment that the others didn't properly hold. So I opted to go with a little smaller clearance. That way all controllers fit but unfortunately the genuine Arduino might be a little bit of a tight fit. If this happens DO NOT force the controller in place but perhaps use a small file to remove a small layer of the gripping part.
Instructions
Use profile included! I've printed 7 prototypes with a 0,2mm layer. With all of them, the hinge came loose nice and clean.
Changing layer thickness may result in fusing and render the print unusable.
- Choose preferred profile: narrow or wider breadboard slot (difference between cutting off the breadboard tabs or not)
Print both plates. PLEASE ALLOW BUILDPLATES TO COOL!
Removing the models prematurely can cause them to warp and not fit properly.
Important to print the plate with the bracket and hinge in place! The model has been designed with print in place hinges.
Moving these parts around will result in print failure (unless moved as a group).
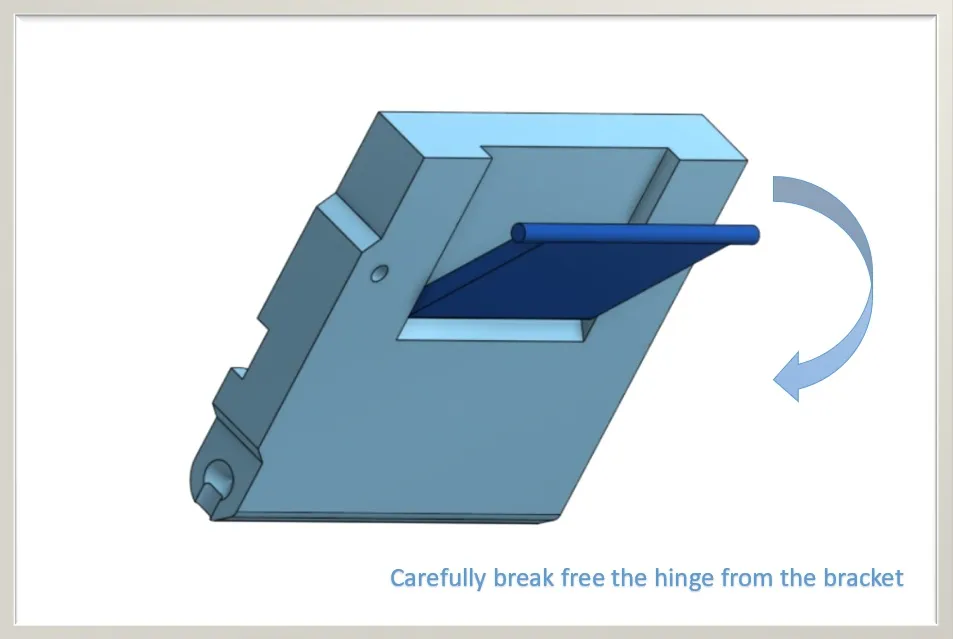
Loosen the hinge from the bracket using mild force.
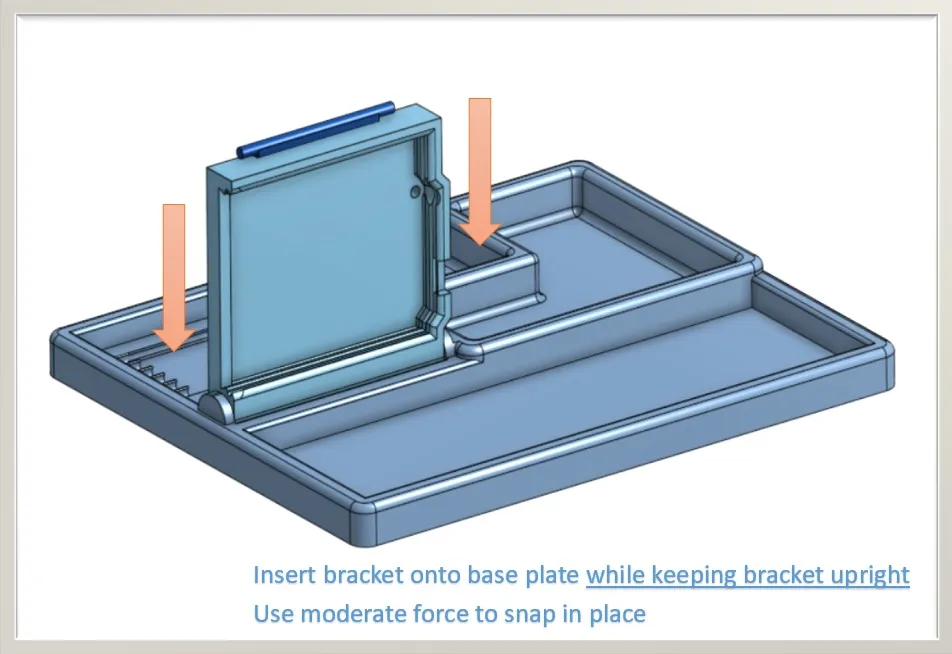
Snap the bracket + Hinge onto the base plate. Keep the bracket upright and horizontal while snapping in place.
Moderate force is required!
Slide the UNO microcontroller into the bracket.
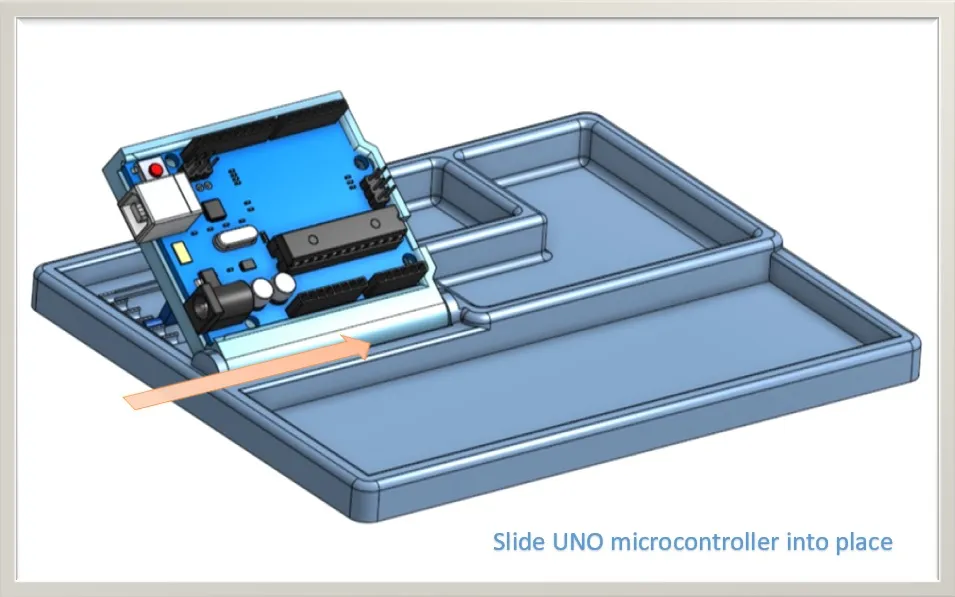
- The UNO can be secured using an M3 screw, but it is not required. The bracket is designed to keep the UNO in place using friction.
Tips
- Like most printed objects, any friction will loosen over time. The microcontroller might become easier to remove and place over time.
Print Settings (recommended)
- No supports needed
- 0,2mm layer height (needed for clearance between bracket and hinge)
- All print in place
- No AMS required
UPDATE SECTION:
UPDATE (July 25th 2025):
- Released a new print profile that contains the ESP32 and Arduino NANO breakout board brackets as well as a bracket to support a mini breadboard for small ‘pinned’ microcontrollers!
UPDATE (June 14th 2025):
- Uploaded the STEP File for the microcontroller bracket! Create some amazing add/ons for this workstation and share them :) Either upload them as a print profile on this models' page or upload them as a stand-alone. Make sure to link back to this model see people know what is for ;)
UPDATE (June 9th, 2025):
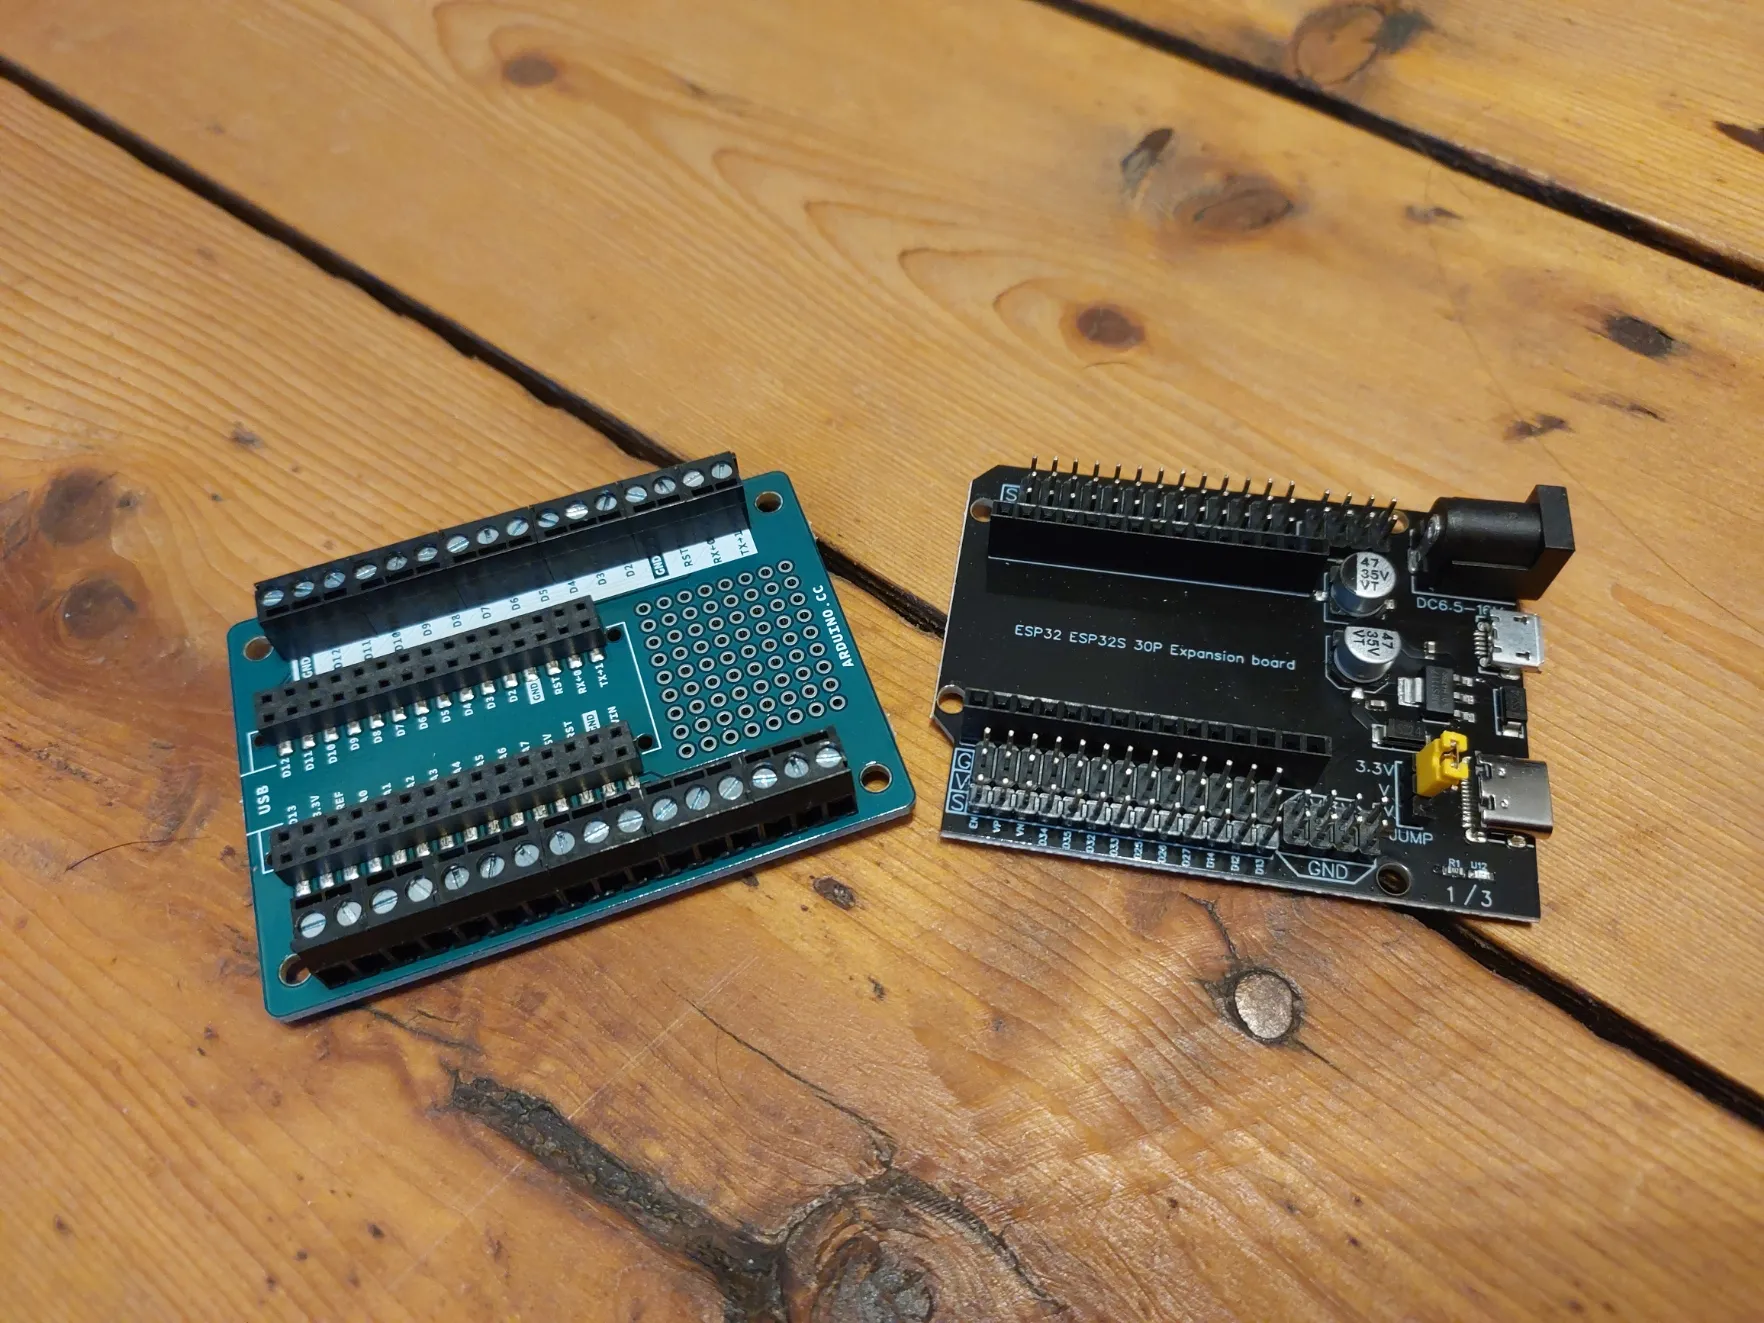
To those who are interested in using other microcontrollers! Starting with the Arduino NANO and ESP32. The links below are from the breakout boards that will be supporting in the VERY near future:
If you like the model, please consider leaving a like and a rating with pictures of your makes! It is encouraging to see my creations out there.
Also consider leaving feedback regarding the models as it will help improve my overall skills as a beginner 3D designer!
Want to support me with some coffee? :)

Boost Me (for free)
Your support is much appreciated :D
Membership
Interested in selling physical prints of my work? The commercial license is now available!
License

You shall not share, sub-license, sell, rent, host, transfer, or distribute in any way the digital or 3D printed versions of this object, nor any other derivative work of this object in its digital or physical format (including - but not limited to - remixes of this object, and hosting on other digital platforms). The objects may not be used without permission in any way whatsoever in which you charge money, or collect fees.


Comment & Rating (184)