Mosaic Serpent/Feather Pattern Large Machete (Wood Grain Handle)—Includes Custom Texture Tutorial


Print Profile(1)
Description
Inspired by a wood grain modifier project and my recent frequent viewing of blade-forging competitions on Bilibili, a sudden idea struck me: to craft a katana with a damascus steel pattern.
References attached:
https://makerworld.com.cn/zh/models/720720#profileId-676391
Instructions
I. Material Preparation
If you wish to create a 1:1 replica, you will require the following materials:
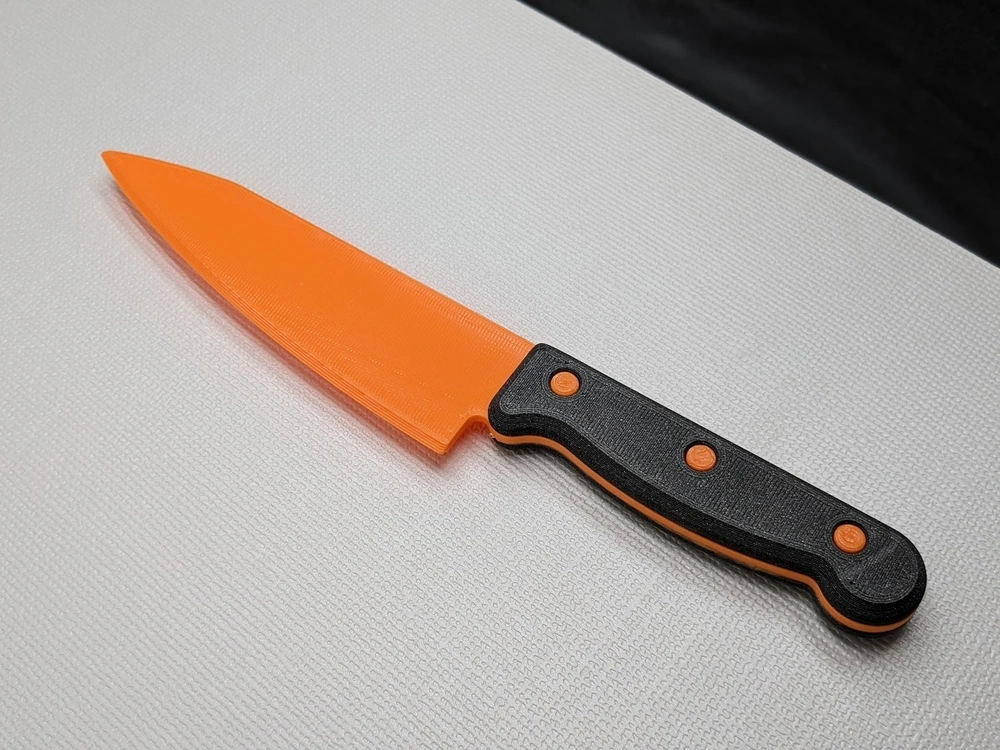
- Black PETG/PLA, gold silk PLA, wood-effect PLA
- Sandpaper, polishing compound
II. Fabrication Process
Theoretically, my print settings require no adjustments, however, for optimal results on both sides of the blade pattern, a smooth PEI bed is recommended.
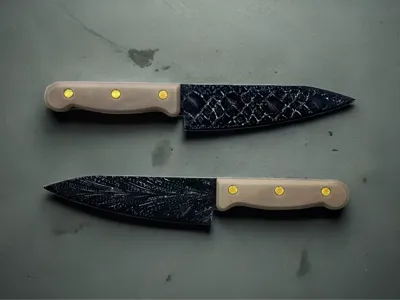
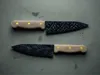
1. Upon completion of printing, your blade should resemble this:

2. Next, it requires “enchantment,” or polishing. Begin by using coarse sandpaper to remove surface imperfections. Then, apply the polishing compound evenly across the surface. The compound will partially embed itself within the fine grooves, revealing the pattern. Finally, use the remaining compound on the surface to polish the blade to a high sheen. (Theoretically, any paste can achieve this embedding effect)

3. Finally, assemble the components.

III. Customizing the Pattern
Essentially, this involves using a modifier to alter the infill pattern direction of the outer walls to create the desired texture. Beyond the model to be printed, you will also need the texture's STL file for custom pattern creation.
Here, I provide a link to a free website that converts images into STL format: 免费将 JPG 转换为 STL - ImageToStl. It supports numerous formats for STL generation.
1. Generating the Texture Using the Website
Open the link, upload your desired image, and modify the settings as follows:
- Change “Tool” to Extrusion (Color)
- Change “Detail” to High
- Select “Remove Background”, and adjust the intensity
Go to the Options page and select “Enable Smoothing”
After making these changes, click Convert to STL and download the file.


2. Slicer Software Modifications
Import both your model and the texture into your print settings. Group the two files within the objects, and convert the texture to a modifier.


Then, in the texture's object settings, within Advanced Settings for Strength, change the fill direction to 135°.

Crucially, once you have adjusted the print texture, if you require the texture on the base as well, duplicate the texture; apply one to the top surface and the other to the bottom surface to prevent the texture from unduly affecting the model.

Finally, preview the sliced output. If satisfactory, proceed with printing.
IV. Settings for Printing Base Textures
Experienced printers understand that the initial layer is typically printed with greater pressure, resulting in a wider extrusion width than subsequent layers, leading to less defined textures. To improve detail in the first layer, adjust the following settings in the “Quality” section:
- Change the Wall Generator to “Arachne”
- Set the Line Width to 0.4mm
- Set Elephant Foot Compensation to 0
These settings will improve the clarity of the first layer's texture, though the quality may still be inferior to the top layers, hence the recommendation to position your desired texture on the top layer.
V. Further Explorations
Bambu Lab's own embossing generator could be utilized. Experiment with combining the generated embossing directly with the print model for potentially superior results.
Consider using filaments with a metallic finish for an enhanced aesthetic.
Filling the gaps with high-quality fluorescent paint may yield remarkable results.
This serves merely as a starting point; I hope skilled creators will develop higher-quality models and share their work to facilitate mutual learning.
Boost Me (for free)
This project required considerable effort. If you successfully replicate it, or if it inspires you to create a satisfying piece, please consider supporting me with a boost. Thank you for your patronage!
Comment & Rating (0)