
Customizable Box
Print Profile(5)


Bill of Materials
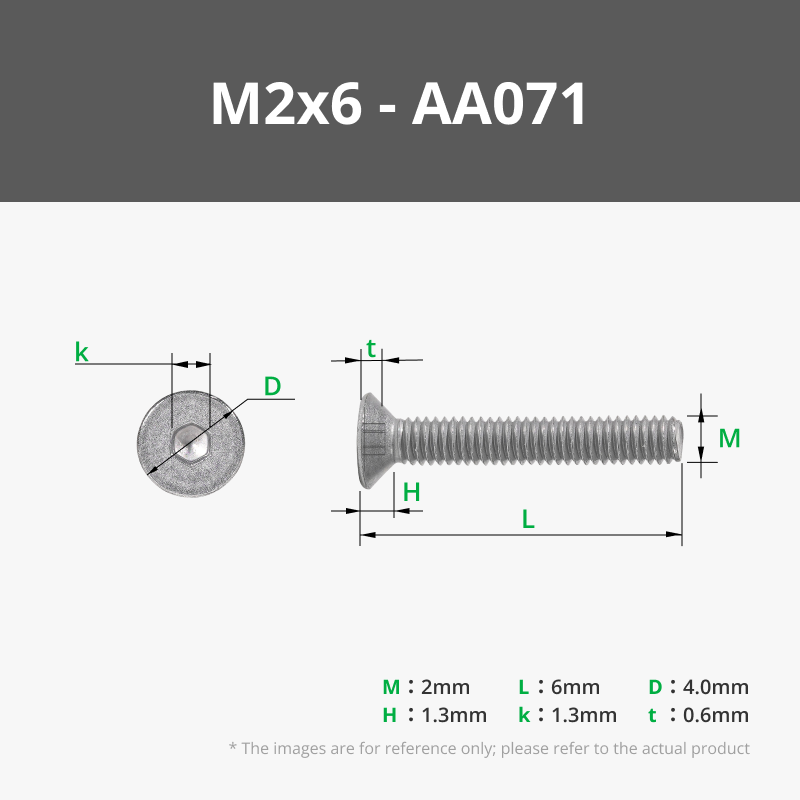
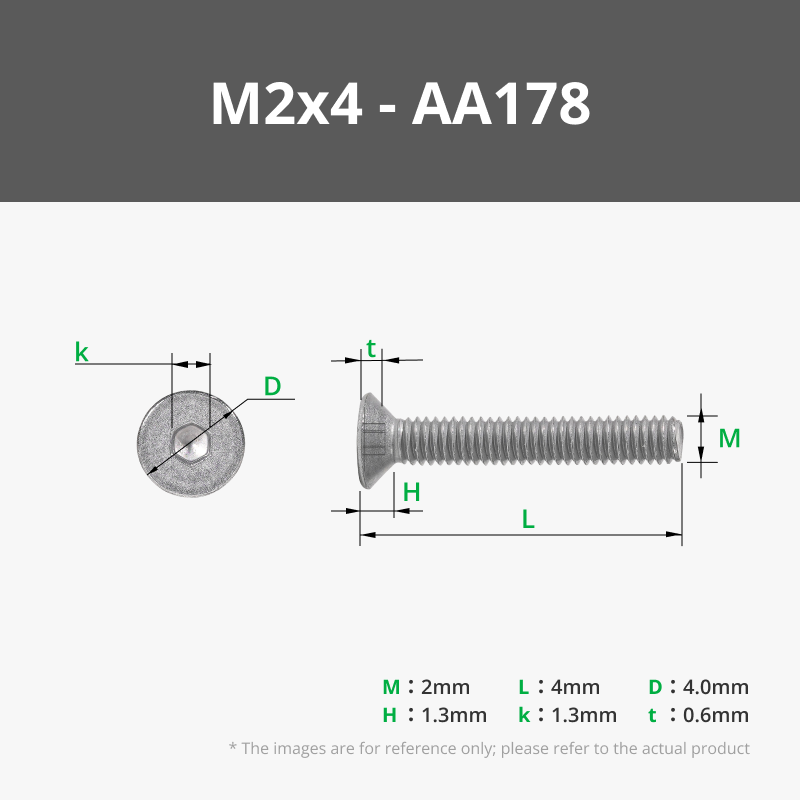
- m1*8 Self-tapping Screws 自攻丝 x 1: 16
Description
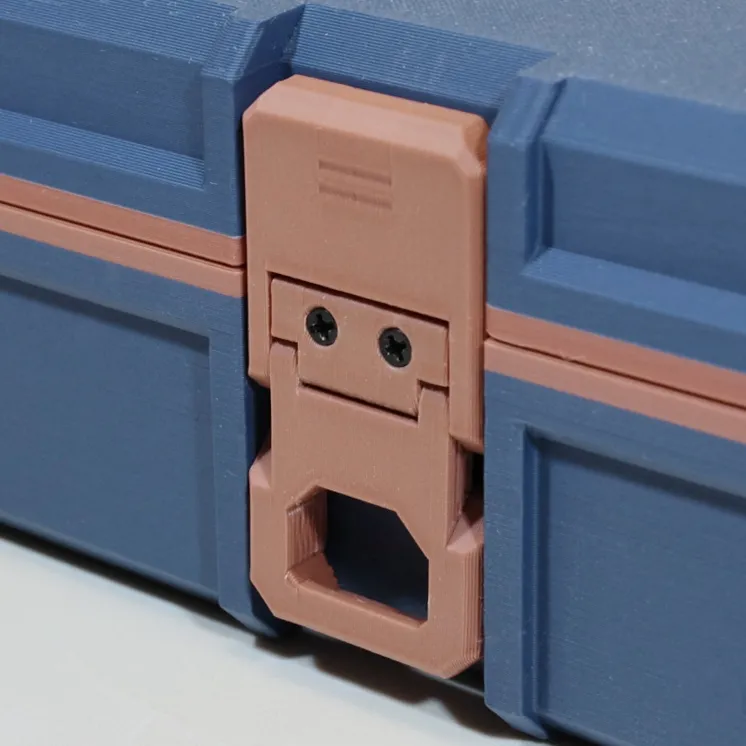
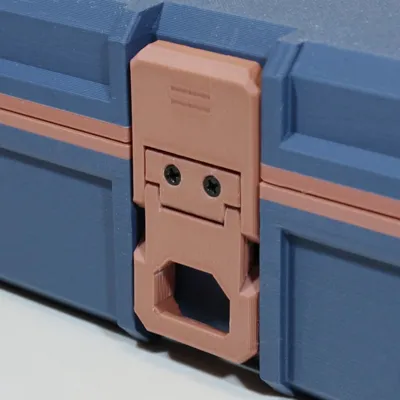
Updated May 3, 2025: The latches and hinges have been redesigned to address installation tolerance issues.
Responding to comments regarding hole sizing discrepancies, an update has been implemented, replacing the paperclips with M1*8 screws.
If you still require the older latch and hinge design, it can be found in the print profiles to the right. A PDF installation guide is available for download at the bottom of this document.
Design Considerations (Skippable Section):
Regarding Holes: 1mm holes inevitably shrink during printing. Therefore, I modeled the holes at 1.5mm, resulting in approximately 1mm after shrinkage. However, variations exist across different machines and materials. While recent slicing software updates include "automatic circular shaft hole compensation," achieving precise 1mm tolerances remains challenging. Hence, the switch to screws.
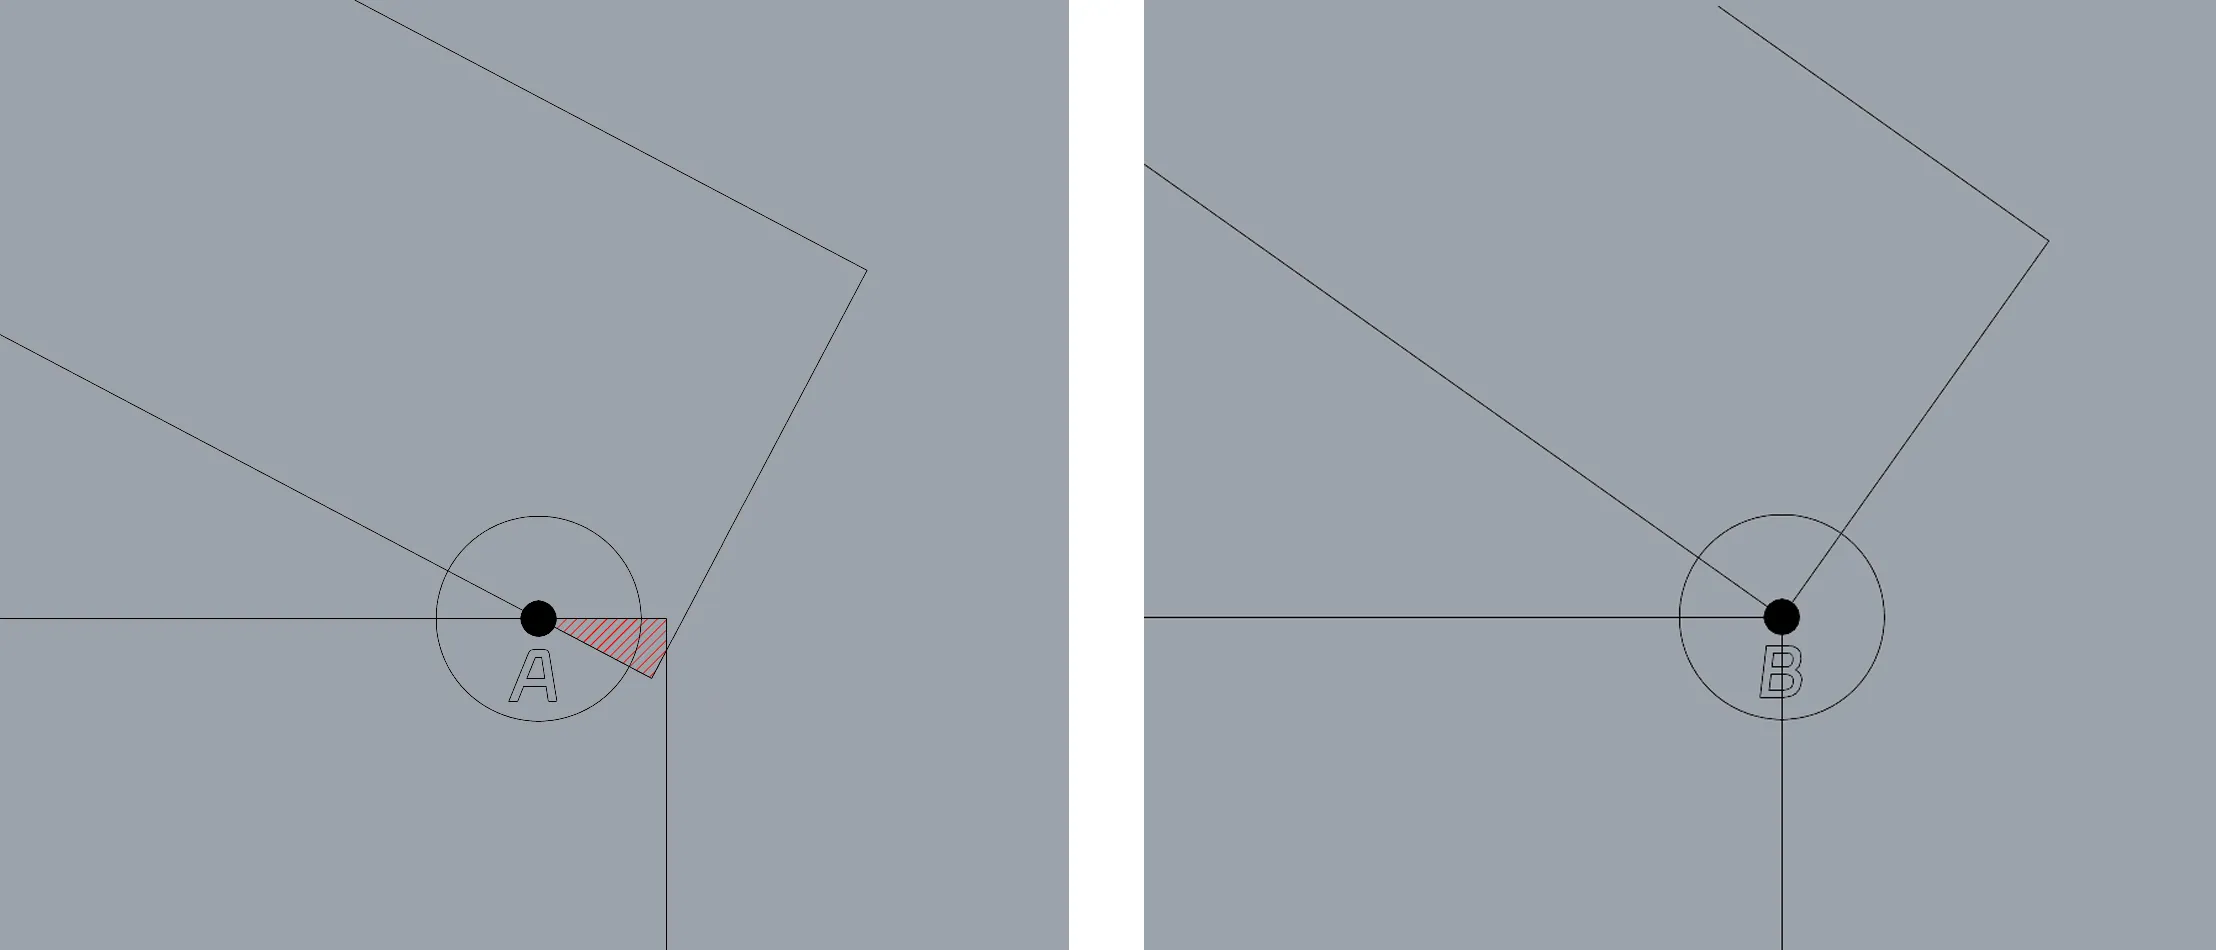
Regarding the Two-Part Hinge: This design minimizes protrusion. As illustrated, positioning the hinge axis at point A causes interference; thus, it's placed at point B, resulting in outward protrusion. To accommodate installation, even greater protrusion is generally needed. Most toolboxes with hinged components exhibit this rearward projection.
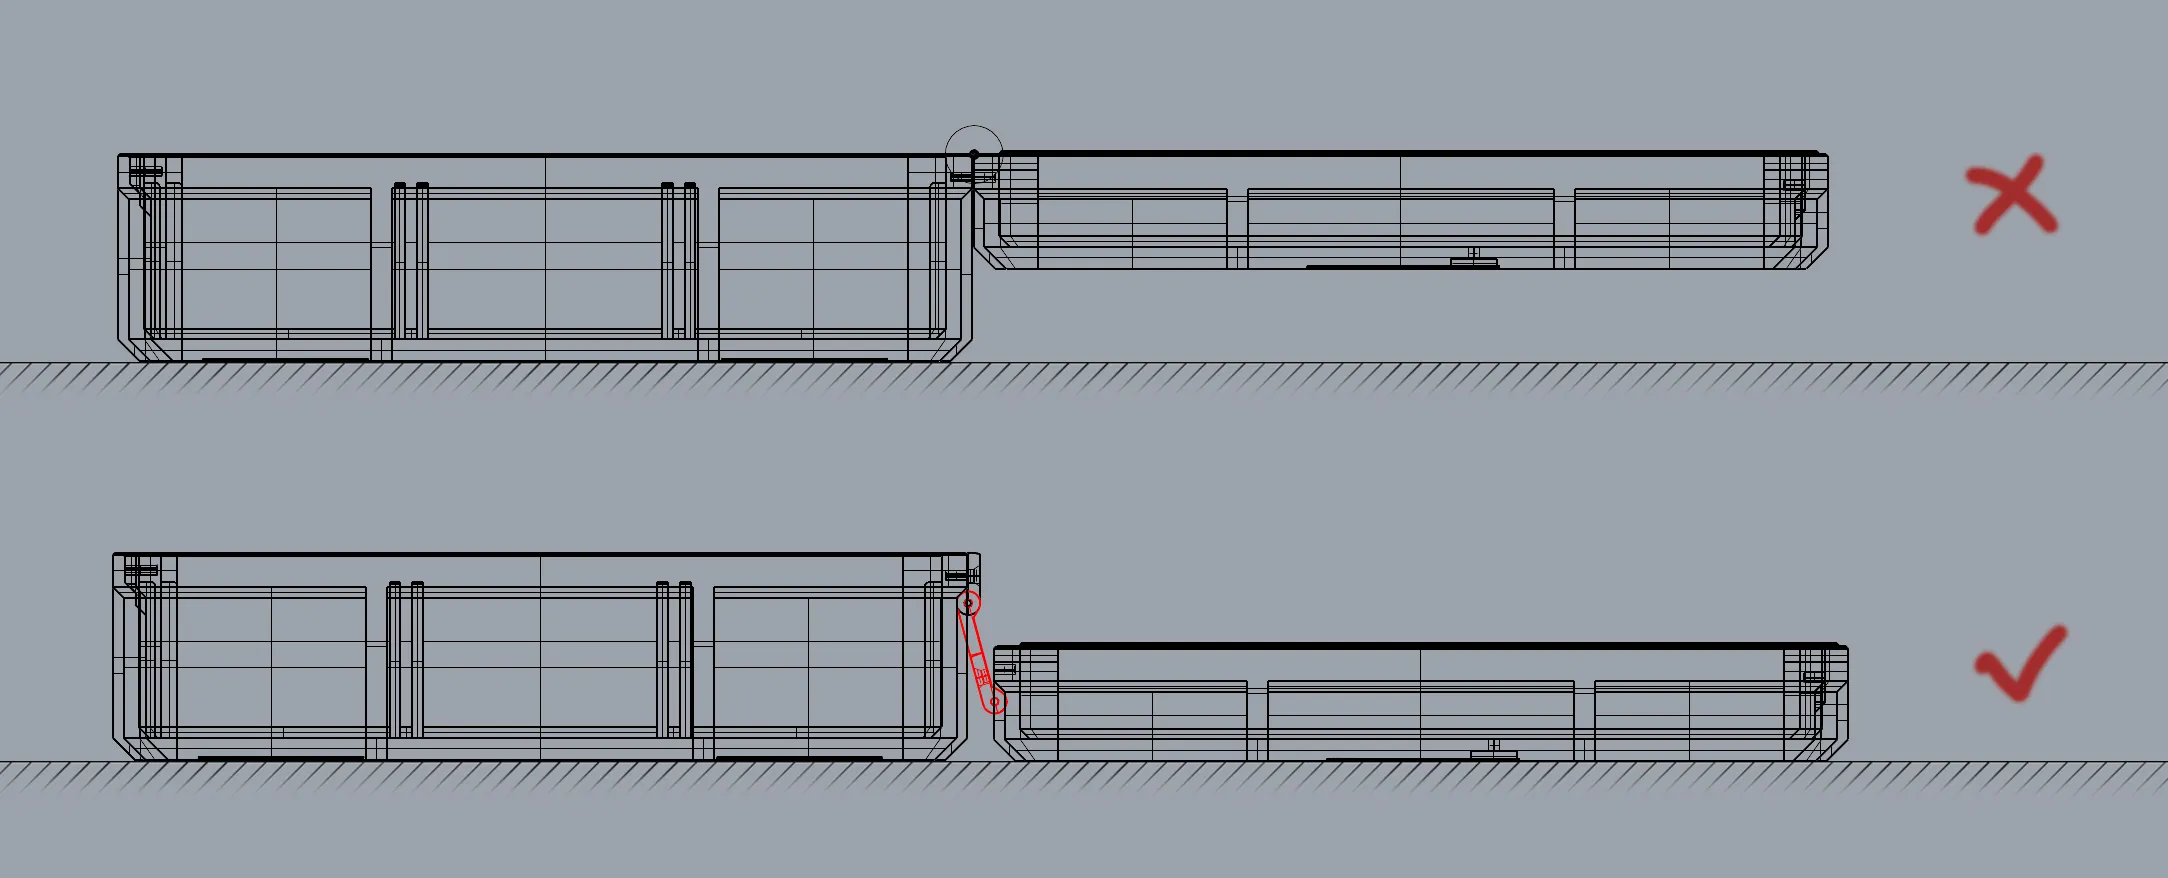
My two-part hinge design mitigates this protrusion. An added benefit: when the lid is fully open (180 degrees), it lies flat, eliminating strain on the hinges (as shown).
Regarding Mechanical Strength:The print settings for the latches and hinges utilize a vertical orientation, maximizing support structures and significantly enhancing mechanical strength. This approach explains the separation of the latches, hinges, and box. While the two-part hinge may feel slightly loose, its strength is adequate. My child, a remarkably destructive elementary school student, has yet to break the pencil case I printed for him.
Main Content:
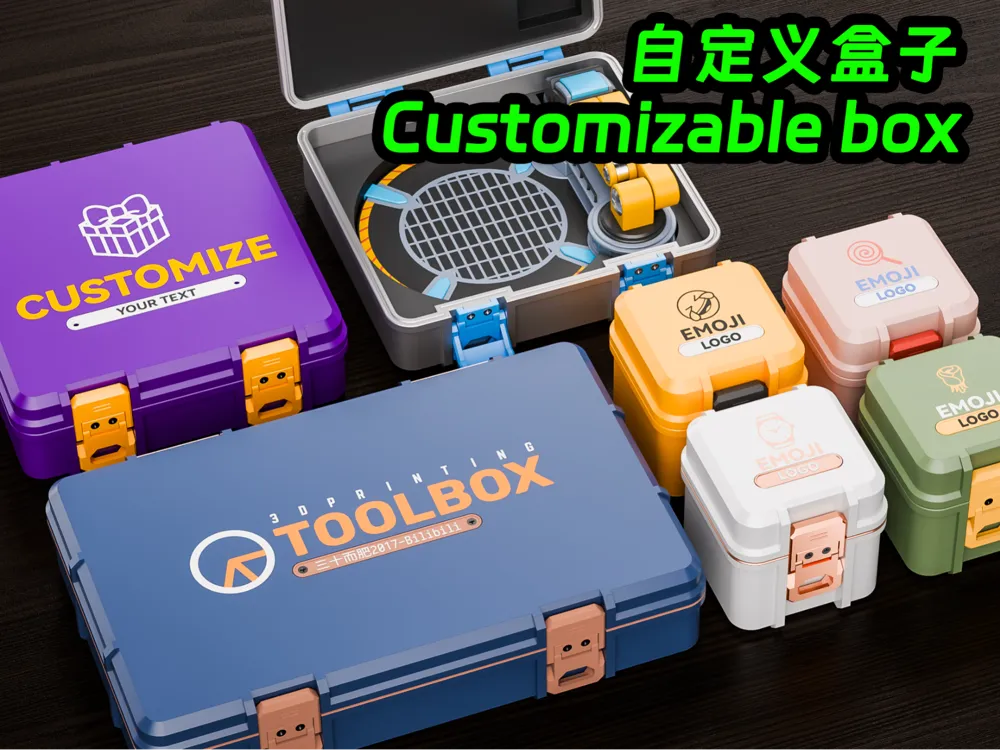
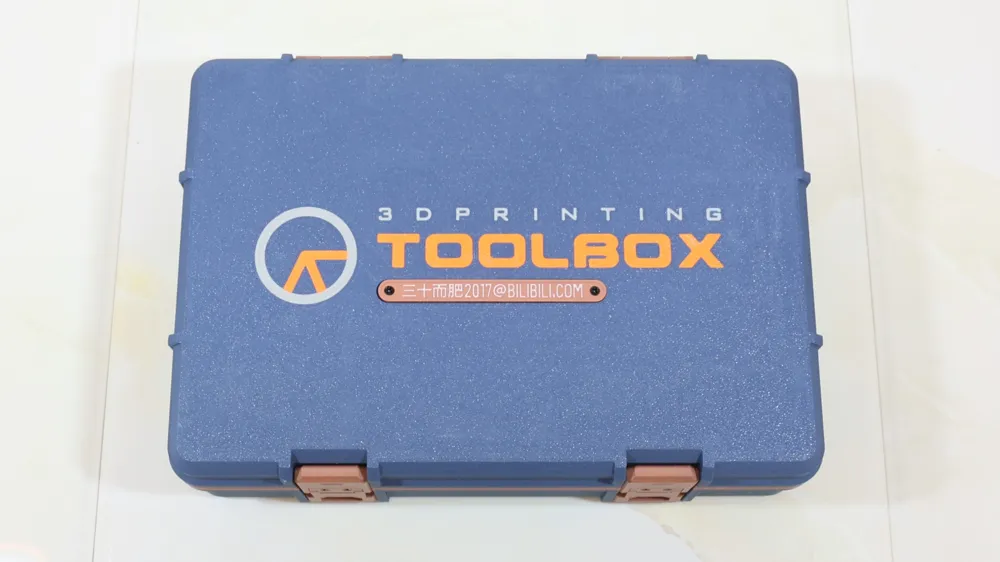
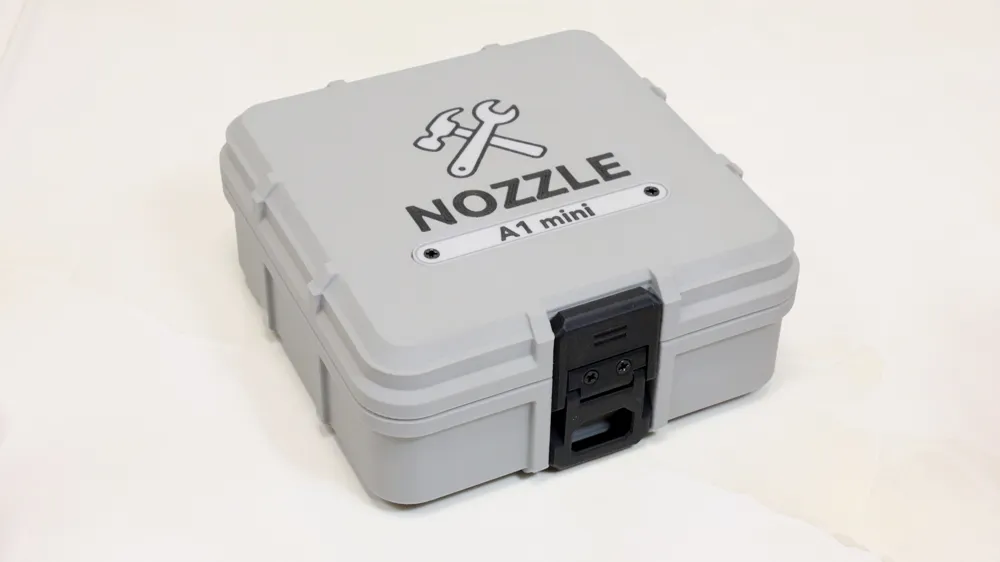
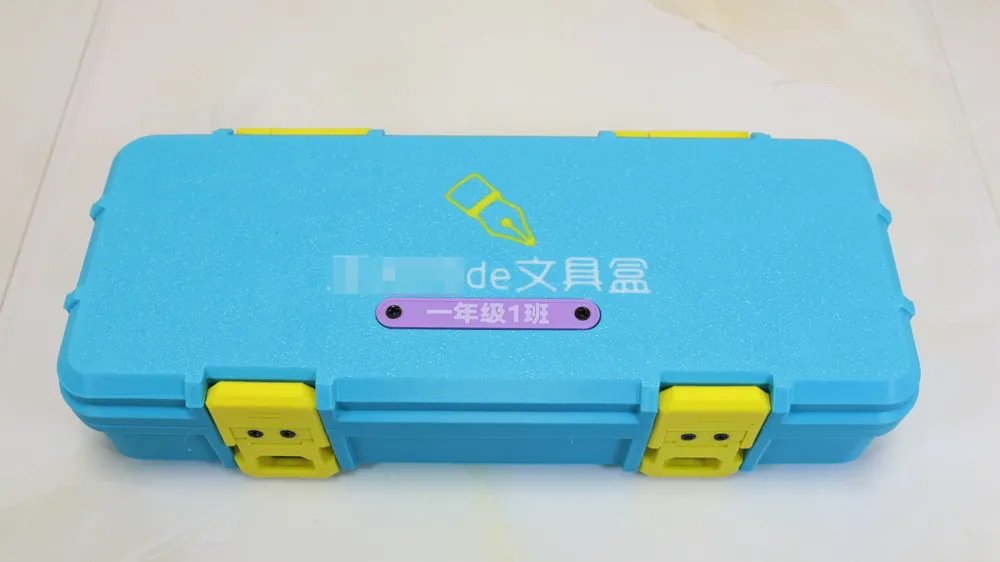
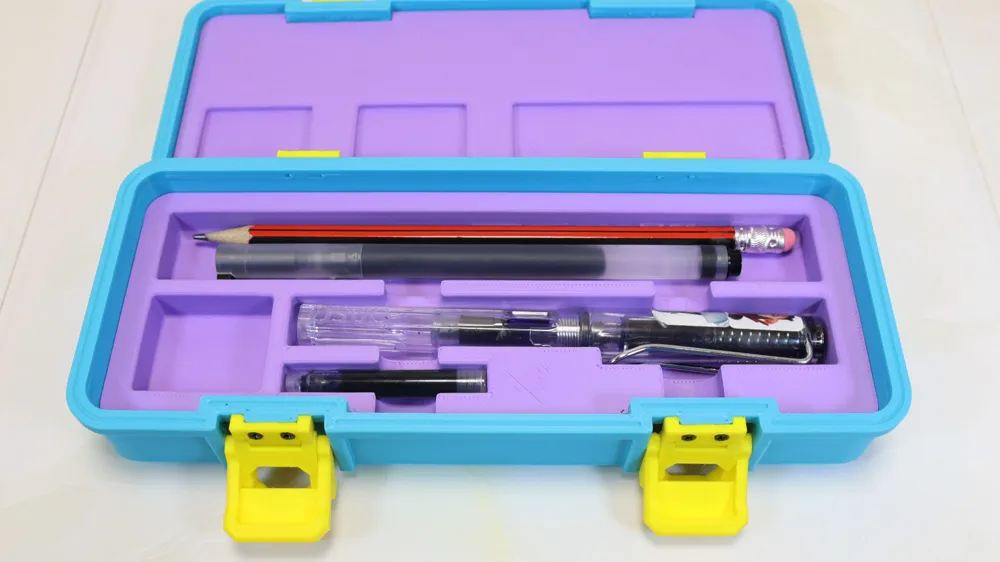
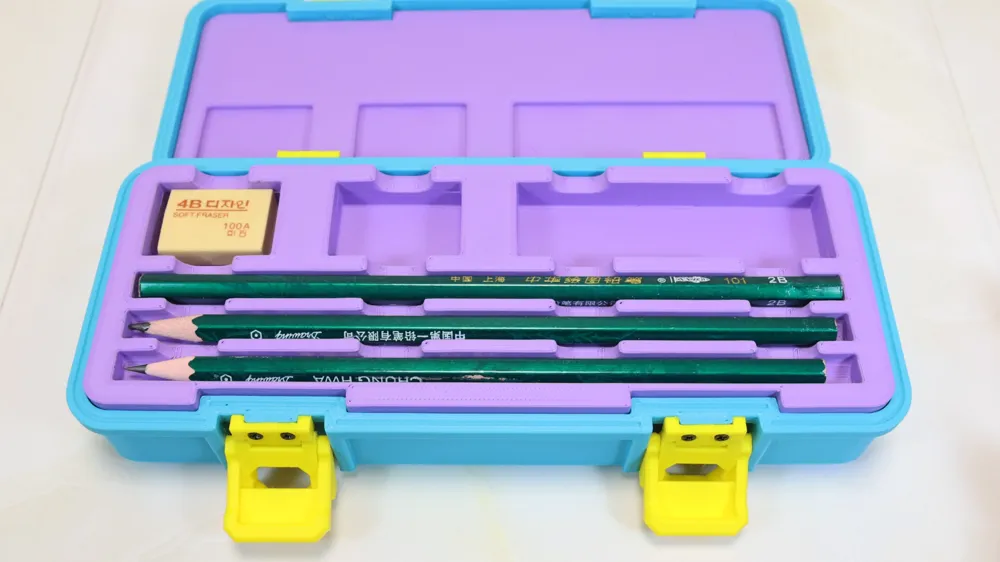
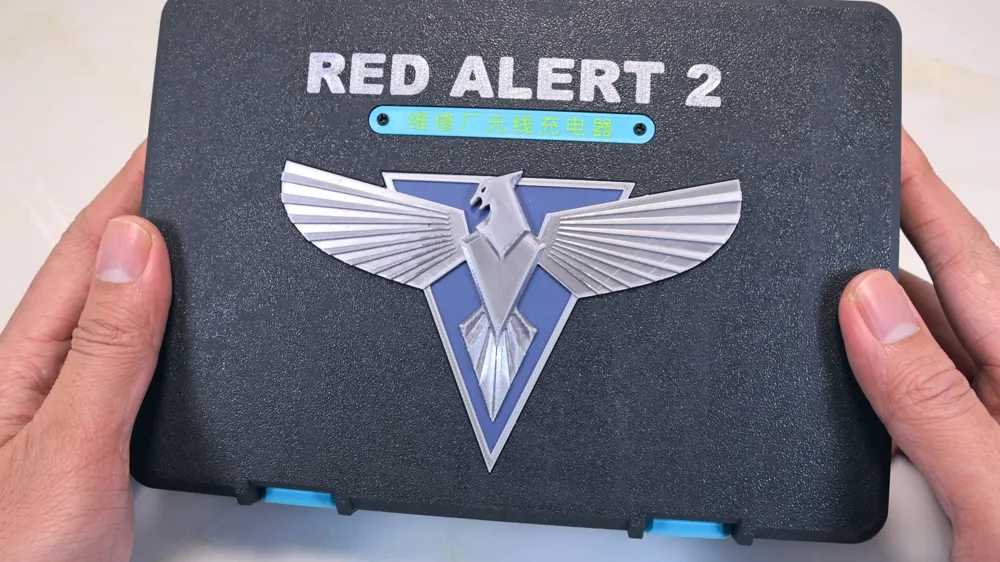
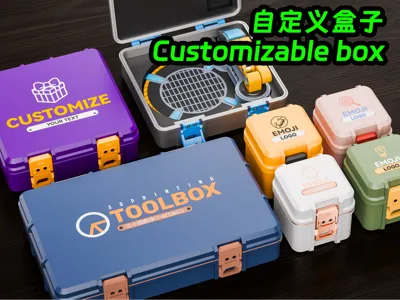
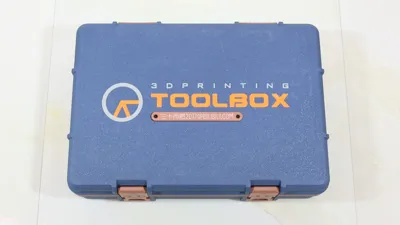
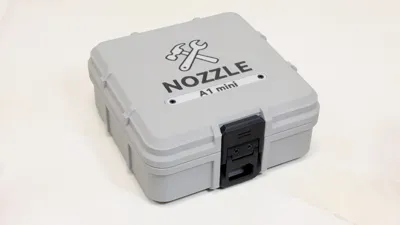
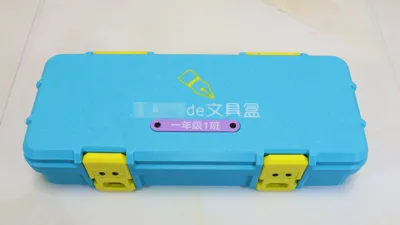
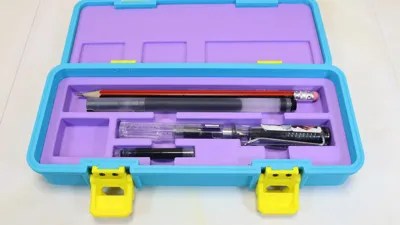
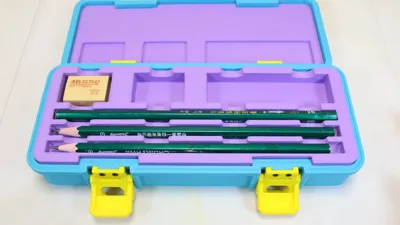
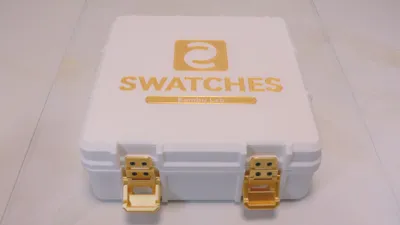
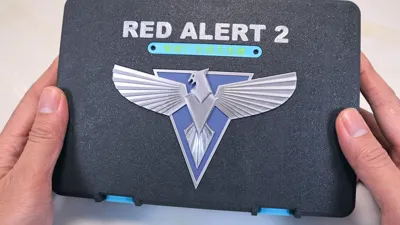
While learning OpenSCAD modeling, I created this customizable box featuring adjustable dimensions, lid icons, text, and interchangeable nameplates.
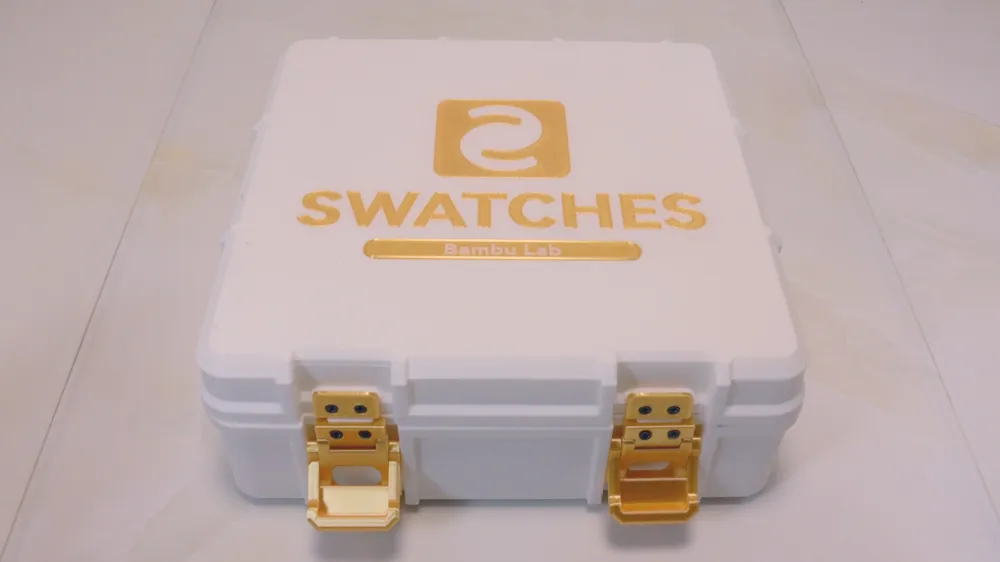
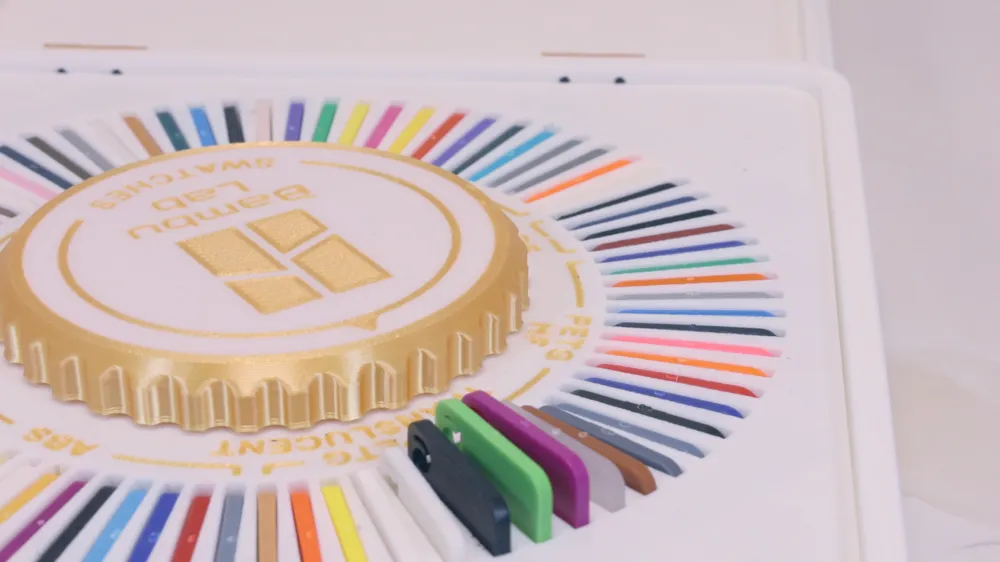
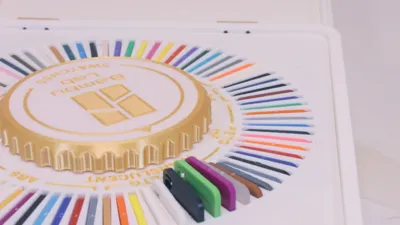
MakerWorld recently hosted the OpenSCAD Masters Challenge, showcasing numerous exceptional projects that inspired my OpenSCAD journey. This box integrates design elements from various competition entries. The inner structure of the color swatch box draws inspiration from this model. Thank you to all the creators for their open-source contributions.
Production Steps:
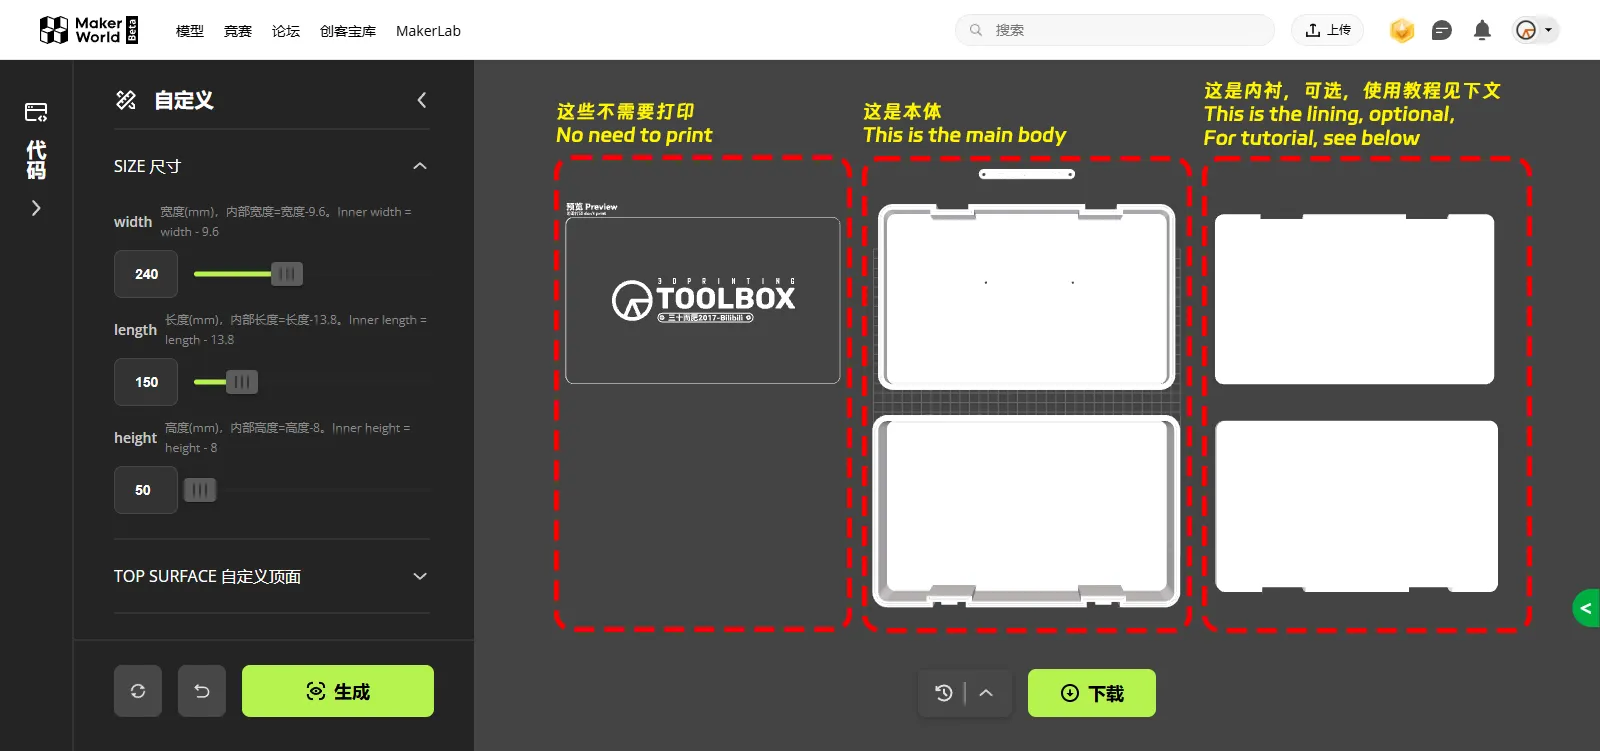
Begin by clicking the "Customize" button on this page and modify settings to suit your needs. This process is straightforward, requiring no code interaction. All customizable parameters are presented as sliders or input fields with detailed annotations for easy comprehension. After customization, click "Generate," then "Download" to obtain the main box's STL (or 3MF) file (see below). Import this file into your slicer, right-click, select "Split," then "Split into Objects" to separate components and remove unneeded parts.
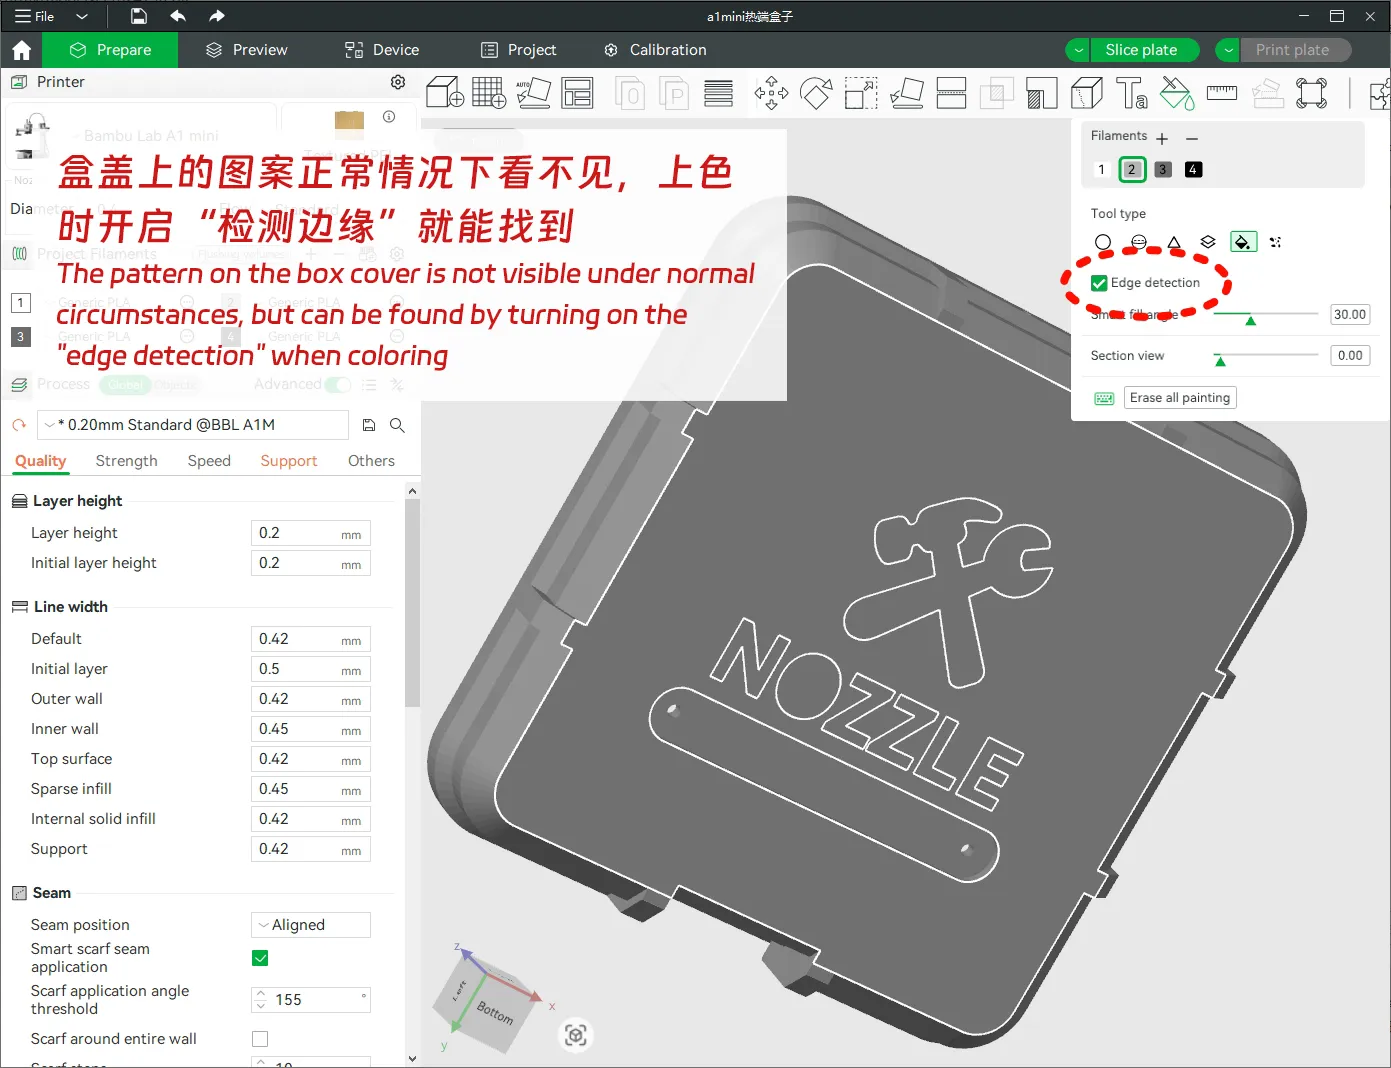
Next, apply color to the lid. Normally, the lid's pattern is hidden. Enable "detect edges" to locate the lid's top pattern.Then add supports to the nameplate area before initiating the print.
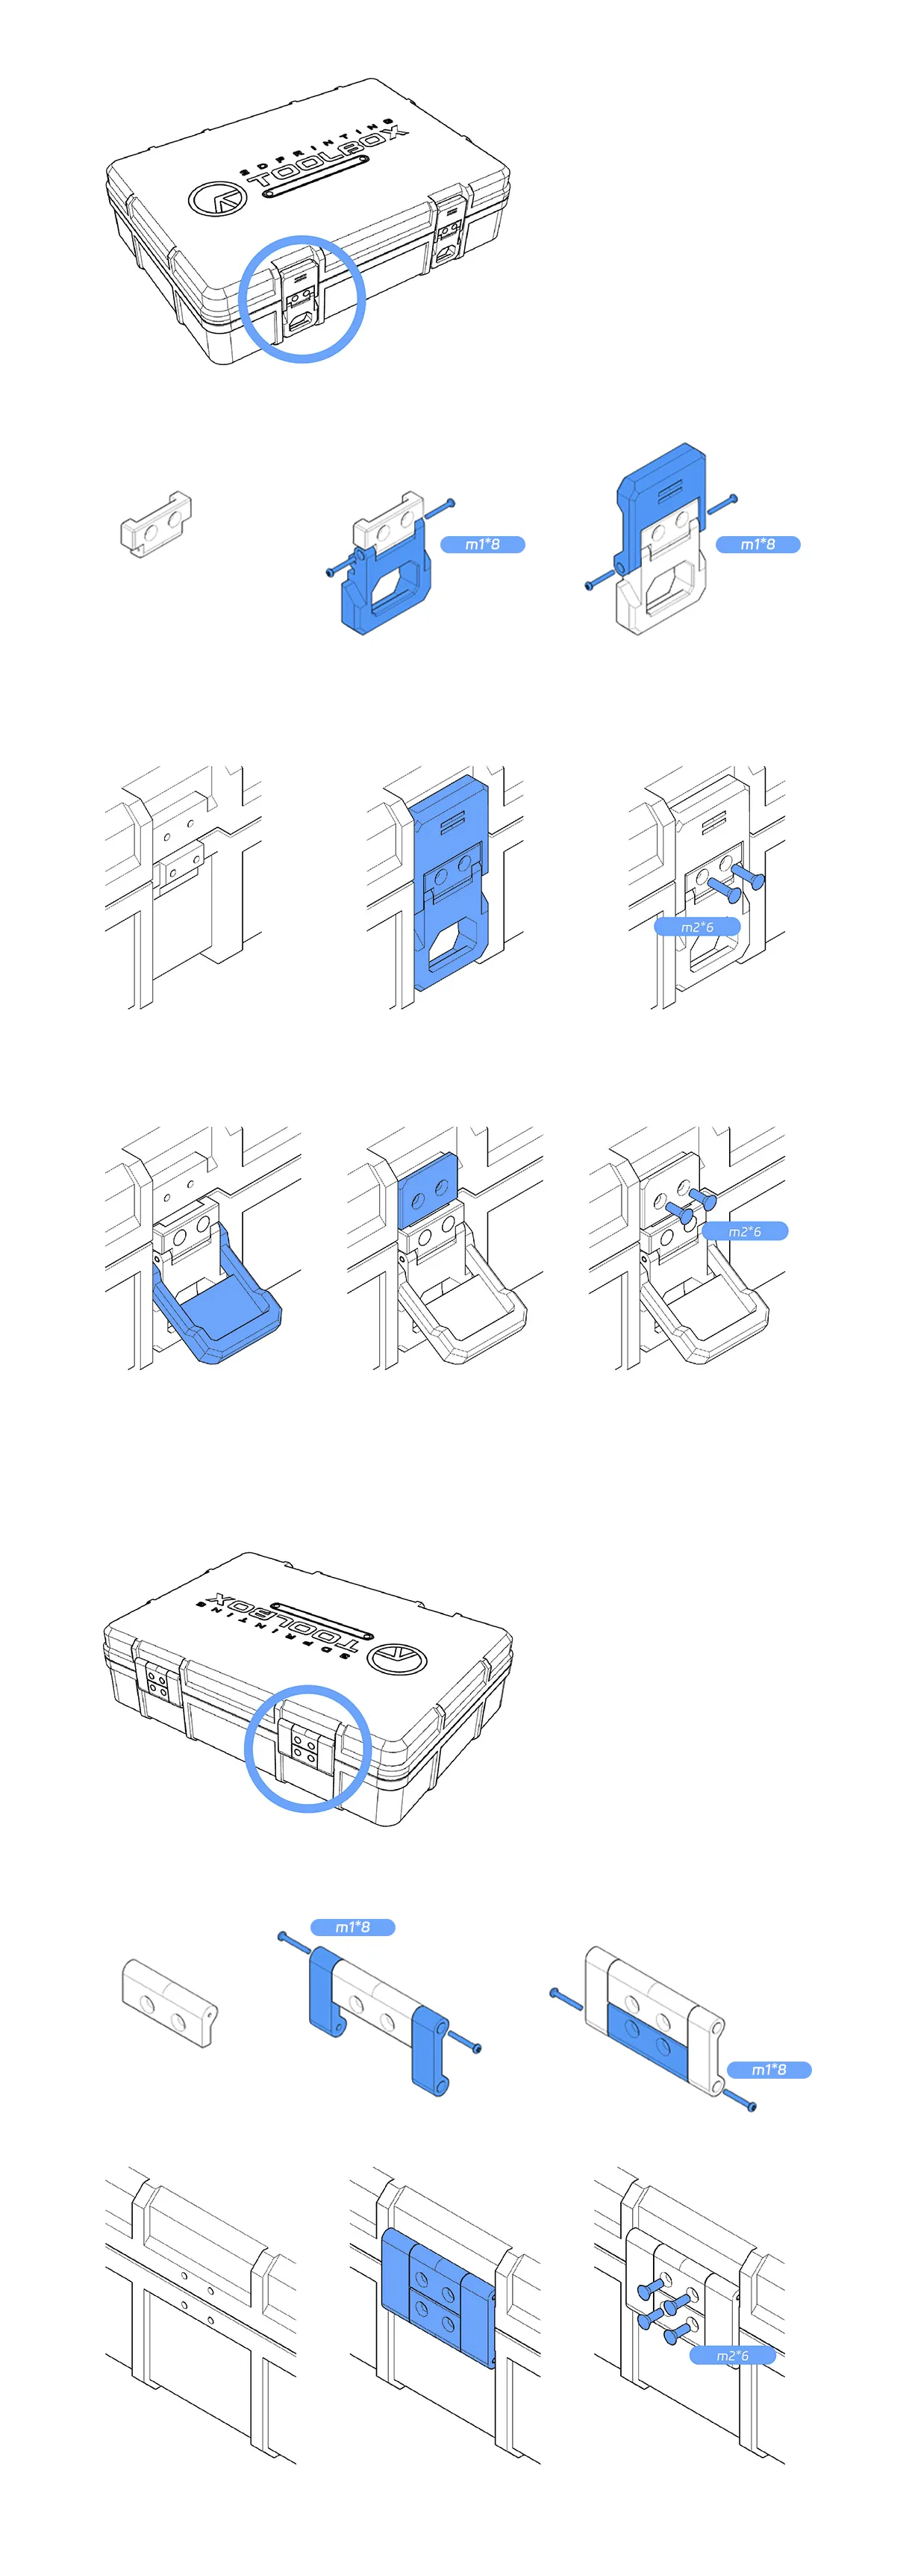
After printing the main body, print the latches and hinges. These require no customization; identical parts suffice for all box sizes. Larger boxes need two sets, smaller boxes one. Access these parts in the print profiles uploaded to this page. Source files (STP format) are available for those requiring customization.
For assembly, gather M1*8 self-tapping screws (pan head or countersunk), M2*6 countersunk screws, and, if you opted for screw-based nameplate attachment during customization, two additional M2*4 countersunk screws.
The assembly process is illustrated below:
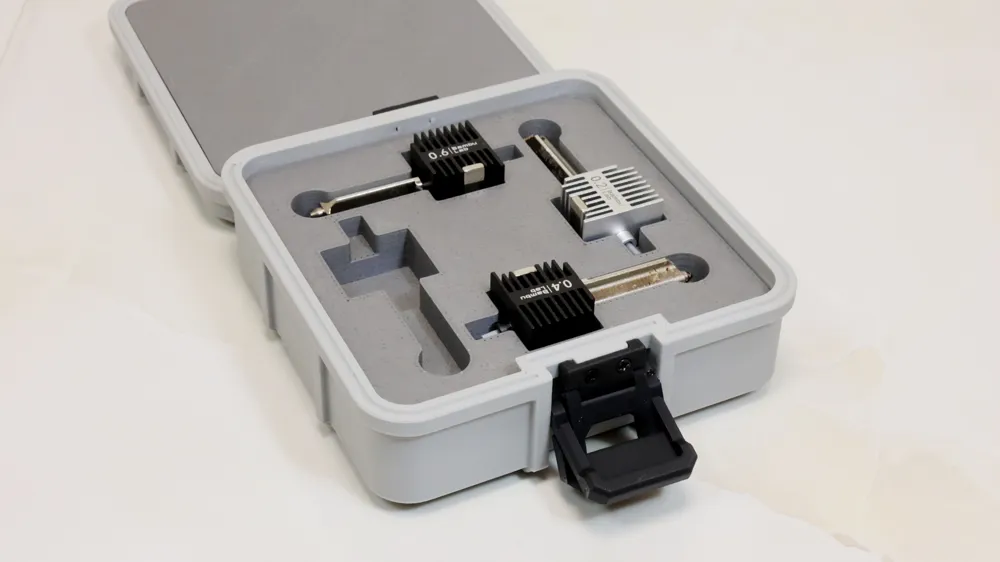
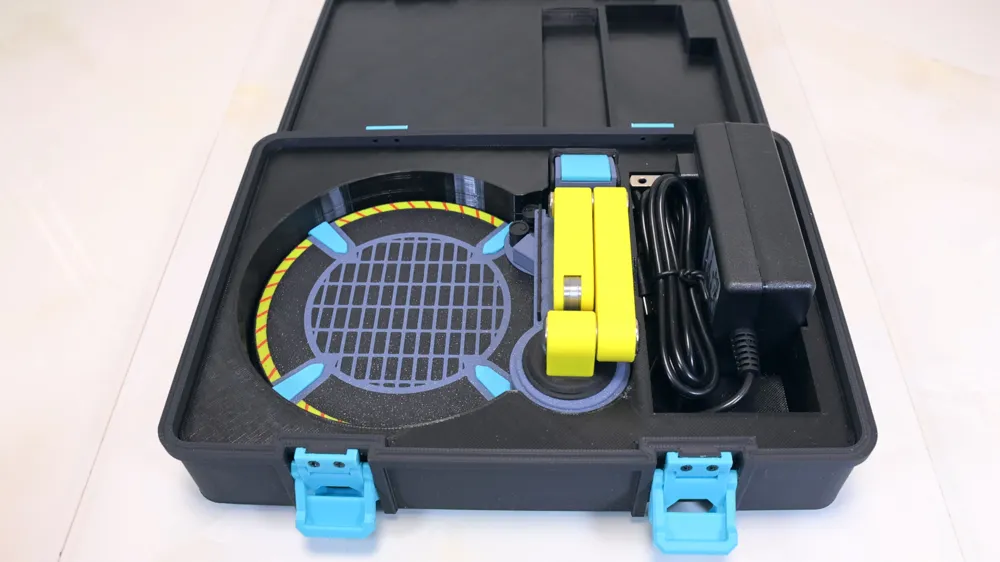
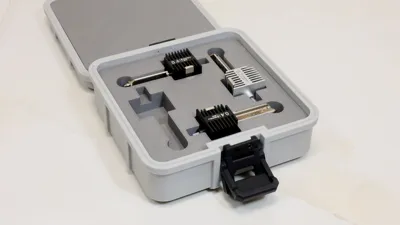
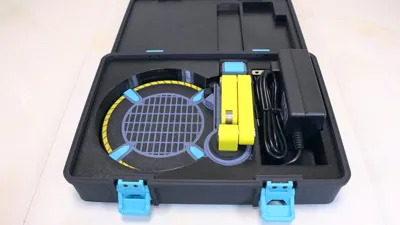
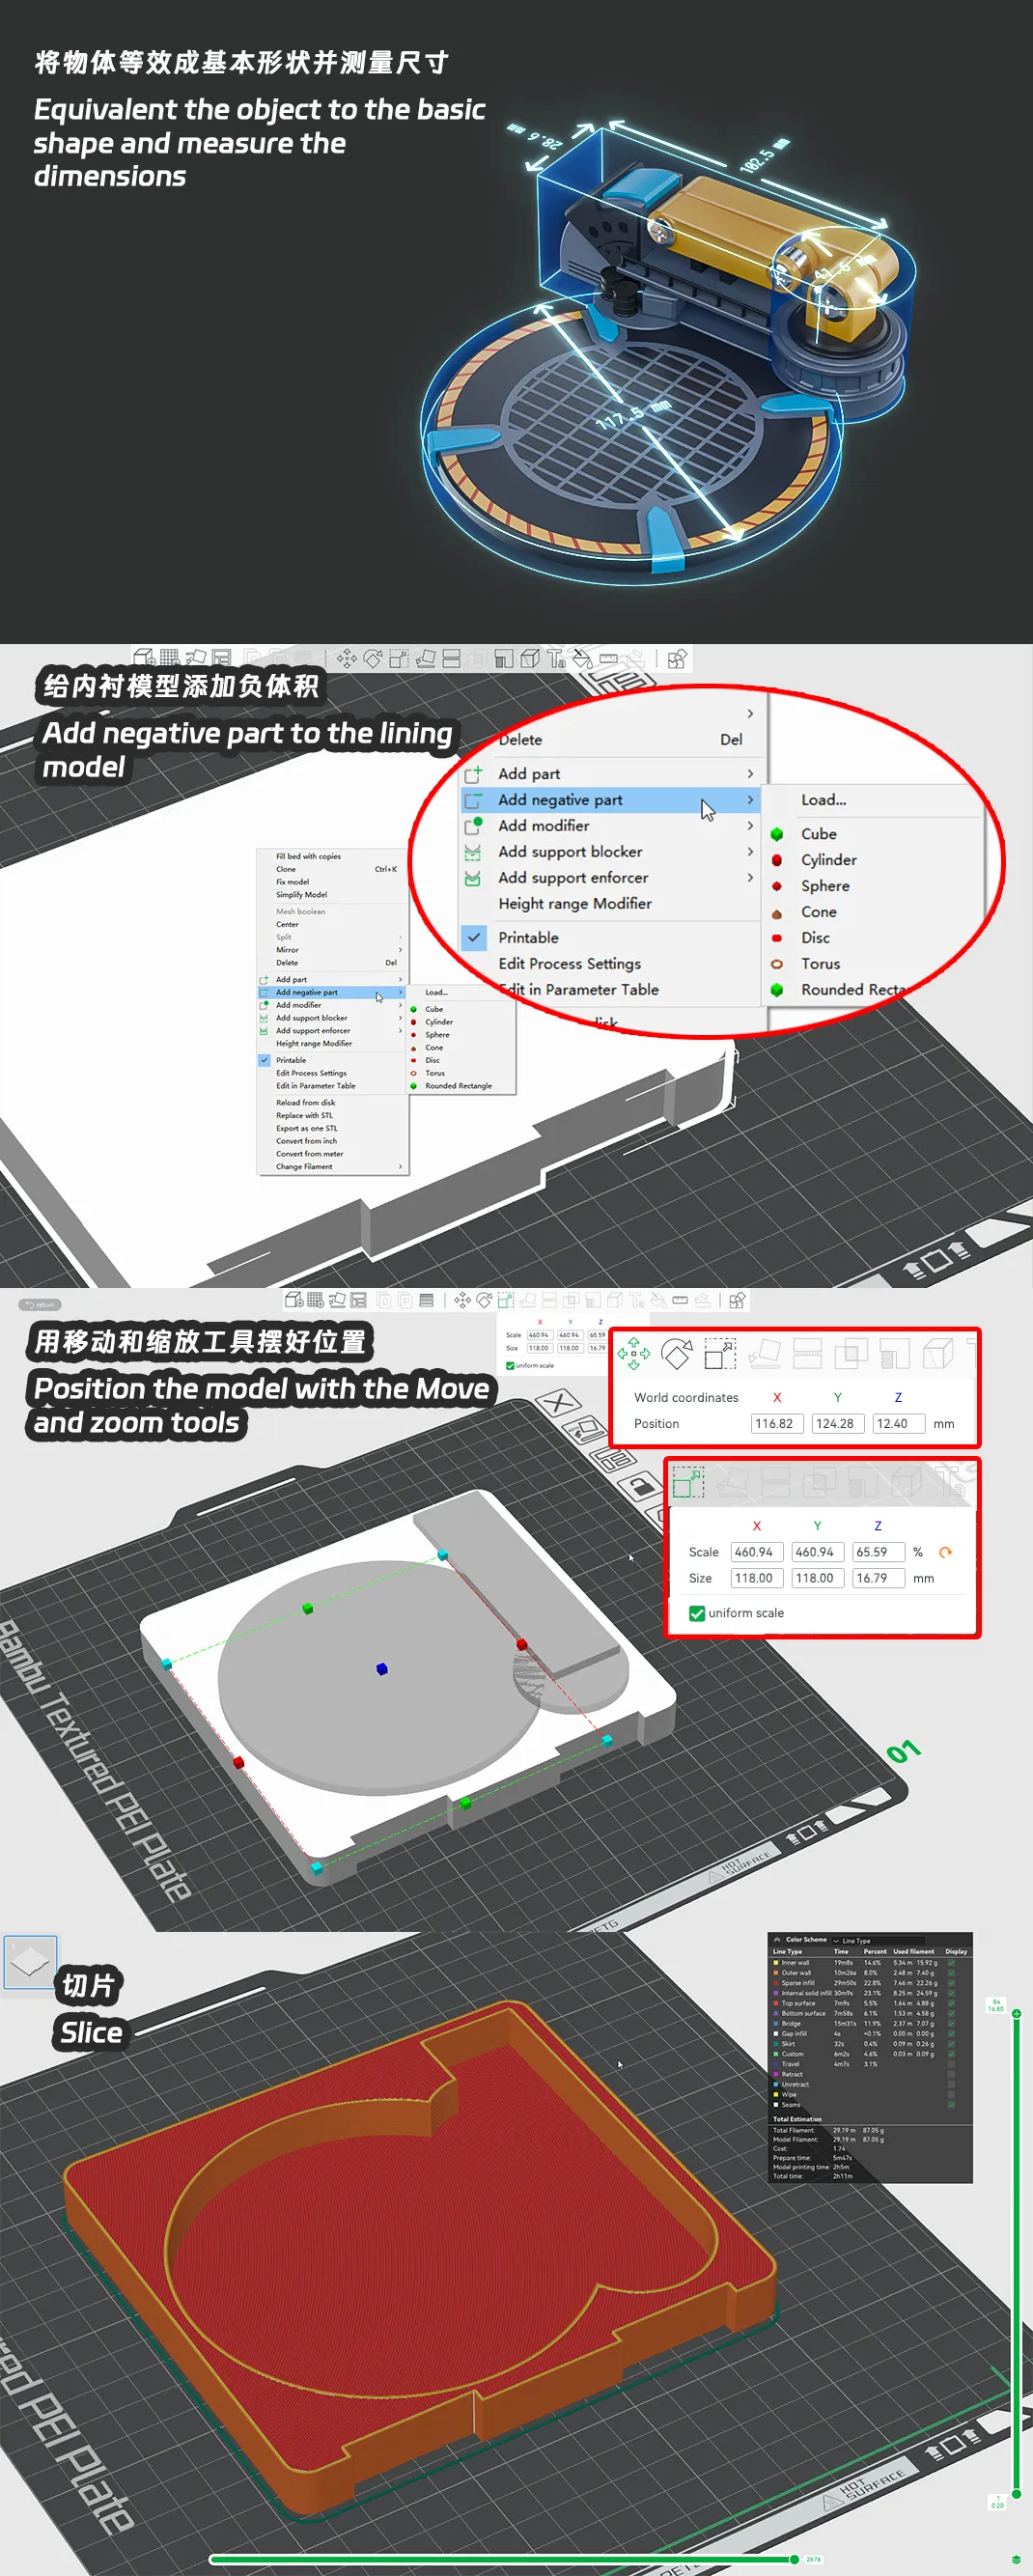
Besides the main box, you'll receive upper and lower liner models. Customize these by creating cavities to fit your items. See the diagram below for instructions.
(2025.05.03: Recent Bambu Studio updates support SVG import. Use a graphics editor (such as CAD, Illustrator) to create the design, export as SVG, and then import it into Bambu Studio as negative volume.)
Boost Me (for free)
Documentation (2)
License

You shall not share, sub-license, sell, rent, host, transfer, or distribute in any way the digital or 3D printed versions of this object, nor any other derivative work of this object in its digital or physical format (including - but not limited to - remixes of this object, and hosting on other digital platforms). The objects may not be used without permission in any way whatsoever in which you charge money, or collect fees.


Comment & Rating (90)