
B.Y.O.BoStaff - Gambit Edition Staff *LED Update*

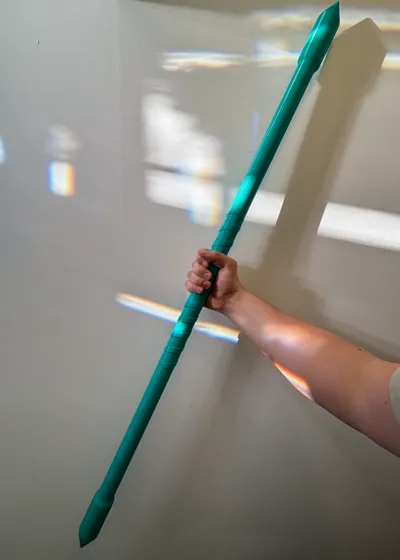
Print Profile(2)


Description
Membership
Want to sell 3D prints of this design? 🔥 Get a commercial license to sell 3D-printed versions of my designs at craft fairs, online, in-store, or anywhere you like! Click Join to sign up and start selling today. 🚀
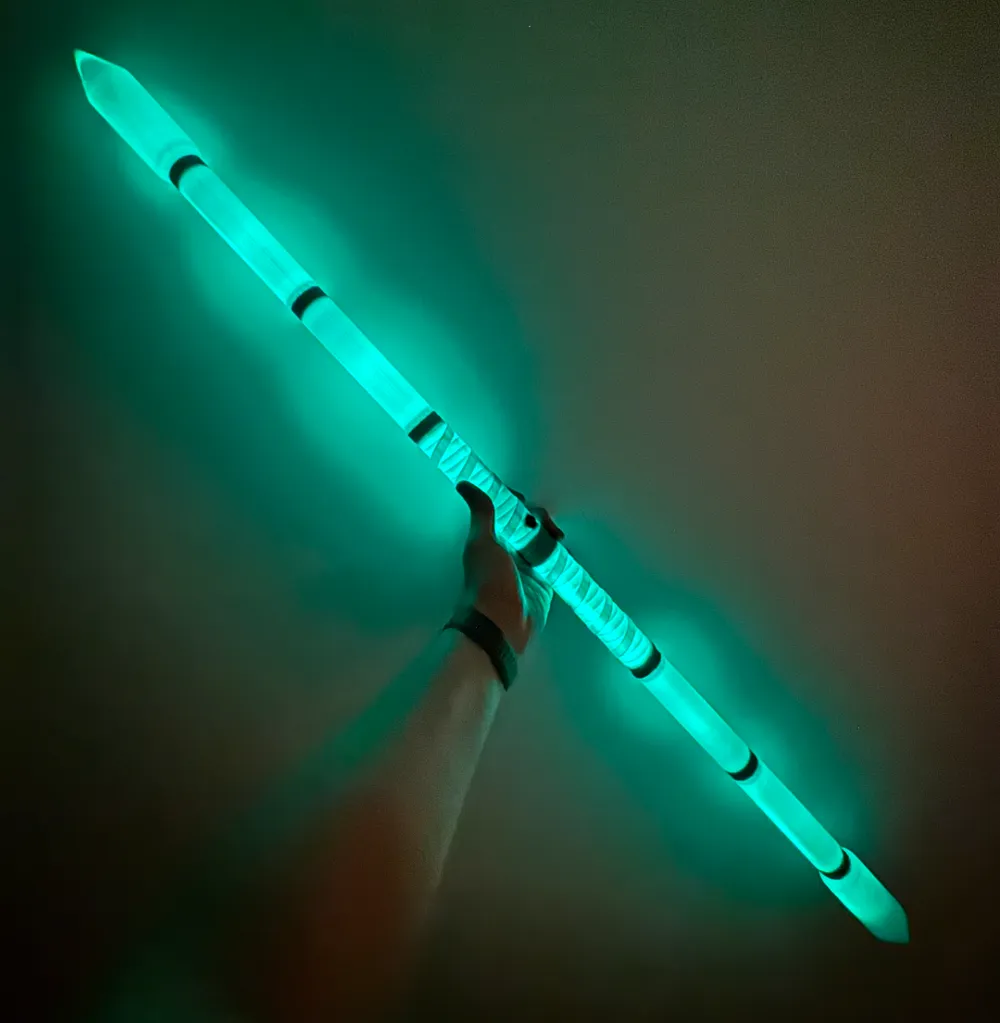
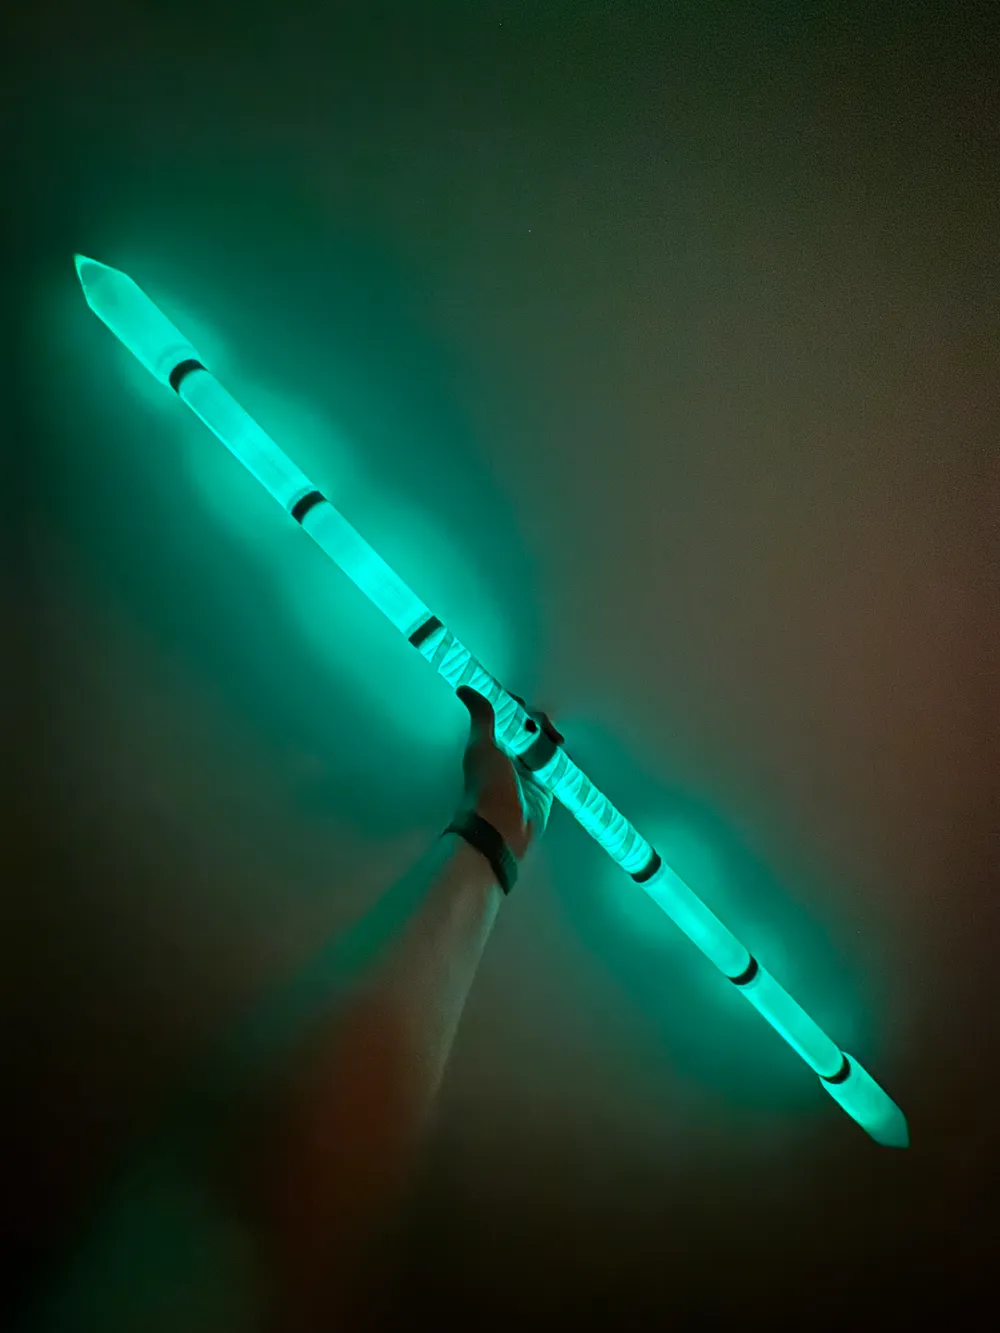
Update 28 Dec 2024; I have made a grip variation that works with a button. This is for LED lighting through the staff. Instructions & info below.
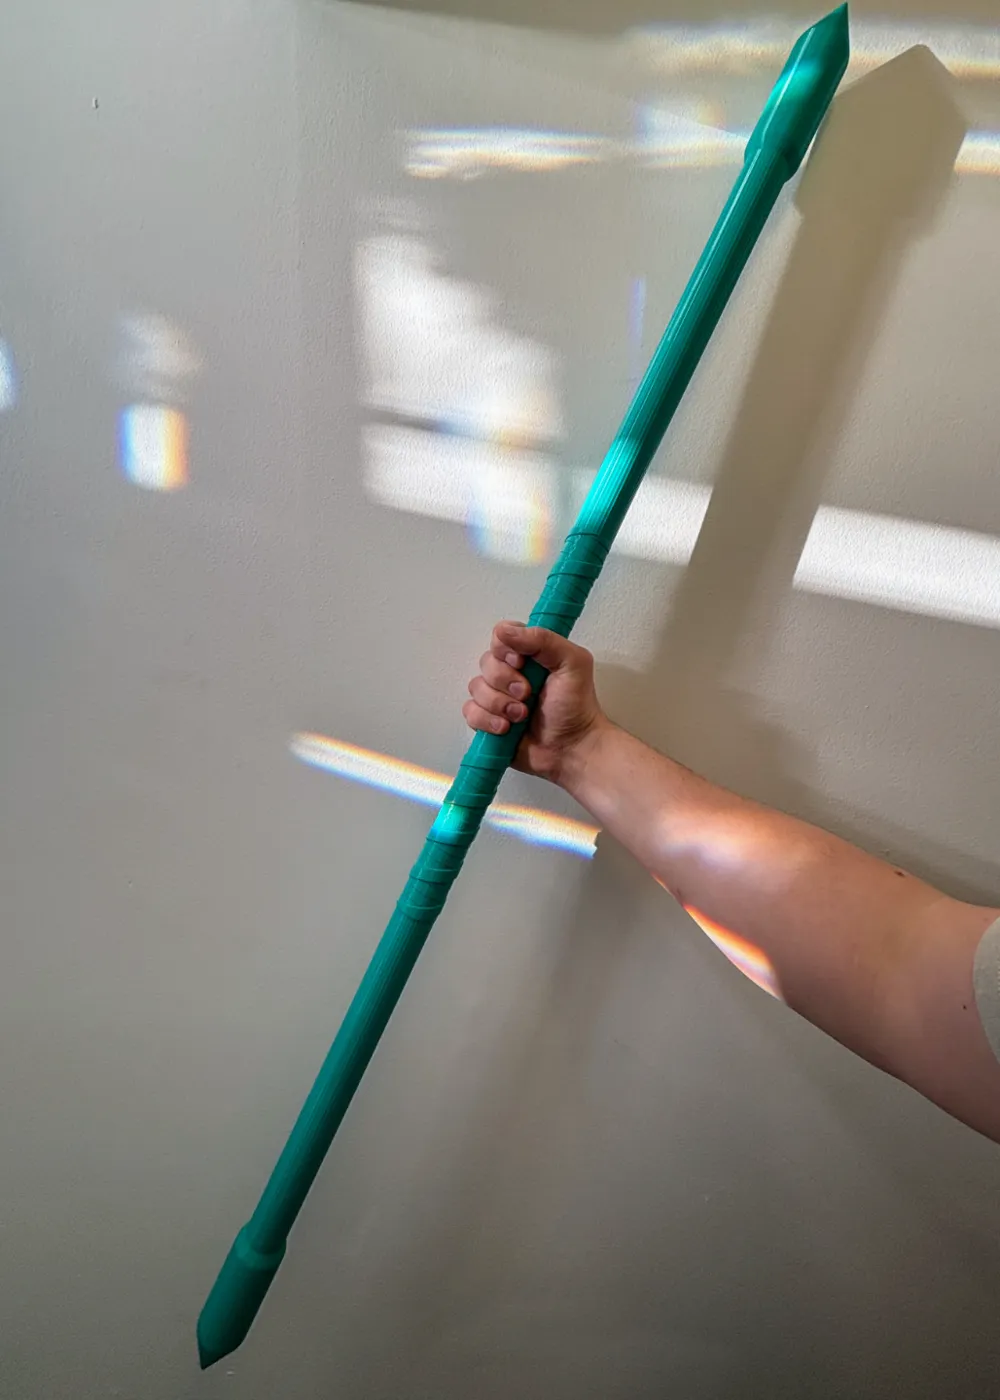
Build Your Own Bo Staff
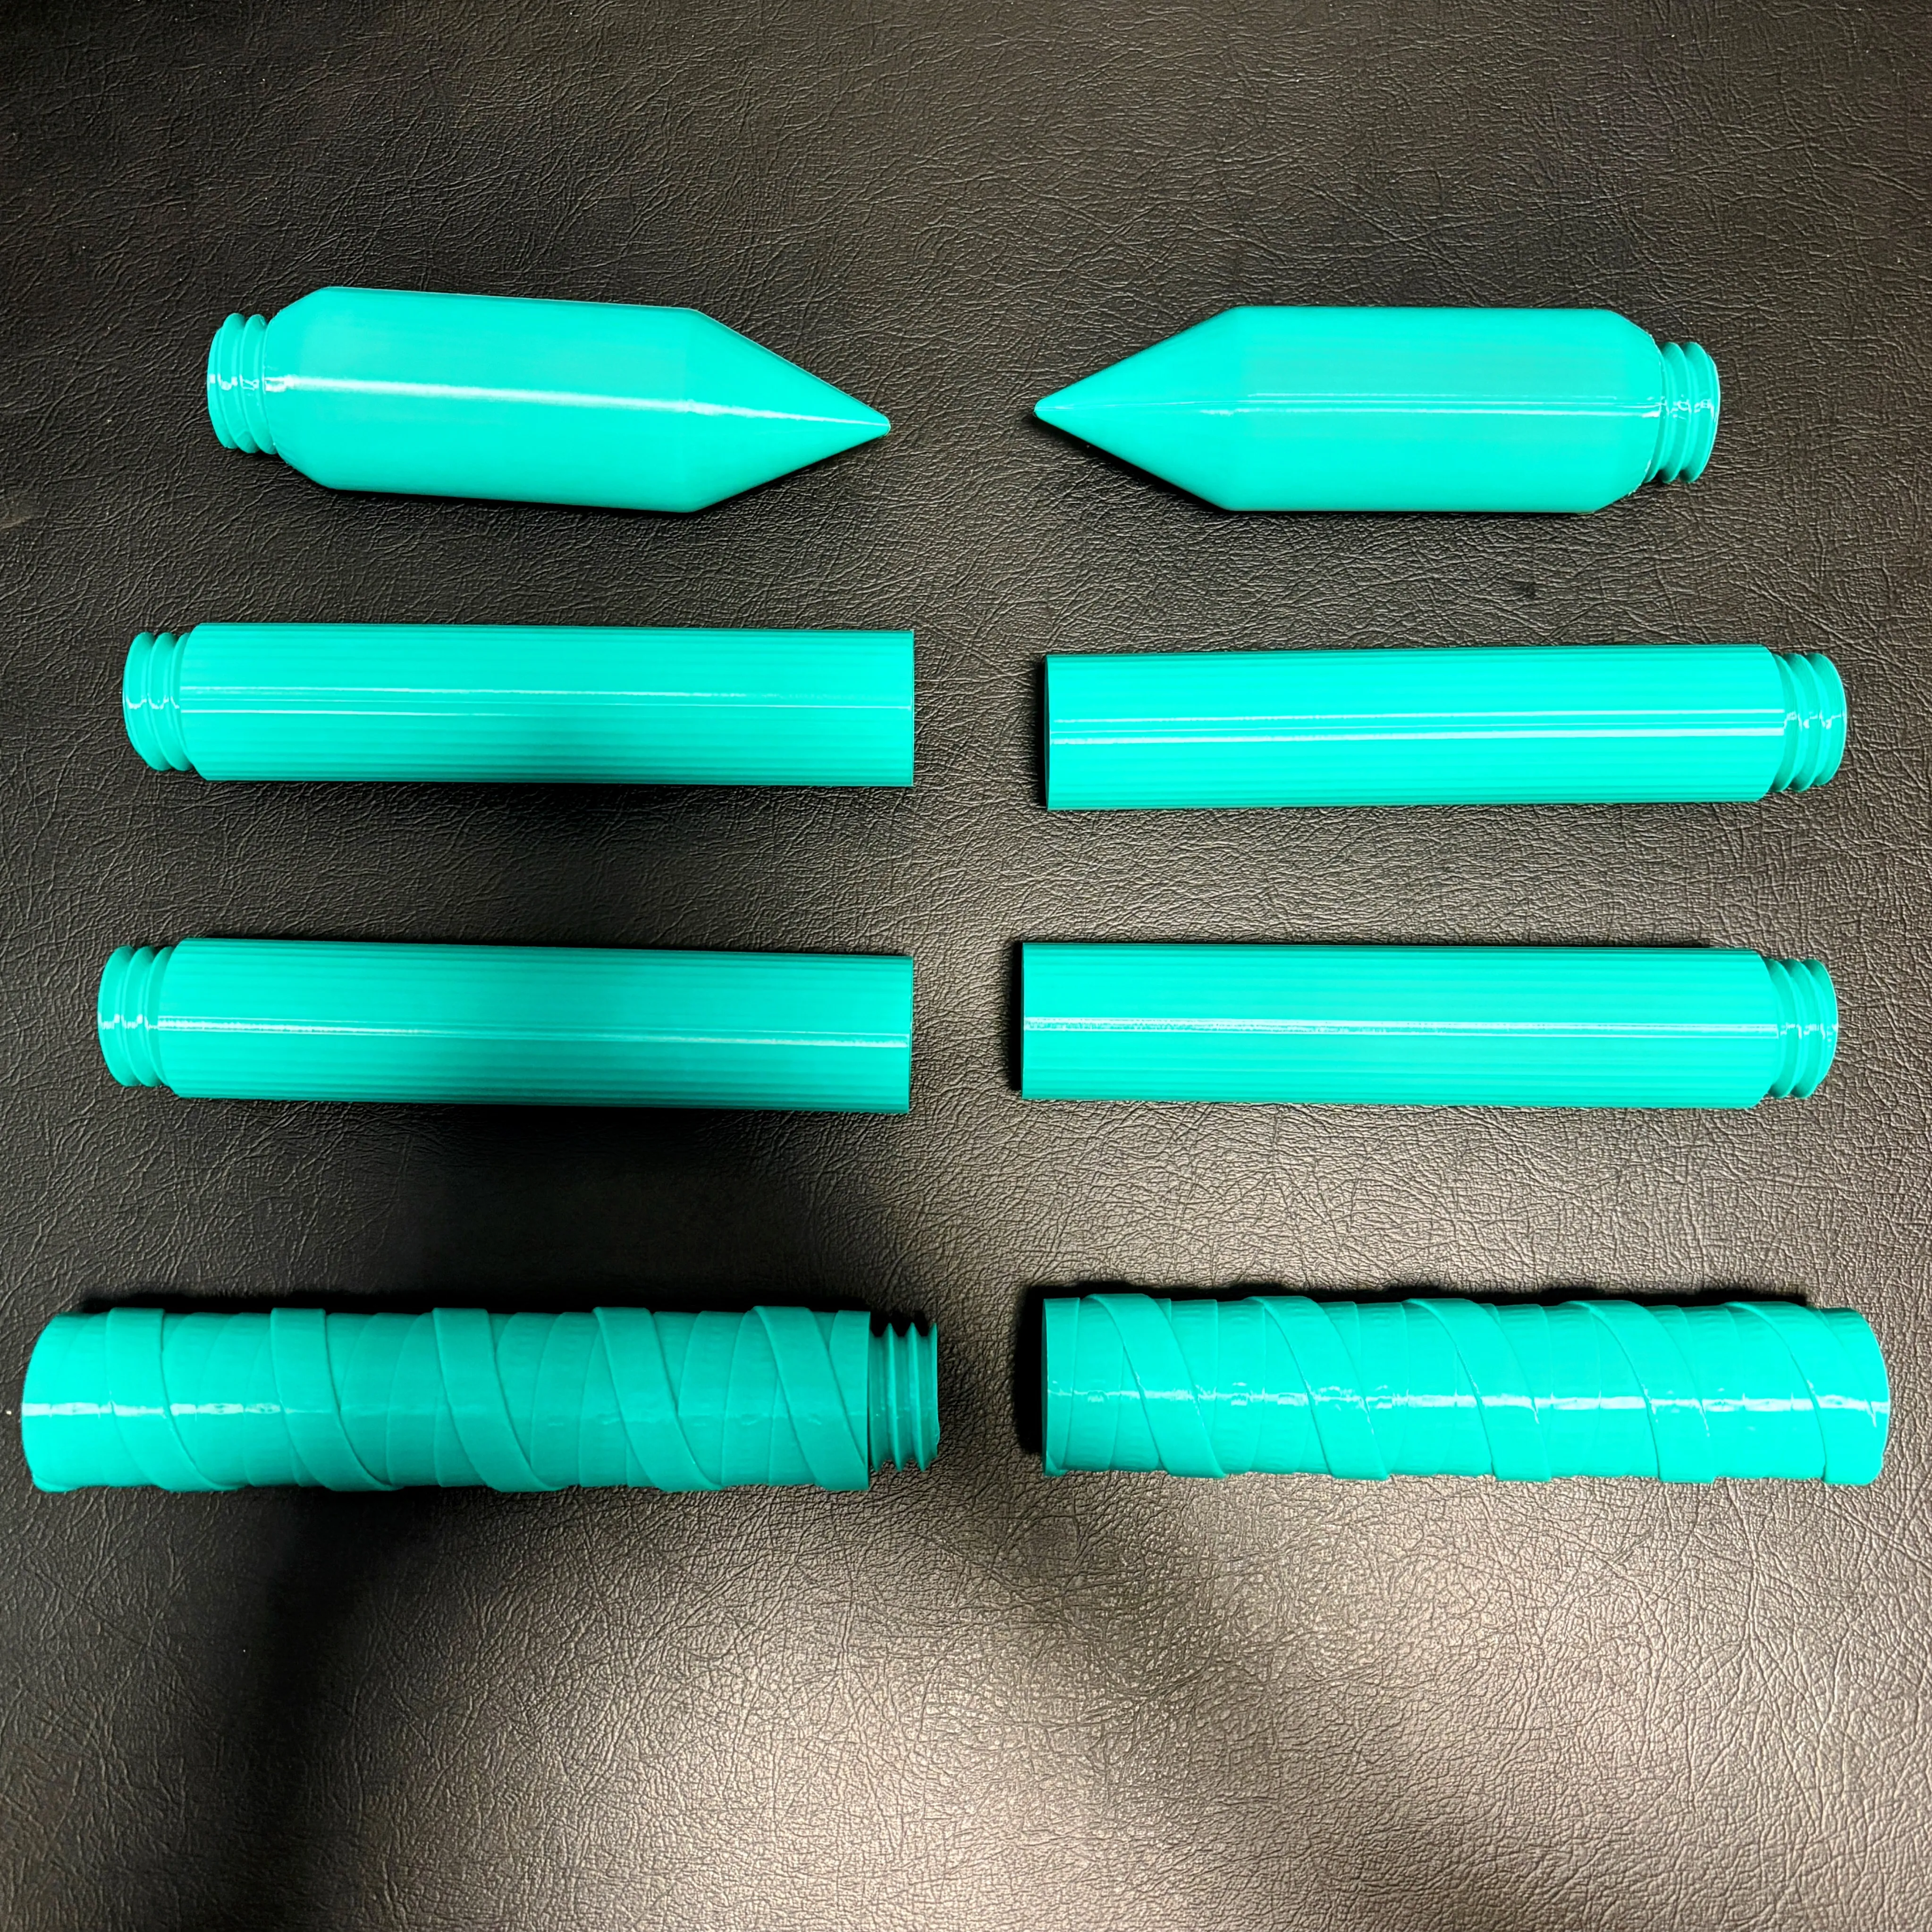
This staff is made of straight forward screw together pieces. This allows you to print as many extension pieces as you want to make your own version of the bo staff however long you'd like.
The primary design is stylized like the staff held by Gambit in the Deadpool & Wolverine movie shown here:

Source: Deadpool & Wolverine (2024)
I've included a few end variations:
- Gambit DP&W style
- Gambit cylinder
- Gemstone
- Sphere
- Odd sphere
Along with a blank end cap which you can easily merge any object or design to in Bambu Studio using the “Object” & “Assemble” features. I've also included the .step file if you would like to modify the end cap in CAD.
Printing the double grip, four extension pieces, and two gambit style tips leaves the staff around 4ft long. Every additional pair of extensions will add almost 13" of extra staff.
The grips “wrapped” style will align pretty well if you pair two correct ends together, just flip one grip around if the wraps are far off. Once you pick the right orientation, I recommend some super glue on at least one grip side to hold the threaded connector in place so that it doesnt thread more in on one side than the other.
LED Version Info
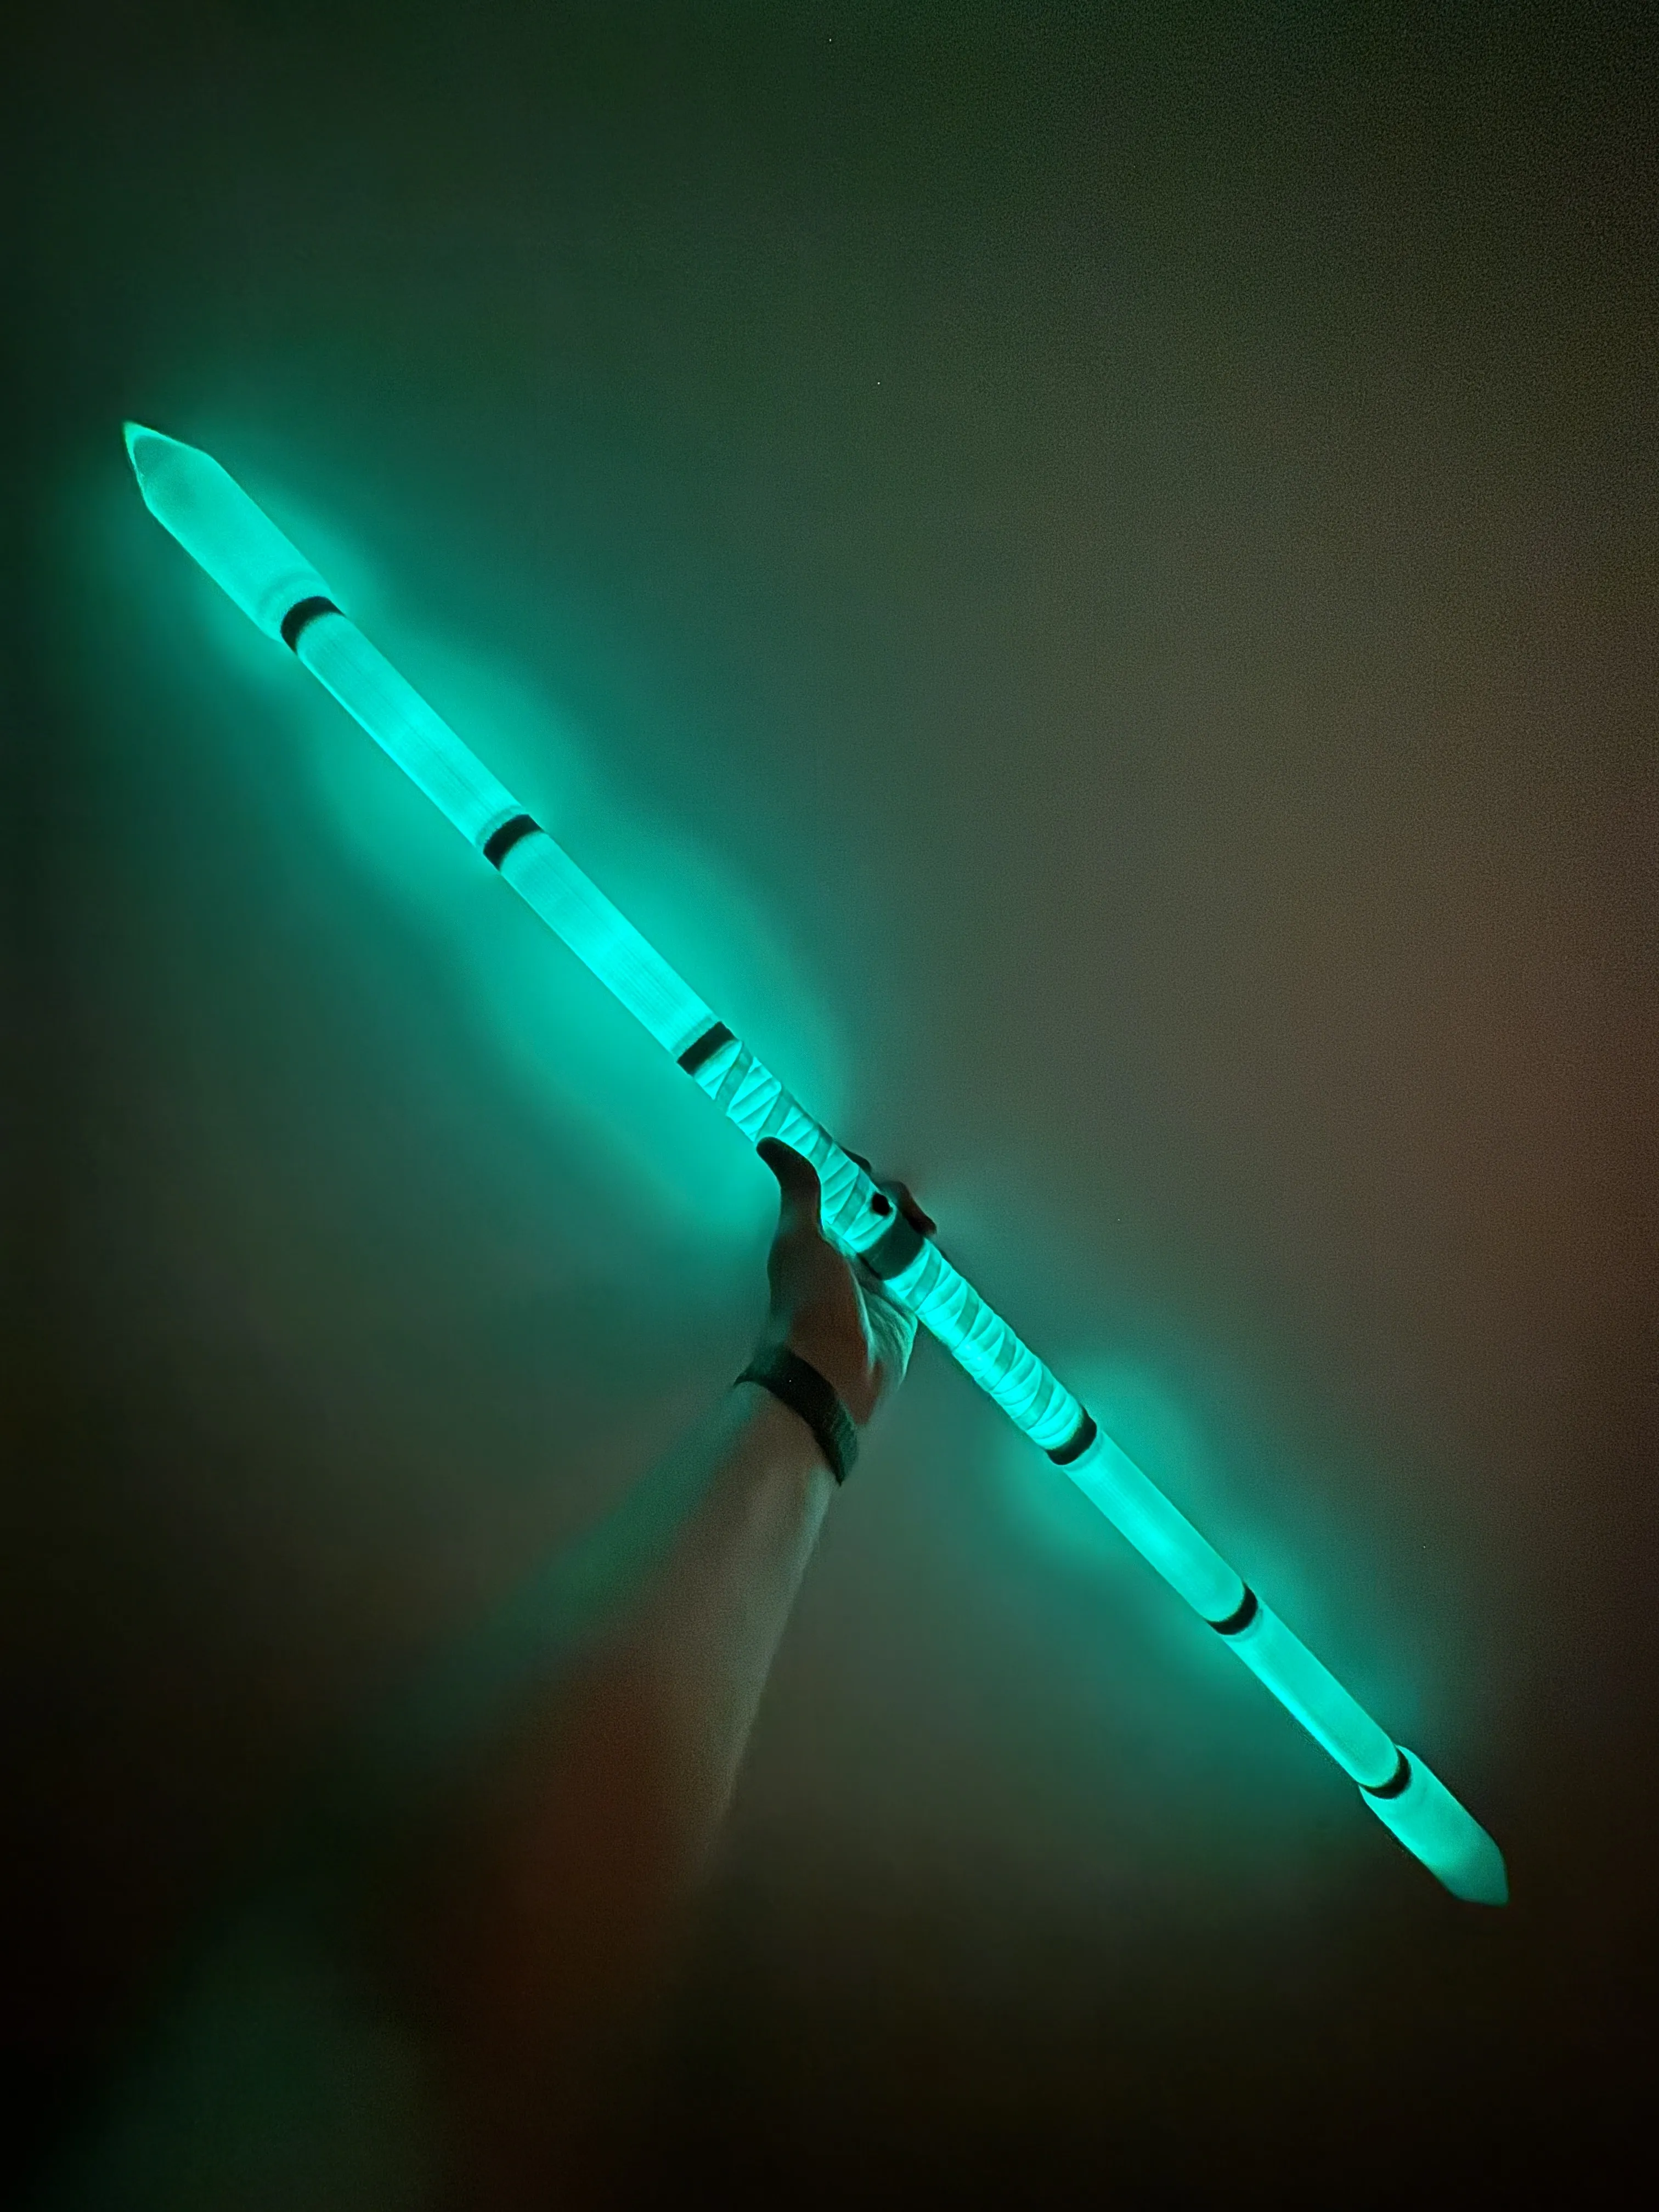
1. Print out a button grip from the extra profile to replace one half of the basic staff grip.
2. Install the button by feeding the wire through the staff and the button nut.
3. Bend the button connectors a bit and direct the wires outside the staff.
3. Tighten down the button nut carefully and ensure the wires stay connected to the button.
4. Lay out your parts to get an idea of where they will all go inside the staff. I used this arrangement;
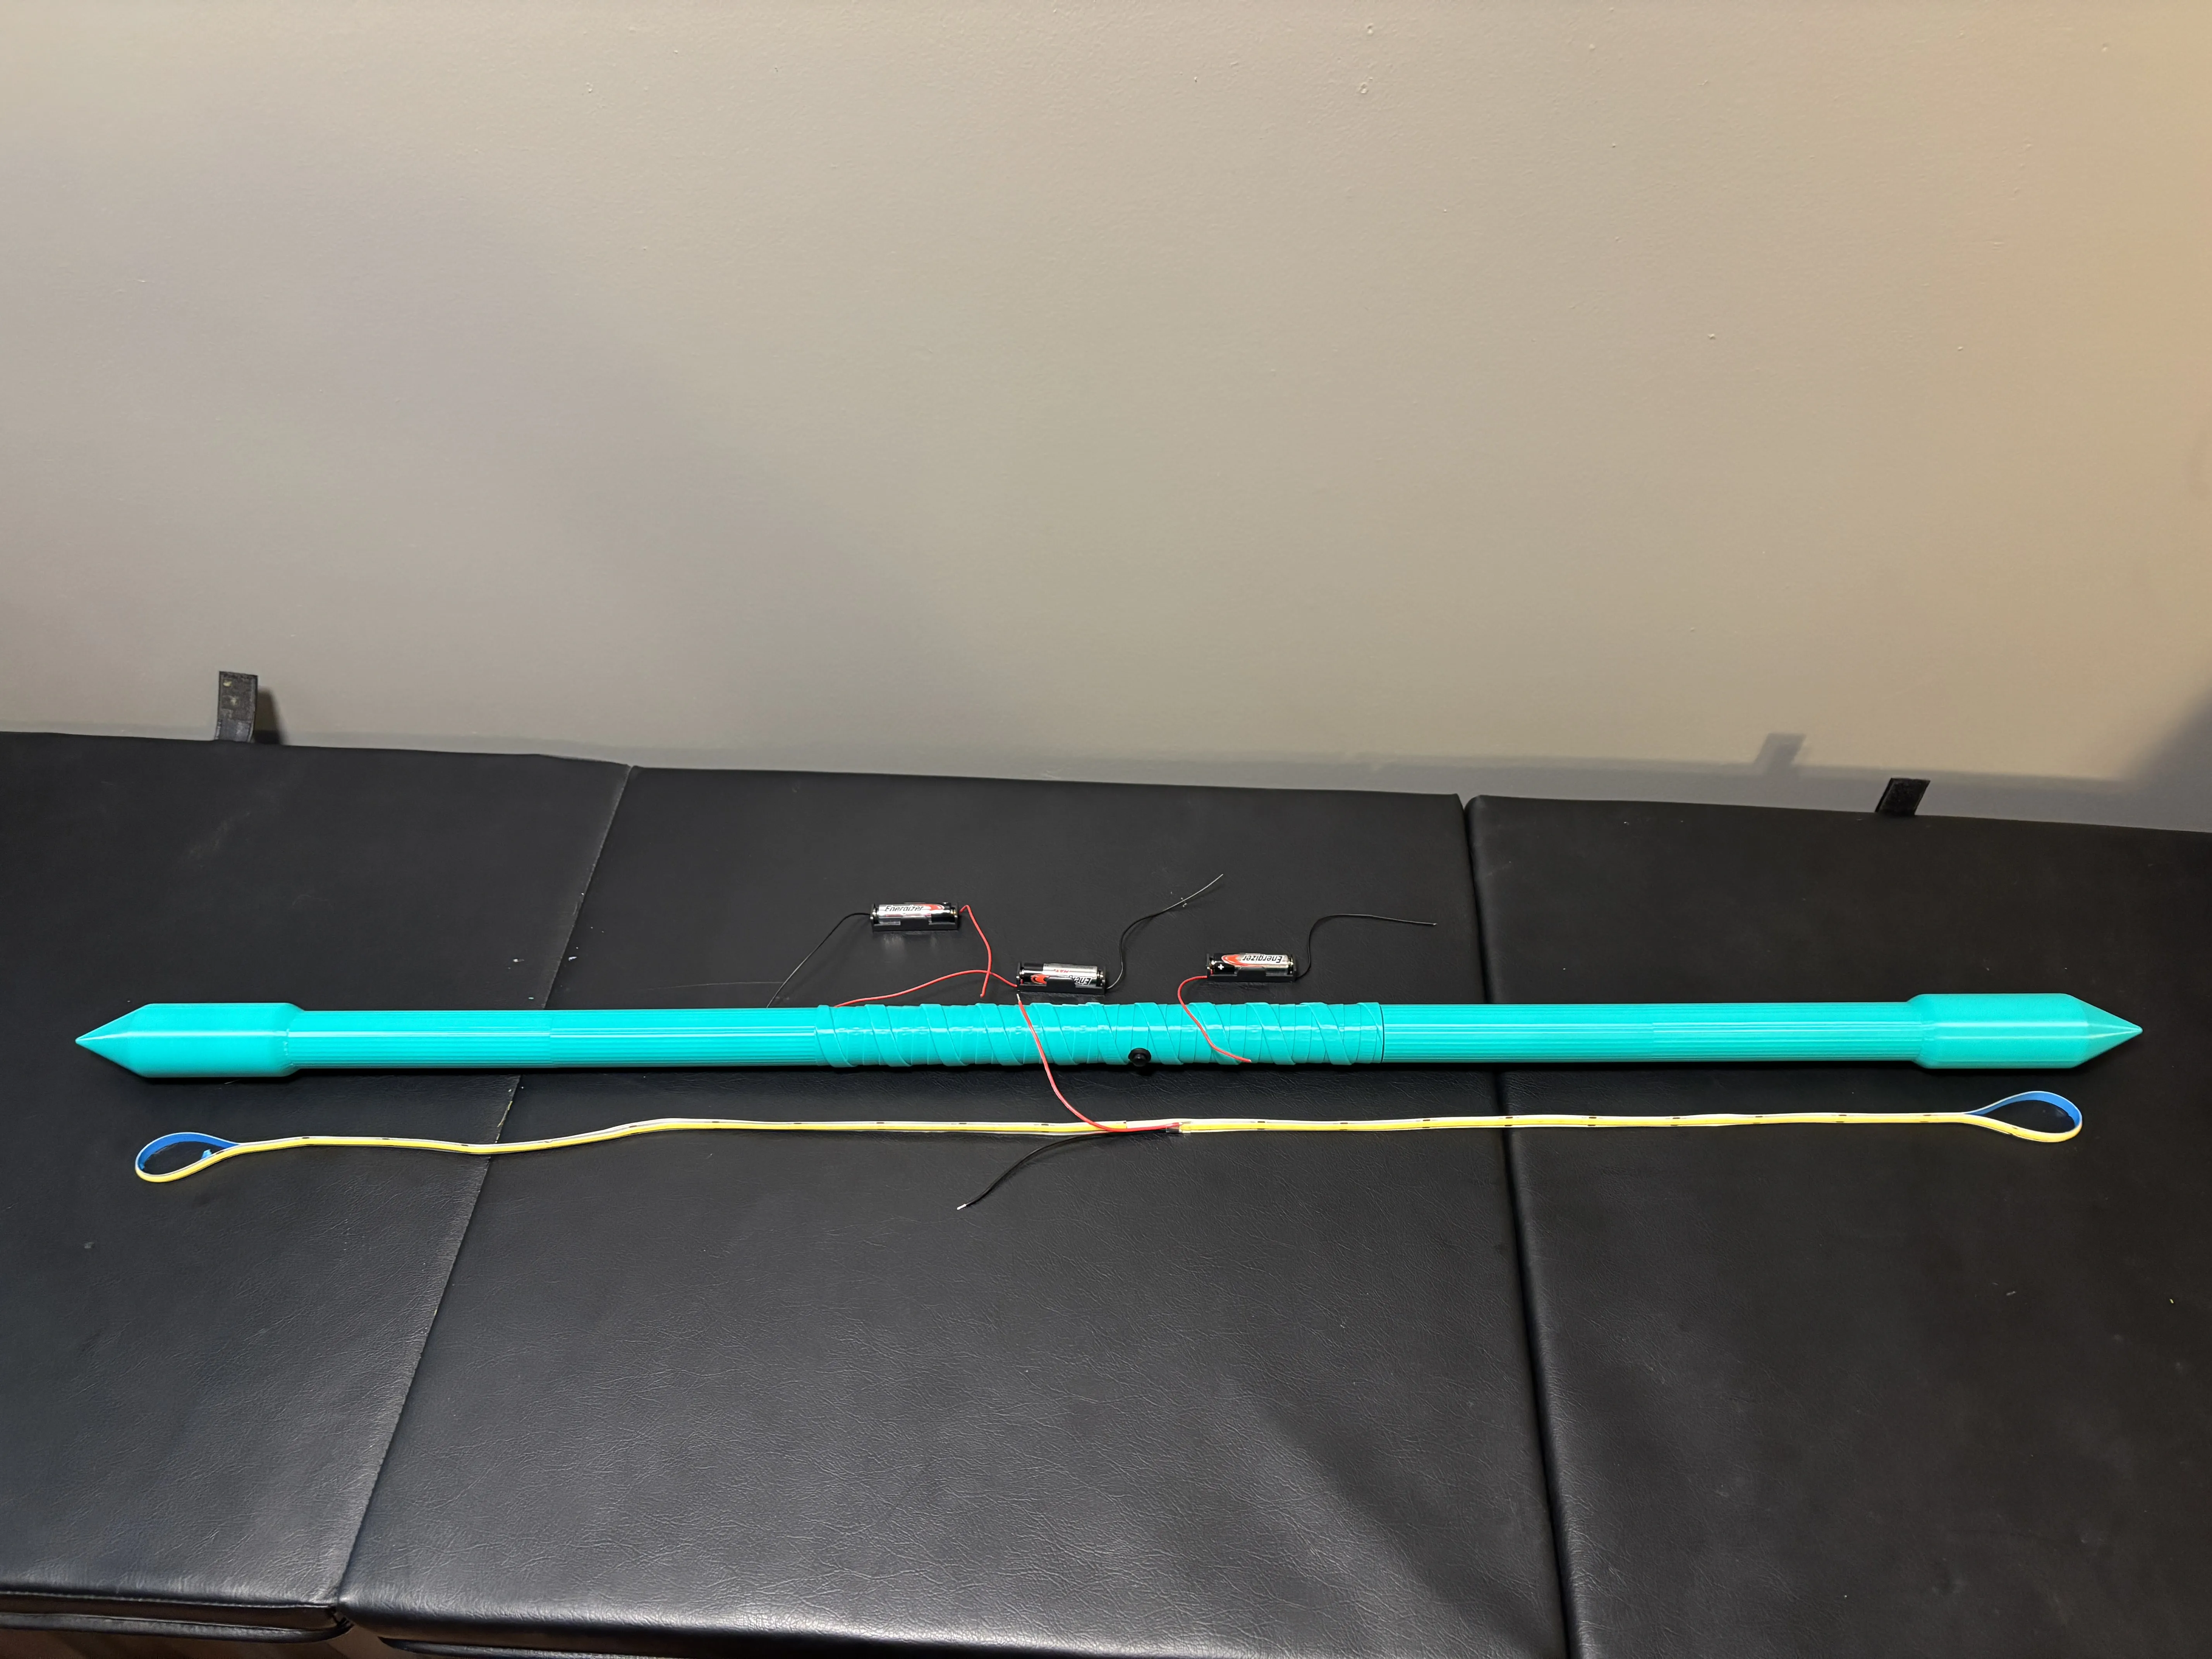
5. Cut a piece of the LED strip so that it can cover the entire length of the staff twice.
6. Line up the LED strip so it's wires are around the center of the staff.
7. Remove the strip tape except ~6" on each end so that it can stay in a nice easy loop.
(dont try to squish the ends flat or it may wreck the LEDs)
8. Pinch the LED strip adhesive together along the rest of the length forming a double sided LED strip.
9. Separate the staff into pieces and feed the LED strip through the middle pieces.
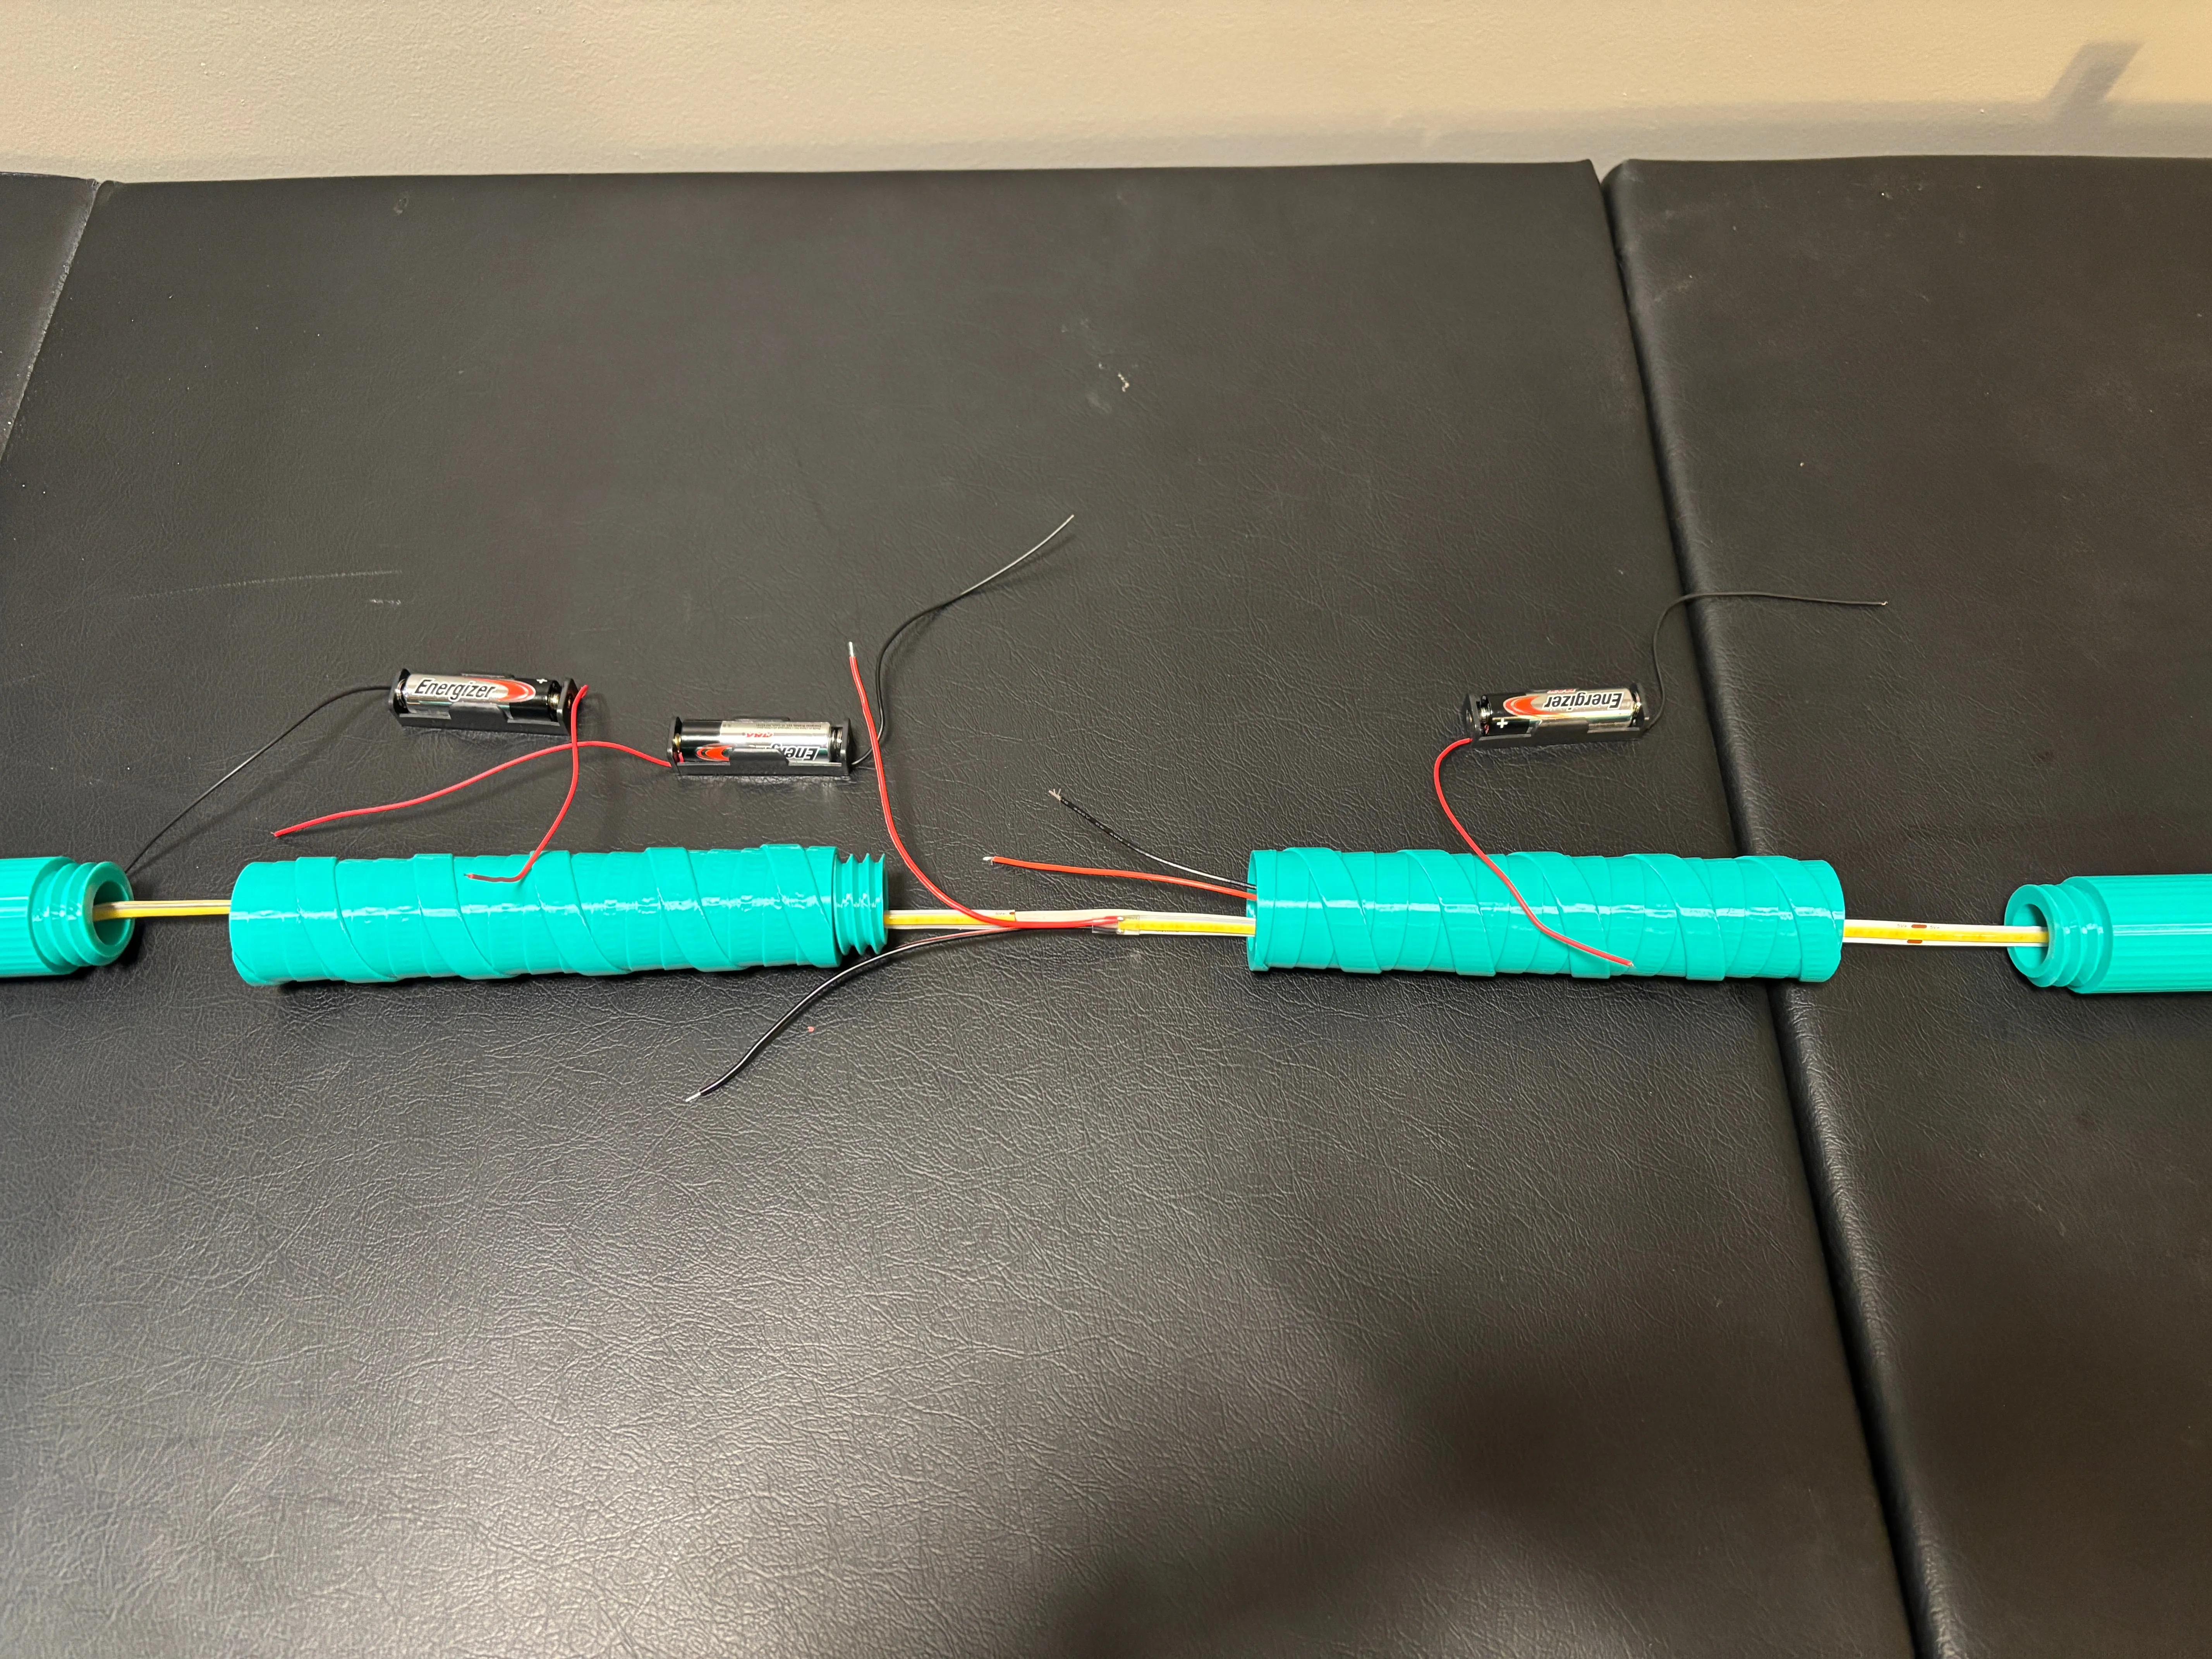
10. Prepare the hardware and know where they will go inside the staff. The goal here is to get the loose wiring to the center of the staff as an easy access point.
We are making a simple source → switch → load circuit:
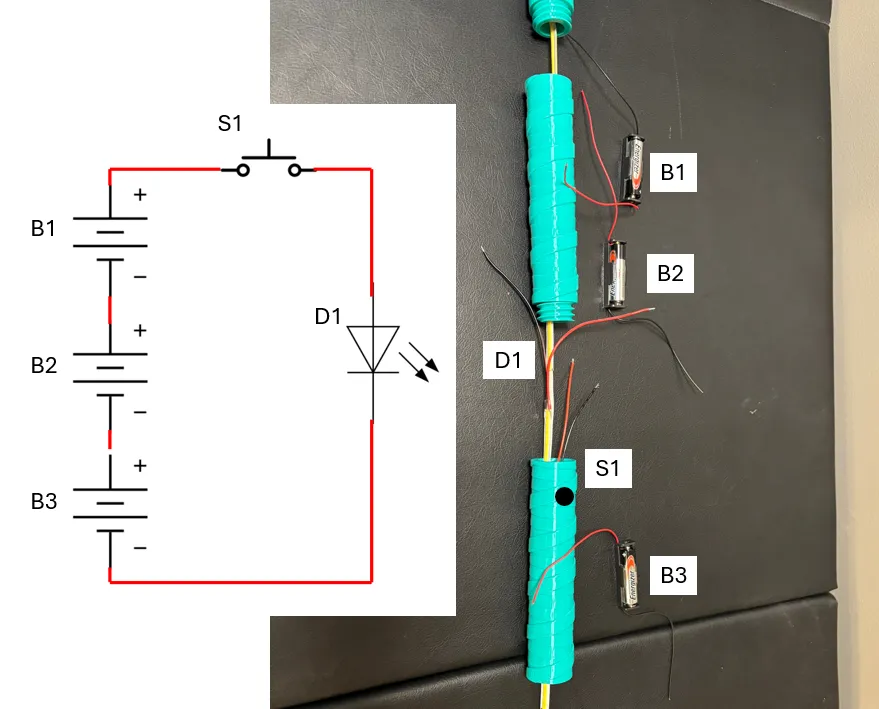
11. Connect B2 positive (red) to B1 negative (black).
12. Put B1/B2 inside the grip, making the remaining two wires accesible in the middle.
12. Pull back the LED strip so the wires are accessible on the outer side of the grip.
13. Connect the ground wire of B3 to the ground of the LED strip.
14. Insert B3 into the button grip and feed the positive wires for the LED and B3 out of the grip to the center.
15. Connect the positive wire for the switch (S1) and the LED together and tuck the wires back into the grip.
16. Connect the positive wire of B3 to the negative of B2.
17. Connect the positive wire of B1 to the negative of S1.
18. Test the circuit by cycling the button to ensure the LEDs work.
19. Gently reassemble the staff around the LED strip.
20. Enjoy!
These are the parts I used:
Button: https://www.amazon.ca/gp/product/B0CPXMVL59/
LED Strip: https://www.amazon.ca/dp/B0D7P5KMY2
AA Holders: https://www.amazon.ca/dp/B09VGZLT8F
Boost Me (for free)
🔥 Love this design? Give it a Boost to show your support! Your tip helps keep the creativity flowing and means the world to me. 💙 Thanks for being awesome!
License

You shall not share, sub-license, sell, rent, host, transfer, or distribute in any way the digital or 3D printed versions of this object, nor any other derivative work of this object in its digital or physical format (including - but not limited to - remixes of this object, and hosting on other digital platforms). The objects may not be used without permission in any way whatsoever in which you charge money, or collect fees.


Comment & Rating (18)