




Print Profile(4)


Bill of Materials


Description
Updated 02-10-2025: Included an addon wall mount and slightly tweaked the arm to provide a tighter fit.
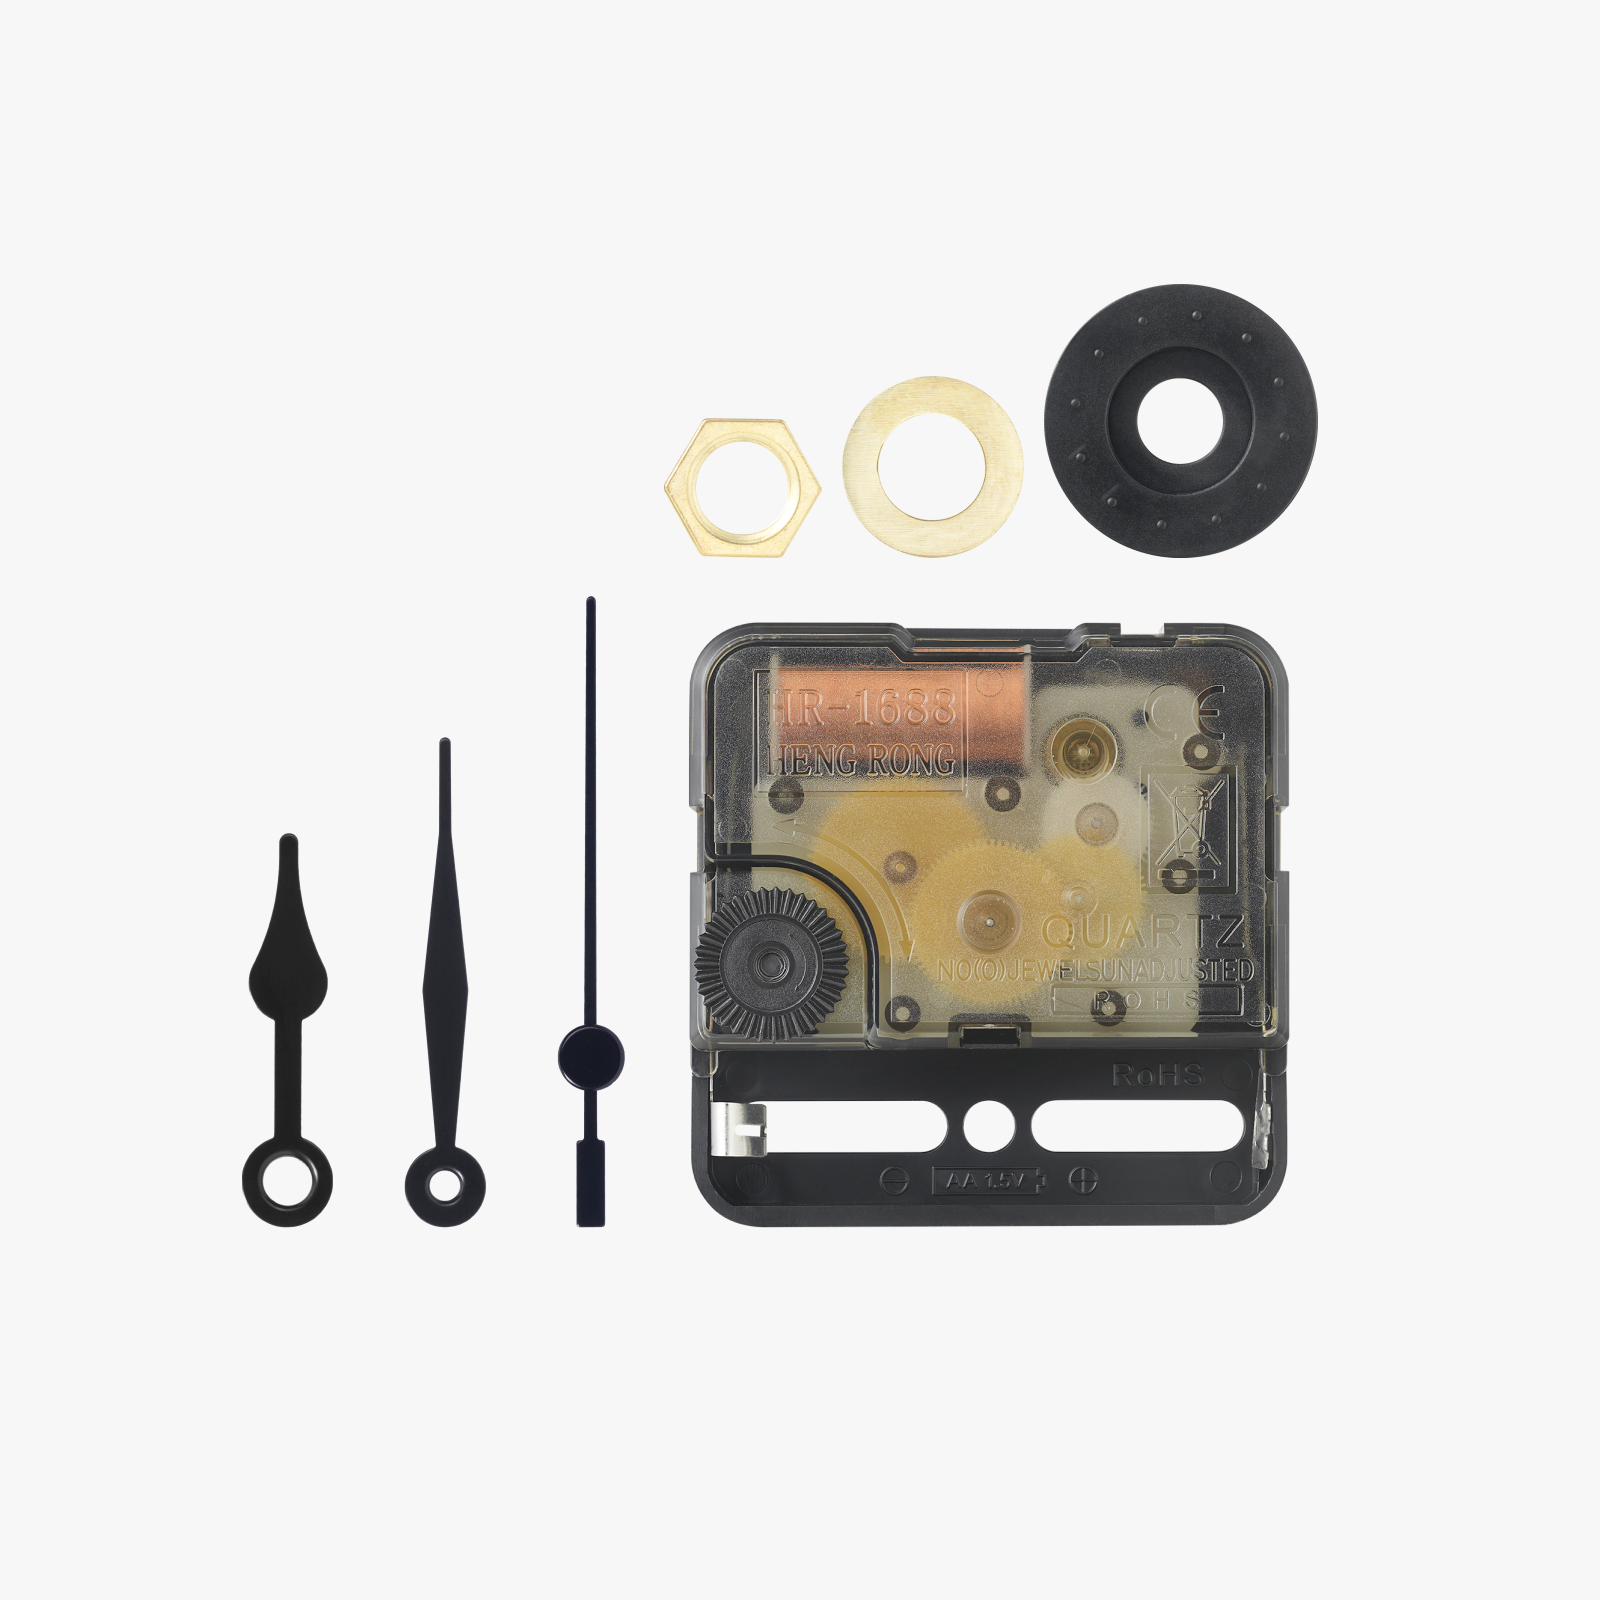
Updated 12-16-2024: Now includes optional printable hour and minute hands! These better match the clock's overall design and can be used with or without the seconds hand provided with the clock components kit.
This desk or table clock displays the fascinating internals of a hard drive. Makes a great gift for any tech lover.
Except a few extra millimeters of thickness to cover the clock mechanism, it's modeled to 100% scale of real drive and measures 102.5 mm x 146.8 mm x 28.5 mm (without the clock hands and shaft). Includes plenty of small details in addition to a platter, actuator coil, actuator arm and actuator magnet. Bambu Lab PLA Silk Copper worked very well to print the copper wire windings of the coil which look surprisingly realistic. I would highly recommend using Bambu or a similar copper silk filament for this (color 3 in the print profile).
Easy assembly requiring no fasteners or hardware other than a clock kit.
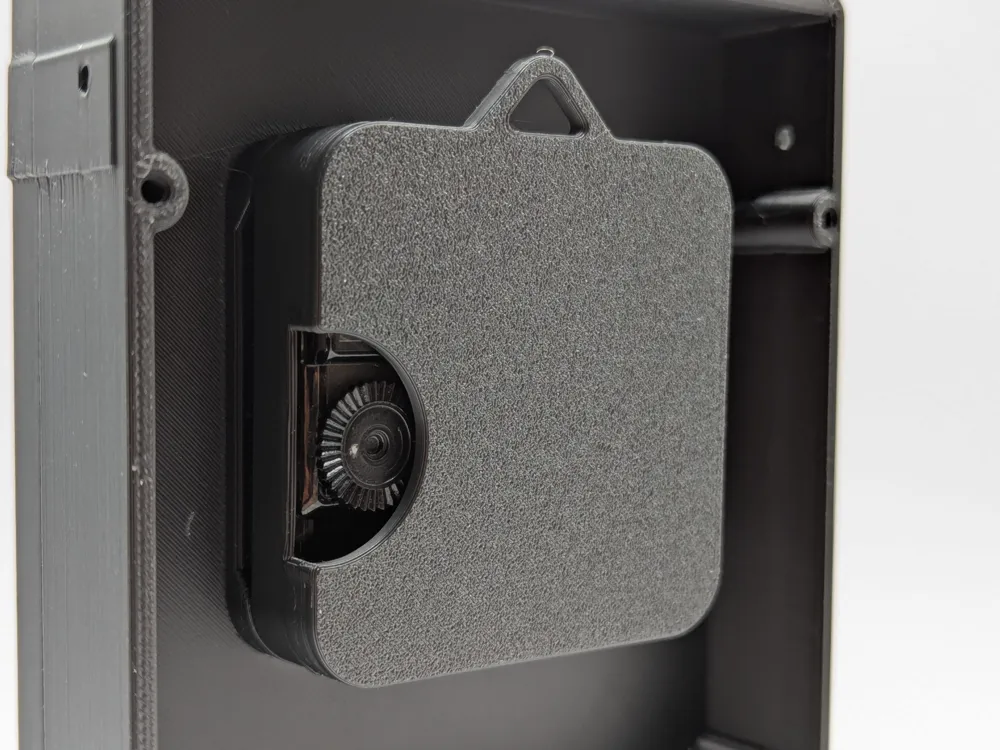
The optional wall mount snaps onto the clock mechanism to allow hanging the clock on a nail or with double sided adhesive mounting strips (e.g. 3M Command strips). If using adhesive strips, the clock can be pulled straight outward to change the battery or time, leaving the mount in place.
See the Assembly Guide PDF for detailed instructions for building. Note that the guide does not show the wall mount.


Documentation (1)
License

You shall not share, sub-license, sell, rent, host, transfer, or distribute in any way the digital or 3D printed versions of this object, nor any other derivative work of this object in its digital or physical format (including - but not limited to - remixes of this object, and hosting on other digital platforms). The objects may not be used without permission in any way whatsoever in which you charge money, or collect fees.


Comment & Rating (383)