
Minecraft Clock


Print Profile(7)


Bill of Materials


Description
Boost Me (for free)
Boosting supports the creator, so every boost, download, and feedback is appreciated!
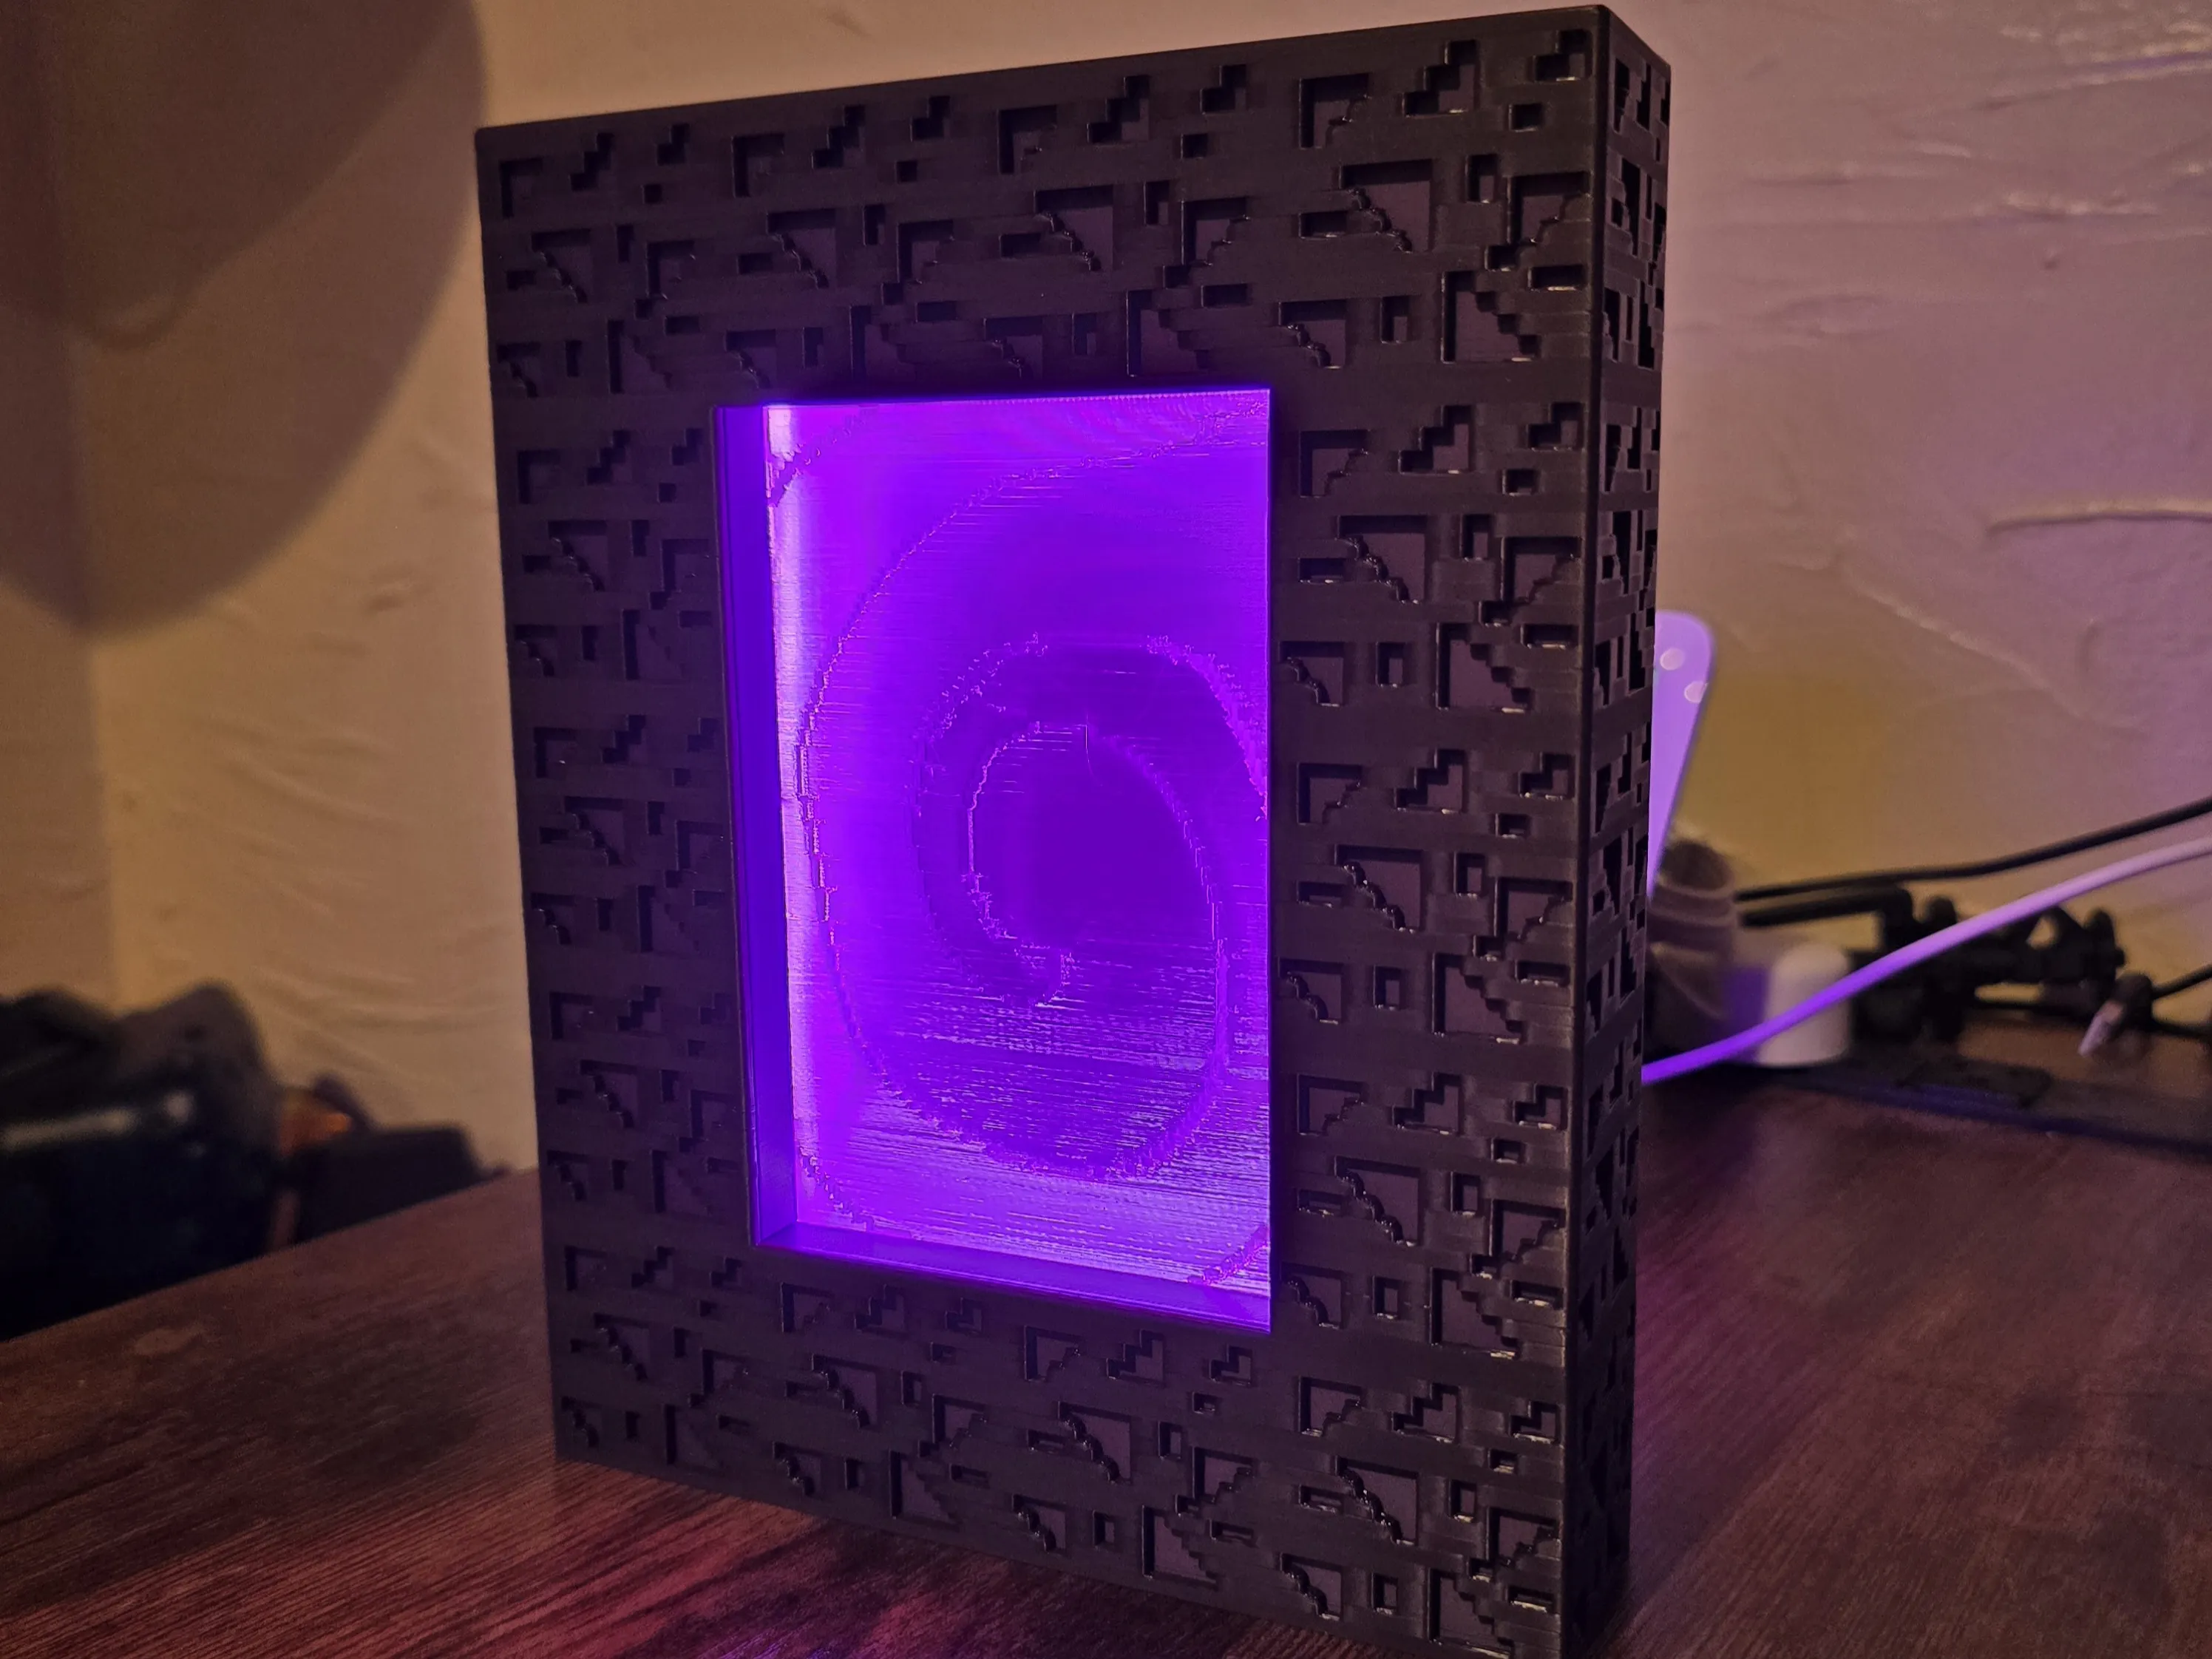
This clock is designed off the clock used in Minecraft. Like the one in Minecraft, this clock is in a 24 hour cycle or 1 hour cycle. Don't worry! You're clock kit will still work on this! In the 24 hour design theres a 2:1 ratio gear making the hour gear finish 2 rotations before the visible dail finishes 1 rotation. The 1 hour design just adds onto the minute part of the clock. Theres also options to mount it on a wall or a stand to put on your desk. I also have options of an AMS and Single color print profiles for both.
Assembly
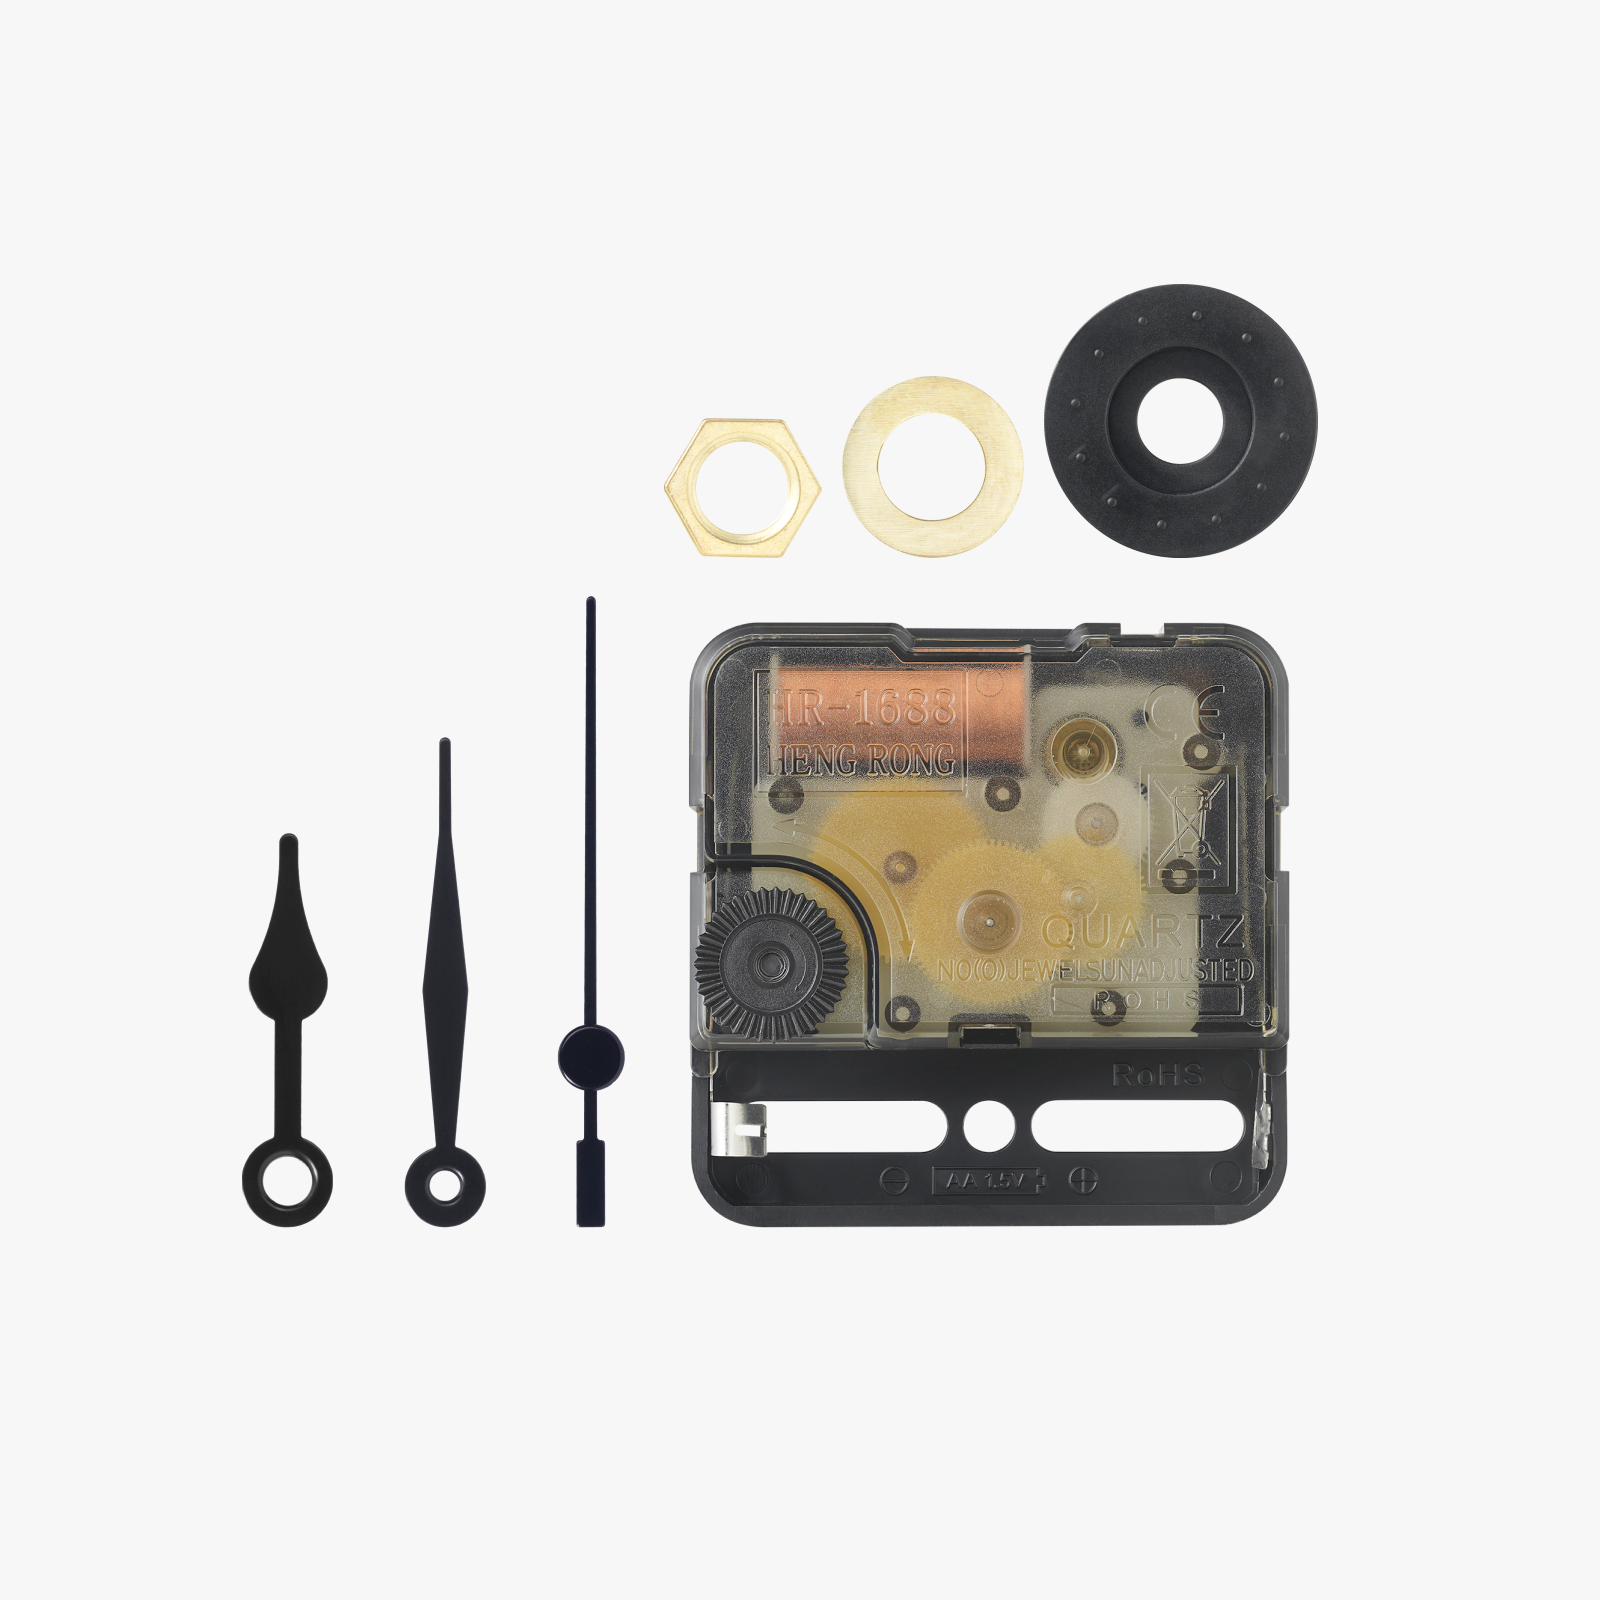
Out of your clock kit, you'll only need these 4 parts. The functional part and the rubber piece will go behind the clock. once pushed through, put on your washer then your nut. Hand tight will work just fine.


Once you have the clock kit installed, you'll need to finish assembling the printed parts of the design. Put the small gear on the part sticking through the middle of the clock. After that, put the 3 parts needed for the front. You'll need to sandwish the dail between the knob piece and the face. This holds all the pieces together and allows smooth rotation. Once thats done, push the front piece into the clock base. You may have to move the dail around a bit to make the gears align. An option piece is the back stand, if your looking to put this on your desk or night stand. I advise using the stand, by inserting it into the keyhole shaped hole in the back. That Keyhole shaped hole can be used to mount on a wall as well. All is shown in the gif below.

Thank you so much for checking out the design! Every model I make I learn something. This model I learned a bit more about gears and how they work. I was trying to figure out how to make the clock not rotate twice a day. So i played around with ideas of how to get gears designed into the clock base with out using a ton of space. I think I came up with the best option for it and happy with the result.
If you like the model, please show your support by boosting, commenting, and giving a rating! This helps me to see what people like and how I should deisgn projects in the future. Thank you!
Update 12/15/24
I had a request for a faster version of the clock for display purposes, so it you're interested in that check it out! I renamed the existing print profiles to include “24 Hour Cycle” in the title and the new ones include “1 Hour Cycle” in them as well so you can easily tell which is which.
Check out my other Minecraft Models!


Membership
Interested in selling physical prints of my models? Subscribe to my one of my tiers!
License

You shall not share, sub-license, sell, rent, host, transfer, or distribute in any way the digital or 3D printed versions of this object, nor any other derivative work of this object in its digital or physical format (including - but not limited to - remixes of this object, and hosting on other digital platforms). The objects may not be used without permission in any way whatsoever in which you charge money, or collect fees.


Comment & Rating (455)