
X/P - P2S Toolhead PTFE Guide 3.3 Wireless Fan


Print Profile(11)



Bill of Materials

Description
X/P Series Toolhead Guide XPTG
Refining the next-generation guide
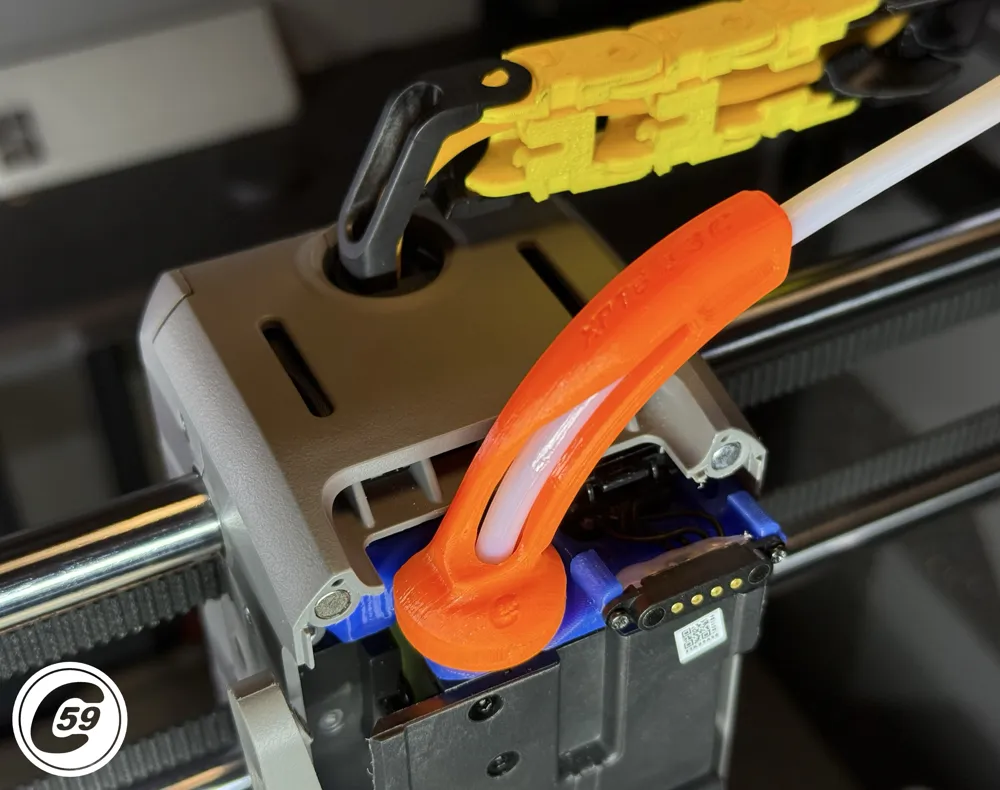
Naked | Minimalist Filament Guide
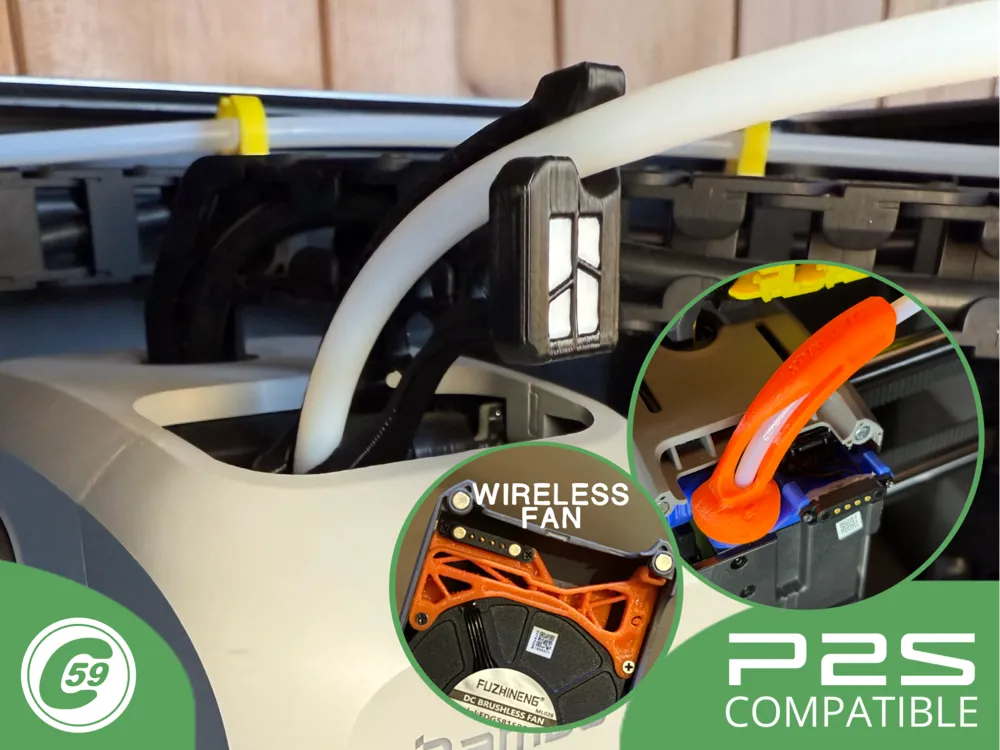
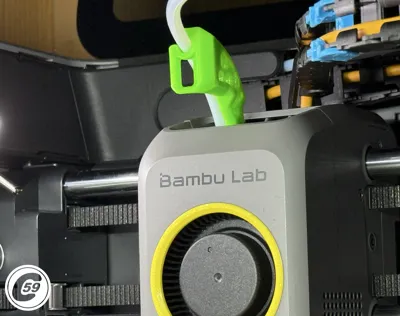
3.3 | Ultimate Guide & Wireless P2S toolhead Cover Solution.
Built to improve PTFE routing, Easy nozzle change (When wireless).. while giving your printer a refined engineered look.
Philosophy
Every C59 design is built from scratch or remixed from Own C59 design with function first.
- No recycled files from third parties.
- No low-quality mesh edits.
- No shortcuts.
What XPTG Improves
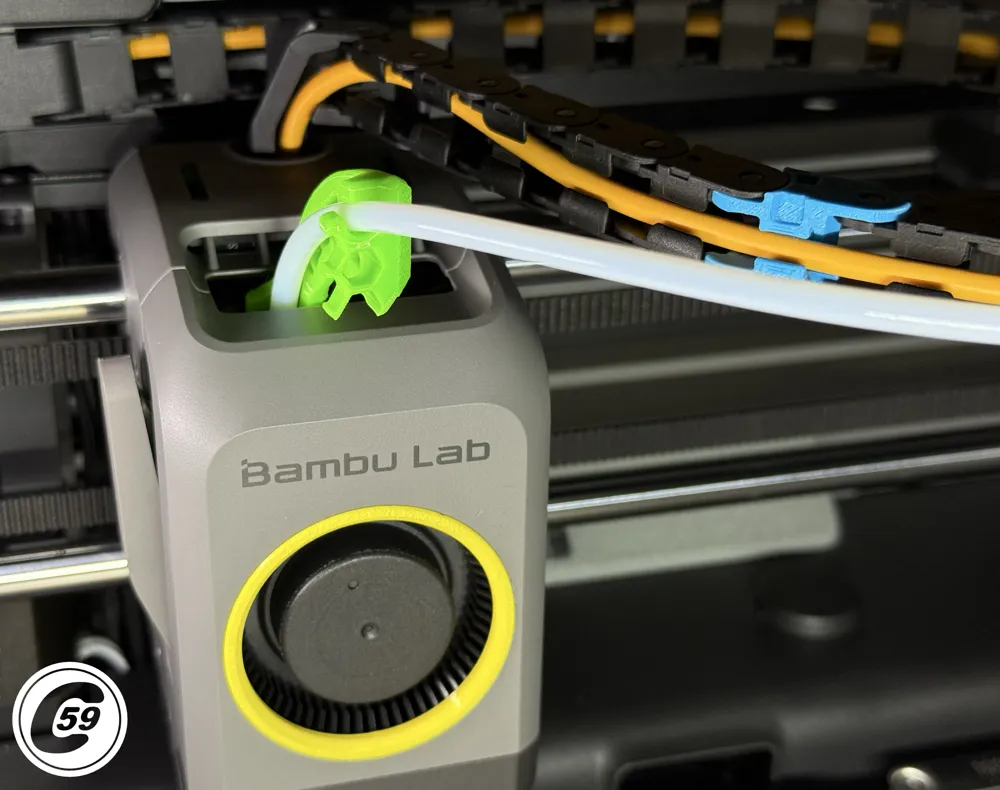
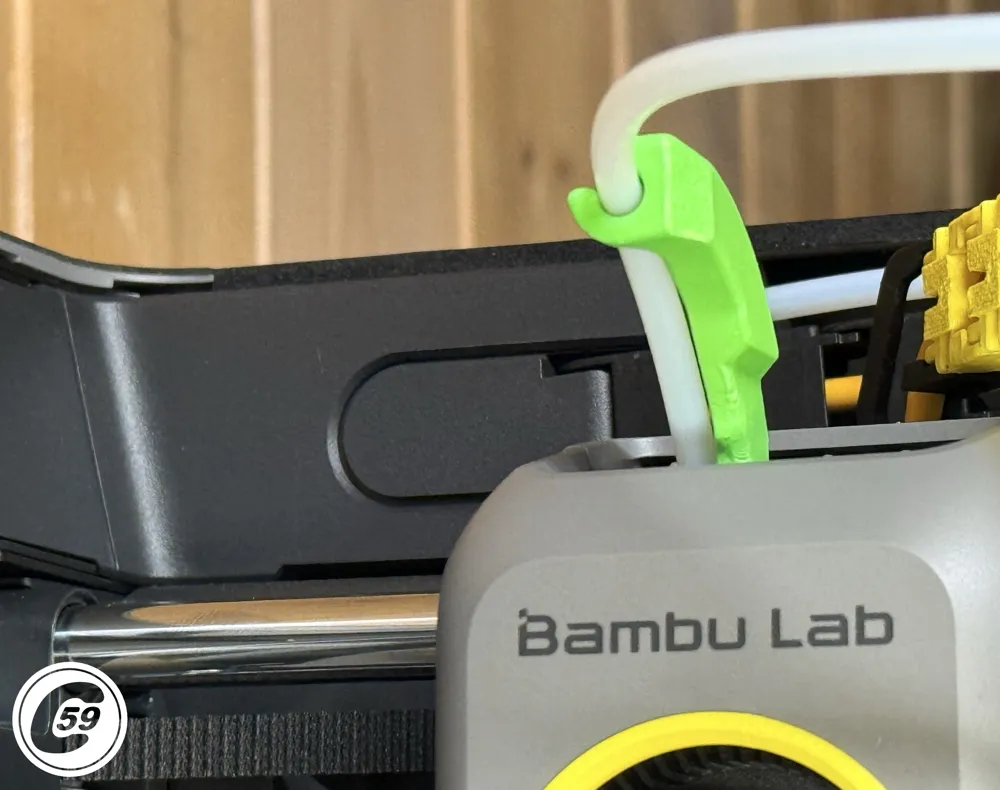
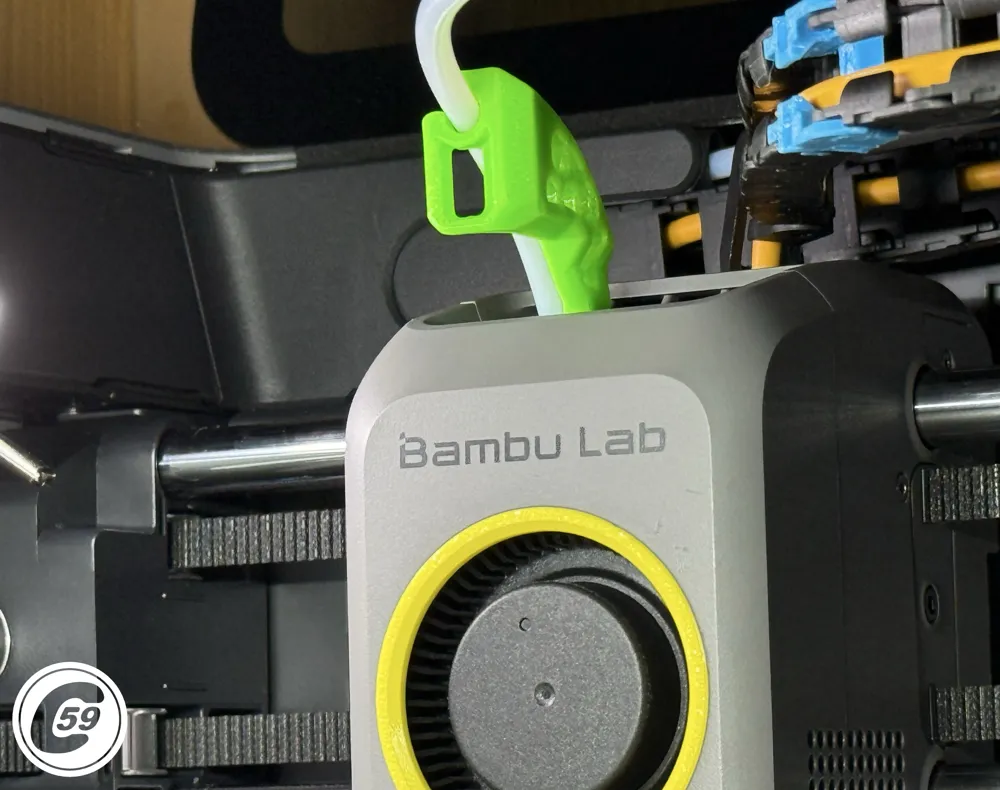
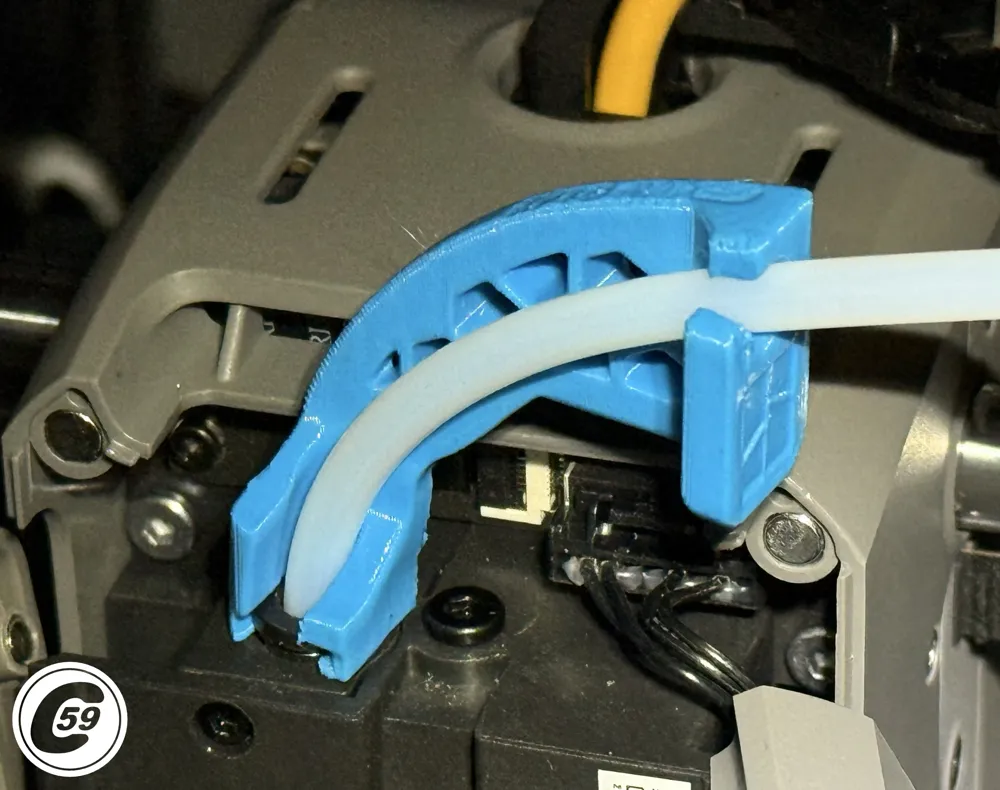
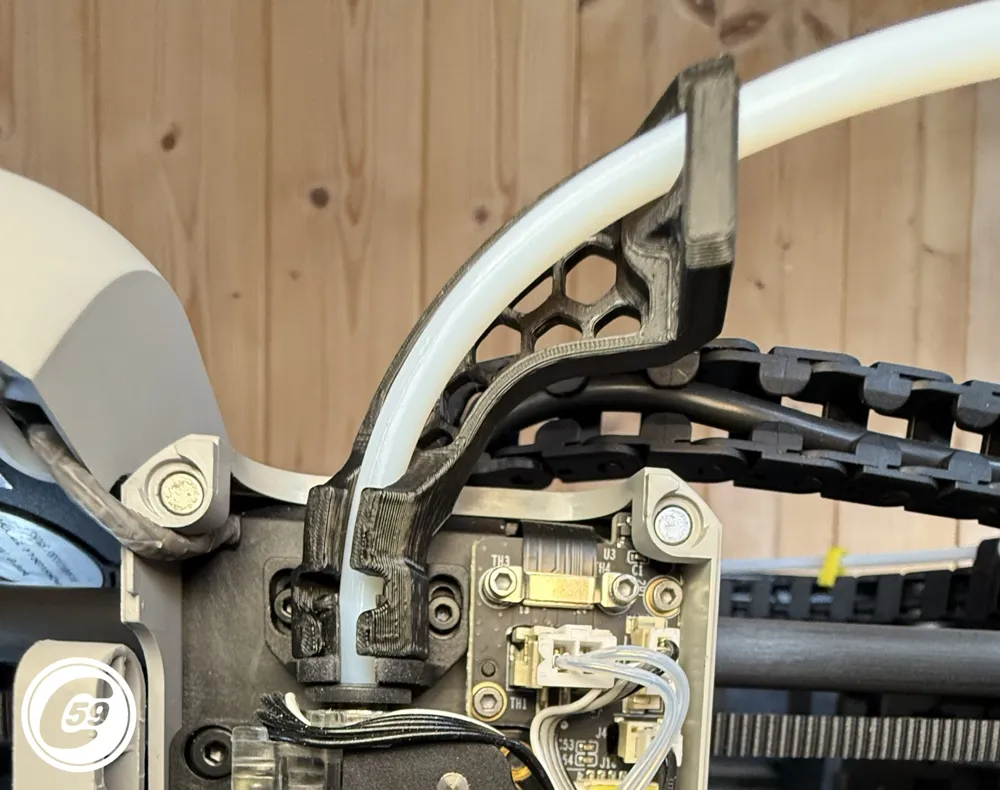
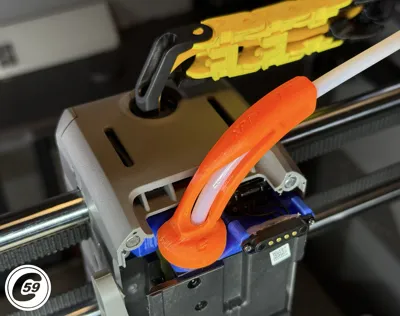
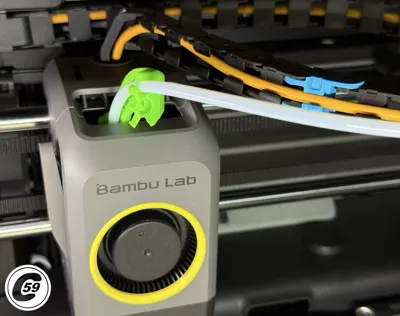
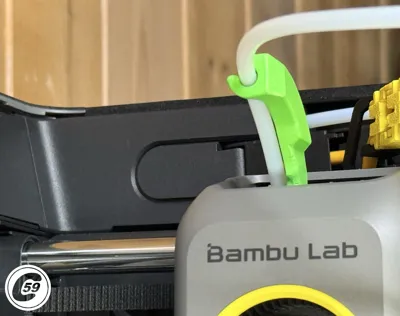
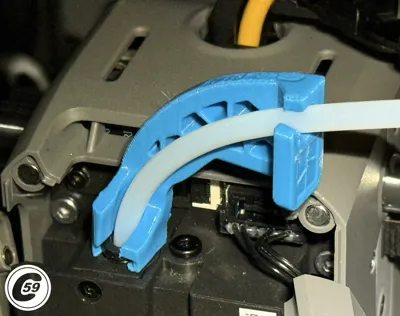
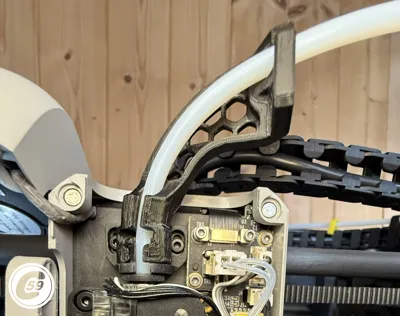
- Cleaner PTFE routing
- No more tube rubbing against glass top
- Smoother filament feeding
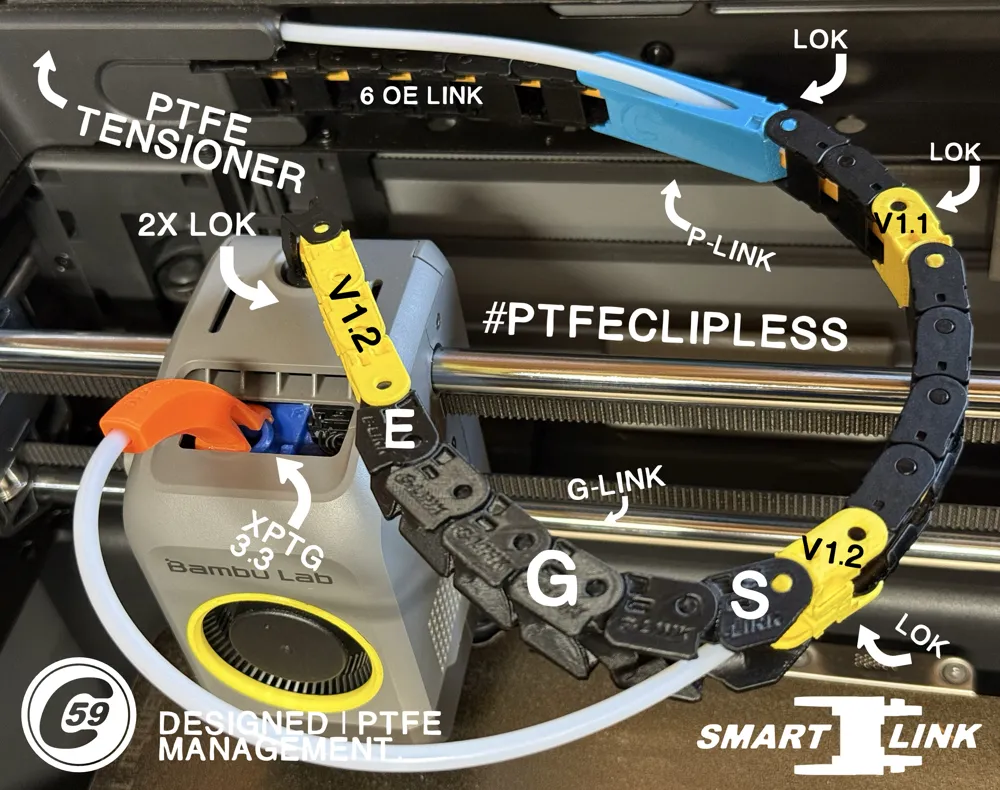
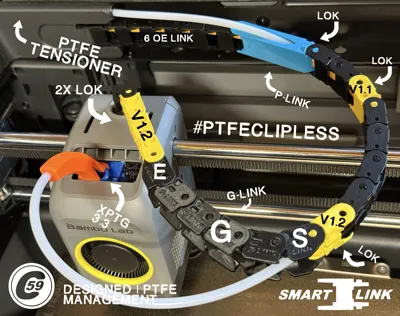
- Better chain x PTFE motion (3.3 x Smart-Link x Tensioner)
- Cleaner overall appearance
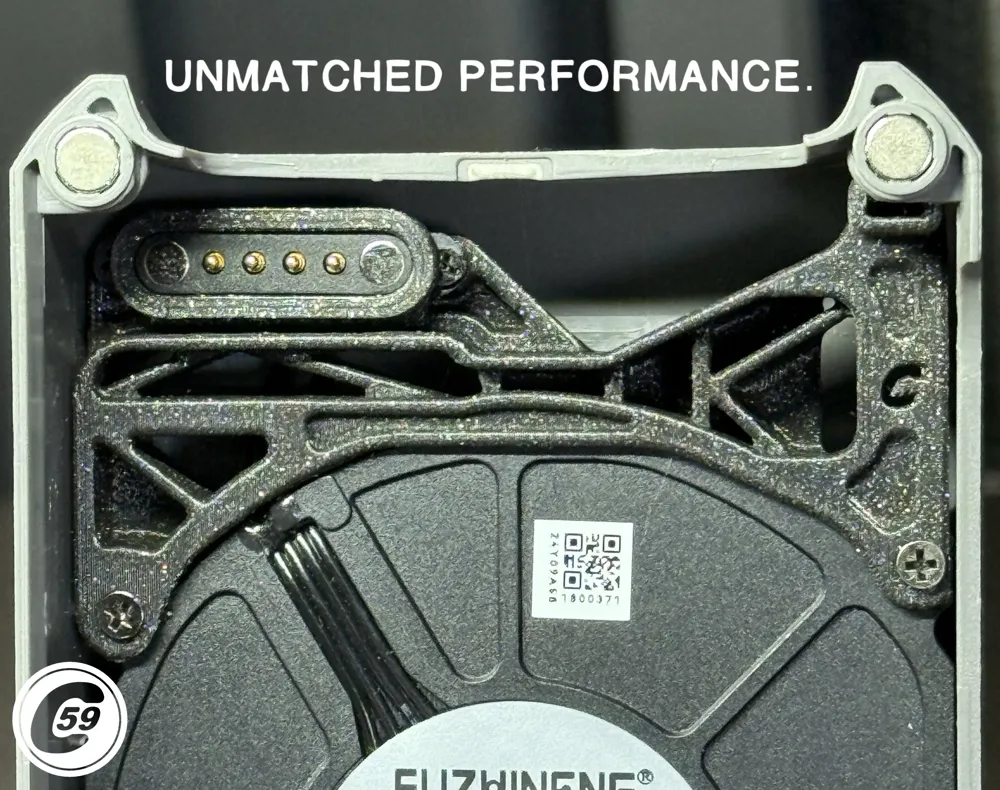
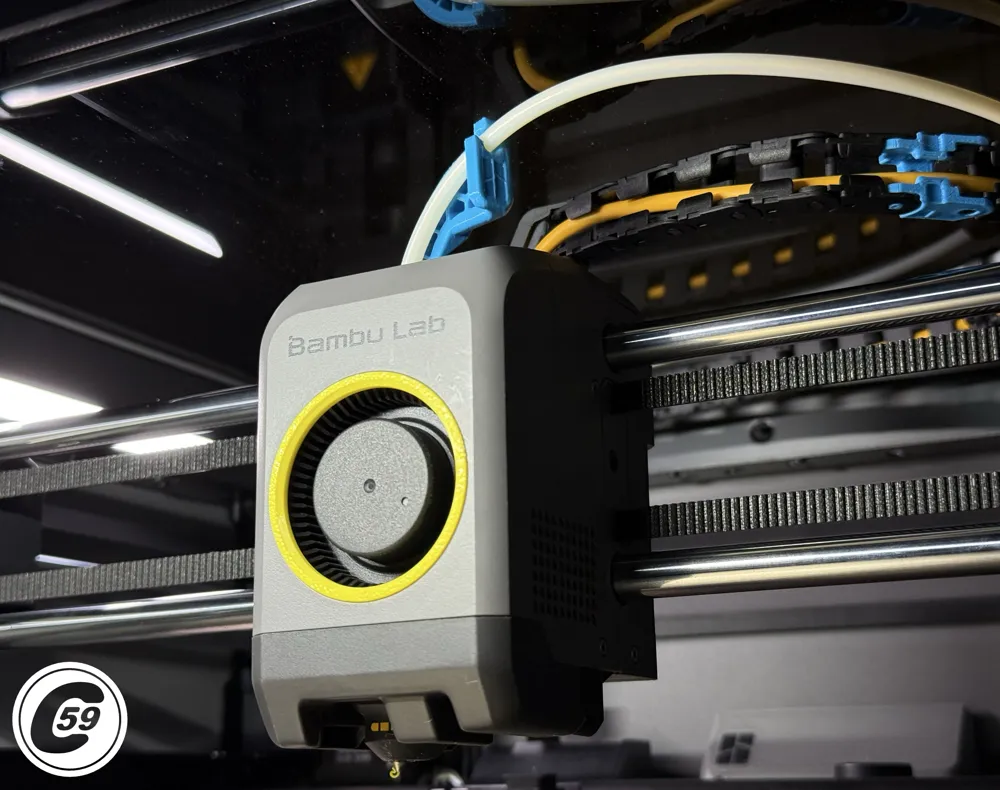
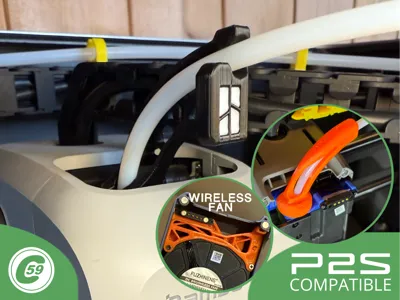
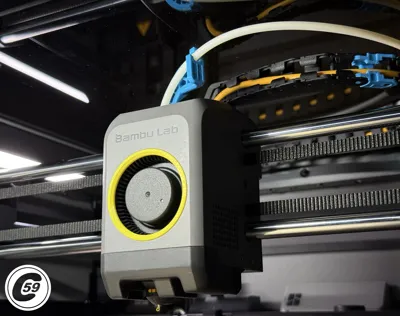
- Wireless Toolhead Fan Cover for the P2S.
- Show your support if you’d like that i explore a version made for the P1S/X1C as well! (without warranty)
Compatibility
Compatible with (matching profile required):
Gen 1
- Bambu Lab X1 Carbon
- Bambu Lab P1P
- Bambu Lab P1S
Gen 2
- P2S
Wireless Fan support is currently P2S only.
Designed To
- Prevent PTFE rubbing on the glass top
- Maintain a straighter filament path
- Pair with Smart-Link and PTFE tensioners
- Improve PTFE management on P2S systems
XPTG 3.3 + Smart-Link
A complete motion-managed PTFE ecosystem.
Latest Updates
XPTG Mount 1.2F
Updated for:
- Easier printing
- Better reliability
- Cleaner installation
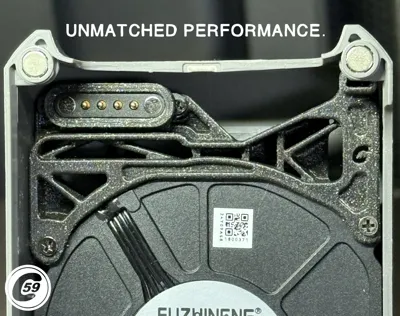
Wireless POGO Fan Mount
Features:
- 4-pin screw-type pogo connector
- Adjustable fan plate thickness
- Fine pogo-depth tuning
- Full 360° rotation clearance
- Full installation HD video is available here: Pogo Installation
NEW P2S Hotend Fan Duct Upgrade
Improved airflow and reinforced mounting.
Features:
- Pulls cooler air from outside the toolhead
- Reinforced dual-screw mount
- Increased front-cover rigidity a bit
Available here: P2S Hotend Fan Duct
Upcoming
Efforts are underway to bring Smart-Link compatibility to older X/P machines, along with a dedicated tensioner.
- This could open the door to updated guide designs, but first, the focus is on integrating the full chain setup.
Quick Installation
Gen 1 X1C / P1P / P1S
- Remove the PTFE tube
- Push the XPTG onto the toolhead
- Reinsert PTFE until locked
- Move the toolhead manually and verify clearance
- Start printing
Gen 2 P2S
- Remove PTFE using a disconnect tool
- Slide the guide sideways onto the connector
- Reinsert PTFE until locked
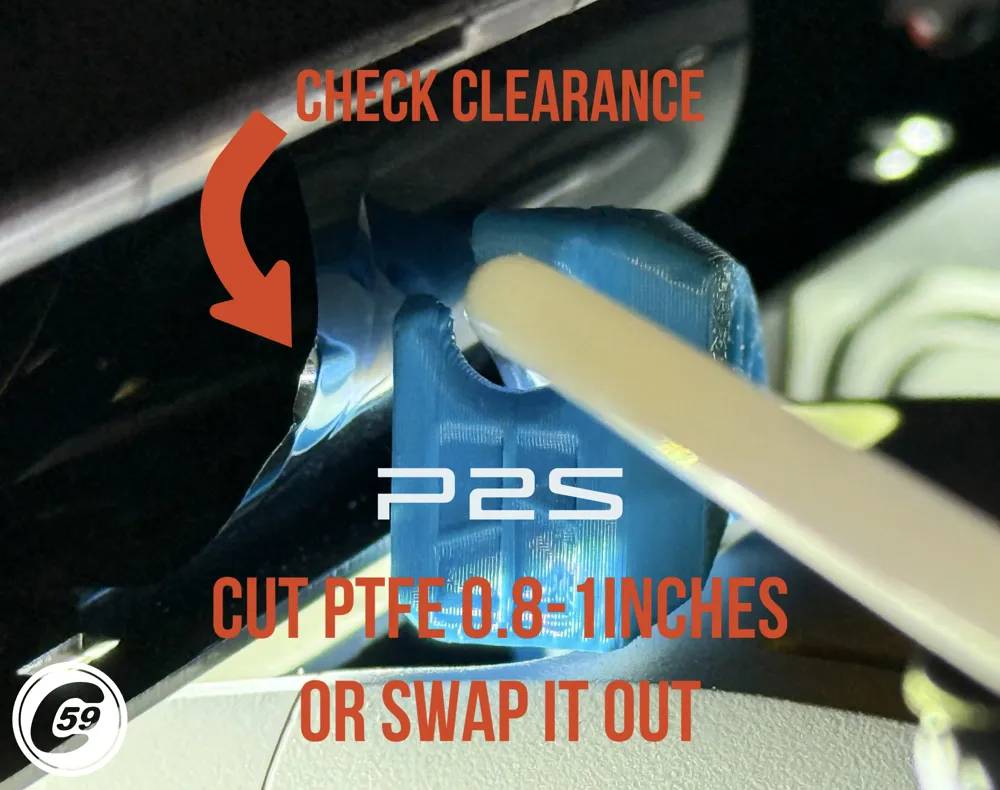
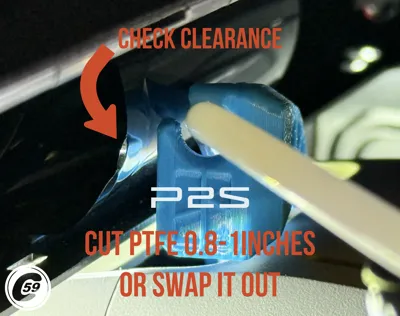
- Verify movement and front-left clearance
- Start printing
Important
You may need to shorten PTFE by roughly:
- 0.8–1 inch
Using the PTFE tensioner is recommended.
A Ribbon Protector is also available for added front-wire clearance.
Removal
Gen 1
- Push down on the guide
- Release the connector
- Pull PTFE out smoothly
Gen 2
- Remove toolhead cover
- Slide the guide sideways
- Release the connector carefully use Xtended PTFE Disconnect Tool
Version Evolution
1.0 Original 90
The original concept.
Discontinued due to possibly long-term feeding limitations.
S-Version
- Slightly better feed than OG.
- Tendency of bringing PTFE close to glass.
Discontinued
1.2 Smooth Operator
Smoother feeding and improved motion.
Required a glass-top riser or clip.
Discontinued
2.0 Naked Gen 1
The minimalist evolution.
- Better feeding over previous.
- Cleaner PTFE path
- Multicolor without AMS
2.1 Naked P2S
Gen 2 adaptation.
- In-House Flange adapted for P2S (Seems to be reused by User without permission)
- Less forgiving than 3.3 for feeding issues if there additional restriction in the path.
- Multicolor without AMS
- Hex styling
3.0
Introduced mounted PTFE management and Smart-Link compatibility.
Discontinued
3.1
- Reinforced guide Mount
- Optimized the guide length, print orientation (3.1.1)
- Sleeker and refined look.
Discontinued
3.2
- Improved pinion strength
- Added front-cover clearance
- Better rotation smoothness
Discontinued
3.3 Current Generation
The most refined version yet.
Improvements
- Full 360° rotation
- No front-cover contact
- No toolhead interference
- Maximum movement freedom
Minor print variation or printer calibration differences may require light filing or sanding.
- In my testing, this was usually unnecessary beyond a simple manual break-in by rotating the parts by hand, followed by applying grease.
Evolution Summary
| Version | Focus |
|---|---|
| 1.0 | Original concept |
| 1.2 | Smoother feeding |
| 2.0 | Minimalist high-performance PTFE guide |
| 2.1 | P2S Adaptation less good than 3.3 |
| 3.0 | P2S proprietary mount |
| 3.1.1 | Reinforced mount and guide refinement |
| 3.2 | Strength + clearance refinement |
| 3.3 | Full unrestricted rotation |
3.1 x Smart-Link HD Action video: Click here
Install Action HD Video:
For All.. UV Resin Application: Skip to the best part
Gen 2 (P2S)
- Gen 2 Installation Shorts here: P2S Toolhead Install
- Gen 2 Multicolors Print action on the H2D: Fast and Precise
Gen1 (X1C, P1S, P1P) Install Action:
Install & Feed Test Shorts for Gen 1: Naked 2.0 Gen 1 Install, feed, retract, AMS, manual
Shorts Action HD video: XPTG Naked 2.0 Action
Colored Print Notes
Default profiles
Typical Usage
| Output | Material |
|---|---|
| Printed Part | ~0.15 oz |
| Purge Waste | ~0.77 oz |
You can reduce waste further by tuning:
- Purge volume
- Purge block size
- Color transition settings
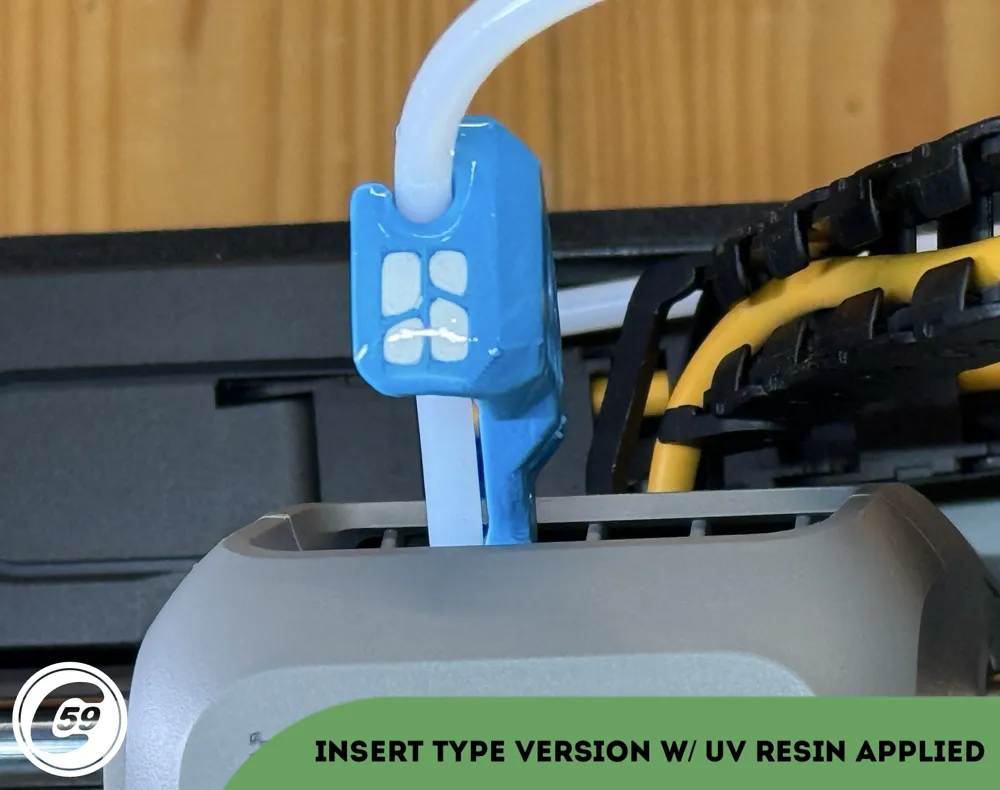
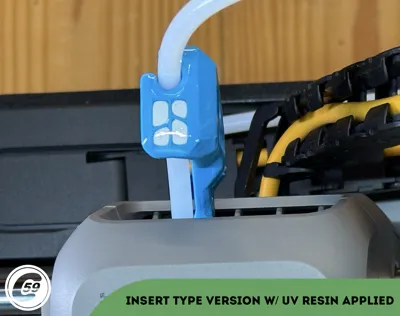
INSERT Versions
Available for Gen 1 and Gen 2.
Benefits:
- Colored logos without AMS
- Less purge waste
- Cleaner multicolor workflow
If you dislike tiny assembly pieces, use the standard non-colored version instead for low waste.
If you have dual head or toolchanger machine available, it can be a good alternative to print with less waste without hassle.
Print Settings
Naked 2.0
- 0.16 layer height
- 15% infill
- 6 walls
- 3 bottom layers
- 5 top layers
- Supports required
Print Time
| Mode | Time |
|---|---|
| Standard | ~25 min |
| Ludicrous | ~12 min |
Approximate filament usage:
- ~0.16 oz PETG
Performance Notes
Performance may vary depending on:
- PTFE condition
- Routing quality
- Bend radius
- Filament rigidity
*User is responsible for print quality, filament condition, installation, final performance, and any damage caused to the machine.
Newer P2S guide (3.3) generations are significantly more forgiving than older versions.
- Buffer has generally more restriction than the 3.3 guide with a tested path.
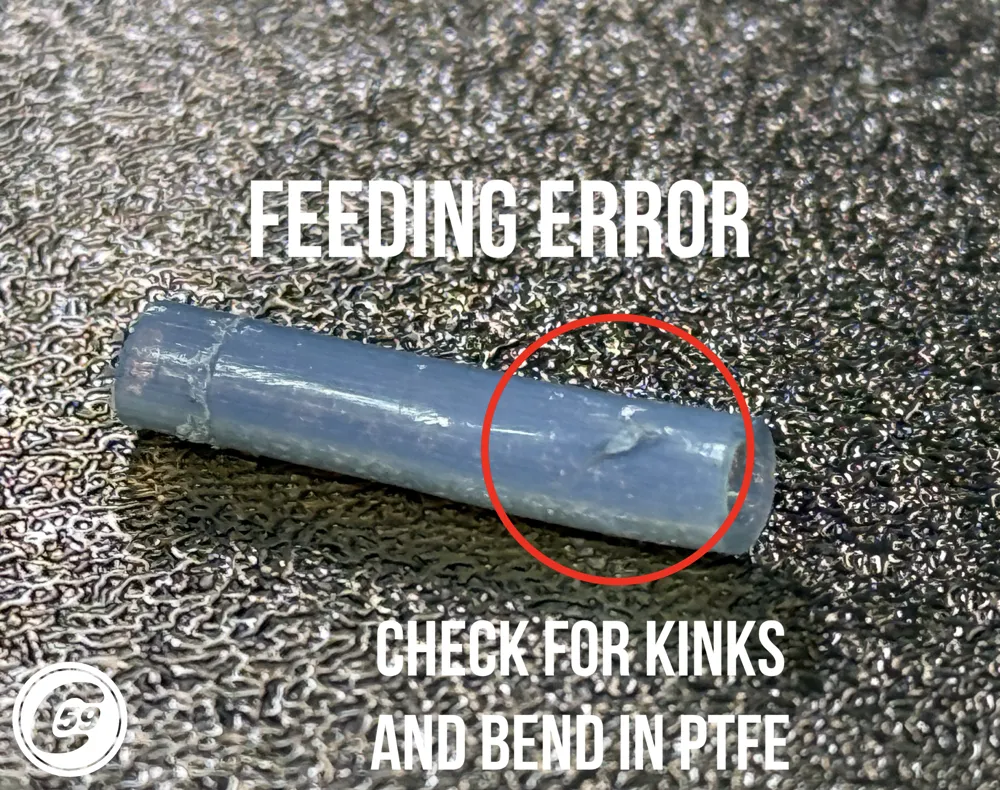
Troubleshooting
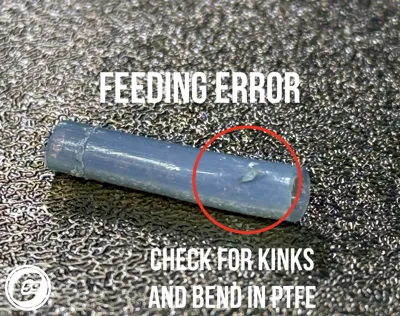
If you experience feeding issues:
Check for:
- PTFE kinks
- Tight bends
- Restrictive splitters
- Excessive tube length
- Poor routing
Best Tip
Manually feed filament through the system to feel for resistance points.
A damaged PTFE section caused the only feeding issue encountered during development.
Real-World Testing
Tested with:
- AMS 1
- AMS 2 Pro
- PETG-CF
- Silk PLA
- Sunlu PETG
Used daily for active printing and community production.
P2S
- If printing harder filament 3.3 is better suited than 2.1.
X1/P1
- Due to the guide mounted on a flange sitting higher, it has less restriction than 2.1 on P2S.
- More forgiving, but smart-link is coming and maybe a new guide or even 3.3 adapted.. will see!
Final Notes
Whether you prefer:
- The sleek Naked aesthetic
- Or earlier guide styles
Both remain solid options with an Edge for the 3.3.
Engineered in function.
Built for people who notice the details.
Older generations are less forgiving than newer ones.
Due to various factors, the end user installing this Upgrade/ mod is responsible for the print outcome, as well as proper installation and overall performance & diagnostic.
Colored Print Profiles (Read Before Printing)
Multicolor setups can look incredible, but keep in mind:
Your printer does not have a true tool-changing nozzle or independent multi-head system.
Color transitions still require purge cycles (“poops”) during printing.
The included profiles currently use standard purge settings for reliability and general compatibility.
Default Purge Behavior
With the default profile settings, expect approximately:
| Output | Material Usage |
|---|---|
| Printed Part | ~0.15 oz |
| Purge Waste | ~0.77 oz |
That’s normal for standard multicolor printing workflows.
Fine-Tuning Recommendations
For users who want cleaner efficiency:
You can reduce waste significantly by tuning:
- Purge volume
- Purge block size
- Filament transition settings
- Color sequence optimization
Different filaments behave differently, so purge tuning is highly dependent on your material choice and desired finish quality.
Estimated Print Times
| Version | Approximate Time |
|---|---|
| Standard (No Logo) | ~7 minutes on X1 using Ludicrous Mode |
| Colored Logo Version | Under 1 hour |
Boost Me (for free)
🚀 Boost Your Project! 🚀
If you love what I'm working on, hit the Boost button! Your support helps me continue to create, improve, and share even more exciting designs. Thank you for being part of this journey!
Enjoy your printing journey, and remember—keep your fingers away from the poop chute, she's angry!
"I’ll be sure to keep you updated with any future developments. If you come across any issues or need assistance, don’t hesitate to reach out—I’m here to help!"
You shall not share, sub-license, sell, rent, host, transfer, or distribute in any way the digital or 3D printed versions of this object, nor any other derivative work of this object in its digital or physical format (including - but not limited to - remixes of this object, and hosting on other digital platforms). The objects may not be used without permission in any way whatsoever in which you charge money, or collect fees.
Current ver.3.3_05/12/2026
© 2026 C59 Design Lab. All rights reserved.
License

You shall not share, sub-license, sell, rent, host, transfer, or distribute in any way the digital or 3D printed versions of this object, nor any other derivative work of this object in its digital or physical format (including - but not limited to - remixes of this object, and hosting on other digital platforms). The objects may not be used without permission in any way whatsoever in which you charge money, or collect fees.


Comment & Rating (2417)