
P2S - X2D PTFE Tensioner
Print Profile(1)
Bill of Materials


Description
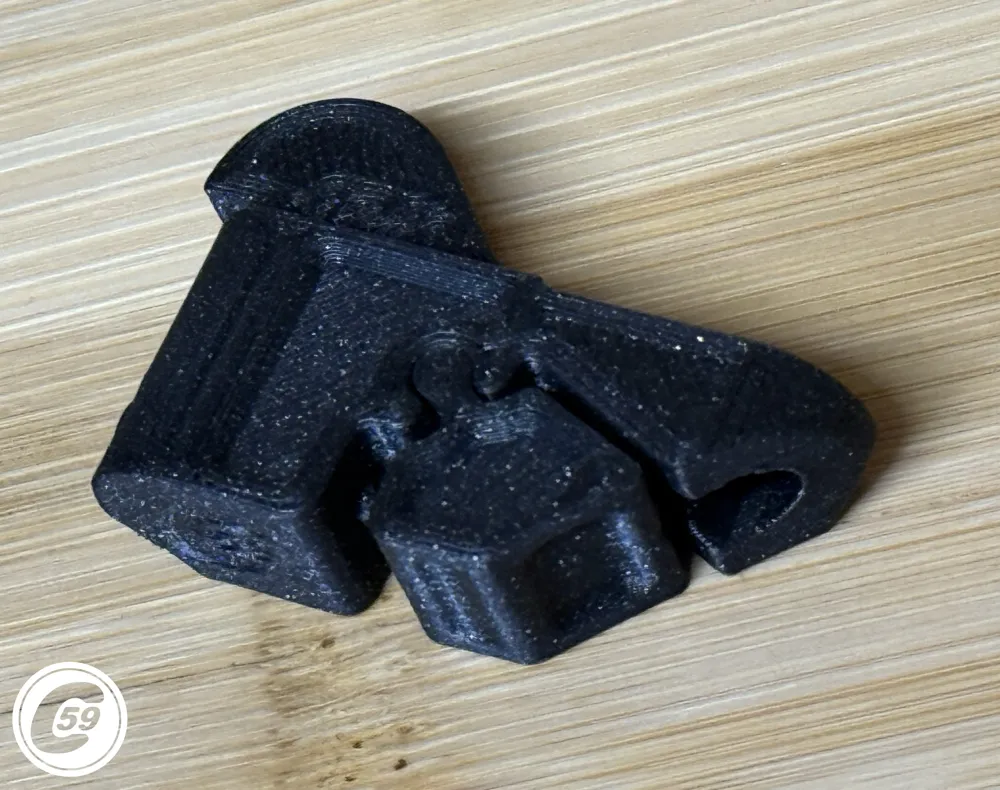
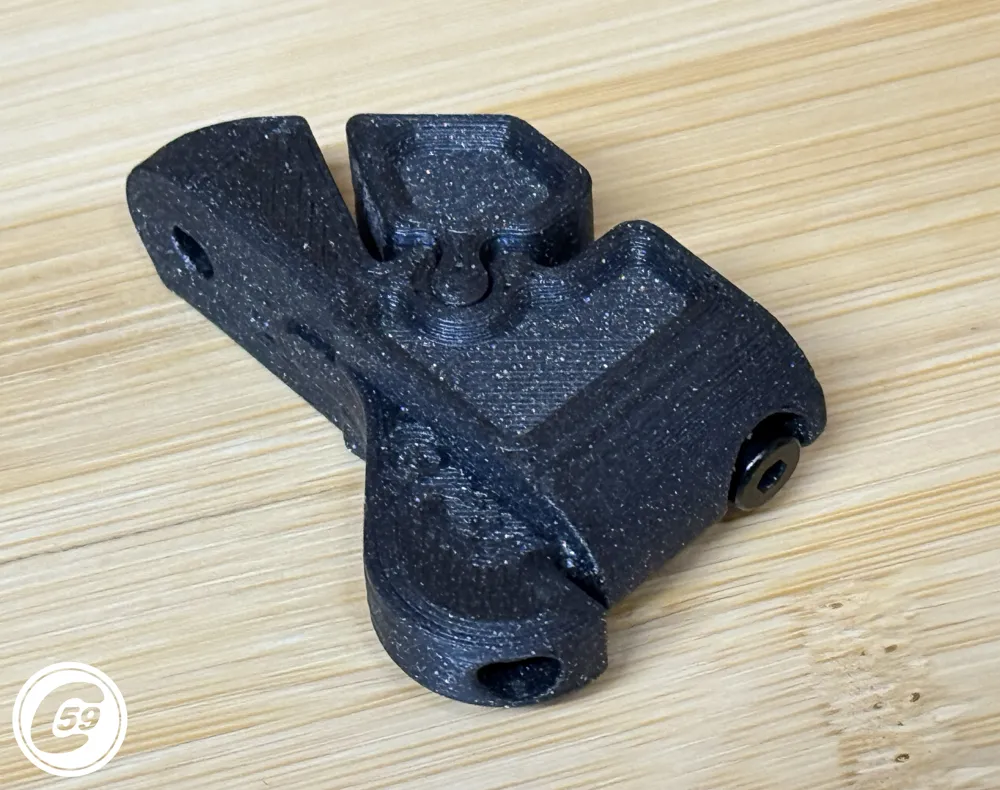
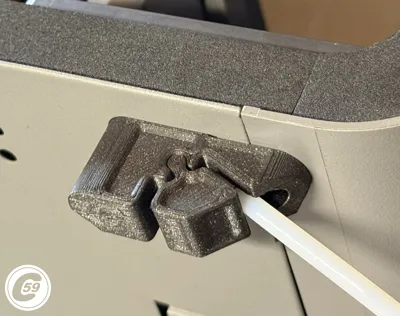
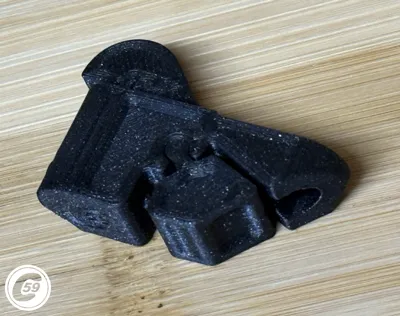
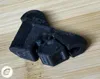
PTFE Tensioner for P2S - X2D (CP2T)
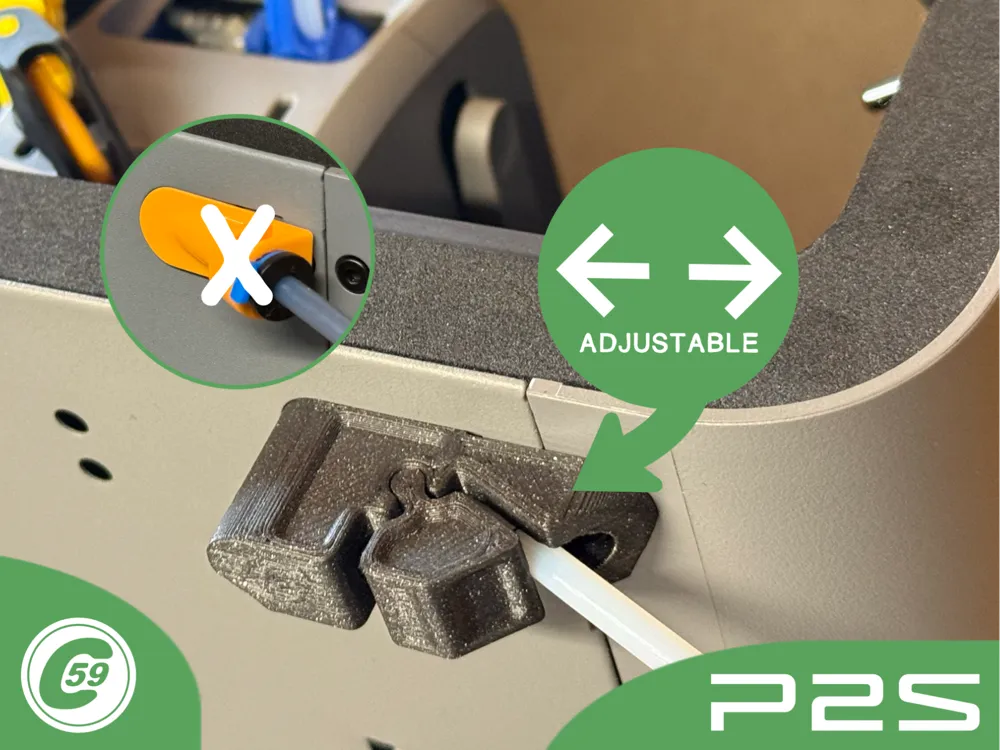
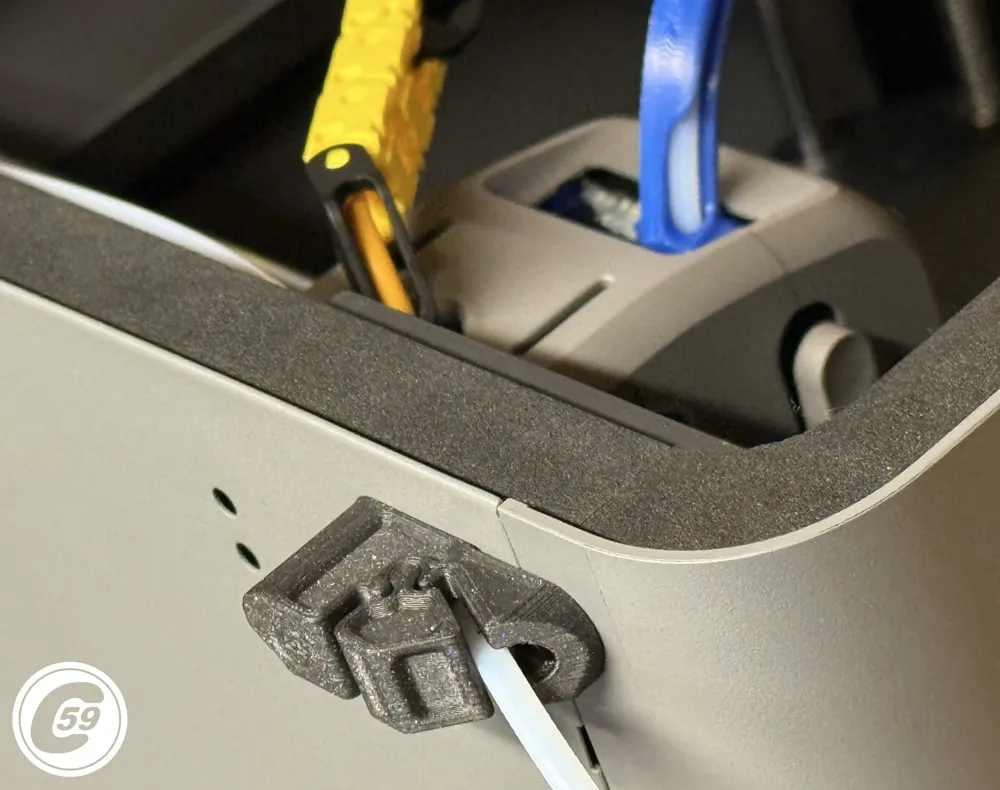
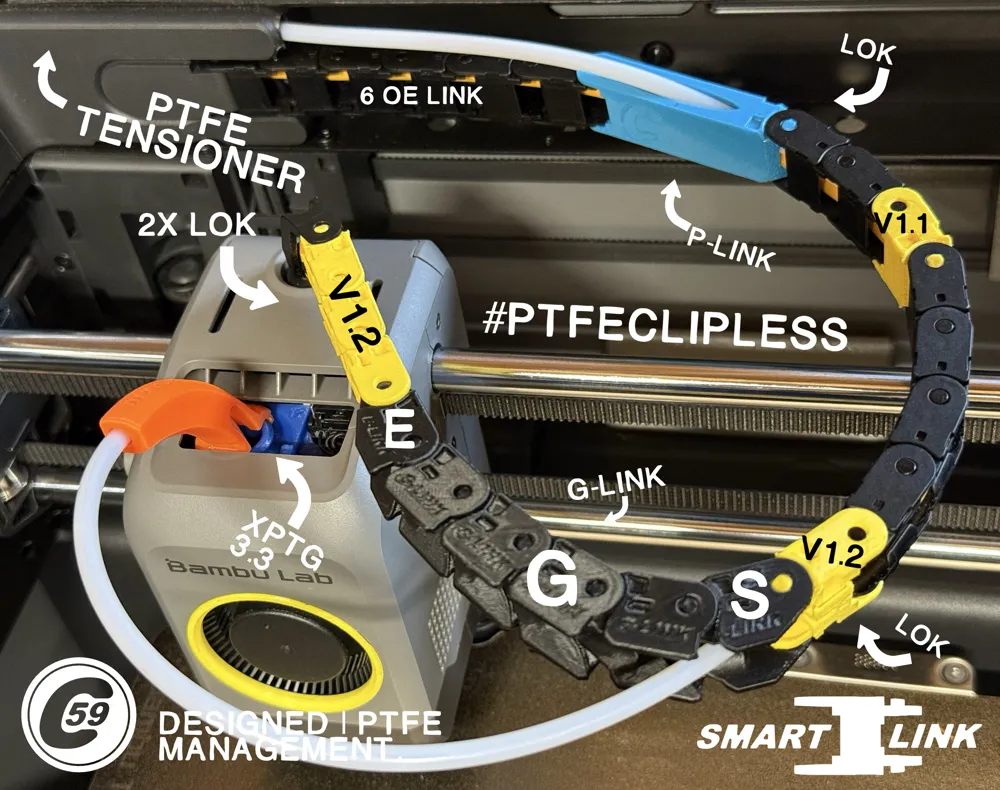
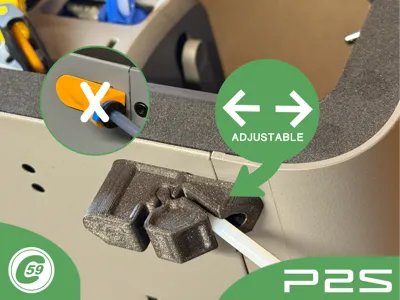
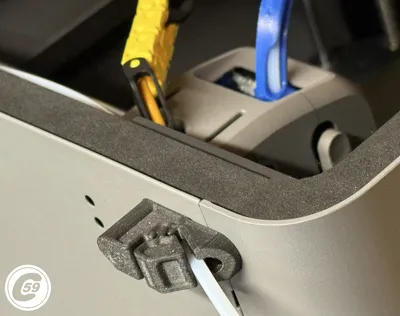
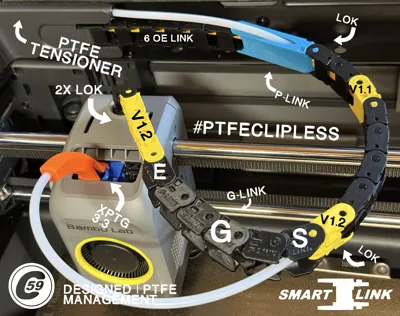
The Tensioner eliminates guesswork when setting the Smart-Link PTFE length for P2S. It also removes the yellow choke point and allows the use of a single PTFE tube instead of two.
Can also be useful to tune PTFE length on X2S
This tensioner enables quick adjustment of the PTFE length without the need for cutting or unnecessarily wasting material.
Features
- Adjust PTFE length in seconds!
- Prevents improper tension between the toolhead guides and Smart-Link.*
- Delivers smooth, jam-free feeding by eliminating the yellow bracket restriction.
Smart-Link Chain: Smart-Link
XPTG 3.3 P2S Ultimate Toolhead guide: XPTG
*Effective when properly tensioned and not overtightened by the end user. The installer is responsible for final performance.
Quick Action Shorts: Click here
At C59, we believe small details make a big difference.
Compatibility
Compatible with Bambu Lab P2S Only
Requirement
- Screws: Refer to the screws listed in the BOM. Use them as a reference, or substitute if you don’t have compatible ones on hand.
- PTFE: Approximately 38–40 inches (1000 mm) of new PTFE. It may be cut or left as-is, depending on your preference.
Installation Instructions
- Remove the yellow PTFE bracket.
Refer to the guide: How to Remove the PTFE Bracket. - Remove Both PTFE tube from the buffer to the toolhead and completely from the unit.
- Prepare the new PTFE tube.
The length may vary based on personal preference. - Prepare the tensioner.
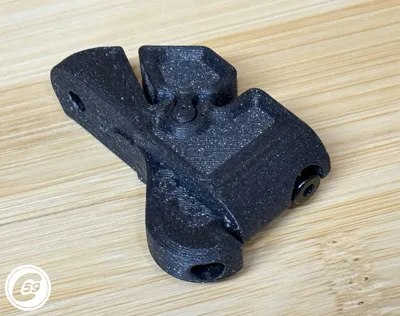
Fully thread in the self-tapping screw, then back it off slightly to allow smoother movement and better control when tightening the tube. - Assemble the tensioner.
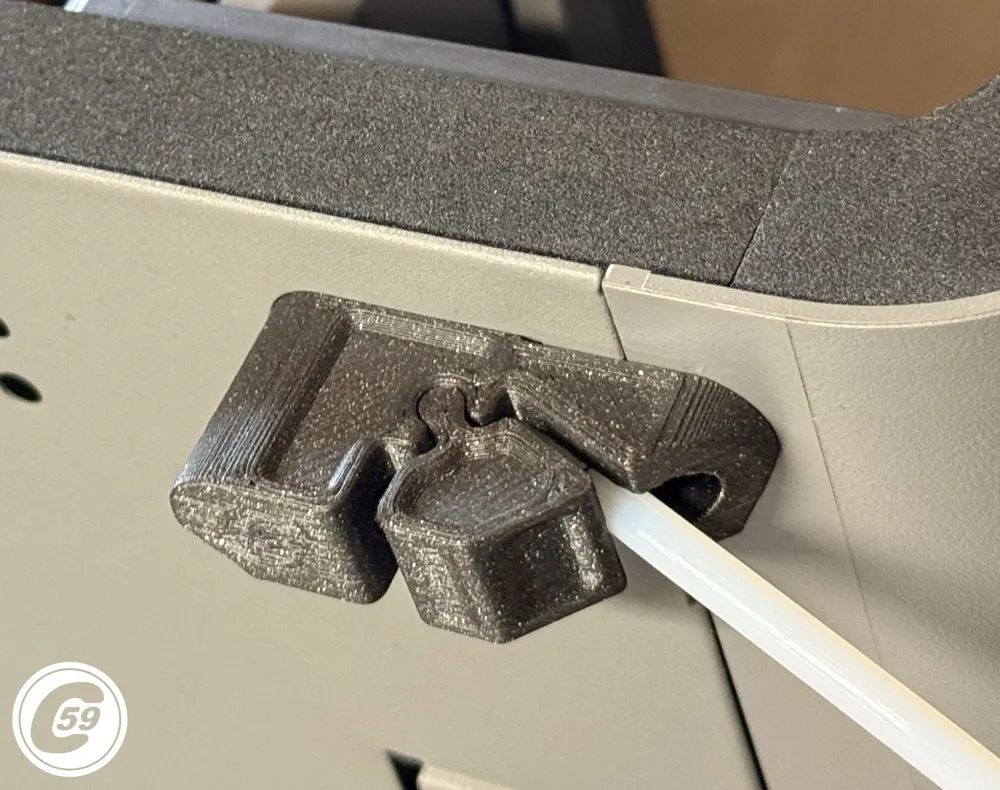
Insert the lock into the tensioner body, then tighten the self-tapping screw until the lock is secured in place and cannot move. - Install the tensioner.
Insert it into the printer, ensuring the PTFE tube is inserted at the same time. - Secure the mount.
Once the tensioner is in position, pull the tube back slightly if needed, then insert and tighten the second screw to secure the mount to the printer. Adjust the tube length.
Pull the tube to your desired length toward the buffer, cut it and connect.
Adjustment Instructions
- Position the toolhead at the front-right corner, at its maximum travel.
- In the quick action shorts, you’ll see that the tube is pulled to the desired position.
- Lock the tube in place by moving it slightly to feel resistance, then tighten the tension screw until snug.
- Do not overtighten, as this may kink the PTFE tube and cause feeding issues.
- Once locked in the desired position, perform a manual resistance test by feeding filament through the tube.
- If the filament feeds smoothly and the tube is not crushed, you’re ready to print.
Maintenance – First Couple Miles Re-check
After the first few miles, re-check tension fastener.
- As the PTFE settles and slightly embosses, the locking groove may loosen, simply check and re-tighten if necessary.
Enjoy stress-free printing, no more snagged saran wrap or broken toolhead guides.
v1.0 Specifications
Material: PETG
Printer Settings:
- Profile: Standard
- Layer Height: 0.20 mm
- Mode: CERTIFIED LUDICROUS
- Infill: 25% Gyroid
- Walls: 4
- Bottom Layers: 3
- Top Layers: 5
Printing Details:
- Supports: Required
- Print Time: 29m26s
- Filament Usage: 0.26 oz
- Estimated Cost: ~$0.40 (based on a $26 PETG spool)
Boost Me (for free)
🚀 Boost Your Project! 🚀 If you love what I'm working on, hit the Boost button! Your support helps me continue to create, improve, and share even more exciting designs. Thank you for being part of this journey!
Enjoy your printing journey, and remember—keep your fingers away from the poop chute, she's angry!
"I’ll be sure to keep you updated with any future developments. If you come across any issues or need assistance, don’t hesitate to reach out—I’m here to help!"
You shall not share, sub-license, sell, rent, host, transfer, or distribute in any way the digital or 3D printed versions of this object, nor any other derivative work of this object in its digital or physical format (including - but not limited to - remixes of this object, and hosting on other digital platforms). The objects may not be used without permission in any way whatsoever in which you charge money, or collect fees.
Current ver.1.0_05/06/2026
© 2026 C59 Design Lab. All rights reserved.
License

You shall not share, sub-license, sell, rent, host, transfer, or distribute in any way the digital or 3D printed versions of this object, nor any other derivative work of this object in its digital or physical format (including - but not limited to - remixes of this object, and hosting on other digital platforms). The objects may not be used without permission in any way whatsoever in which you charge money, or collect fees.


Comment & Rating (23)