
Floating Mage Tower - Magnetic Levitation Light

Print Profile(2)


Bill of Materials







Description

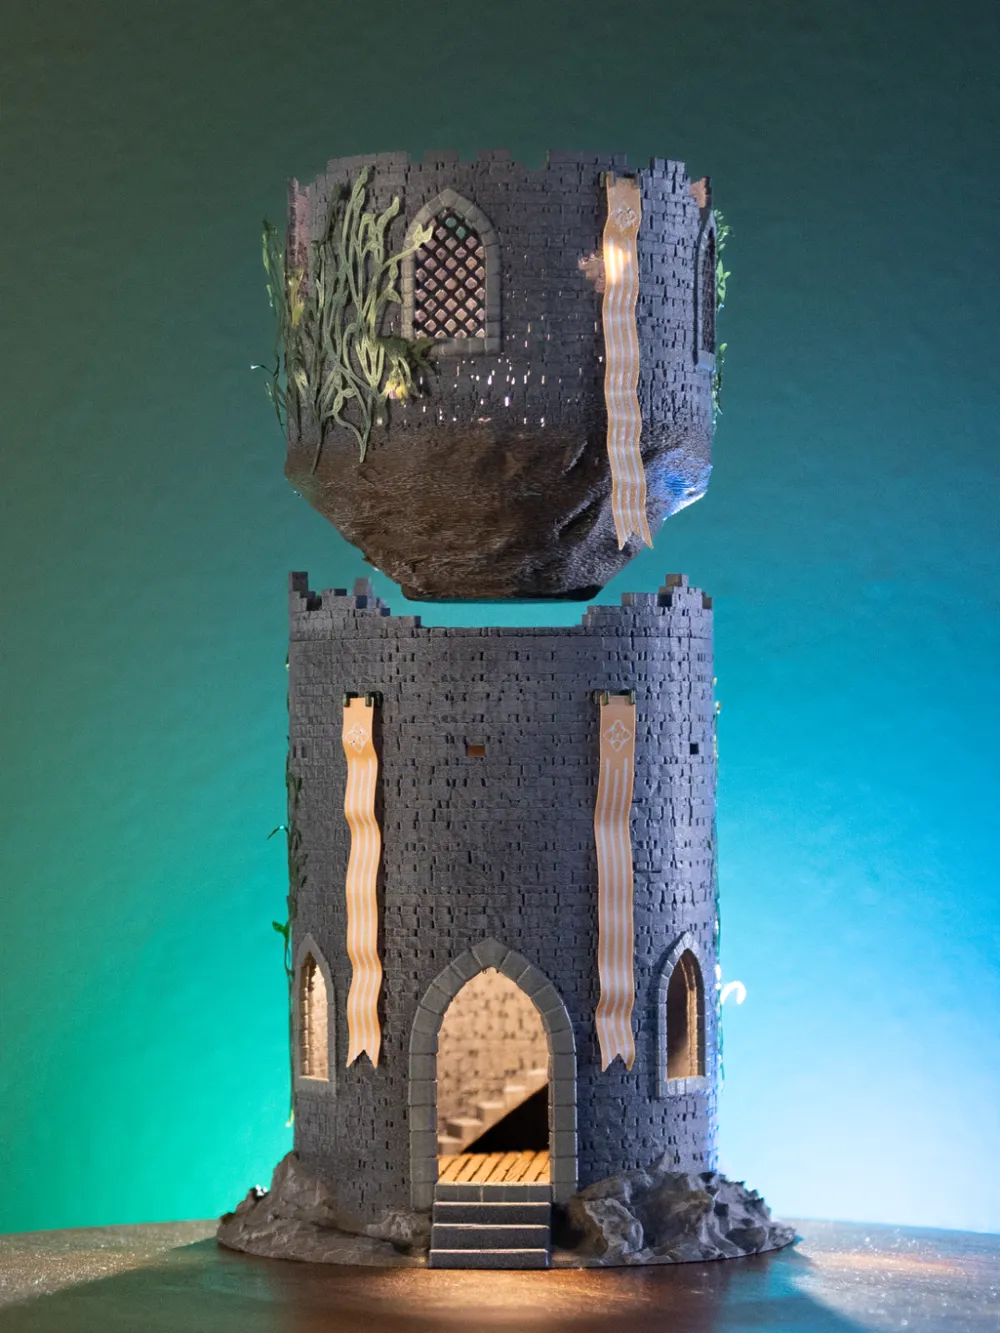
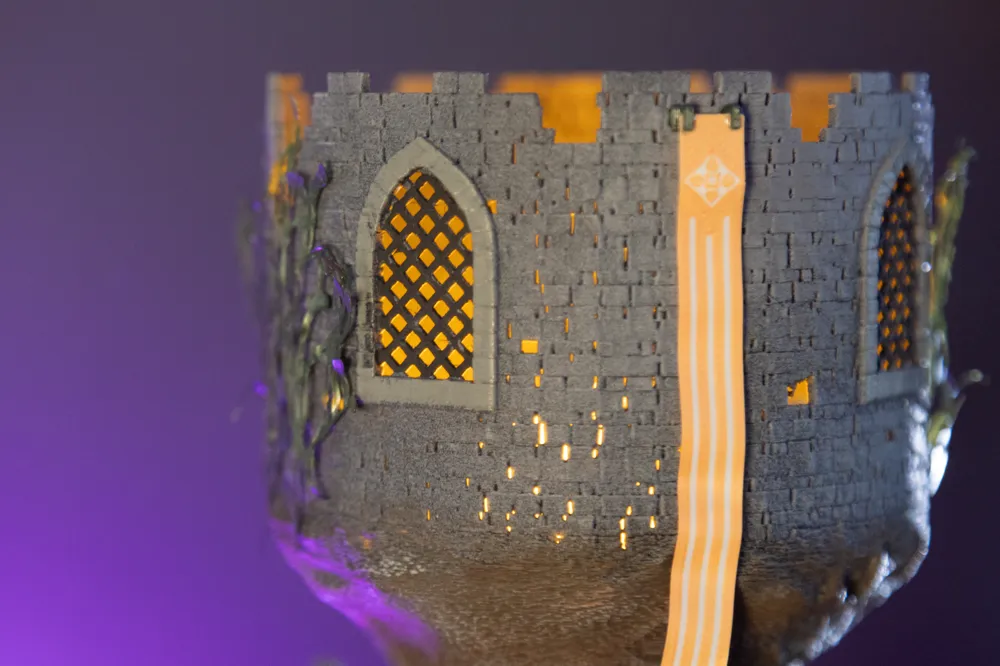
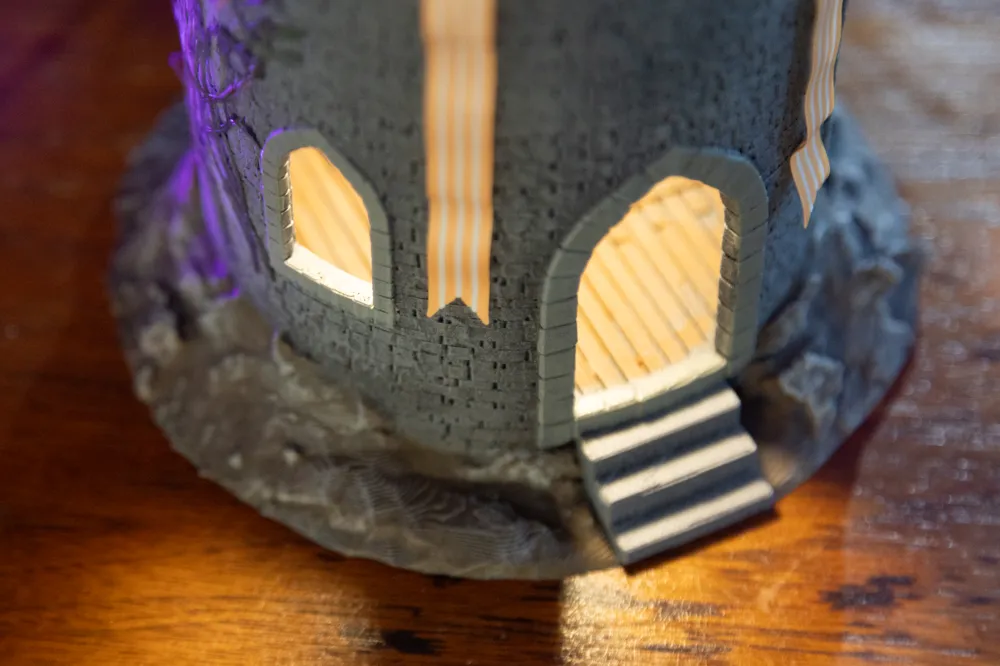
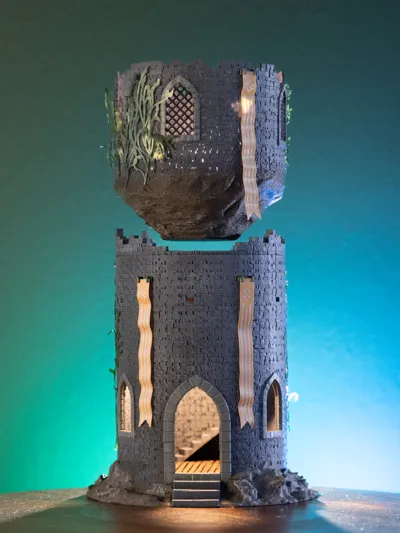
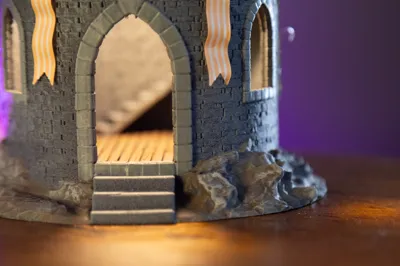
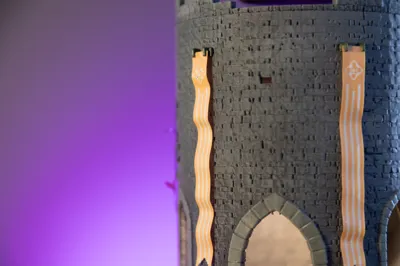
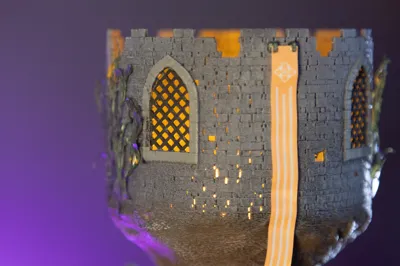
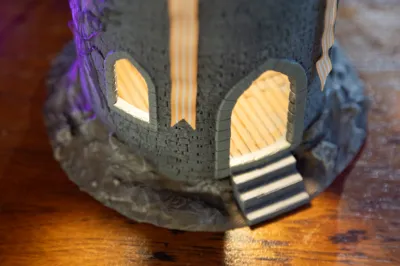
This decorative tower users the Magnetic Levitation Kit to ‘magically’ float the top portion above the base. This is my first model using this new kit and I think it provides a fun effect! Although it takes a little practice to accurately place the floating portion, no soldering is required and assembly is otherwise quite easy with no soldering required!
Printed Parts
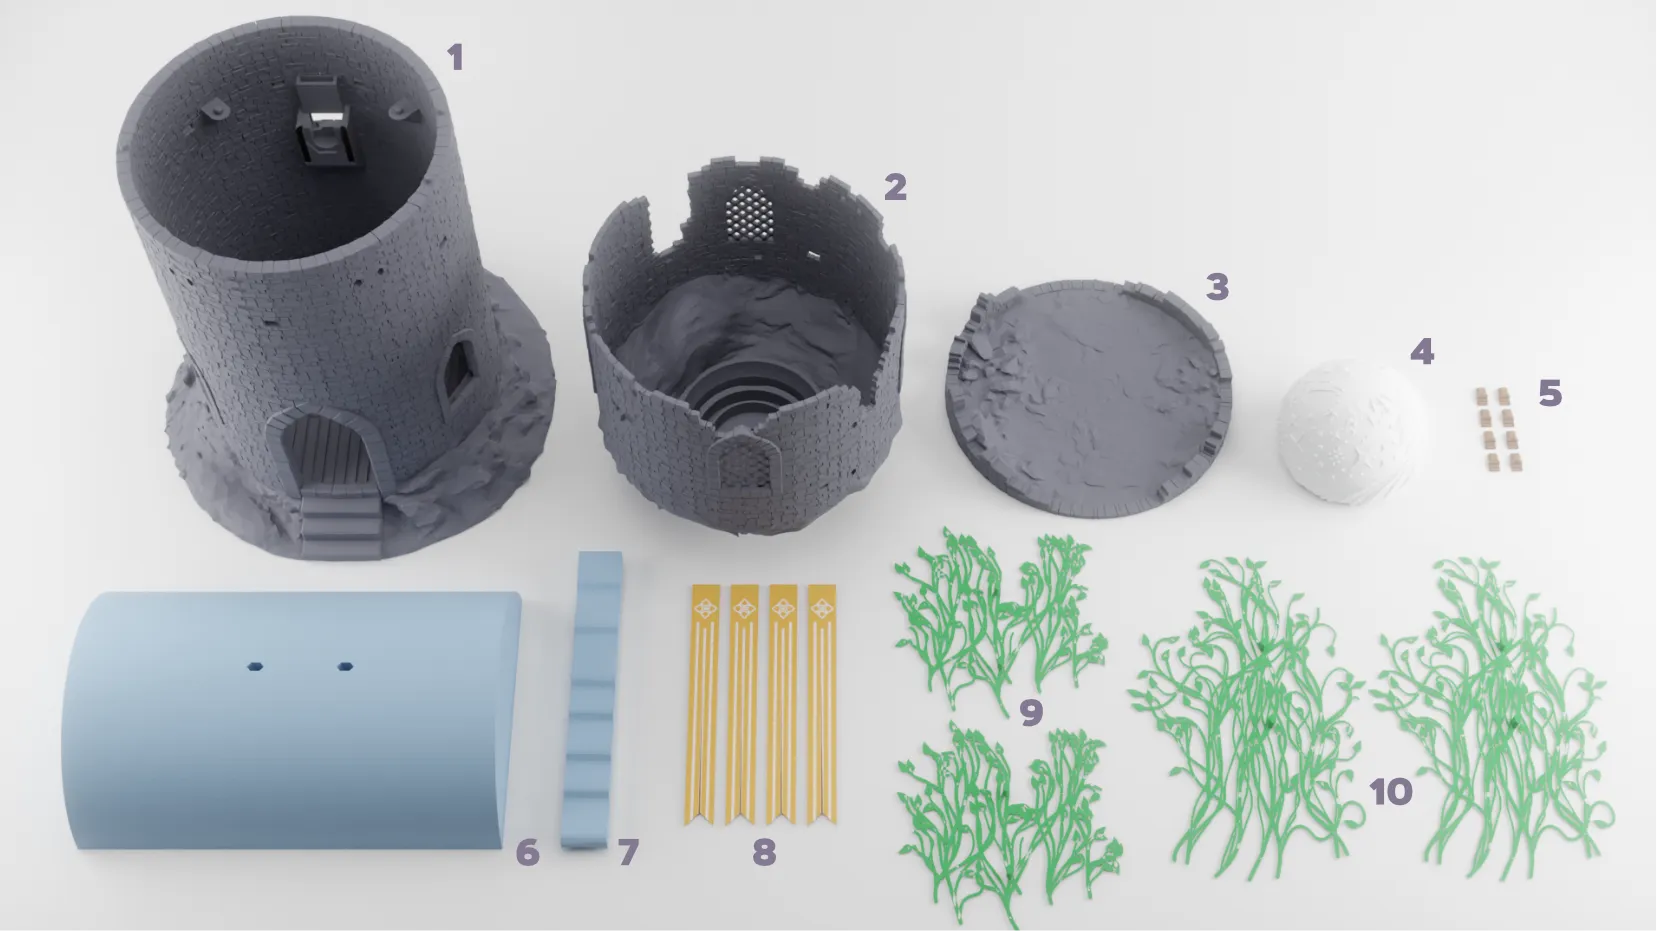
- Tower Base
- Tower Top
- Tower Lid
- Light Diffuser
- Banner Pegs
- Vine Jig
- Banner Jig
- Banners (4)
- Small Vines (2)
- Large Vines (2)
Assembly Instructions
| The banners and vines are only 1 layer thick which means that extra care is required to remove them from the build plate. I like to use a plastic blade to work these pieces off of the plate. |  |
| Optionally, you can deform pieces using the included jigs. For the vines, place then into the slots in the jig and use a hair dryer or other heat source to gently deform them to the shape. |  |
| For the banners, clip them to the included jig and deform them as in the previous step. You may need to press lightly to deform the banners into the valleys of the jig. |  |
| Remove the levitation float, power supply coil and light board from their protective shell. Be very cautious with the coil as it is fragile. Make sure to keep the plastic spacer between the float and coil - you will use it later. |  |
Place the power coil into the space at the bottom of the Tower Top. Bend the wire to the light board so that it's out of the way and aligned to the gaps in the side. Although not pictured, place the spacer on top of the coil.
|  |
| Press the levitation float into the base and bend the wire to the light board so that it sits on top. |  |
| Place the light diffuser over the light board - it should sit loosely in place. |  |
| Place the small vines into the Tower Top using the attached pegs. | 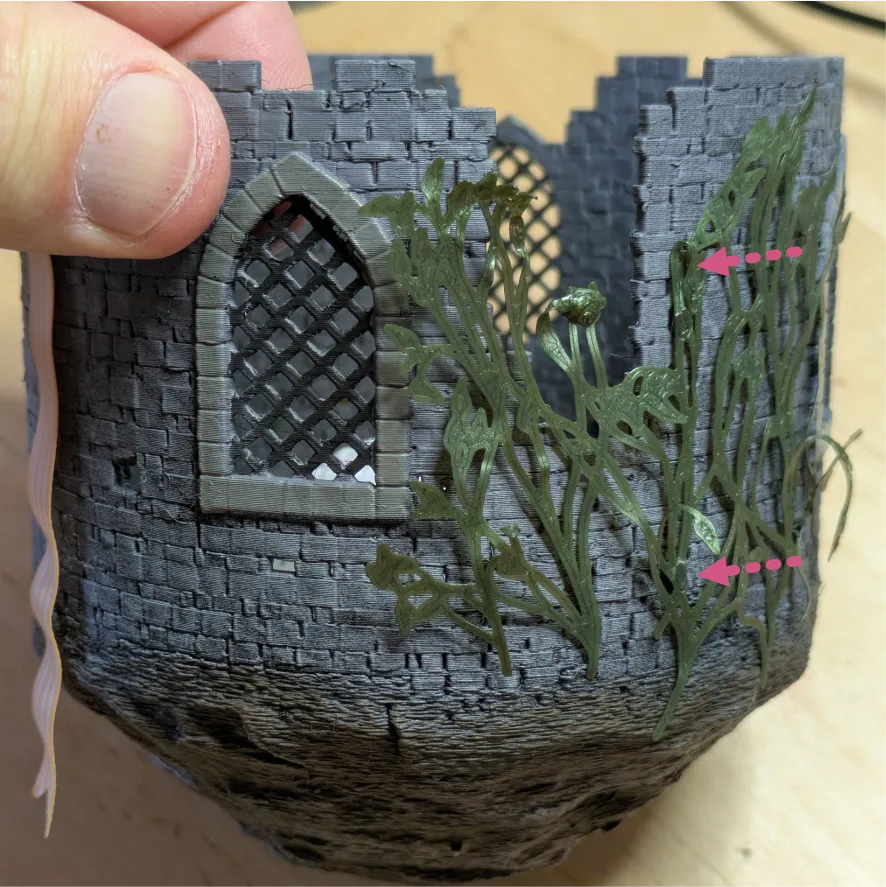 |
| Insert the (4) banner pegs into the Tower Top (note that they should be rotated so that the clips are nearest each other with the gap facing down and then insert the (2) banners into the gaps. You may want to use a small amount of glue to hold the banners in place. | 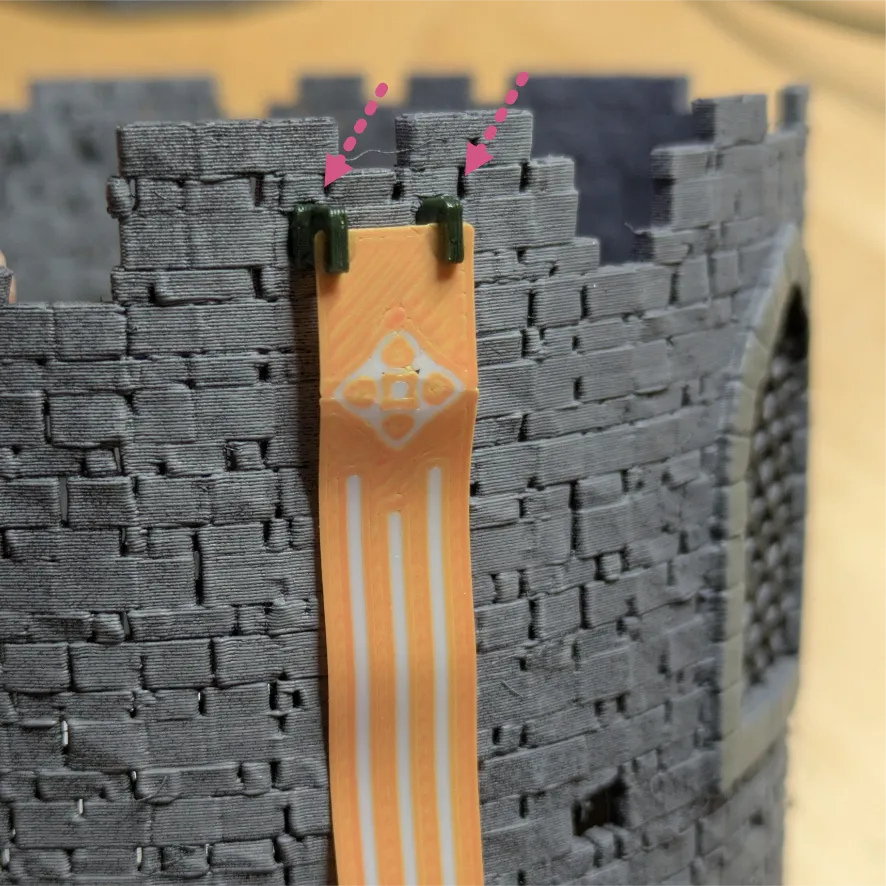 |
Remove the top protective shell from the magnetic levitation base.
Be sure to keep the bottom protective shell - you'll use it in the next step! |  |
| Attach a puck light to the bottom of the magnetic levitation base shell using the included adhesive patch. |  |
| 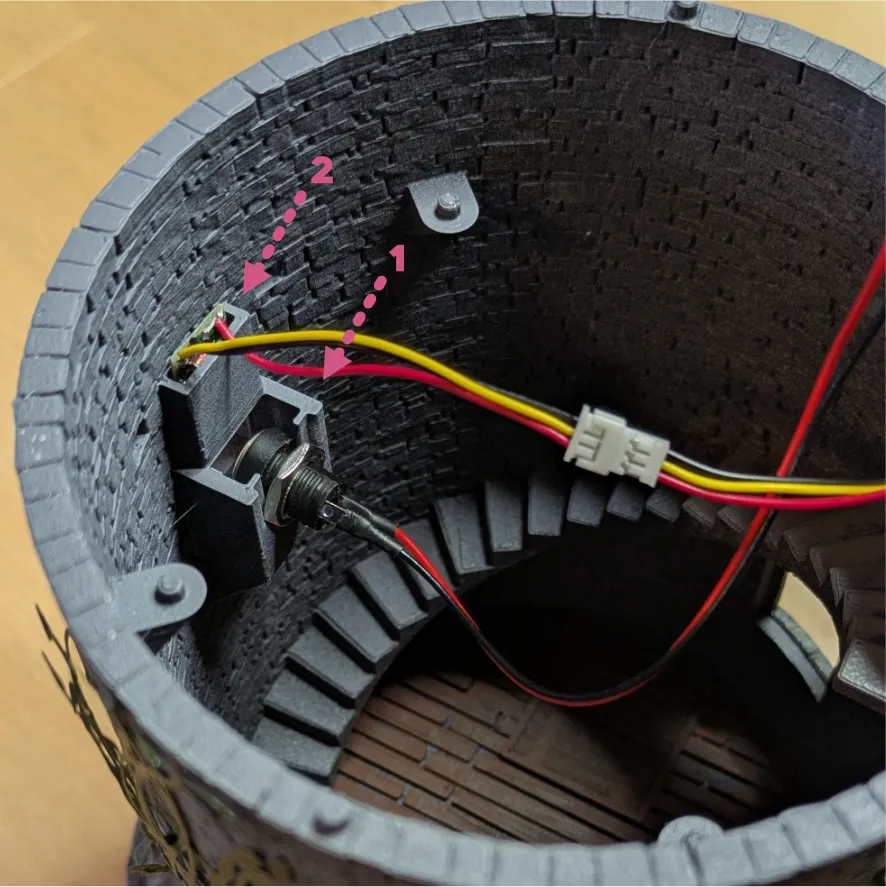 |
| Place the magnetic levitation base into the Tower Base, aligning to each of the 4 corners. | 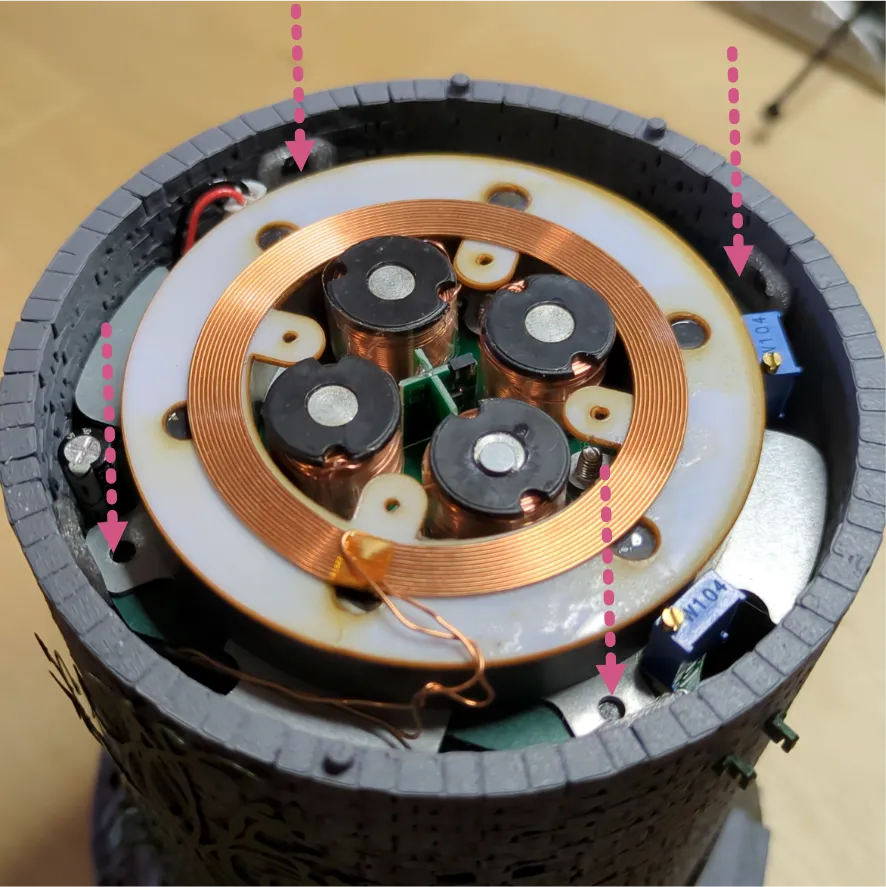 |
| Press the tower lid onto the base. |  |
Levitation Tips
| Lower the top directly down onto the base after the power is plugged in. Keep a finger between the two parts so that they don't snap together and cause damage. |  |
| Observe the float from a low perspective to identify if it is balanced. Imbalance may cause the top to rotate more than desired. Look for low spots that are consistent and mark them. |  |
| To balance the top, I used putty in the interior of the top to slightly adjust the weight. | 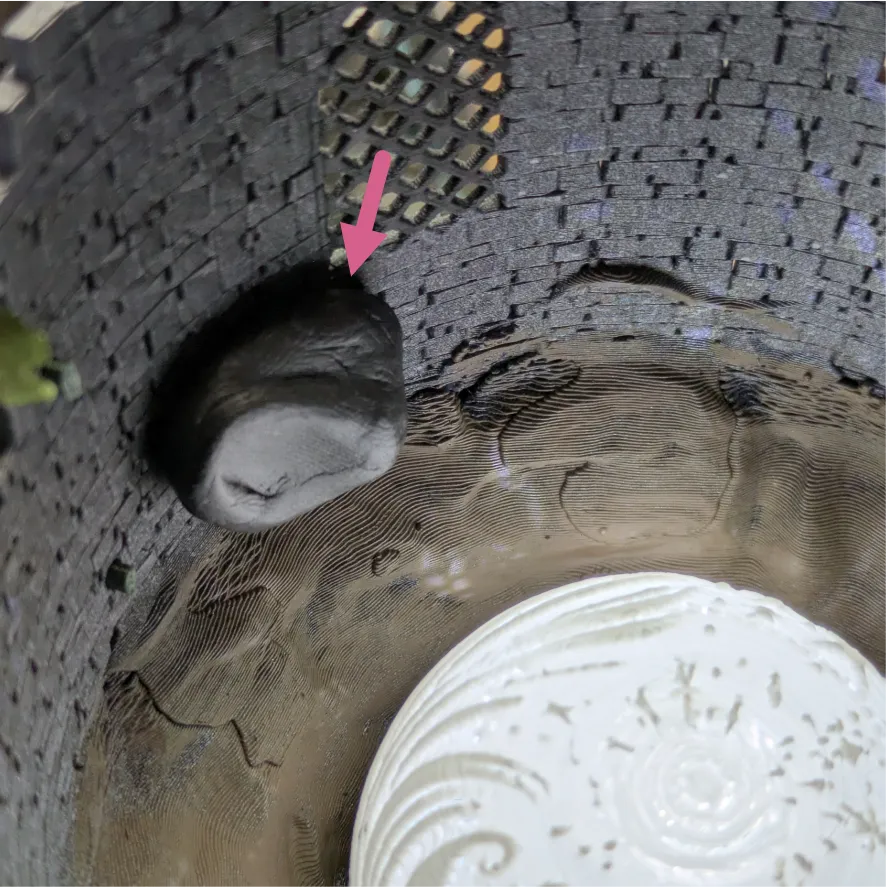 |
| The levitation base should be very close to the lid when closed - almost touching. If the base isn't this close, the top won't be able to float. Note in this photo how high the base is before the lid is attached. | 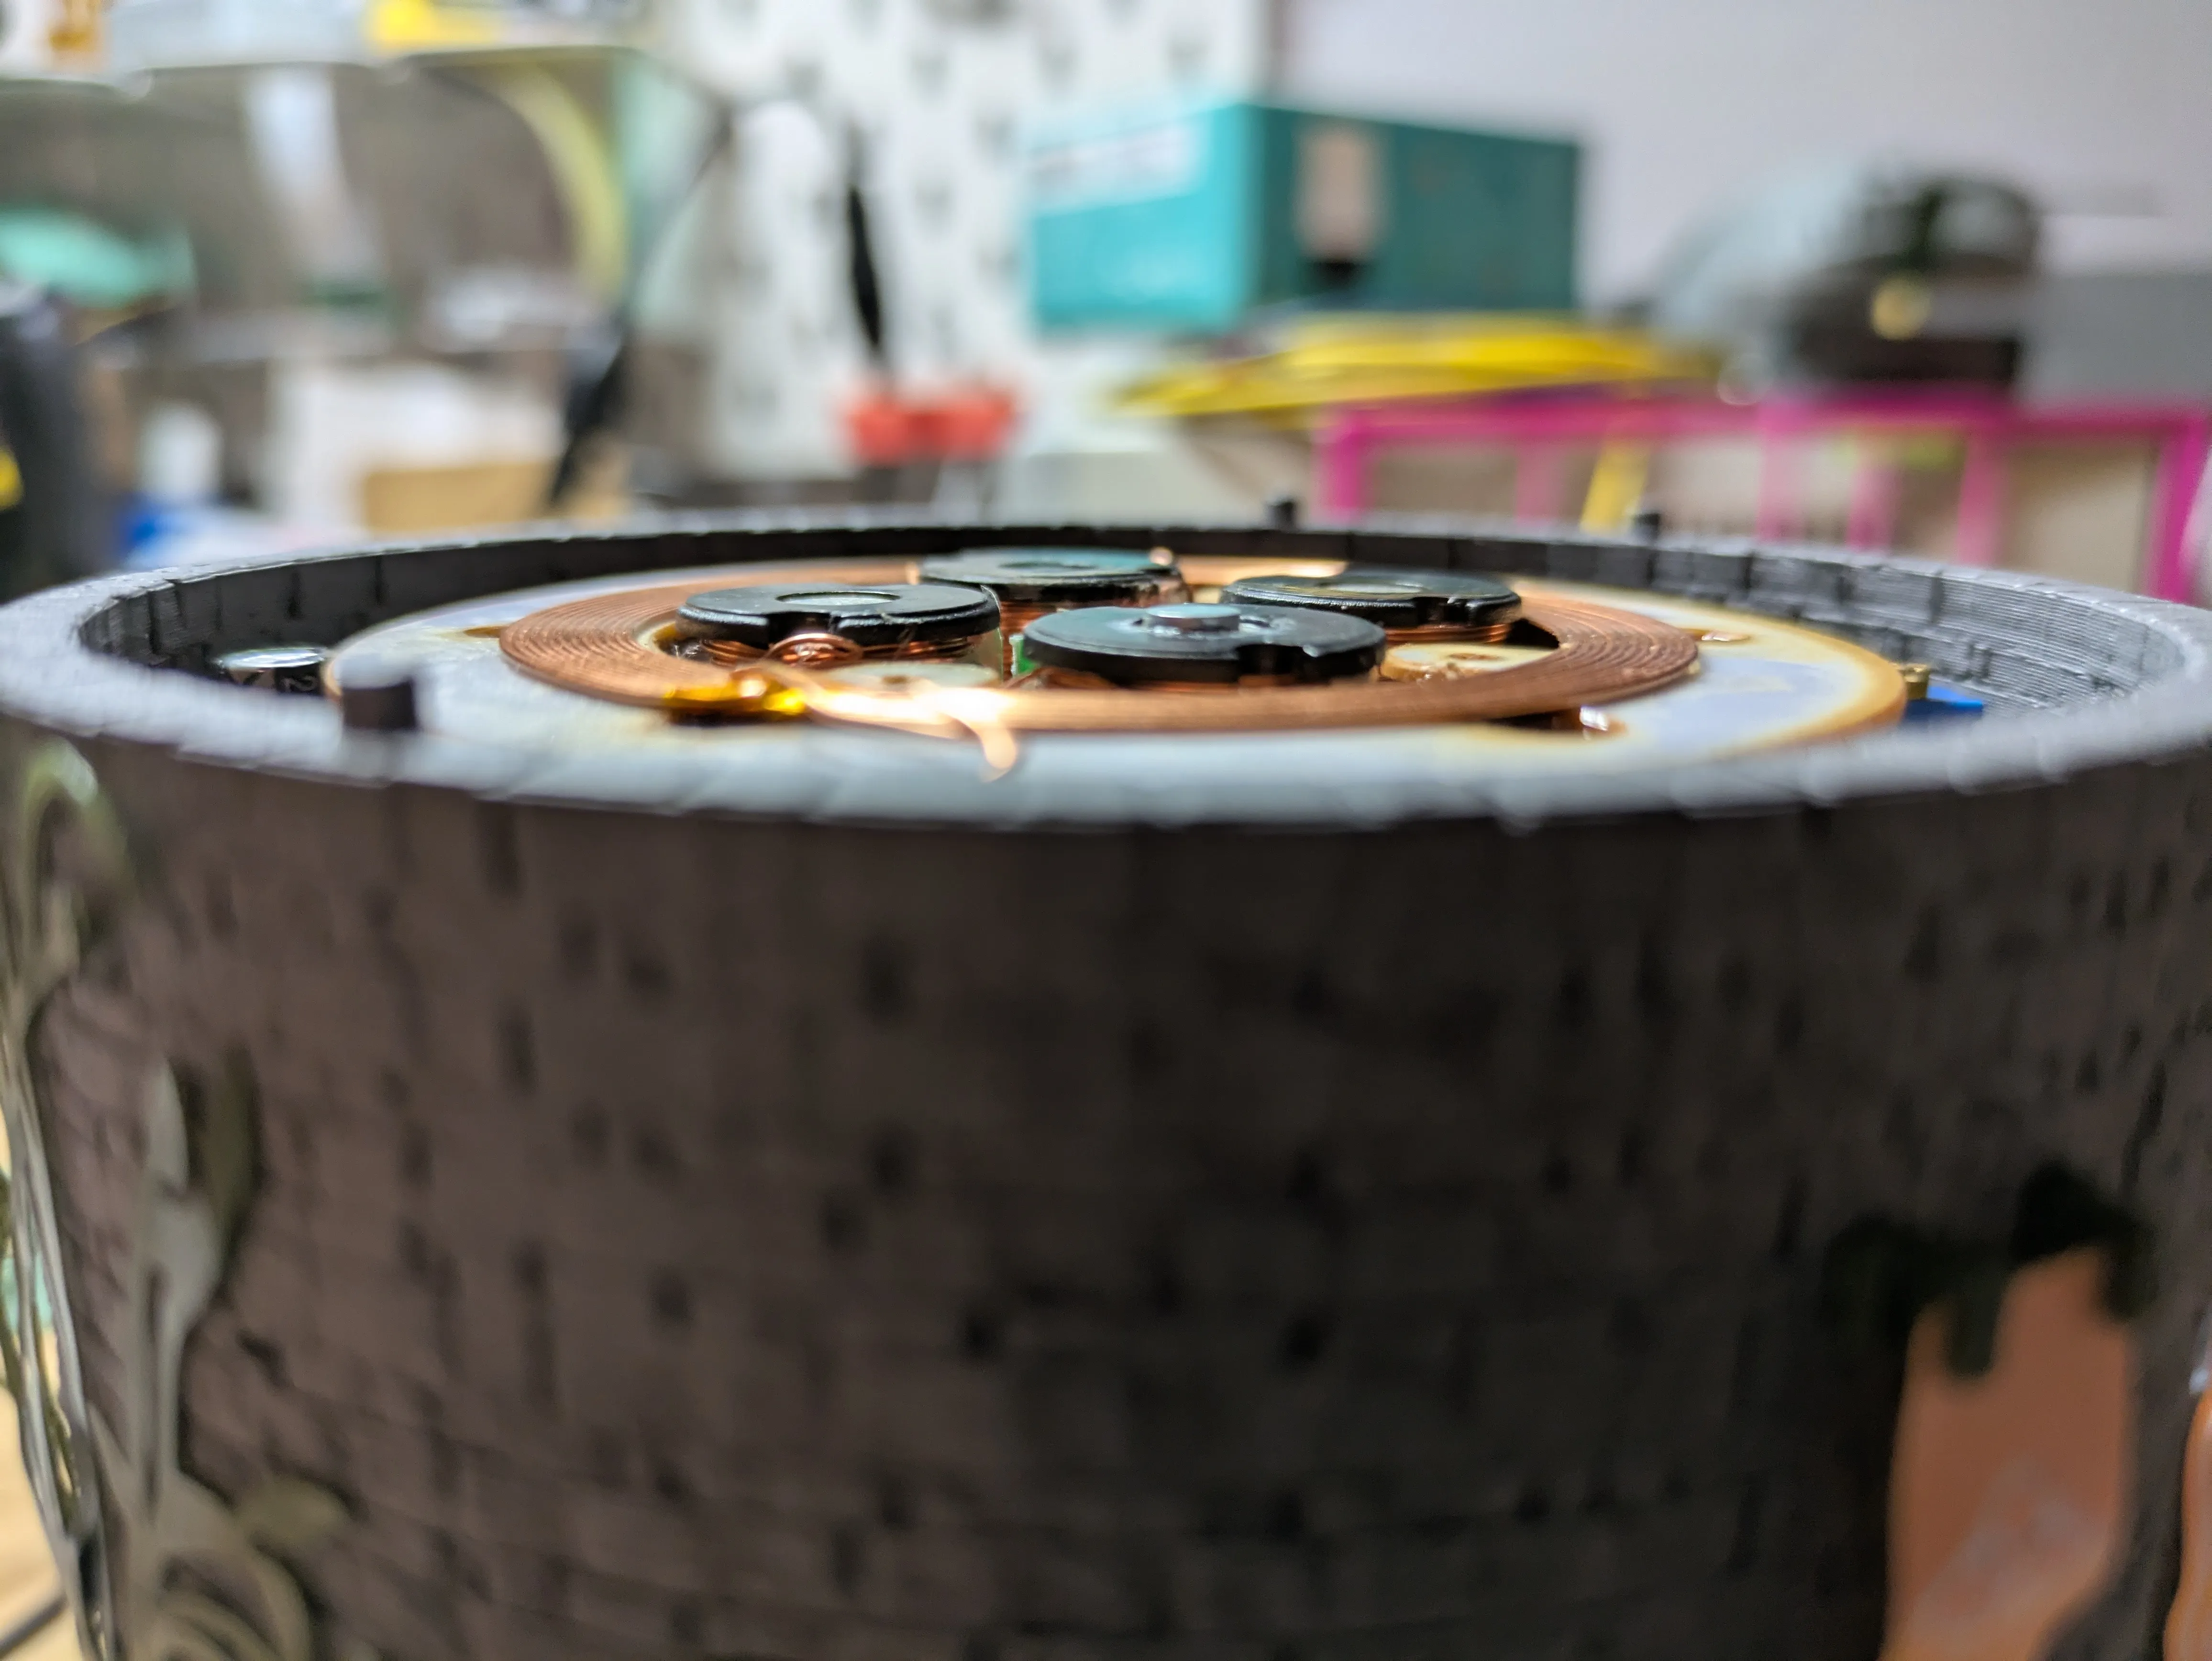 |
Printing Tips
- Note the settings for the Tower Top in the included profile - this piece is intentionally printed very thin and light so that it can levitate evenly.
- Profiles are included for A1 and A1 mini but note that I have tested this print on a P1S. Additional supports may be required for the Tower Top piece for A1 and A1 mini if you have challenges with them staying attached.
- AMS is helpful but not required. If you don't have AMS, just separate the banners from the other plates and print them in a single color.
- You can customize the banner using the MakerLab Make My Sign tools.
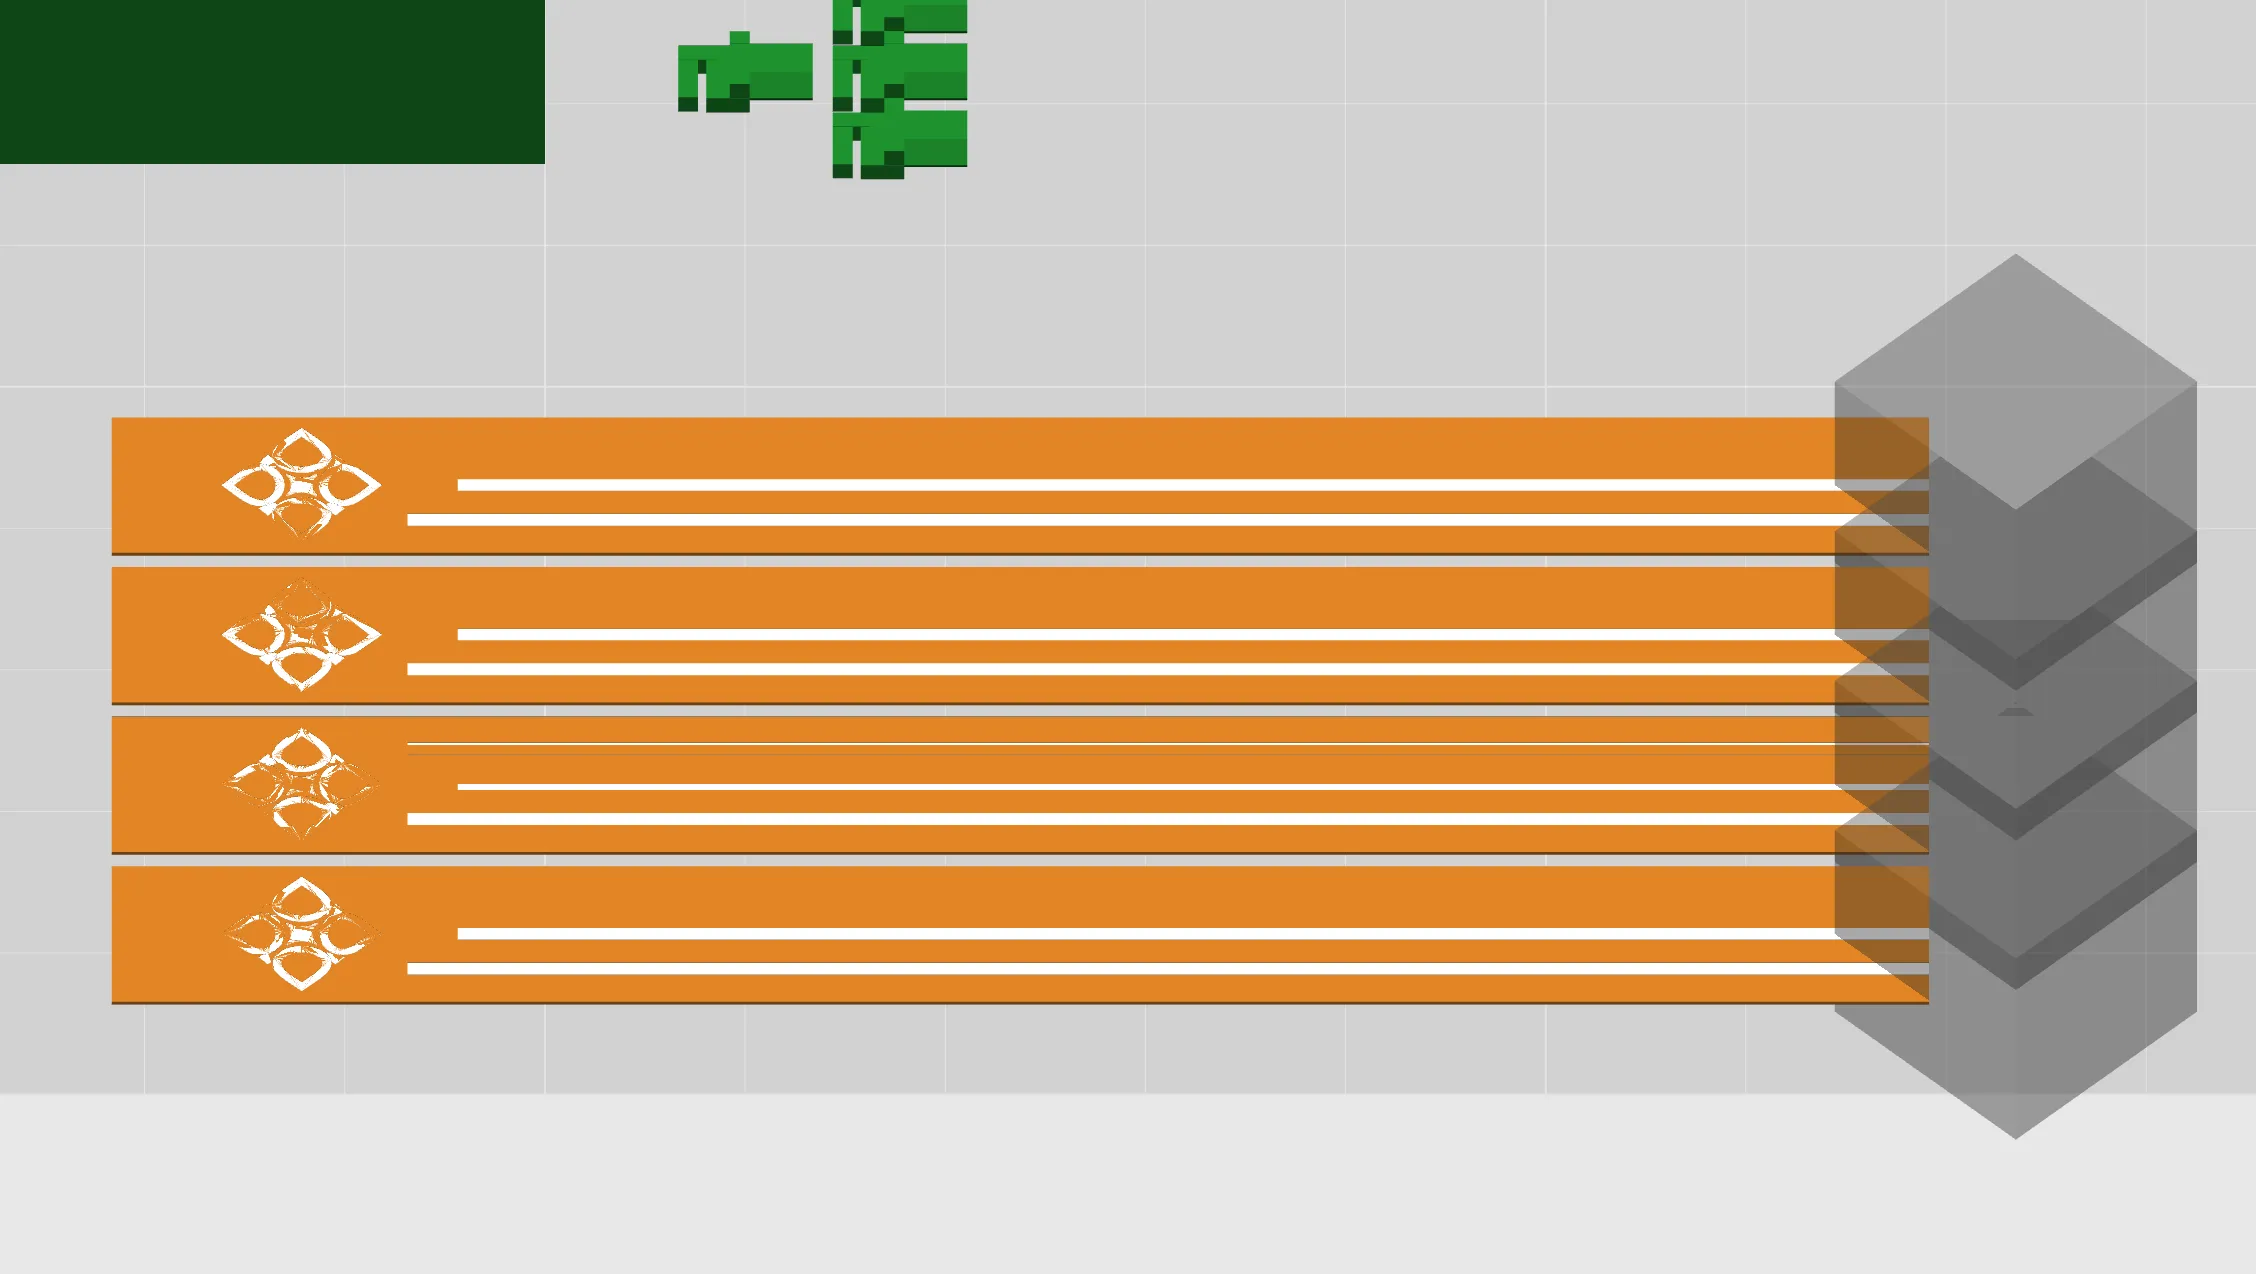
- If using a 0.4mm nozzle, ensure that each piece of the sign is 0.2mm tall so that it prints in a single layer. This helps it be thin enough to deform with heat.
- Optionally, I like to add a negative part in Bambu Studio to add a scalloped shape to the bottom of the banner.
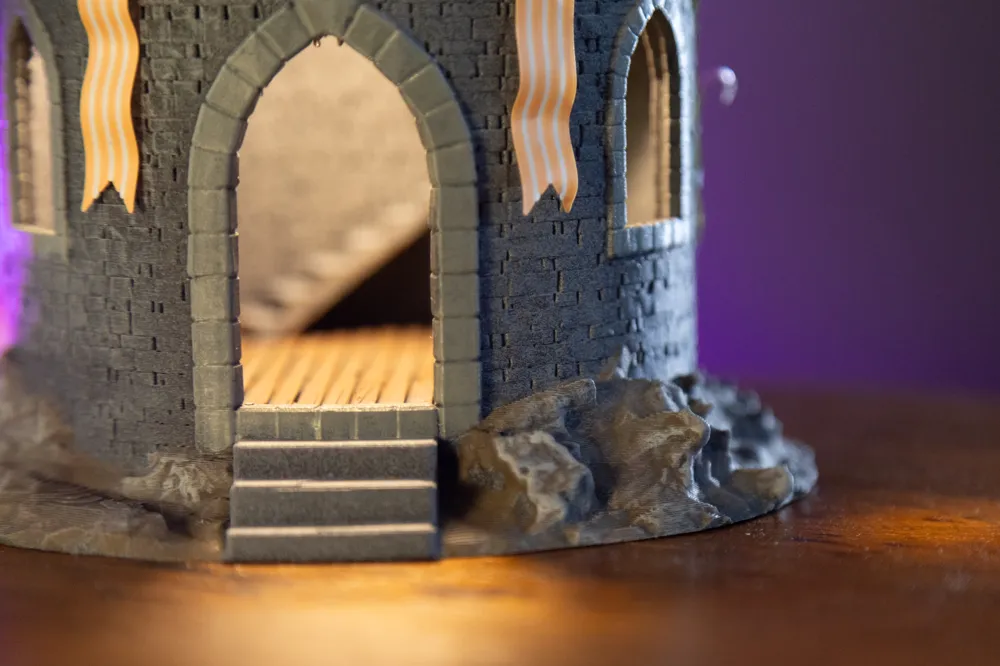
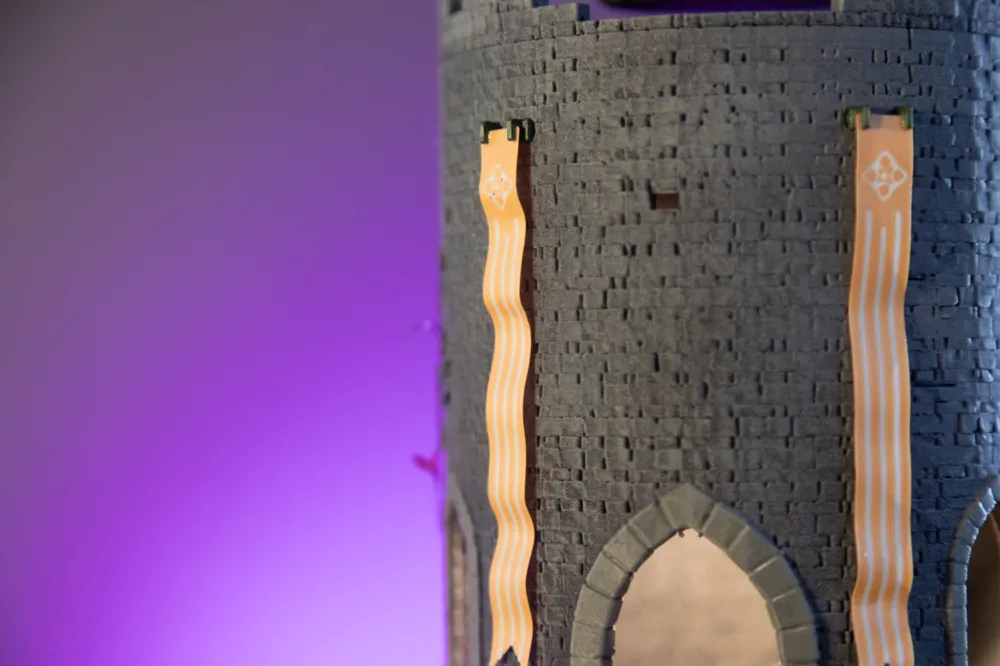
- As photographed, this model was printed in PLA and painted with acrylics.
Boost Me (for free)
If you enjoy my models and would like to support me, please consider sharing a boost!
Membership
Want to sell prints of my models? This Commercial Membership grants you a license to all of my MakerWorld models!
I love creating models to share for free, personal use. If you enjoyed this model, please consider buying me a coffee or joining me on Patreon.
License

You shall not share, sub-license, sell, rent, host, transfer, or distribute in any way the digital or 3D printed versions of this object, nor any other derivative work of this object in its digital or physical format (including - but not limited to - remixes of this object, and hosting on other digital platforms). The objects may not be used without permission in any way whatsoever in which you charge money, or collect fees.


Comment & Rating (128)