
Resin 3D Printing Cleaning Tool
Print Profile(1)

Bill of Materials


Description
Boost Me (for free)
Greetings! I am a maker with a passionate dedication to design and innovation. Through 3D modeling and printing, I translate concepts into tangible realities. Your support enables me to create elegant, practical solutions! Ways to Contribute: •Experiment with My Designs: Test them and provide valuable feedback. • Spread the Word: Share my creations within your network. • Collaborate or Offer Encouragement: Your support fuels my creative pursuits! Thank you!
Introduction
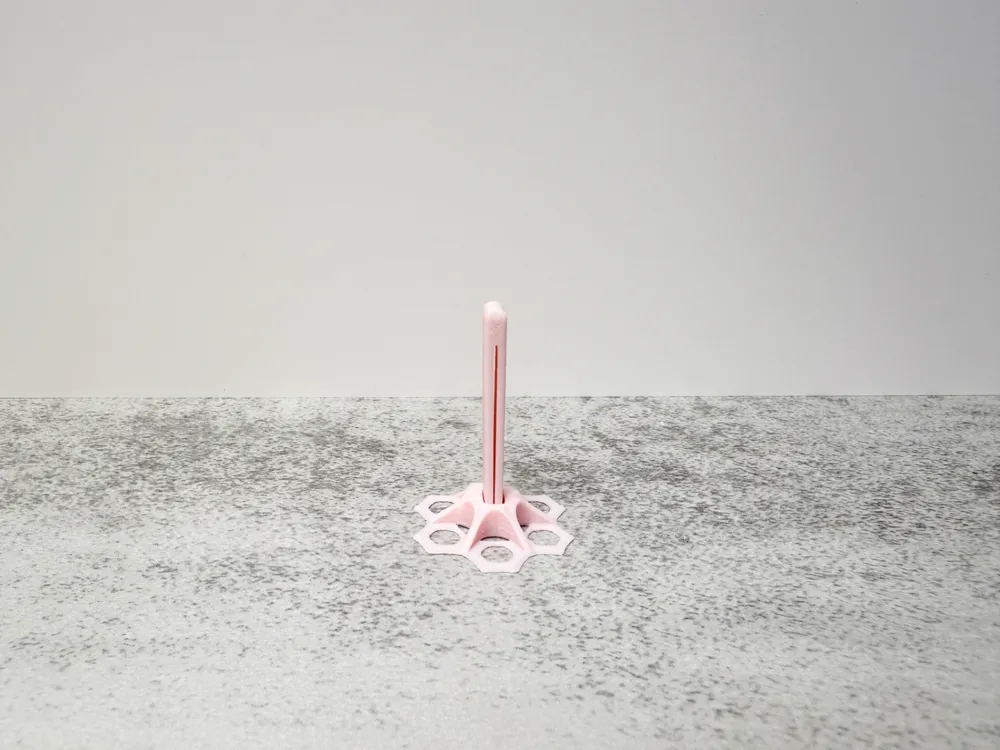
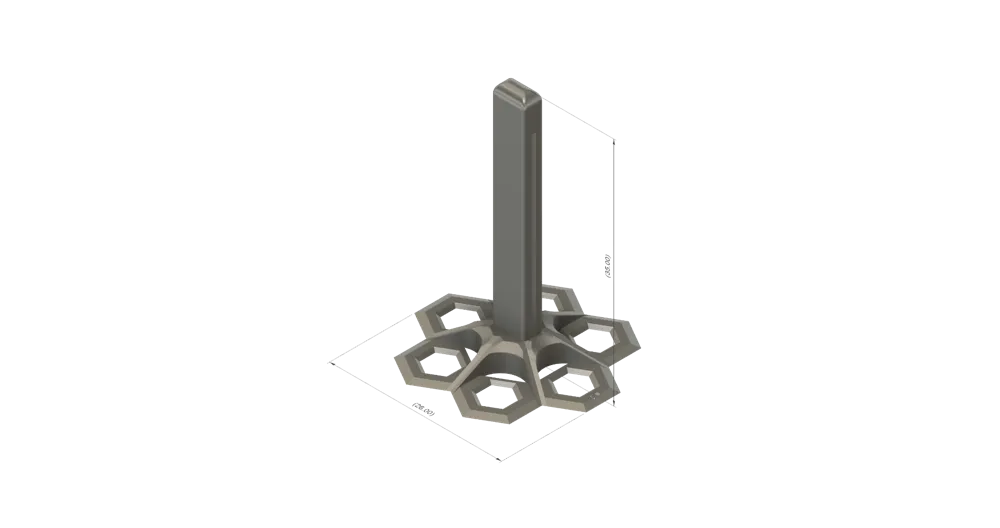
The Quick-Assembly Resin Cleaning Tool is designed specifically for resin 3D printing users as a cleaning accessory, offering exceptional convenience and ease of use.
This tool aims to address common issues such as handle breakage with a comprehensive design optimization. Combining high performance and low material wastage, it helps you easily maintain your printer in its optimal state.
Before using this model, I strongly recommend calibrating your 3D printer to achieve the best printing quality. Compensation values should be adjusted based on your printer's capabilities. If you haven't performed calibration yet, you can use the calibration test piece provided to fine-tune your settings. The following parameters require compensation:
- X-Y Hole Compensation
- X-Y Contour Compensation
- Elephant Foot Compensation
- Precise Z Height Adjustment
For detailed setup instructions, please refer to the official guide:
Calibration Setup Guide
Features
- Quick Assembly, Easy Operation
Simple steps to assemble the tool, saving time and improving efficiency. - Low Material Consumption, High Efficiency
Each cleaning cycle takes under 15 minutes, using only 1.3g of material, significantly reducing costs. - Durable and Reliable
Improved design that prevents handle breakage, enhancing tool durability.
Instructions for Use
Tool Assembly
Insert the handle into the base until you hear a "click" sound.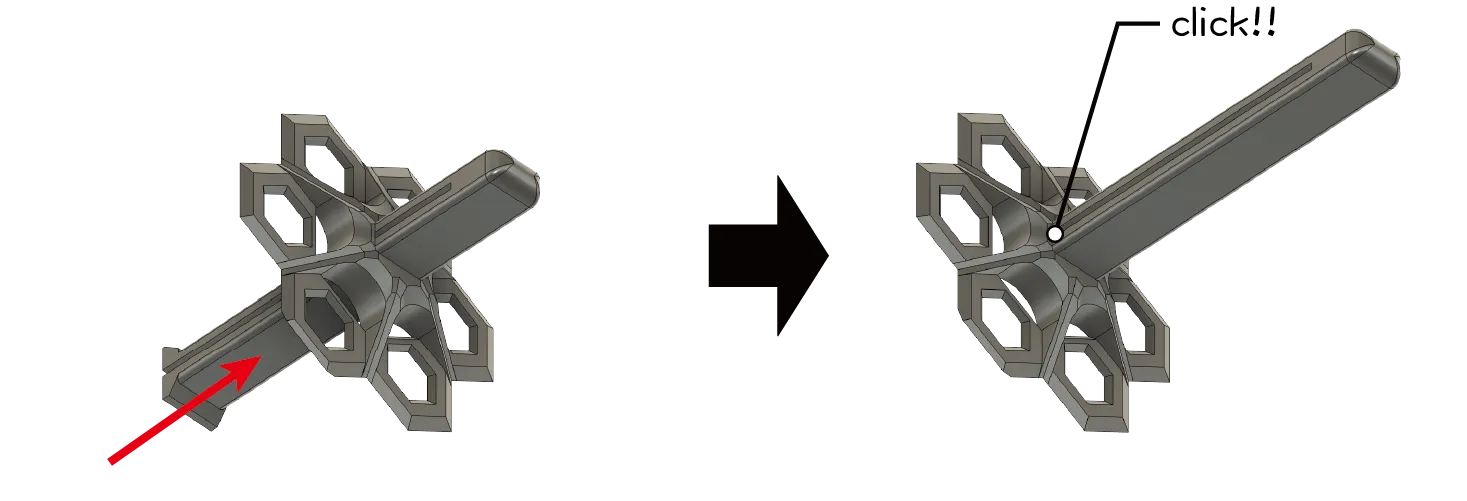
- Tool Placement
- Place 1 to 2 cleaning tools in the corners of the vat, ensuring they cover the LCD display area.
- The tools should rest steadily on the release film to prevent movement.
Initiate Cleaning Program
Use the built-in resin cleaning mode of the 3D printer. This mode will cure a layer of resin in the vat, capturing any leftover particles.
Complete Cleaning
Remove the cleaning tool and easily peel off the cured resin. This step thoroughly removes adhered residues, ensuring a deep clean.
☕ Enjoying the design?
If you found this design helpful and would like to support my work, feel free to buy me a coffee!
👉 https://buymeacoffee.com/shuwn
License

You shall not share, sub-license, sell, rent, host, transfer, or distribute in any way the digital or 3D printed versions of this object, nor any other derivative work of this object in its digital or physical format (including - but not limited to - remixes of this object, and hosting on other digital platforms). The objects may not be used without permission in any way whatsoever in which you charge money, or collect fees.


Comment & Rating (19)