
X-Y Hole & Contour Test
Print Profile(1)




Description
Boost Me (for free)
Greetings! I am a maker with a passionate dedication to design and innovation. Through 3D modeling and printing, I translate concepts into tangible realities. Your support enables me to create elegant, practical solutions! Ways to Contribute: •Experiment with My Designs: Test them and provide valuable feedback. • Spread the Word: Share my creations within your network. • Collaborate or Offer Encouragement: Your support fuels my creative pursuits! Thank you!
Introduction
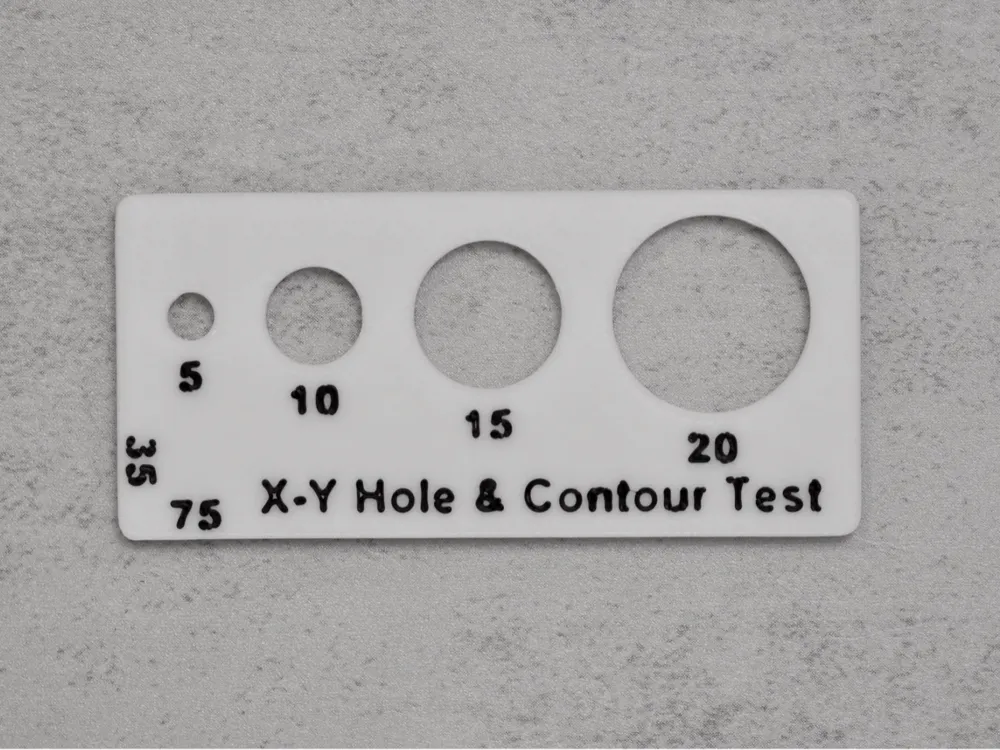
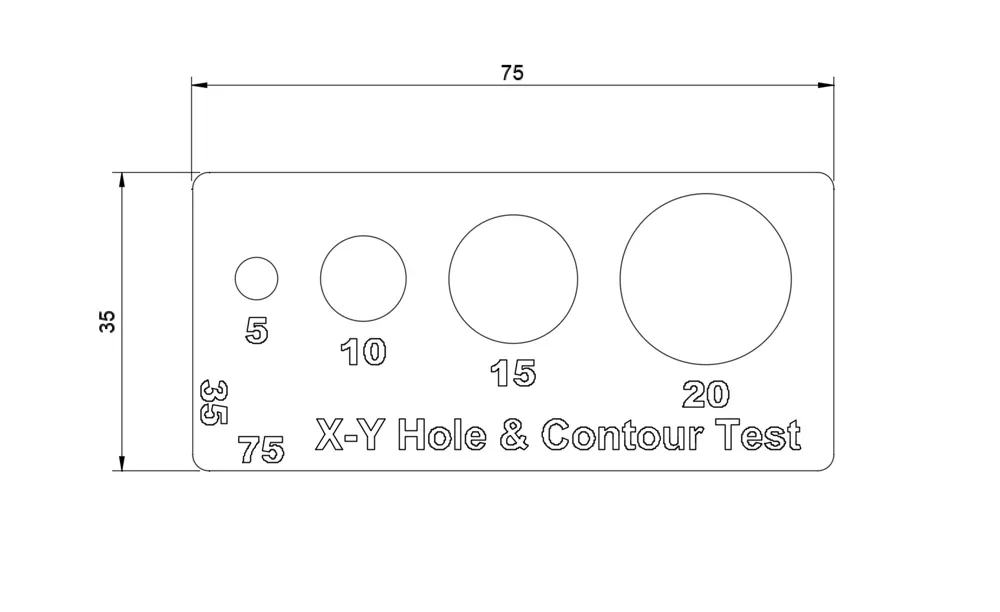
Calibration Guide: Using This Model to Adjust X-Y Hole and X-Y Contour Compensation.
1. Initial Print
For your first test, print the model using the printer's default settings without any adjustments.
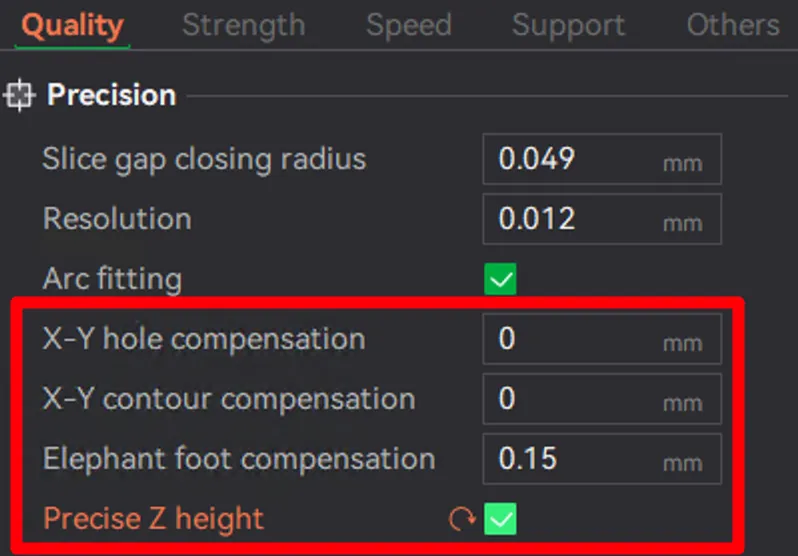
2. Measure Dimensions
Use a caliper to measure the following two dimensions:
- X-Y contour compensation
The ideal measurement should be approximately 75mm x 35mm. - X-Y hole compensation
The diameter error should be consistently minimal across all holes.
- Elephant foot (over-extrusion at the bottom layer) may cause measurement errors. To minimize this, perform multiple measurements and measure from the top surface of the model using the caliper.
- Always enable Precise Z height, as it is a critical setting to ensure vertical accuracy during printing.
3. Calculate Compensation Values
- Divide the observed error by 2 and input the results into the X-Y hole compensation and X-Y contour compensation settings.
- If you can estimate the Elephant foot error during repeated measurements, you can include this adjustment in your compensation values.
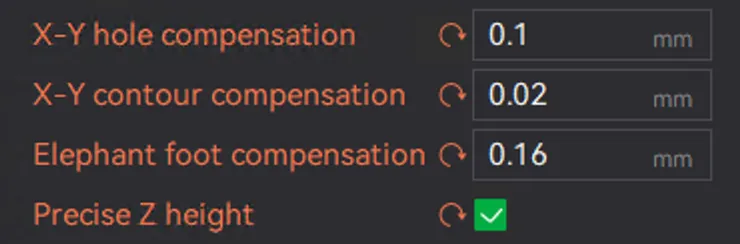
4. Reprint and Verify
Reprint the model using the updated compensation values, and measure again to confirm the dimensions are close to the design specifications. Repeat the process as needed until the calibration is complete and the desired accuracy is achieved.
☕ Enjoying the design?
If you found this design helpful and would like to support my work, feel free to buy me a coffee!
👉 https://buymeacoffee.com/shuwn
License

You shall not share, sub-license, sell, rent, host, transfer, or distribute in any way the digital or 3D printed versions of this object, nor any other derivative work of this object in its digital or physical format (including - but not limited to - remixes of this object, and hosting on other digital platforms). The objects may not be used without permission in any way whatsoever in which you charge money, or collect fees.


Comment & Rating (45)