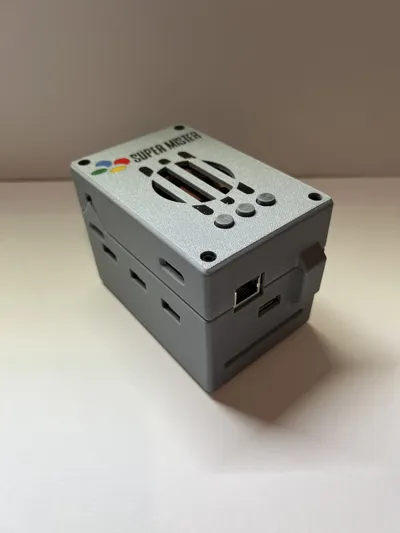
MiSTer FGPA Case with TapTo Slot and Drive Tray


Print Profile(1)

Description
A variation of this MiSTer FPGA case with the added feature of an internal drive tray and also a top modified for I/O Analog Pro board. The motivation was 1) I wanted to add an internal hard drive. 2) I wanted to eliminate the USB cable “pig tail” for the TapTo. I also needed the case to fit the I/O Analog Pro board.
If you don't have an I/O Analog Pro board, you can just use the bottom shell along with the top piece that matches your I/O board, nothing has changed in the interface between the bottom and the top piece.
Note: This case will NOT work with the Taki Mister Pi bundle (without a remix) because the distance between the DE-10 and the USB board is different as are the port positions (slightly). The IO board for the top shell is also different than the Mister Pi IO board.
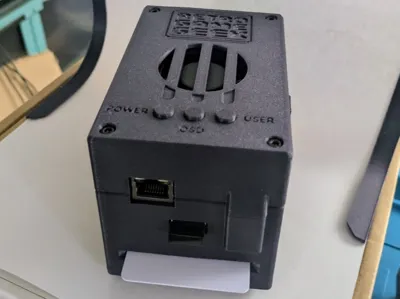
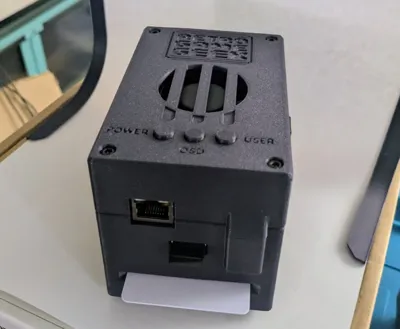
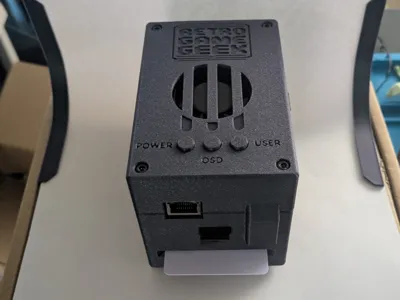
The bottom piece was changed in the following way:
- Added a small tray to hold an NVME 2230 drive.
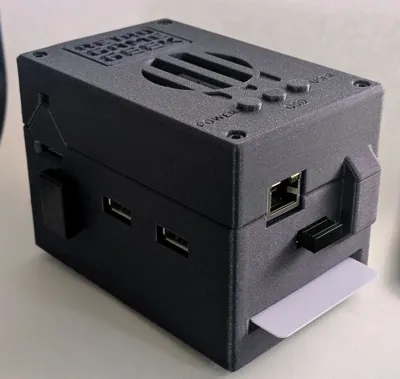
- Added two USB cutouts for U-Shaped brackets.
- Removed rear cable hole for TapTo device since both the drive and TapTo use USB U-Shaped brackets.
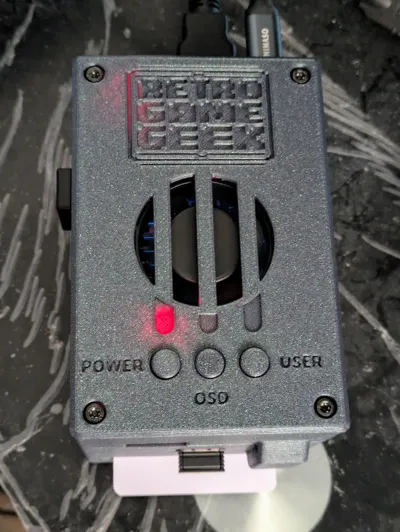
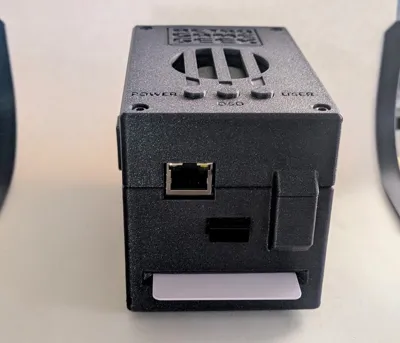
The top piece was changed in the following ways to fit I/O Analog Pro board:
- Removed secondary microSD cutout.
- Added USB-C power cutout.
- Added Saturn AV Port cutout.
- Added ADC/Mini Toslink cutout.
- Enlarged side cutout to accommodate the SOG switch placement.
- Adjusted screw shafts height (the existing ones were too tall for the new board and prevented closure).
Additional Hardware
2x USB U-Shape Connector - needed to connect the drive and the TapTo.
NVME Enclosure - needed for the M.2 hard drive.
USB cable- needs to be 1) short 2) very flexible 3) slim connector (right-angle probably best). It doesn't need to be heavy duty for power or data, just small and flexible.
8x M3 14+6mm female-to-male standoffs: probably came with your DE-10 Nano.
4x M3 15+6mm female to male standoffs: easy to source on Amazon.
4x M3 20mm screws: I used black hex screws because they blend in with the top cover.
I found it easiest to assemble from the bottom up in the following order:
15+6mm standoffs
USB board
14+6mm standoffs
DE-10 board
14+6mm standoffs
Now before doing anything, plug in IO board, the drive, and the TapTo device and test your whole MiSTer stack before putting it in the case just to verify everything works. Put the TapTo device in the bottom shell and connect the USB cable. Insert a card into the slot to verify the TapTo device is close enough in its position in the case to read correctly. Some TapTo devices need to be very close to the card, and if your device is a bare board, you might need to raise it up slightly (silicon feet that you may want to use for the bottom of the shell could work here).
Once everything is functional, you're ready to assemble the case.
Take an M3 standoff or screw and make sure the screw shafts in the bottom shell are clear of any obstructions so the standoffs will insert cleanly.
Thread the USB cable under the card cage and out thru the hole opposite the drive tray.

Put the blocker print over the card cage and secure it with some Build-Tack (it's secure but can be removed cleanly unlike super glue)
Put the drive on the tray. Push a card into the slot to verify the blocker is aligned properly and not blocking the slot.

Unplug the IO Board from the stack. I find it's easier to insert the stack into the shell with the IO board off. Take the remaining MiSTer stack (USB and DE-10 board) and insert it into the bottom shell. It's a tight fit and might require some finesse. Be careful to put the force on the standoff shafts instead of flexing the circuit boards. Once everything is lined up (the ports match the cutouts) you're ready to finish with the top piece.
Plug in the IO board (be careful to line up the pins with the proper connectors- it's easy to be off by one row). Give the interface of the IO board with the DE-10 a close visual inspection. Make sure there are no bent or misaligned pins. This is the one part you want to spend a little extra time before closing up the case. Connect the U-Shape connectors on the sides. Be careful with the drive connector to make sure it's aligned properly and sitting squarely before pushing it in. Once more, before putting on the top shell on, power up the stack and verify everything is connected and working. Test the TapTo and hard drive. If everything is working, then put on the top shell and use the M3 20mm screws to secure the top.
Comment & Rating (0)