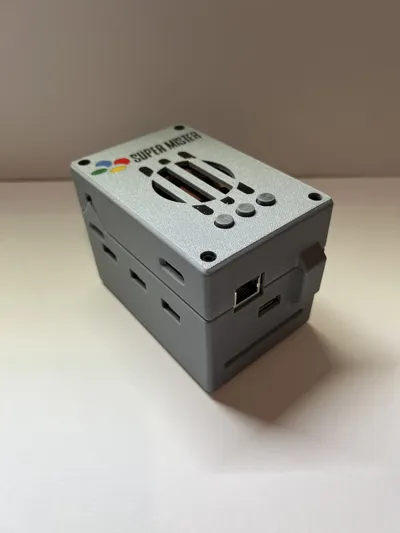
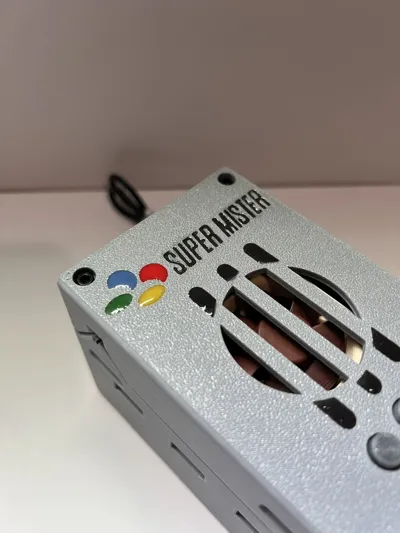
Mister FPGA Case with TapTo NFC Card Reader Slot


Print Profile(1)

Description
Remixed this great model to add a slot at the bottom for use with TapTo NFC cards. You can launch a game just by sliding a card in, and quit the game by removing it, all thanks to the TapTo project.
I primarily made this model just for myself, so it is not exactly built with massive compatibility or ease of printing in mind, but it should be doable for most people with a mister stack, without much issue at all.
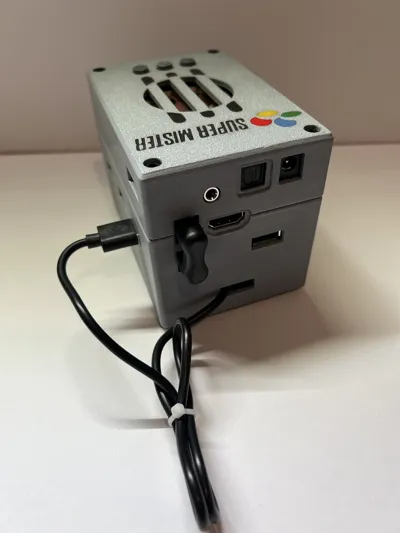
Any NFC reader that fits is supported, although I recommend the PN532 clones you can get on aliexpress for like 5 bucks since they're small and can just be stuck in place with some tape.
Supports: you'll need em. Sorry. I wanted this to look as sleek and finished as possible when done. I highly recommend doing a test print of the first few layers of the top piece if you're printing with the logo, and the card slot section of the bottom piece, to make sure your supports/overhangs are in a good place, and especially, that you can easily and cleanly remove supports from the card opening.
Print settings: I printed the model in the photos with 15% grid infill, 0.08mm layer height and a 0.4mm nozzle on a bambu a1 with matte overture pla. I used supports for basically all overhangs except the logo, which i just did with a bridge.
No fancy settings required, although if you dont care too much about quality, i'd look at variable layer height and only getting that pumped to max for the card slot, and leaving everything else quite rough, since the card slot is where you really need accuracy.
Extra hardware required:
8x M3 16mm screws
8x M3 14+6mm female+male standoffs (very likely you already have these as part of your stack)
4x M3 14 or 15mm female to female standoffs (either will fit, but 15mm is more snug. This is because i found 15mm standoffs far easier to source and more readily available on amazon etc)
Assembly:
- Build the mister stack in the following order
------------
Top IO Board
female to male standoff, female facing up
DE10 board
female to male standoff, female facing up
USB Hub
female to female standoff
------------
2. Take the “blocker” item, and place it on top of the card slot. There's a lip all the way around for it to rest on. Put a card in and make sure everything fits and you've got it in the right place. Then carefully glue it down with very minimal super glue. My example photos show a cross section for illustration (and because i was testing a different setup), but i found the solid blocker is actually more effective, and easier to install.
3. Take your nfc reader, feed the cable through the back and plug it into a USB port (or if you're more adventurous than me, solder it to a usb port internally and block off that usb port). Tape it down on top of the blocker. Do a test run and make sure it's in a good position and reads cards when fully inserter. Example photo shows a good spot.
4. Then just put the top and bottom on (both may be tight and may need a little bit of wiggling, or an angled fit around certain ports), and screw them in place. Easy peasy.
------------------
post processing in my example: i just used some uv resin mixed with acrylic paint for the logo and details on top. I sanded all side surfaces with some 800 grit sponge sanding sticks. Very easy effect, looks great imo.
----------------

Comment & Rating (2)