


Print Profile(4)


Description
This work is my personal adaption of the “Keychain and Tags” upload which is an original work by @Jorge Rui.
I simply made it ready to use on IKEA Skadis pegboards. I also made it a little more editable if you use the Bambu Slicer.
HERE'S WHAT I'VE CHANGED:
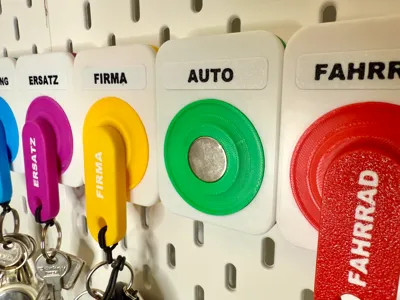
- Redesign of the body part of the key holder where the magnet should be placed. You can use the “add negative part" tool in Bambu Slicer now to fit your own magnets. It's now possible to put in bigger magnets than in the original file. This enables a better hold for your keychains.
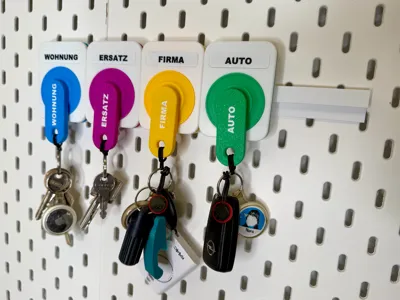
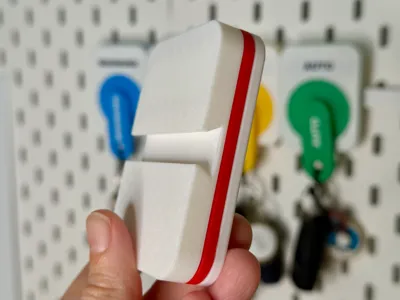
- The rail which was originally meant to screw on a wall, has now hooks on the back to fit on Skadis boards. I also gave it a little redesign to make the key holders wobble-free. Two rails in a row give a perfect match next to each other. Use two for 5 key holders.
- The tags where you have to put a text or a name on, weren't really editable in the original file. I fixed it a litte. So now you can simply edit the text and the size of the text for your own use.
INSTRUCTIONS:
All the parts must be glued together with super glue. I also recommend to glue the magnets, because they can be so strong that otherwise they fall off from time to time.
Here are the magnets I used, but you can also use slightly bigger or smaller ones. But you have to change the size of the “negative part” in that case.
Because I used the “negative part” feature, there's an auto pause on the plate with the keychains (layer 29). This pause is meant to place your magnets in. I recommend to glue the top side of the magnet for a better grip for the upcoming filament layer. If it's done, press continue to finish the print.
Note: Because the keychains are a little too thick for conventional keyrings (I didn't change the size), I use small hair ties instead of keyrings. You can find the hair ties here.
Comment & Rating (8)