
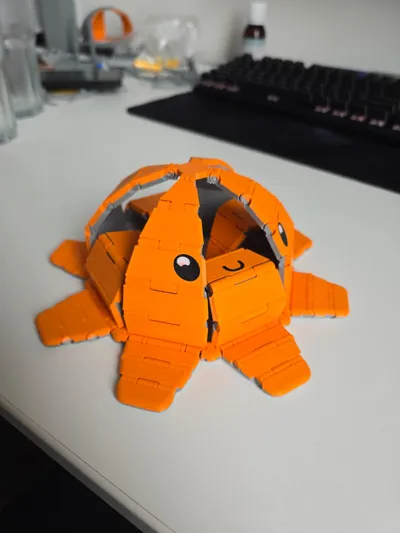
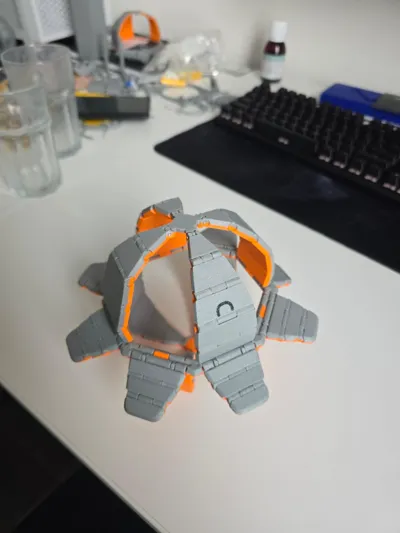
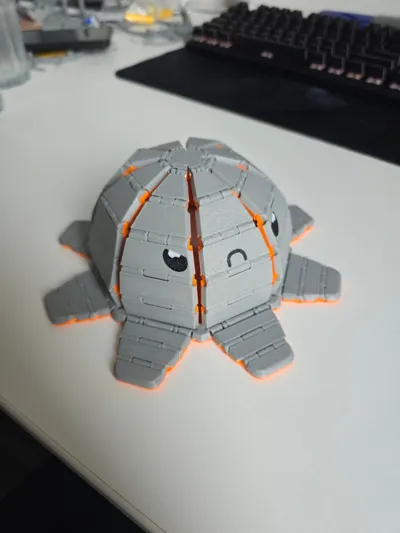
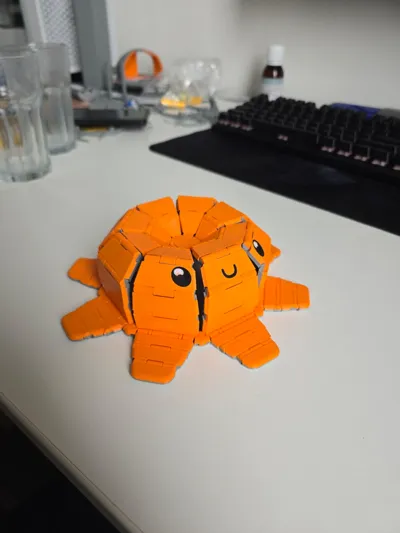
Truely reversible mood octopus (turns inside-out!)
Print Profile(2)


Description

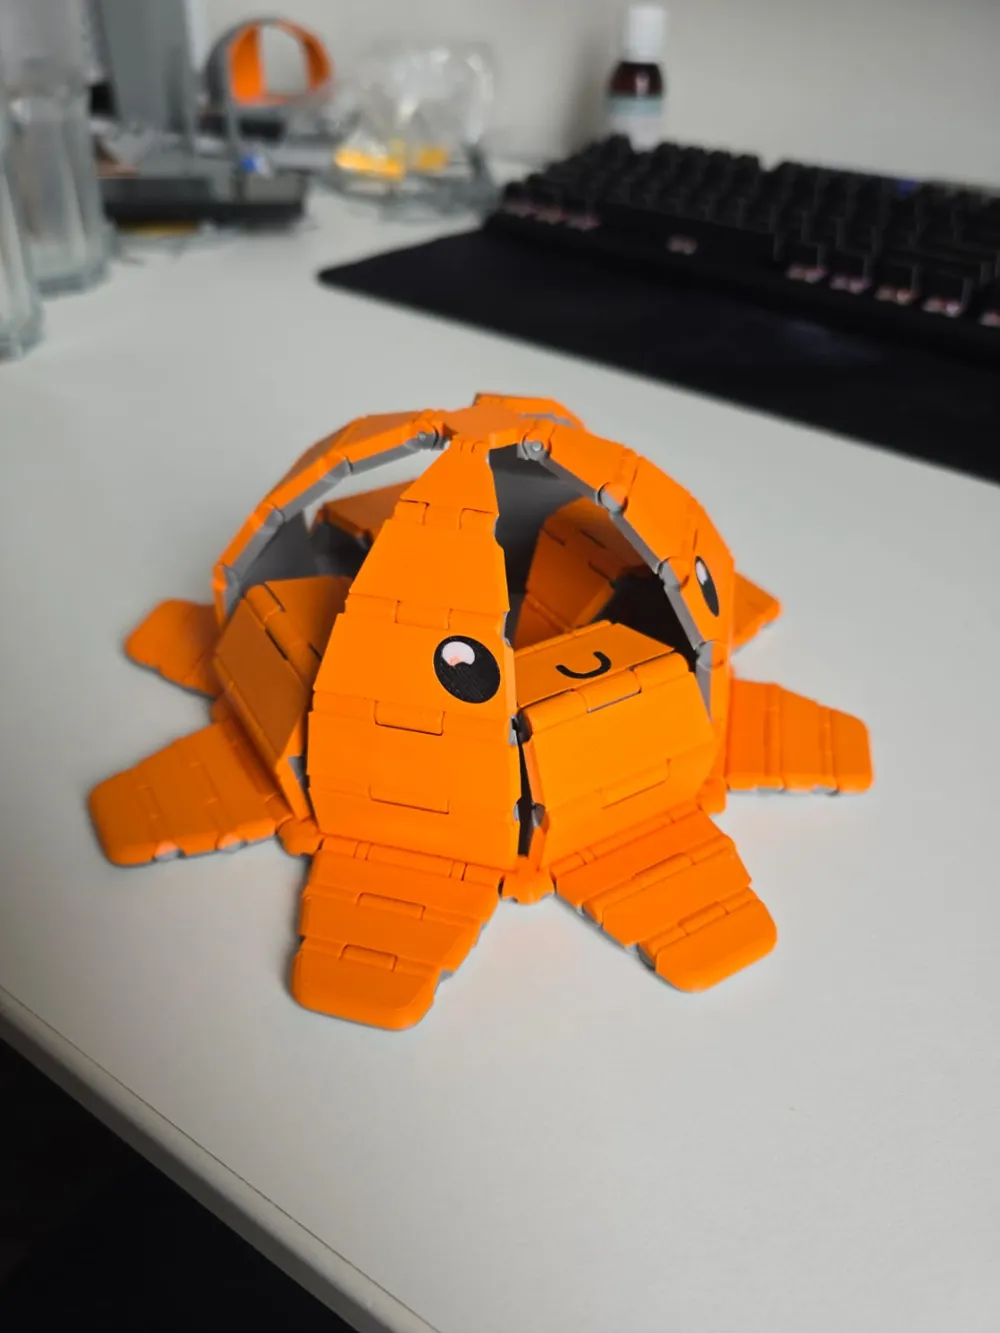
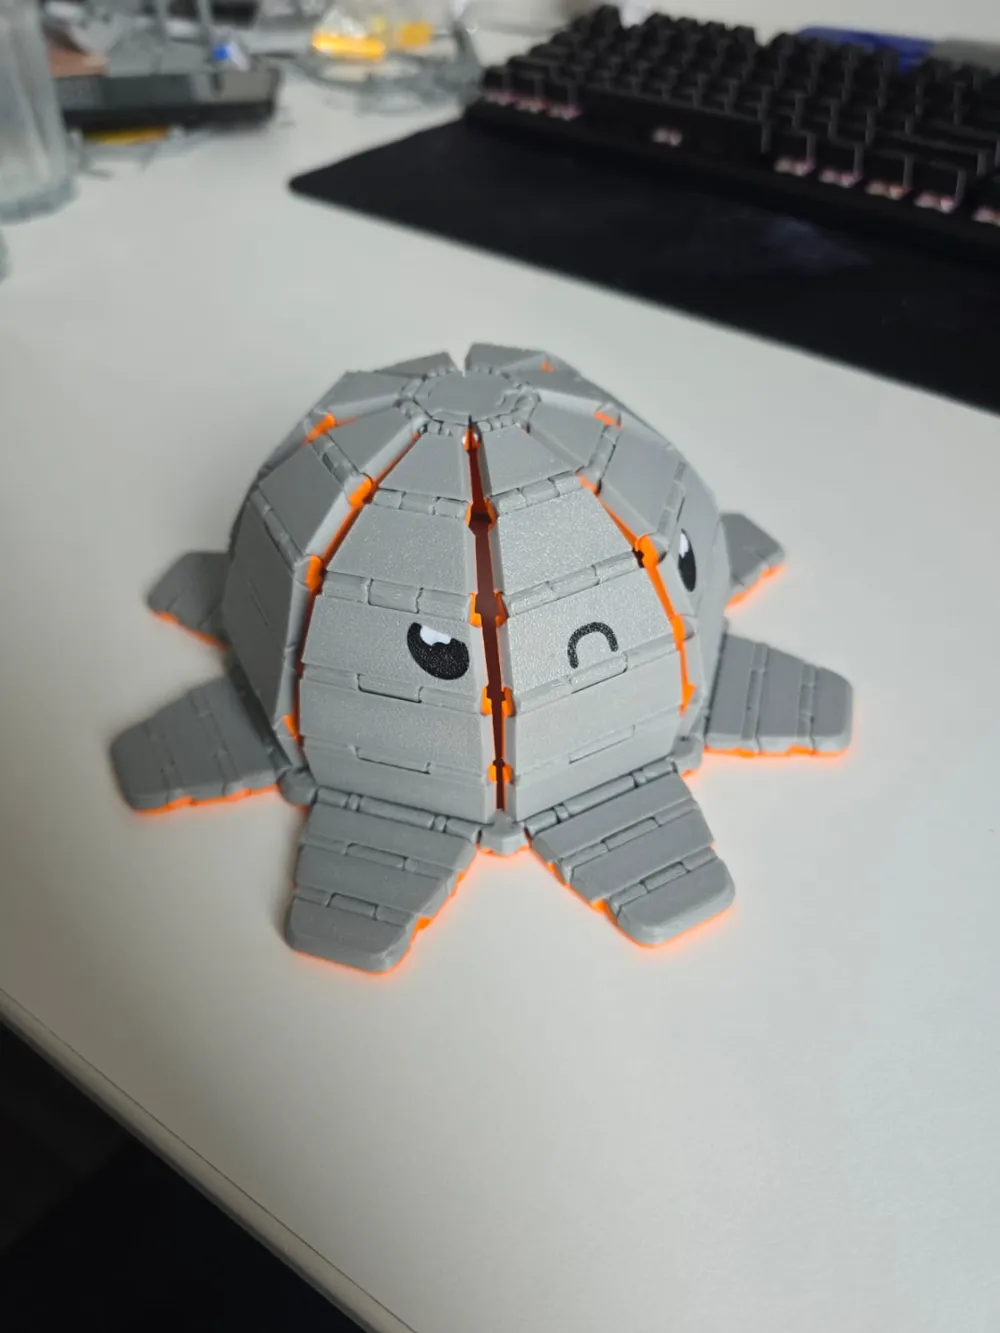
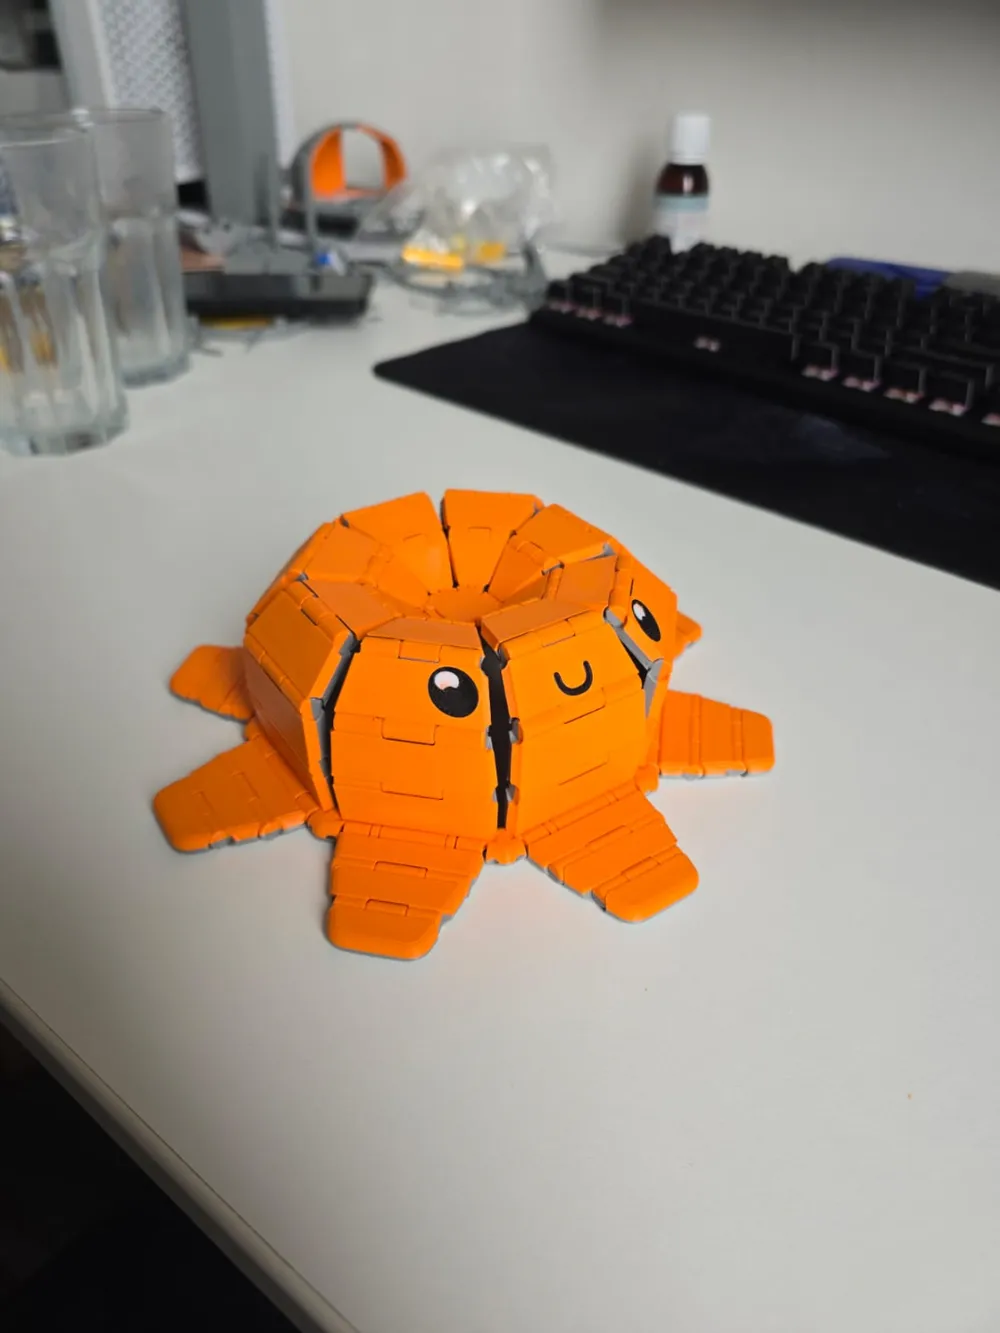
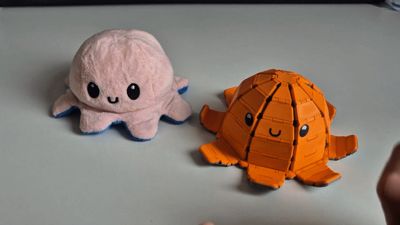
Inspired by the mood octopus plushies that were trending a while back I decide to make one that can be 3d printed. So that everyone can make their own goofy octopus in the exact colors they want :D And perhaps just time to make a fun gift for the holidays!
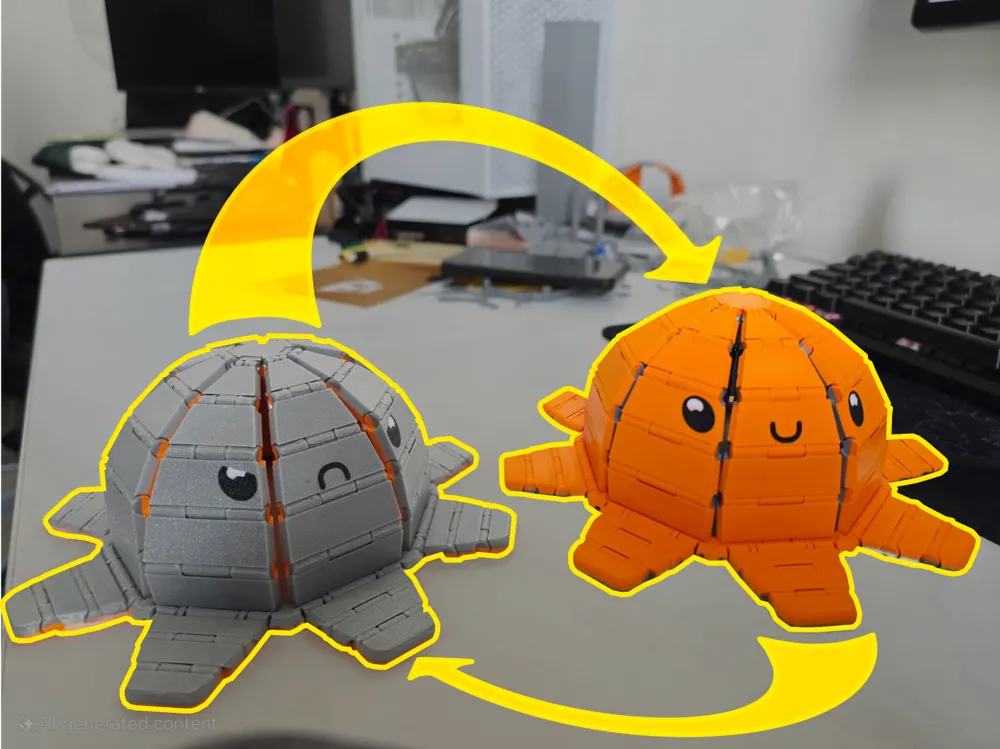
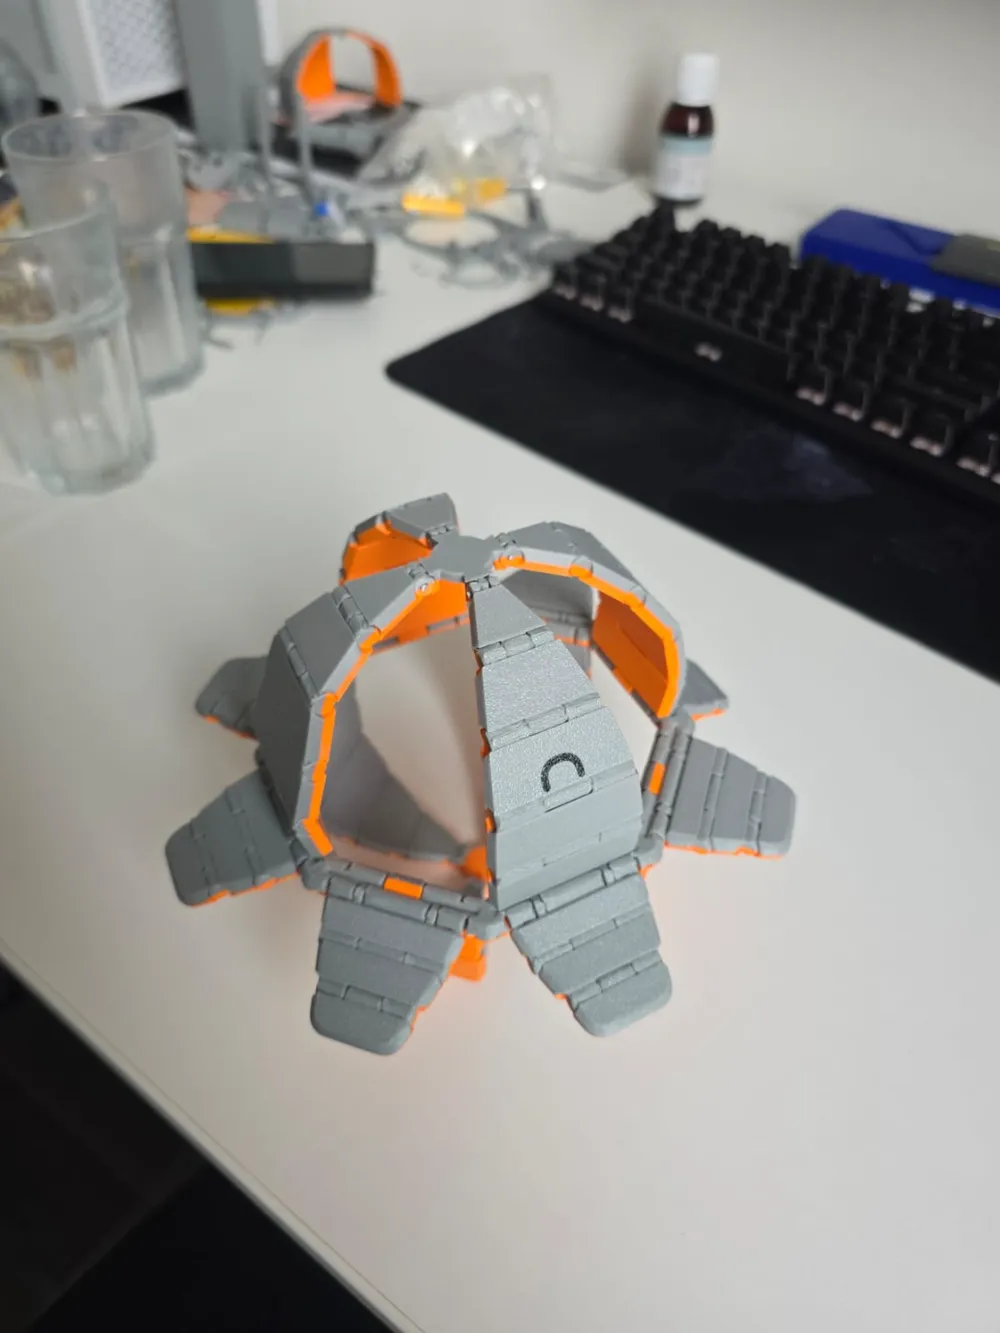
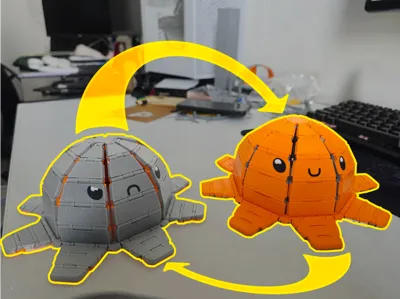
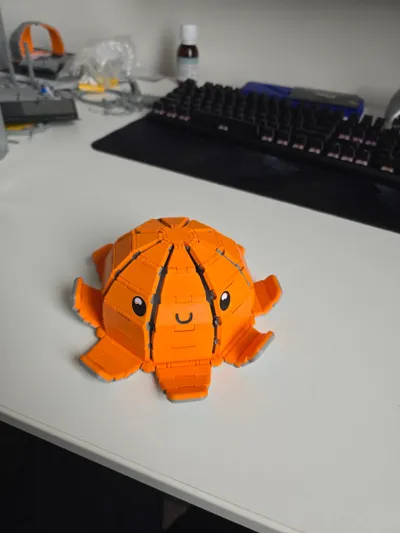
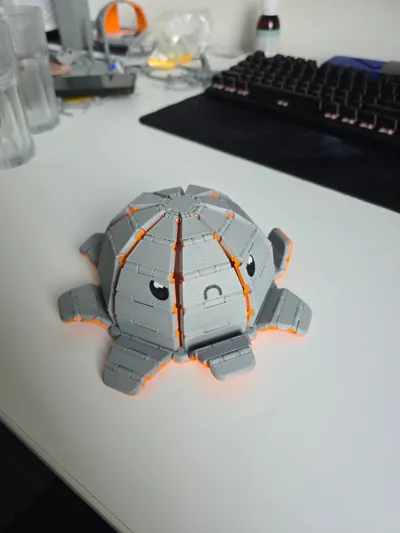
When switching from happy to angry or the other way around, the body panels can be flipped the other side in their respective sets of 4. So NOT 8 at a time. This was the main design challenge as the filament cannot go through itself. But I am quite happy with how it works in the end :D Hope you all like it as well!
If you have any feedback or tips to improve the design please don't hesitate to let me know :)
Hope you all enjoy!
Printing:
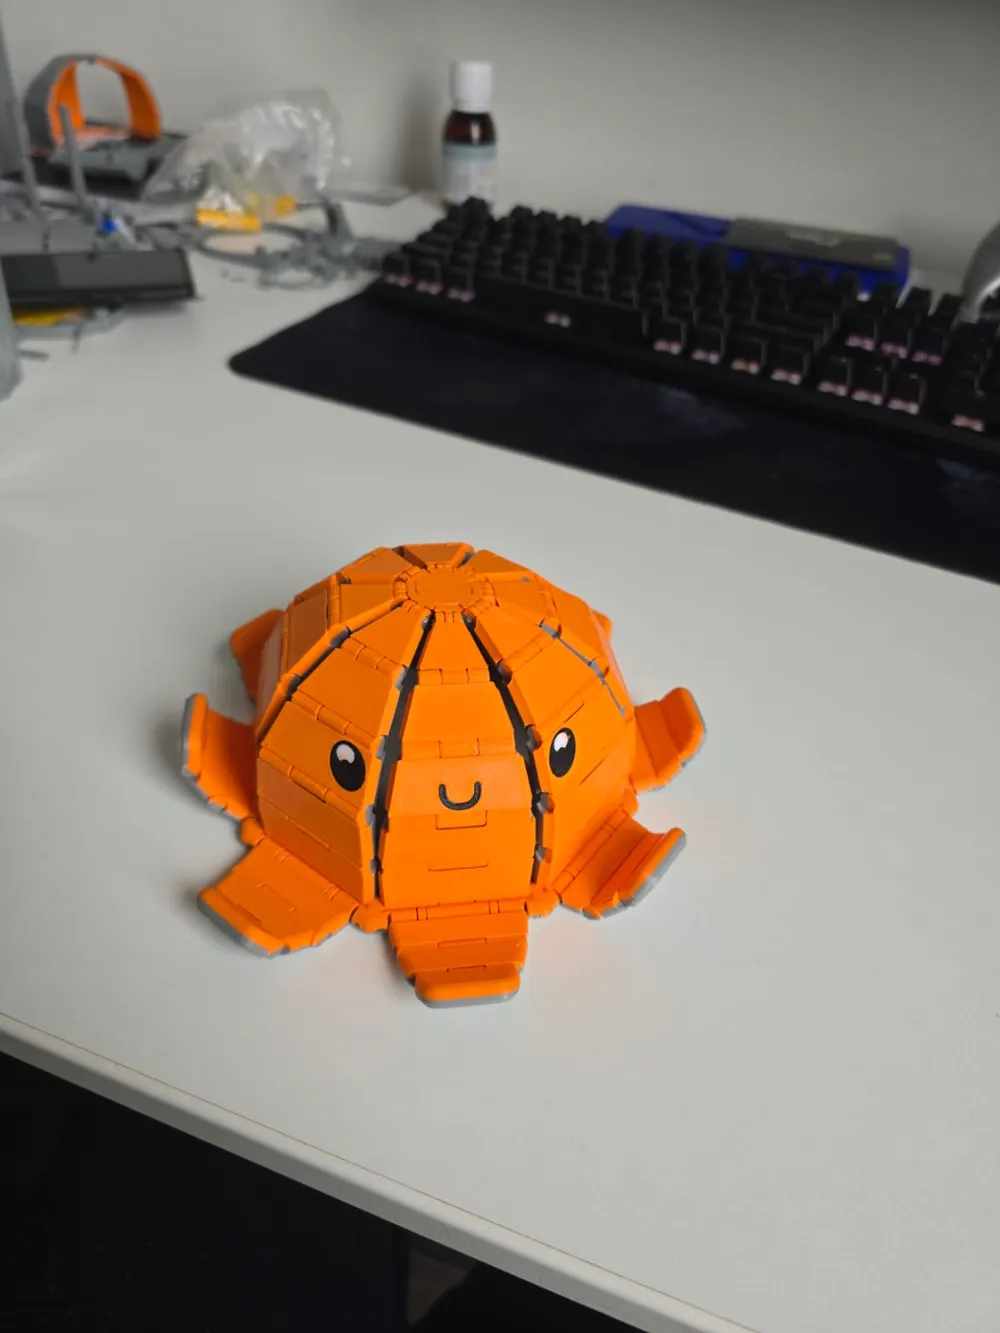
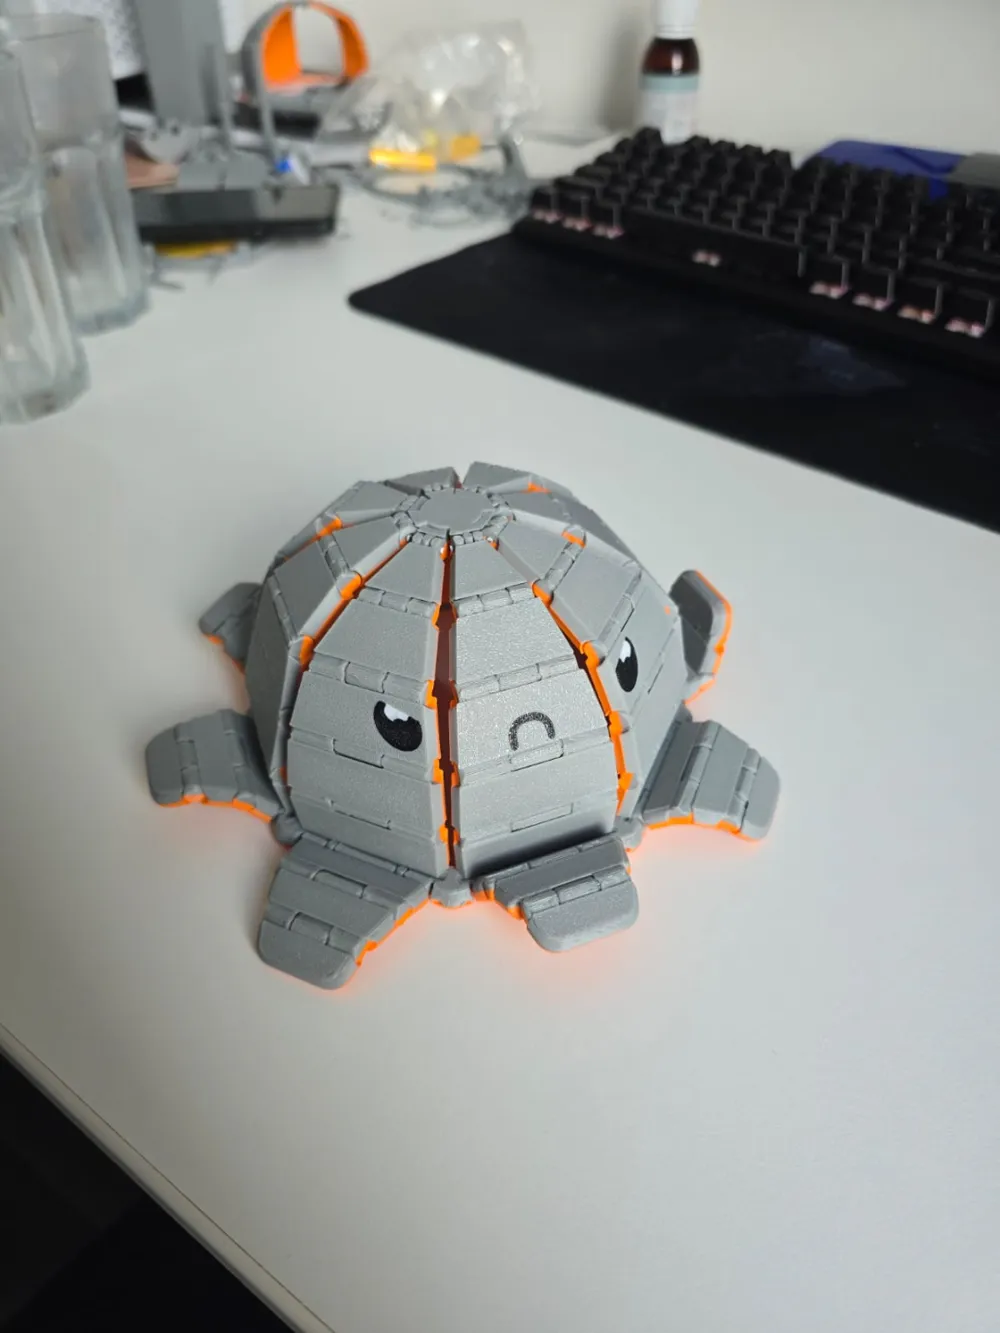
- Depening on if you have an AMS or not. Print the corresponding print profile. To make sure you get the correct colors on the happy and angry side: !!For both profiles, the bottom half(color) is for the angry side, the top half(color) is for the happy side!!
- The pieces will be ever so slightly fused so give all hinges a gently snap so that they rotate freely (This was dont to give them enough friction so that the body will hold it's shape. Any tolerance I used where they printed without needing to snap them loose resulted in a body that did not hold its shape.)
- If you printed the NonAMS versions. Glue the eyes and mouths in their places.
Assembly:
Required:
- 1x (hobby)knife
- 1x pliers (to more easily insert the filament through the hinges and push them flush to the body)
- For hinges: 1x +-340mm long piece of filament, 8x +-9mm long pieces of 1.75mm filament, 16x +-50mm long pieces of filament)
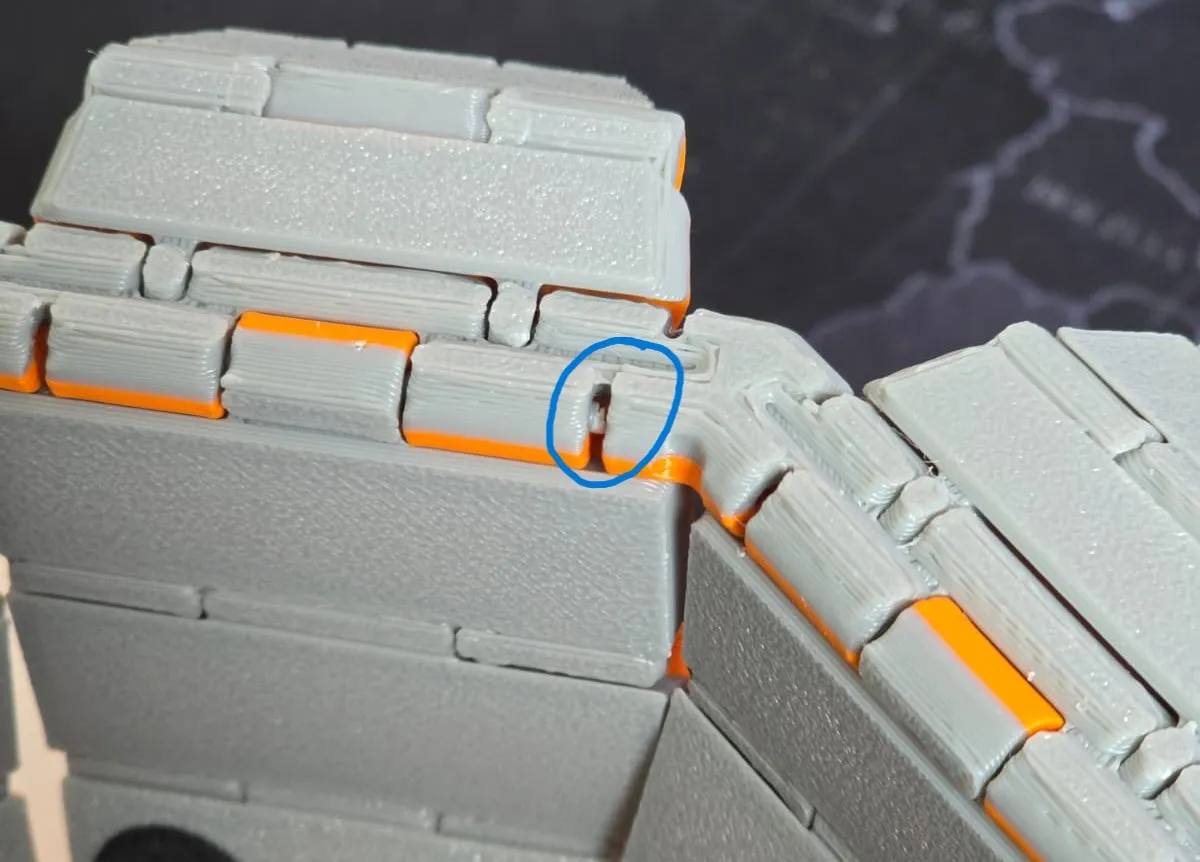
Use the 340mm long piece of filament to attach the body panels to the ring. Make sure to attach them to inside of the ring.
Push it through untill you see it poking through the slot furthest from where you inserted the filament. Cut the filament through the slot circled in the image below (closest to where you inserted the filament). If you don't cut it here the filament will block the path of other hinges.
- Attach the 2 top body pieces to their corresponding 4 body panels using the 9mm long filament pieces. It is easiest to first insert the filament into one of the body panel hinge parts, then put the top body piece in between and push the filament through.
- Lastly attach the fins to the outer part of the ring using the 50mm long filament pieces.
License

You shall not share, sub-license, sell, rent, host, transfer, or distribute in any way the digital or 3D printed versions of this object, nor any other derivative work of this object in its digital or physical format (including - but not limited to - remixes of this object, and hosting on other digital platforms). The objects may not be used without permission in any way whatsoever in which you charge money, or collect fees.


Comment & Rating (37)