
PH60R2 | Printable 60% mechanical keyboard Kit
Print Profile(2)


Description
Briefing
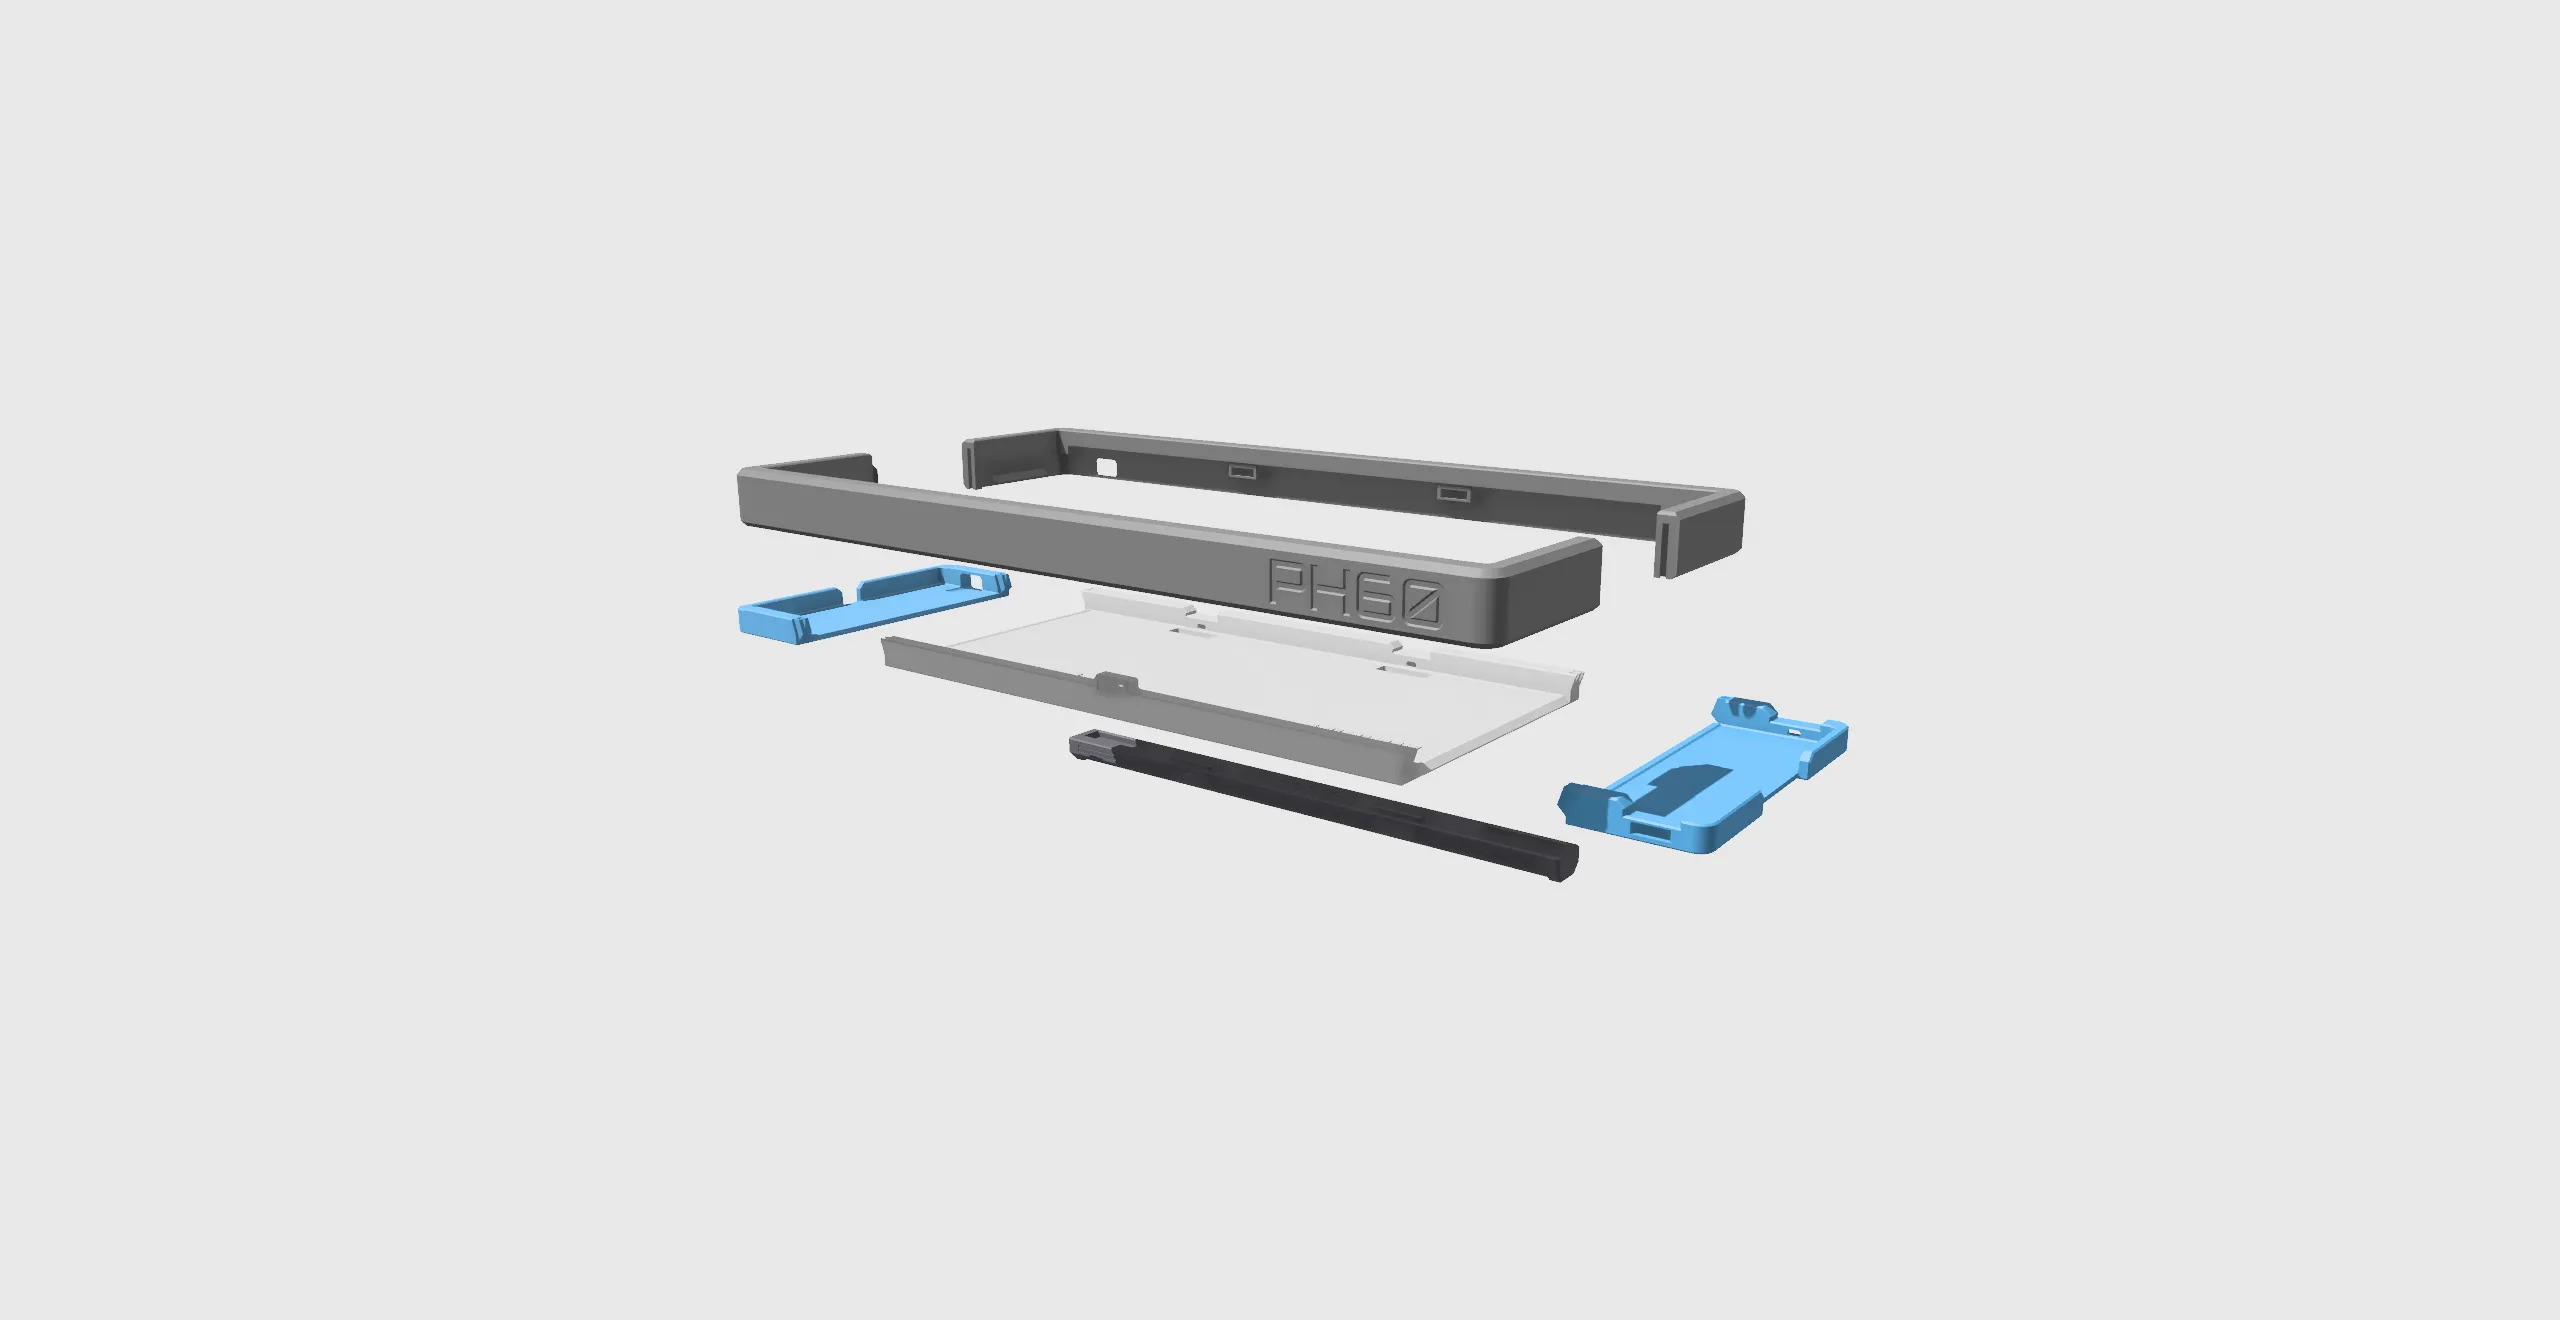
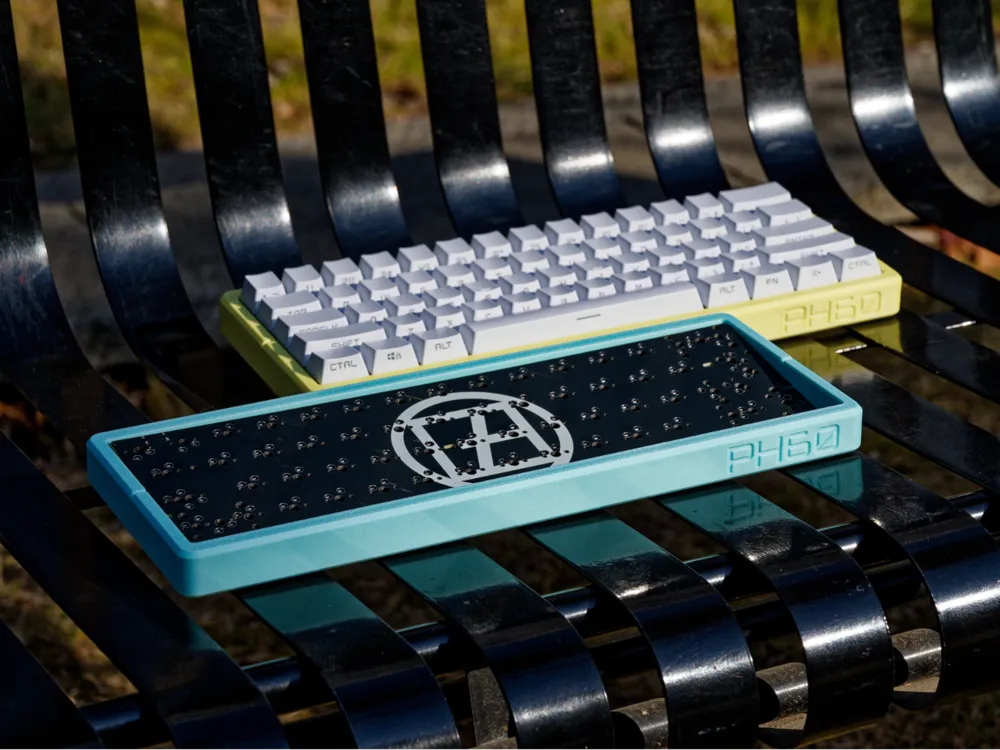
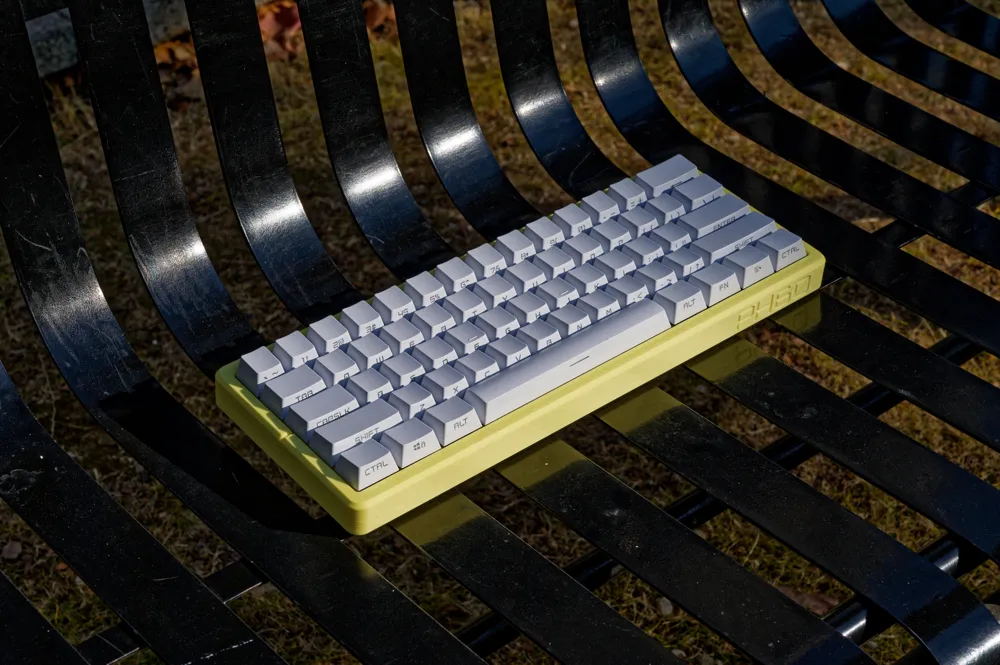
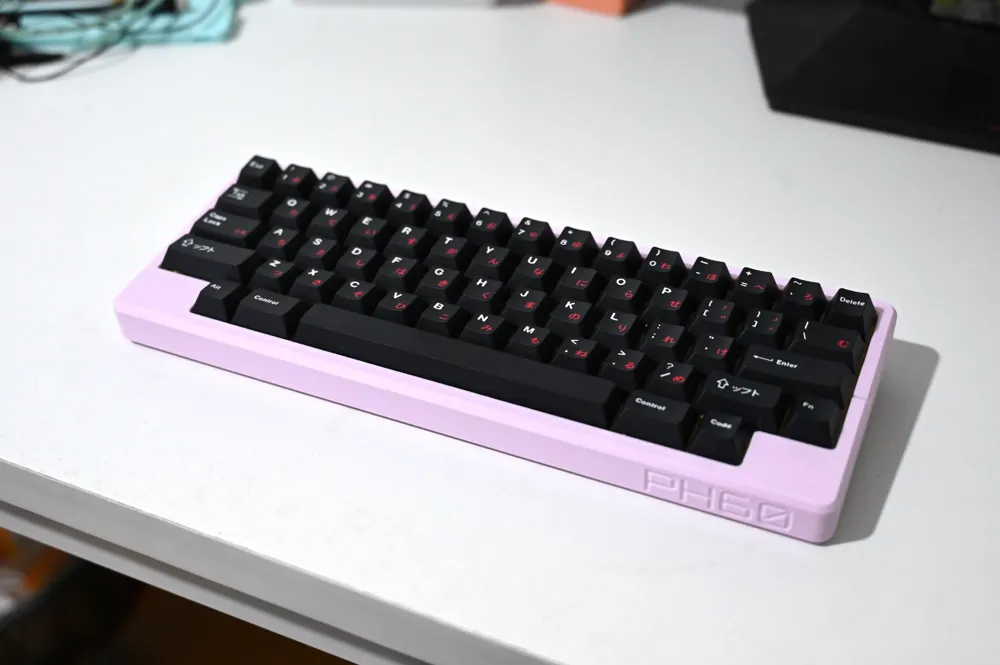
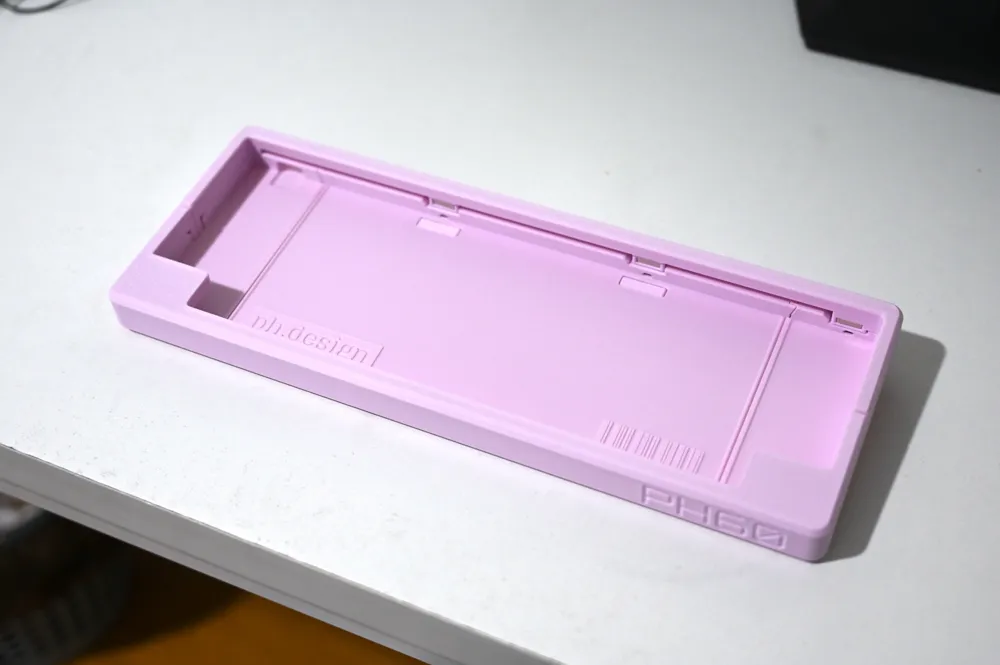
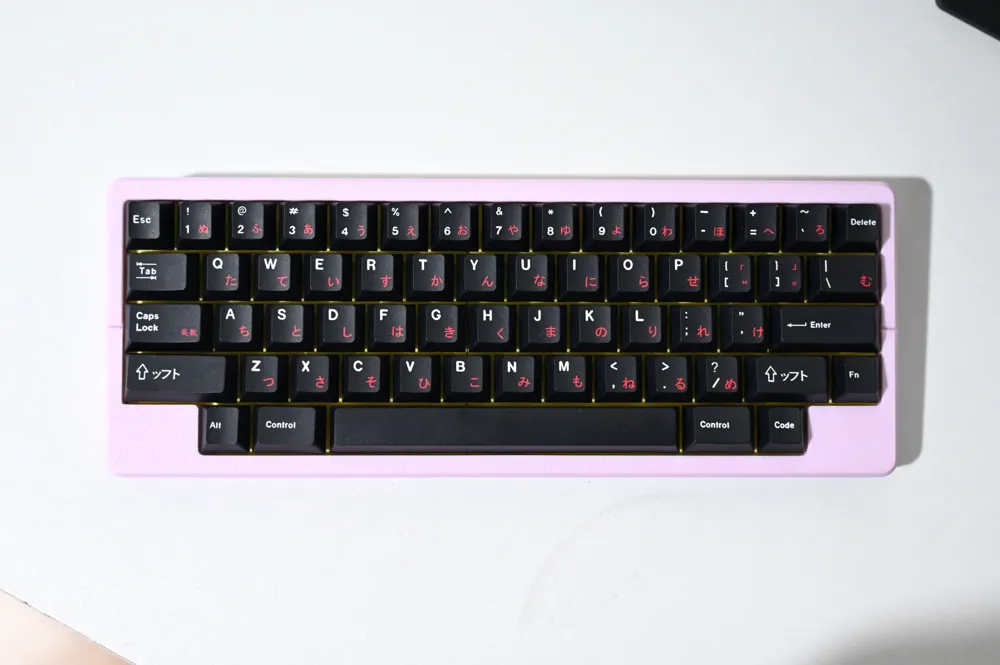
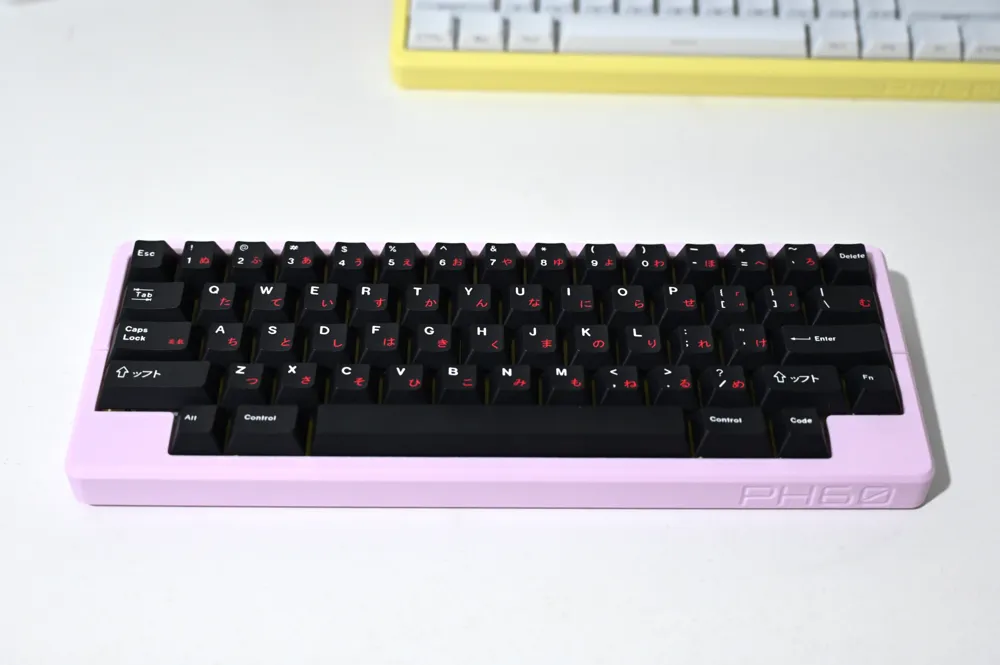
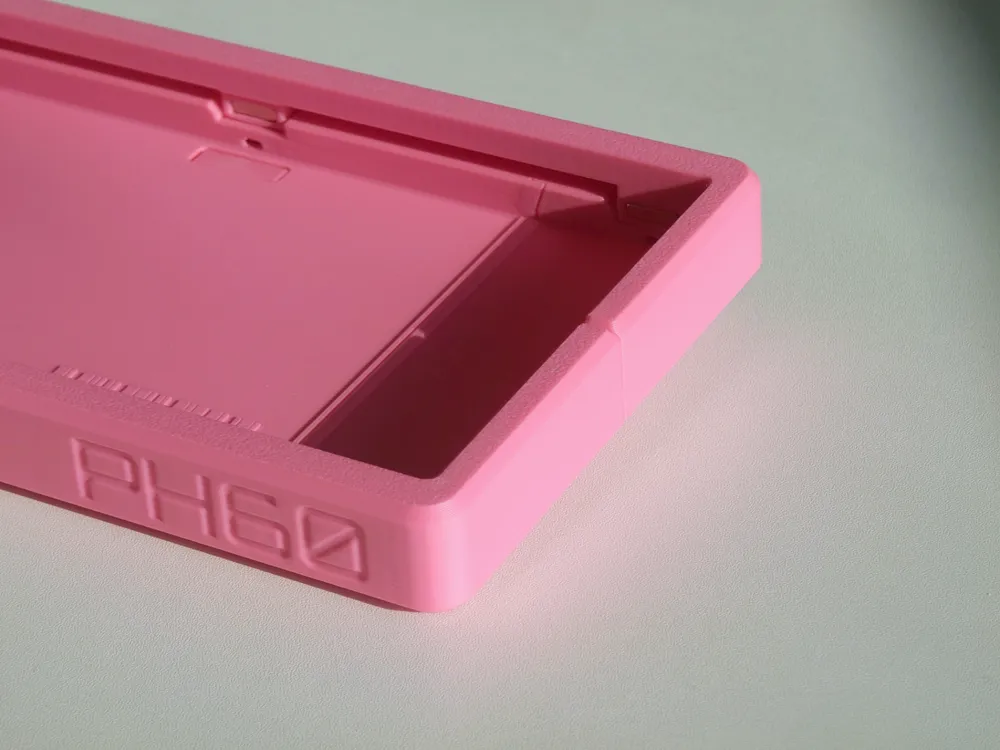
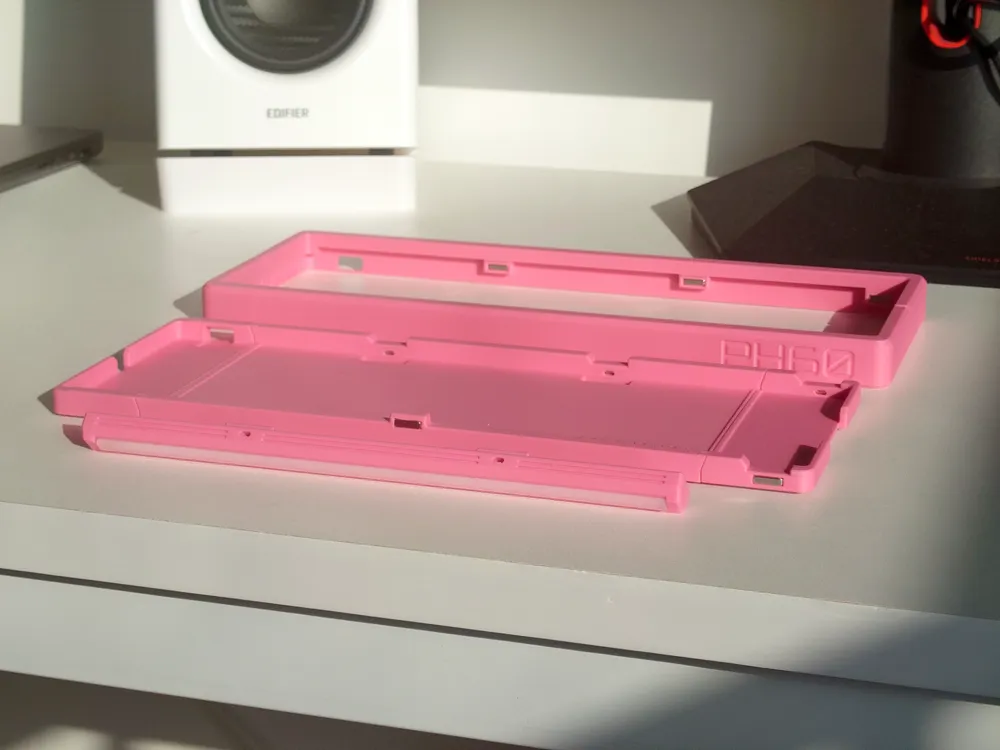
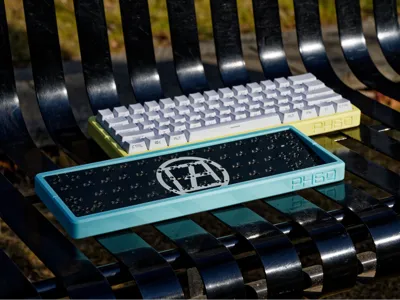
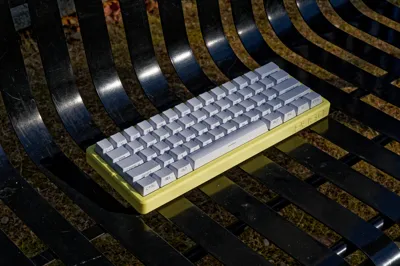
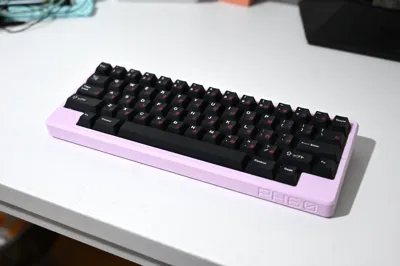
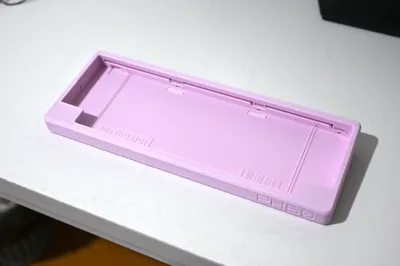
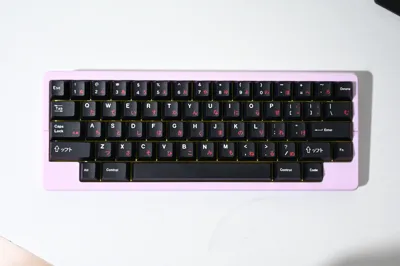
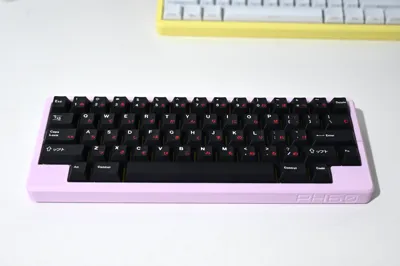
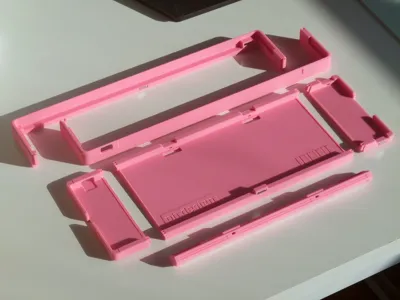
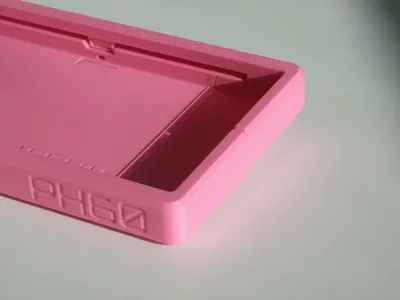
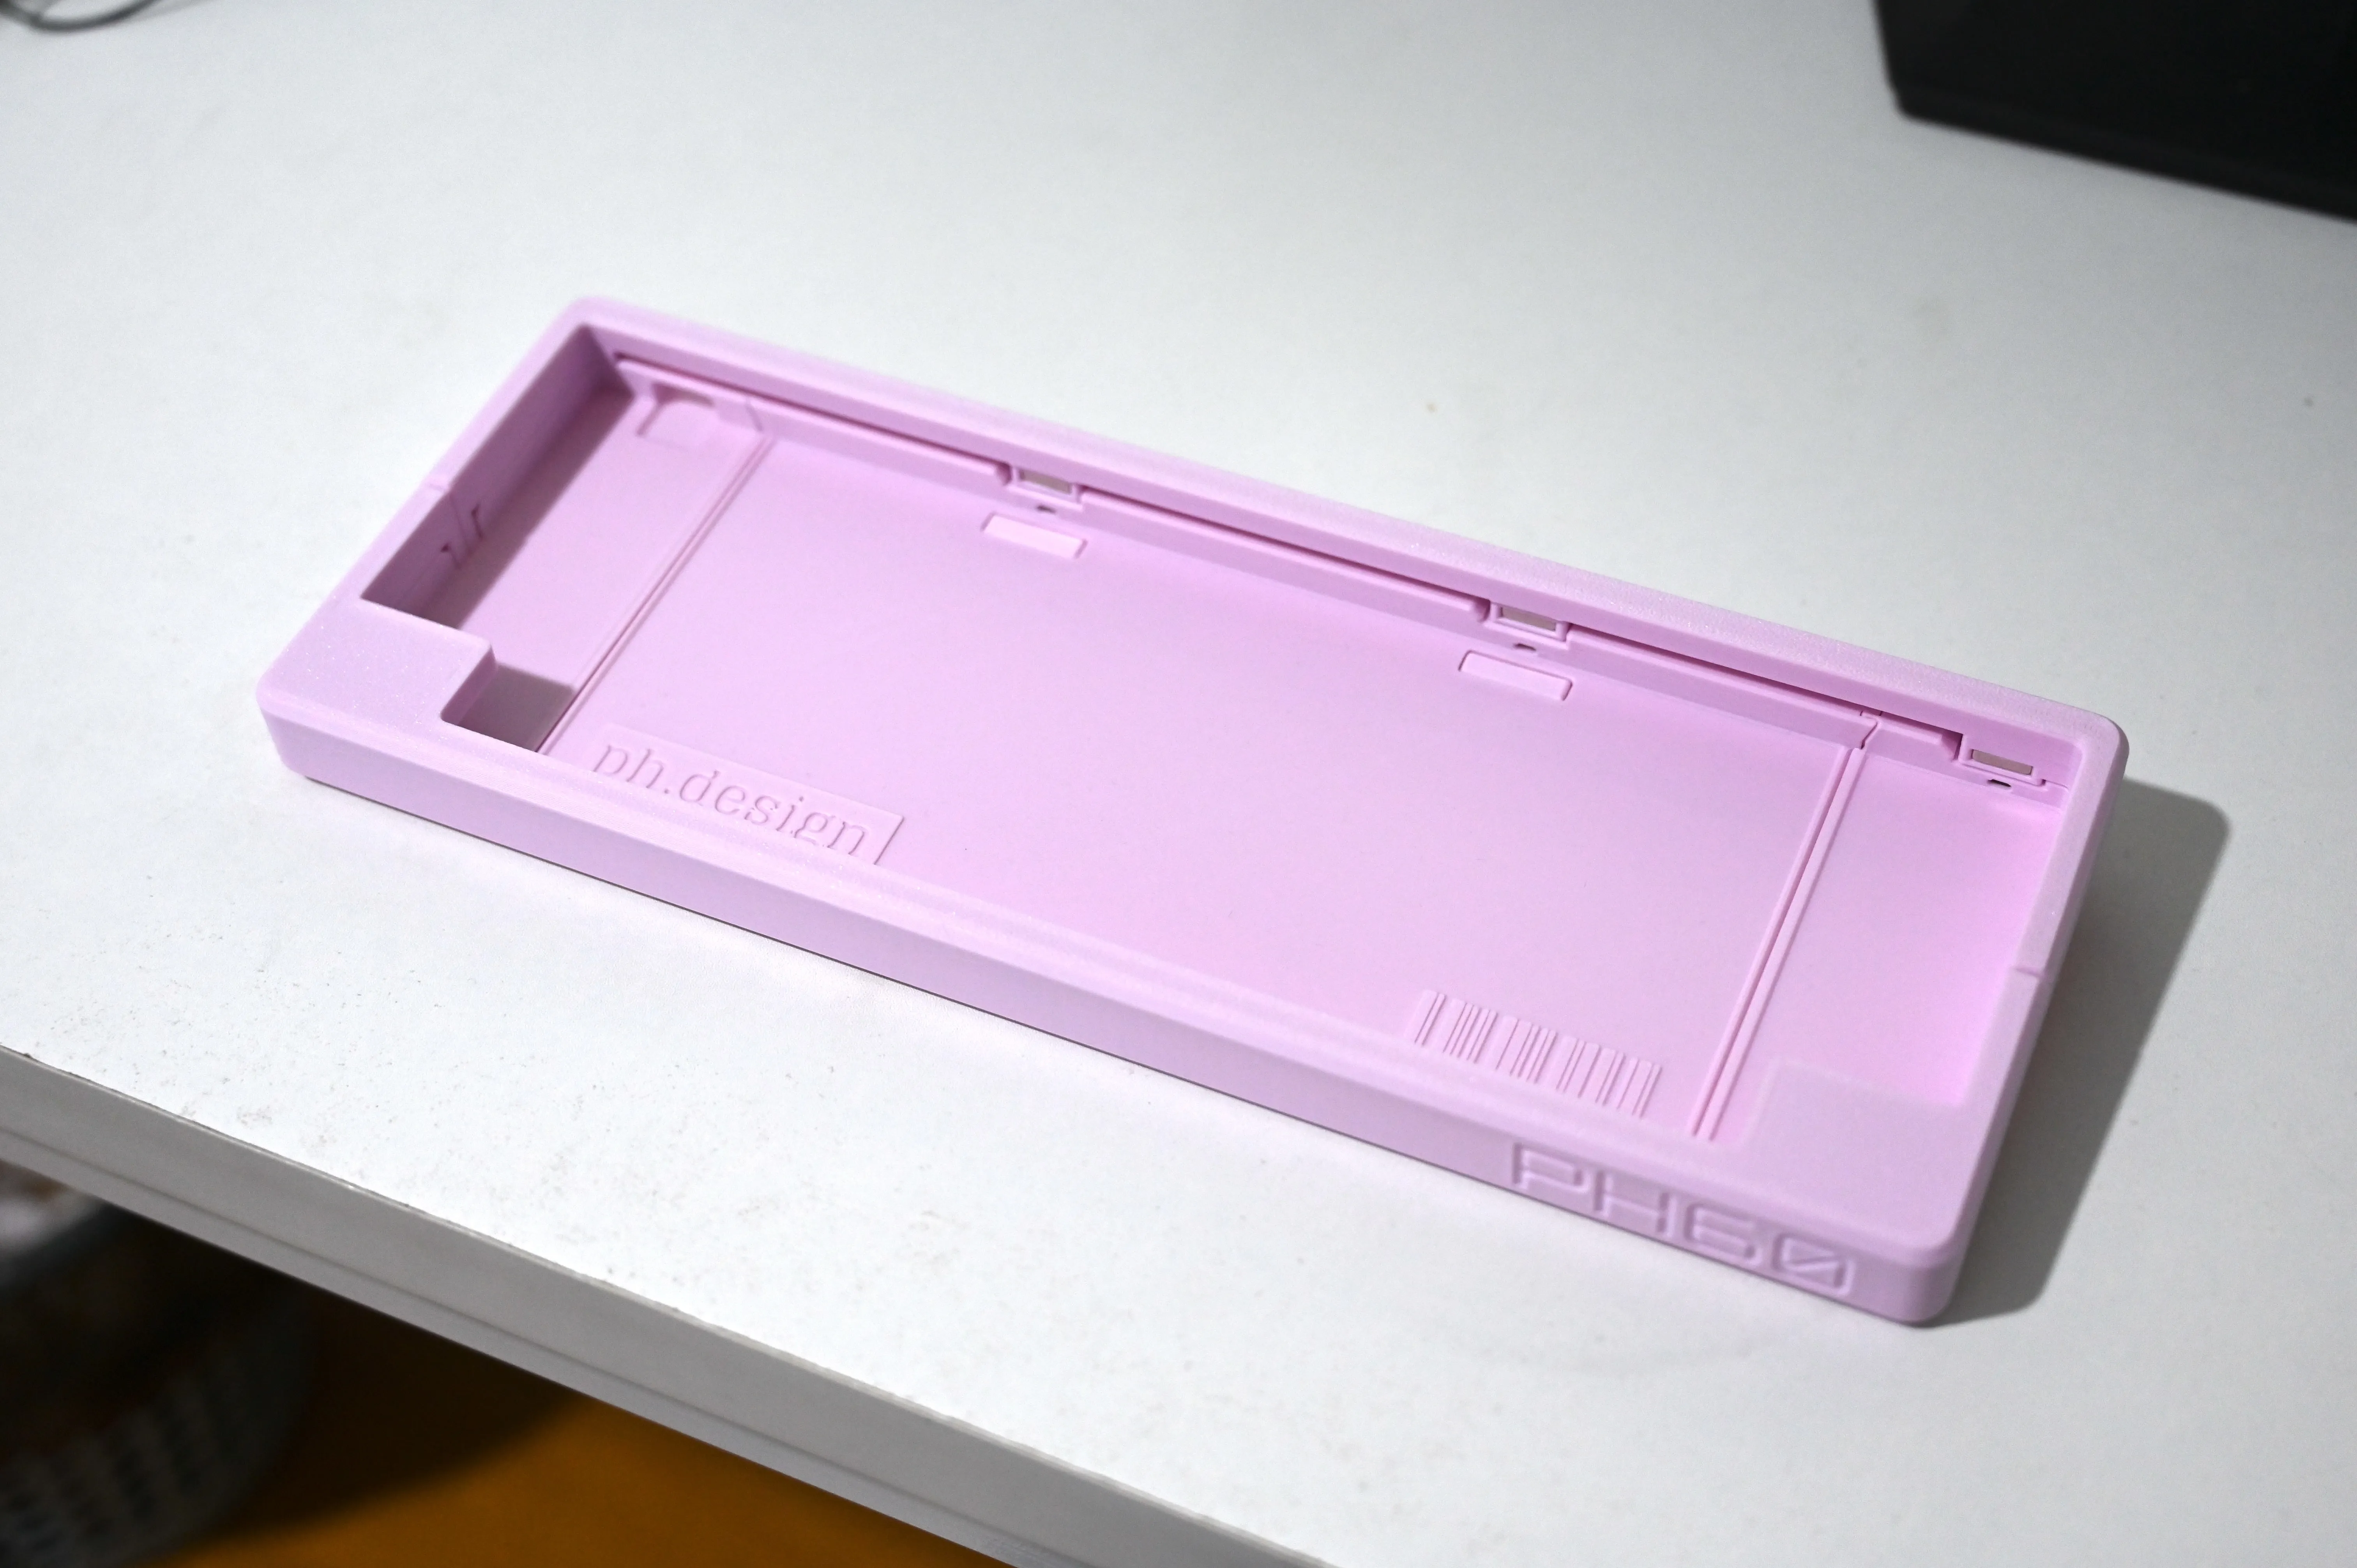
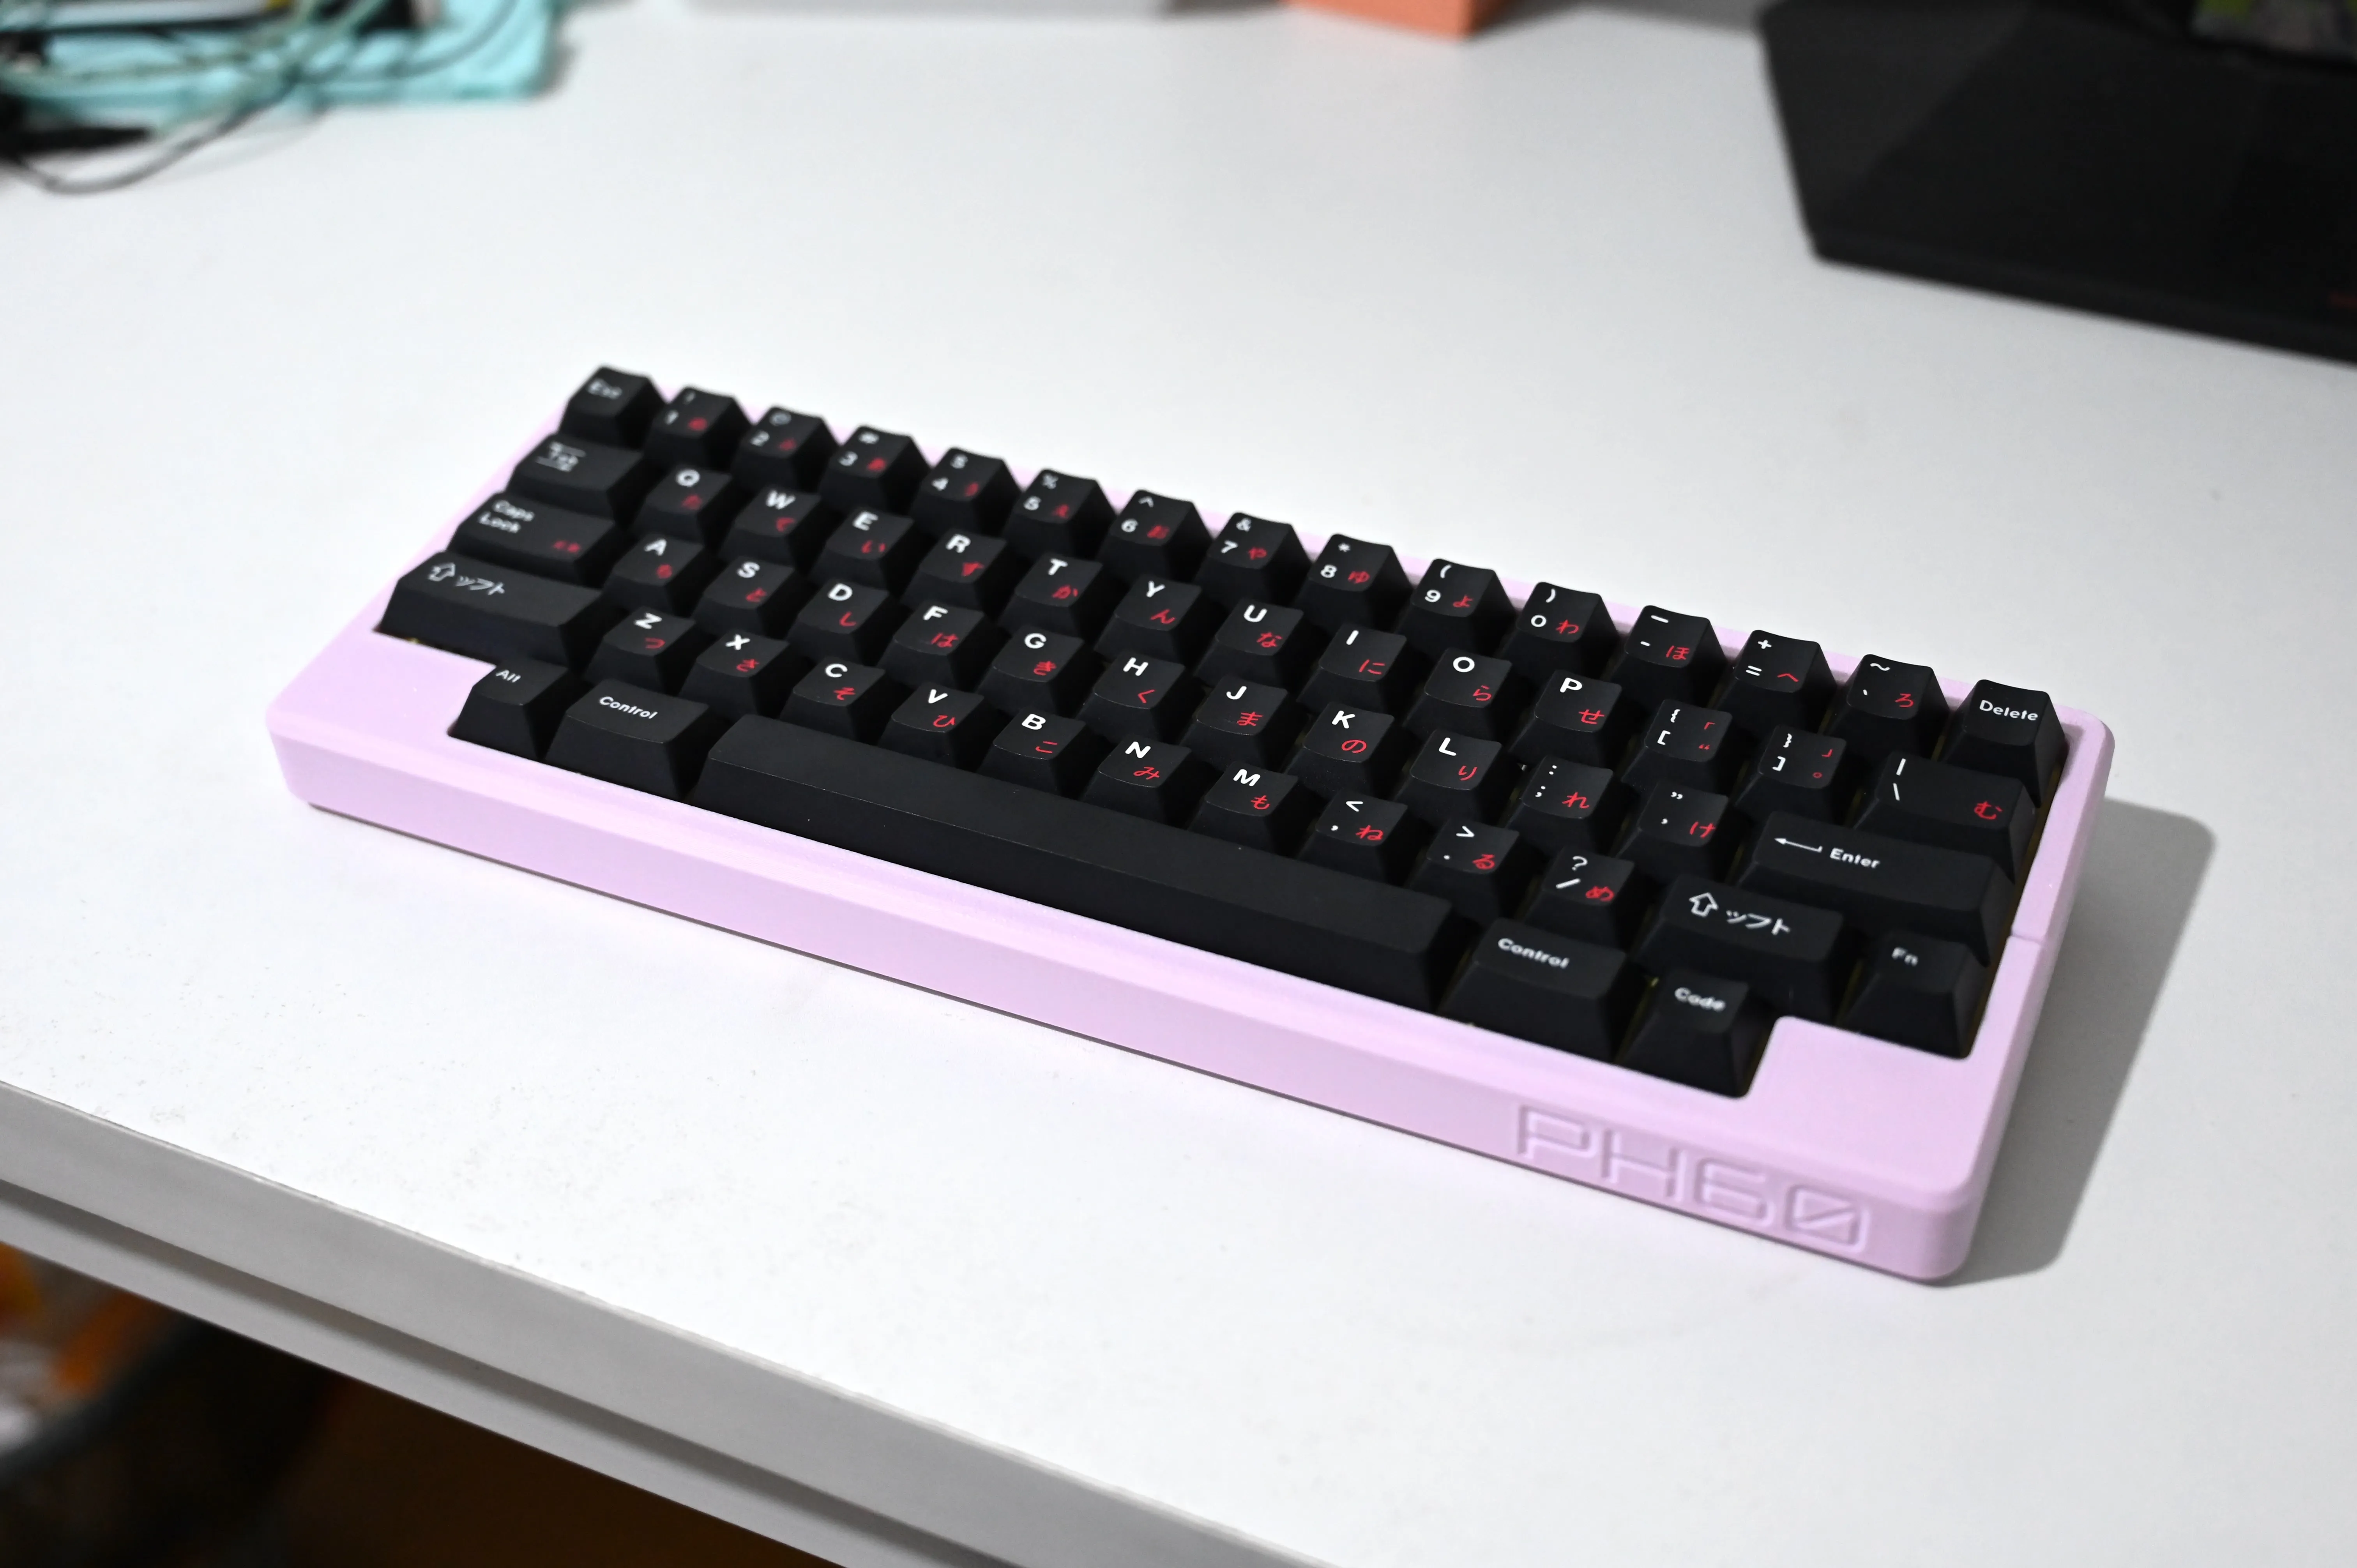
PH60 is a fully printable 60% layout keyboard case with various mounting plates and capable with GH60 standard PCBs.
Join our Discord|Official website | GitHub| YouTube | Bilibili|Taobao
Boost Me (for free)
If you like our work, please consider give us a boost❤️
Updates (2025.2.8 latest)
🎉The HHKB is here!
- Try out this new layout with 7u space and stabilizer!
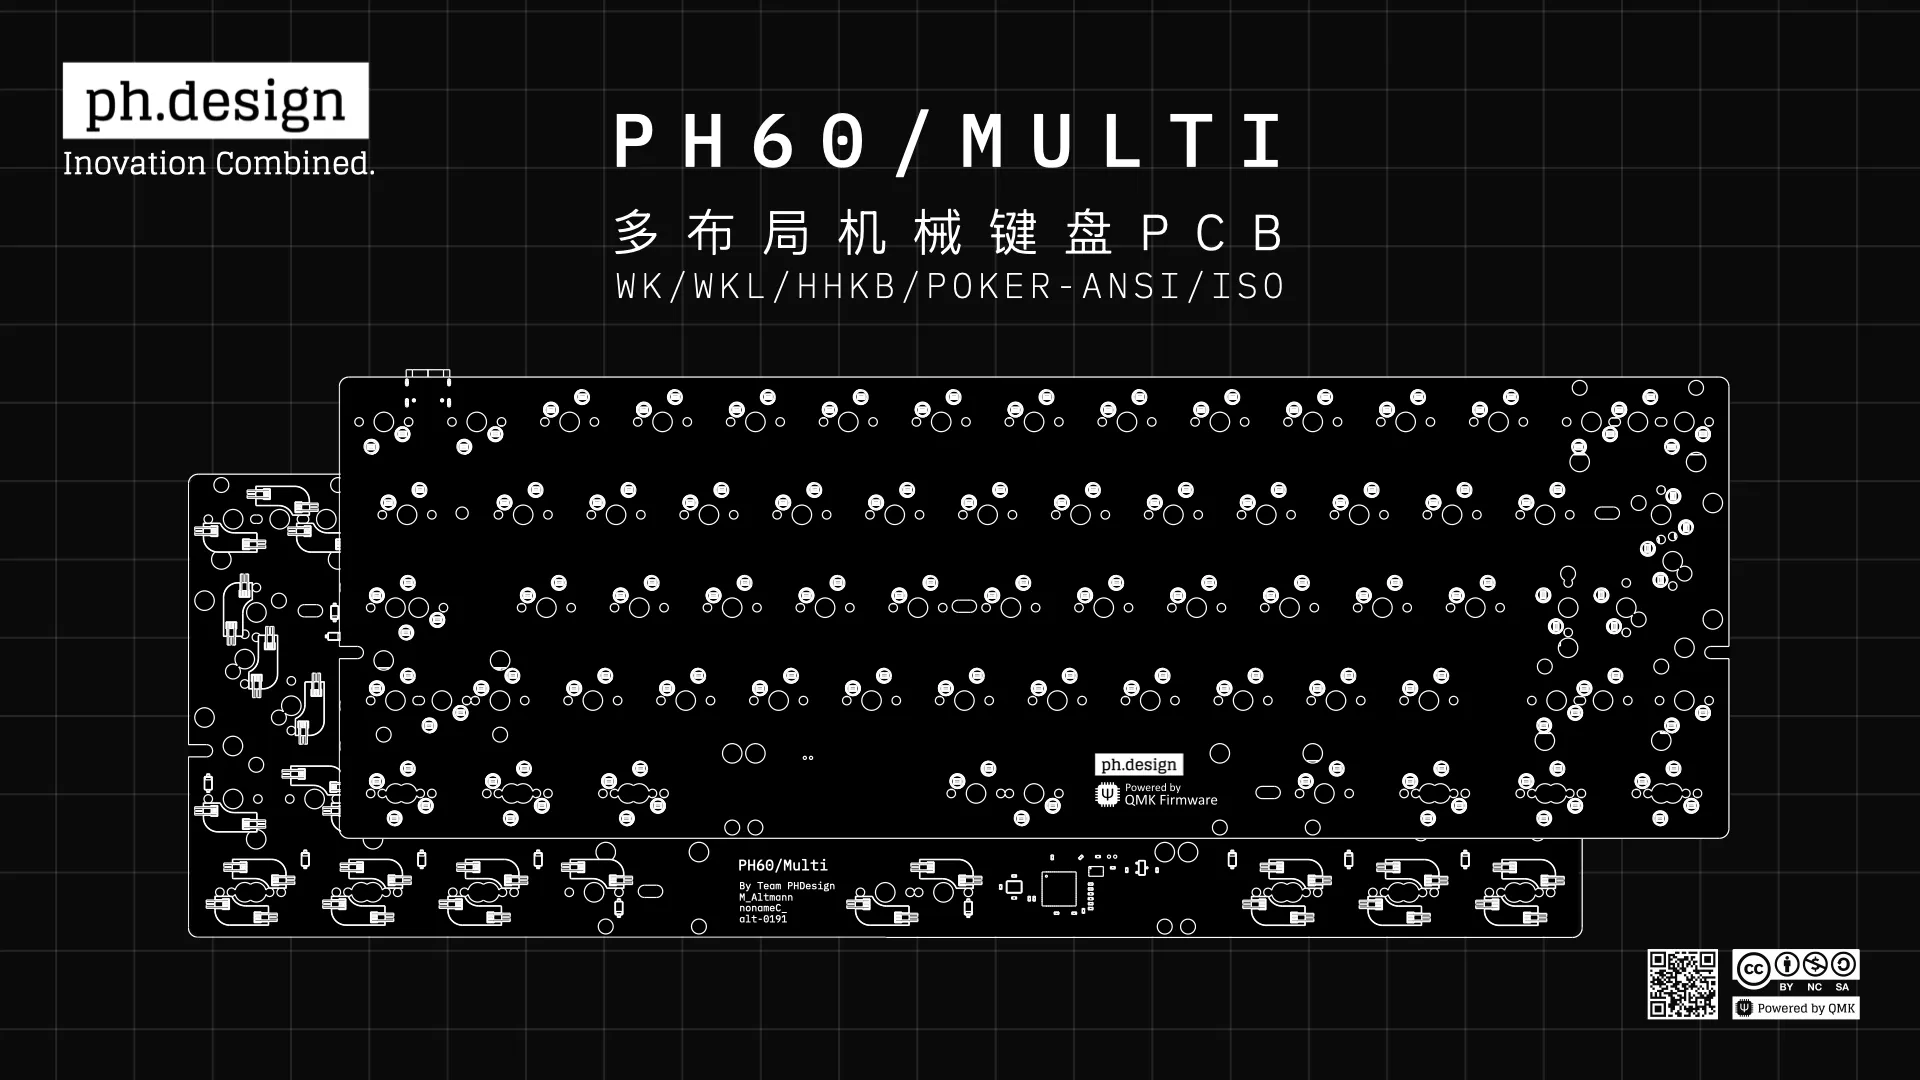
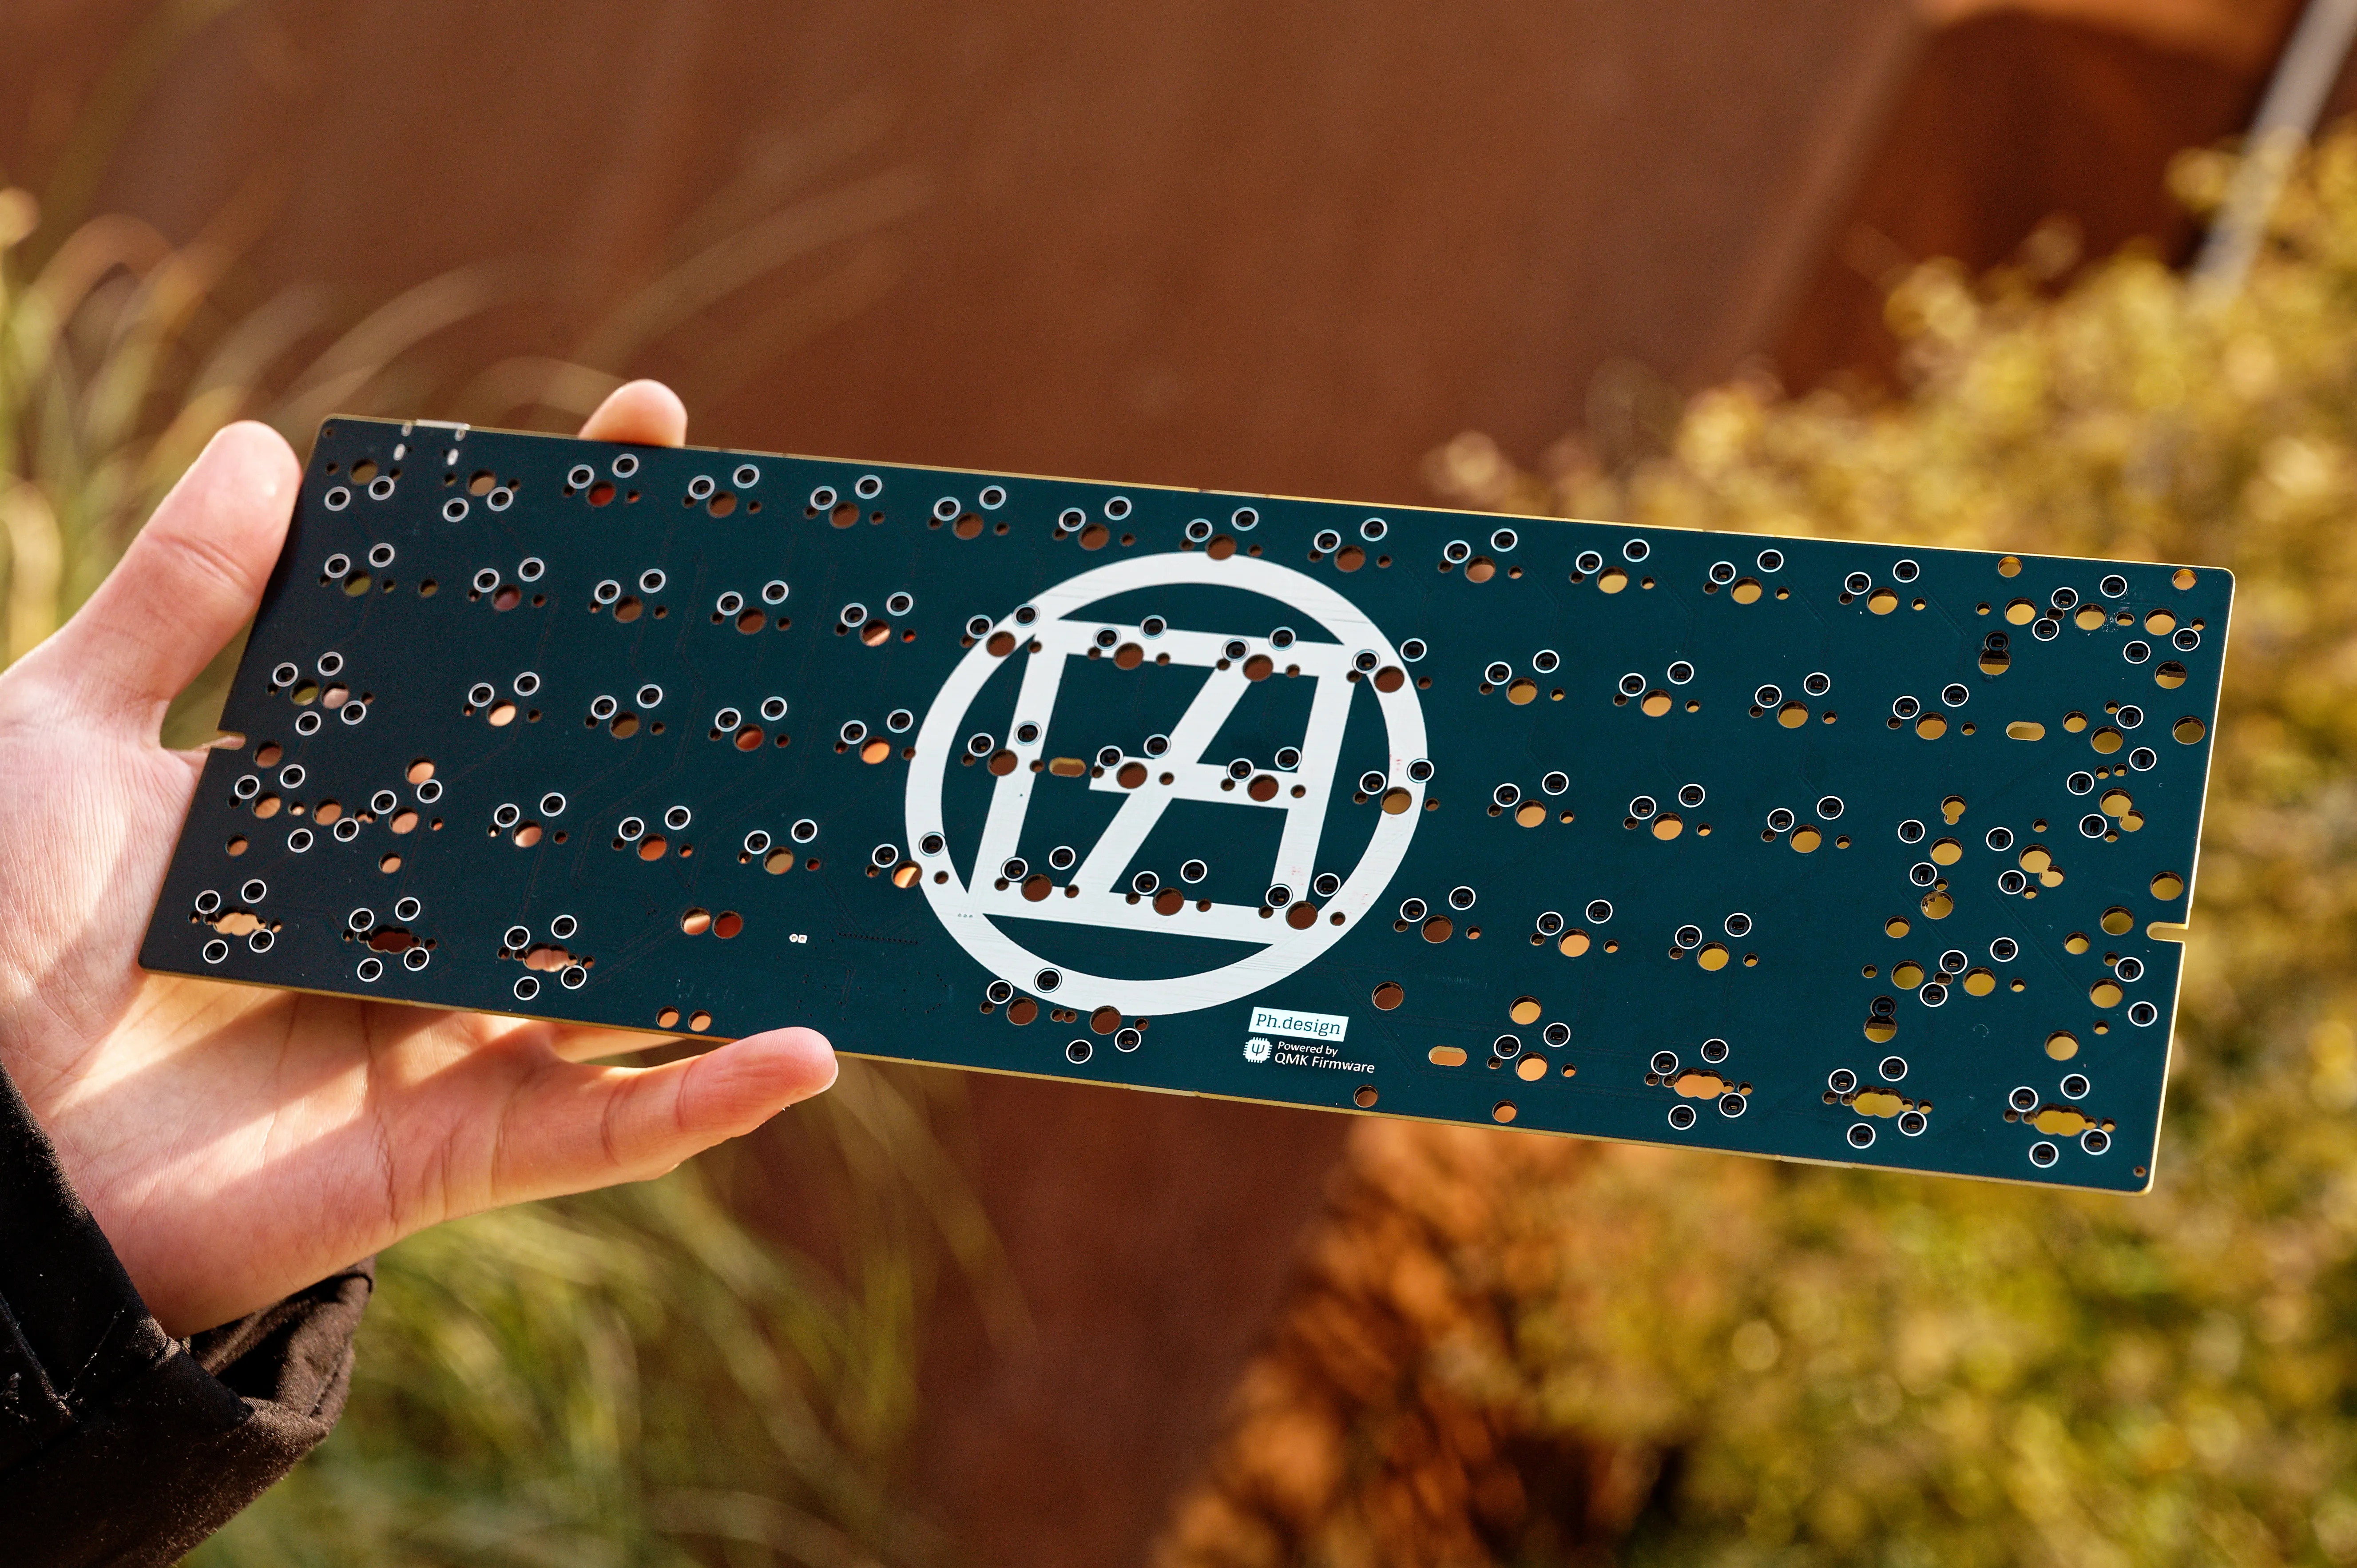
- Also see our multi-layout PCB that supports HHKB/WK/WKL/Poker-ANSI and ISO. Free shipping in Asia! Click HERE for more info.
- You can always manufacture your own PCB with the .gerber file provided in our GitHub repo. Welcome joining ph.design's Discord and get direct support from us❤️
Archived updates
- 2024.12.10 The final version of rev2 kit has released. Increase printability and supports magnetic switch PCBs. To install, print the LS64 plate and apply M2*3*4 heat inserts into the plate. Then install the switches and tighten the M2*4 screws. Remember to re-calibrate after pillow position changes.
- 2024.11.27 PH60 Case and accessories pack are in Stock!
- 2024.11.25 Upload left-shift 64 layout draft file to our GitHub repo.
Features
- Design for consumer-grade desktop printers, conducted extensive testing across different printer architectures and filament types.
- Magnetic connection for convenience assembly and quick release.
- Natively design for gasket mount, typing experience and acoustics are optimized.
- Innovative 2-step foot stand that supports 7- and 0-degrees typing angle with compressed 18mm front height.
- Provide printable thickened mounting plate and draft files for various layouts.
- Fully capable with GH60 standard PCBs.
- Supports magnetic switch with Left Shift 64 layout plate.
Printing Guide
The PH60 case is natively designed for 3D printing, requiring no support and compatible with default printer profiles. However, for optimal stability and typing experience, we recommend adjusting the following parameters:
• Layer Height: 0.2mm
• Wall Type: Arachne
• Number of Wall Layers: 4
• Infill Pattern: Linear
• Sparse Infill Density: 100%
Please note that to ensure smooth assembly, it is strongly recommended to print all components using the same printer and filament type. Calibrate extrude flow before printing. Some slender components in the model may warp during printing; we suggest cleaning the build plate before starting and reducing the fan speed of the enclosure (if available). Any warping in individual components can affect the overall assembly quality.
The Rev2 case has undergone extensive testing, and we recommend printing with PLA, PETG, or ABS filaments. Please avoid using reinforced materials with extremely rough textures, such as fiberglass-infused filaments, as they may prevent proper component fitting.
Assembly
Requirements:
- 10*5*3mm N52 magnet *12
- 5*2mm silicon pad *1m
- Glue (OPTIONAL)
You can buy the accessories pack in our Taobao shop!
Assembly:
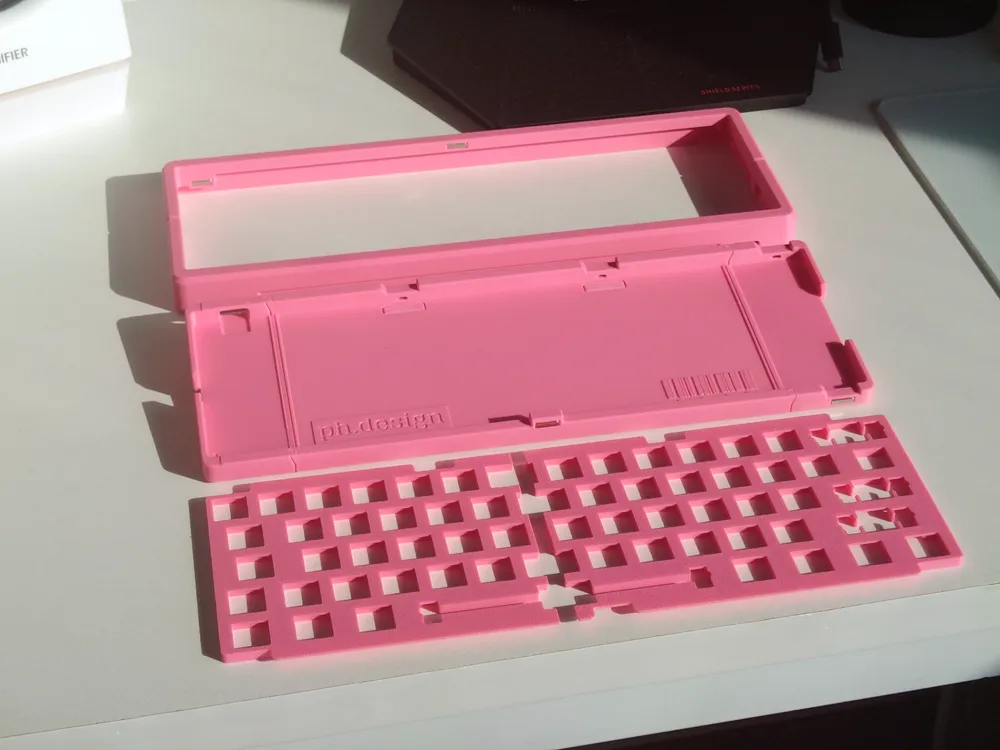
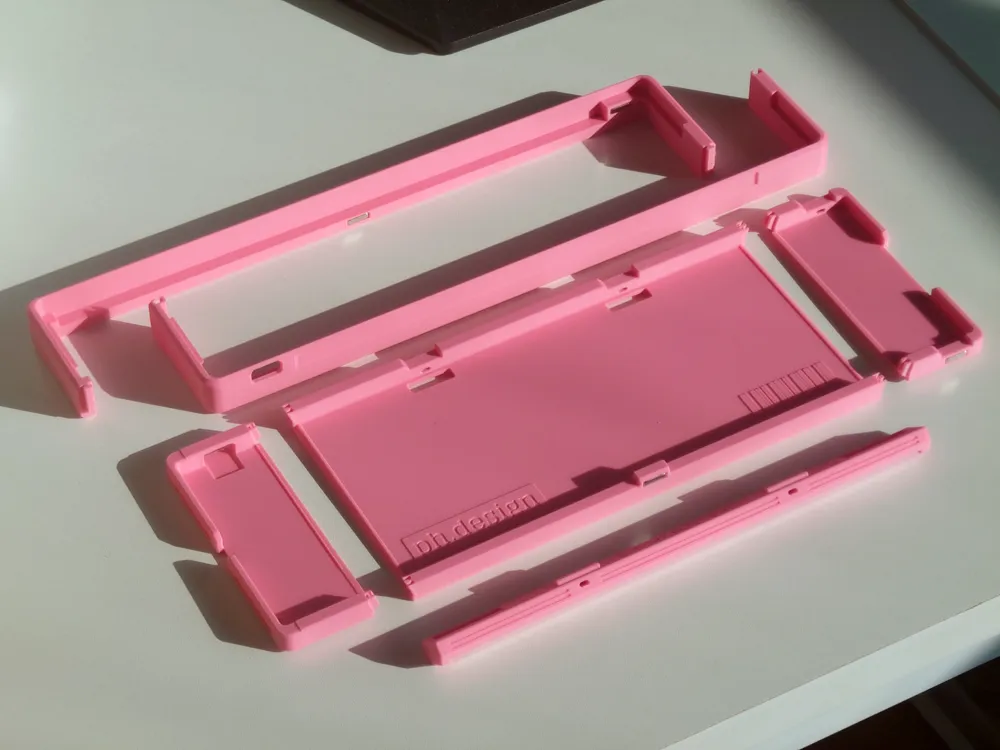
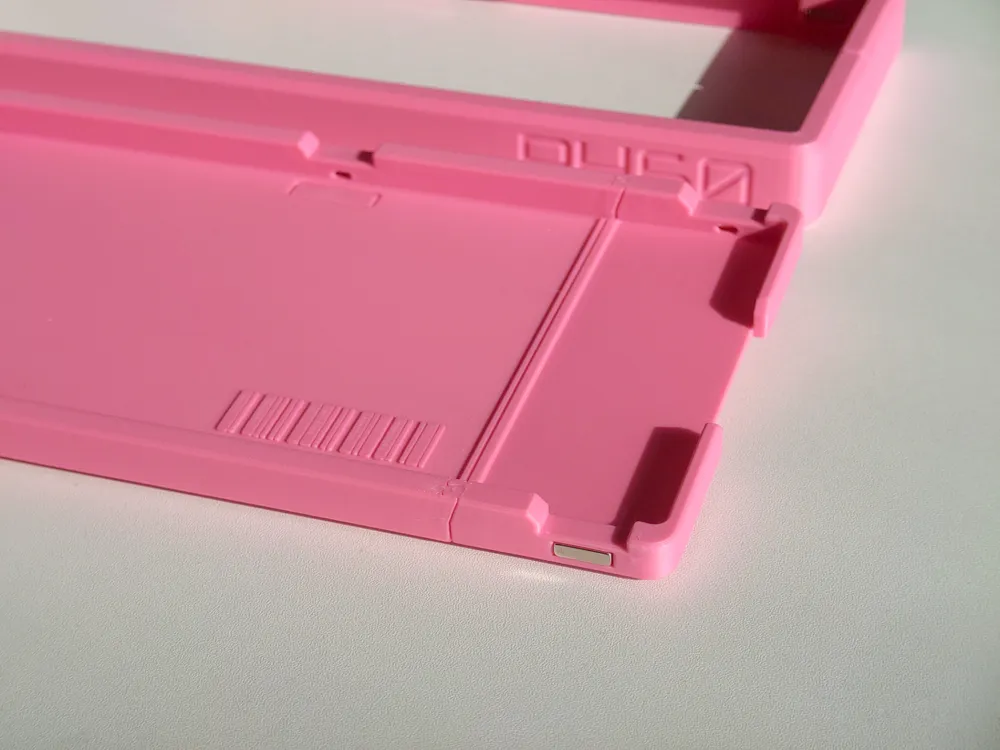
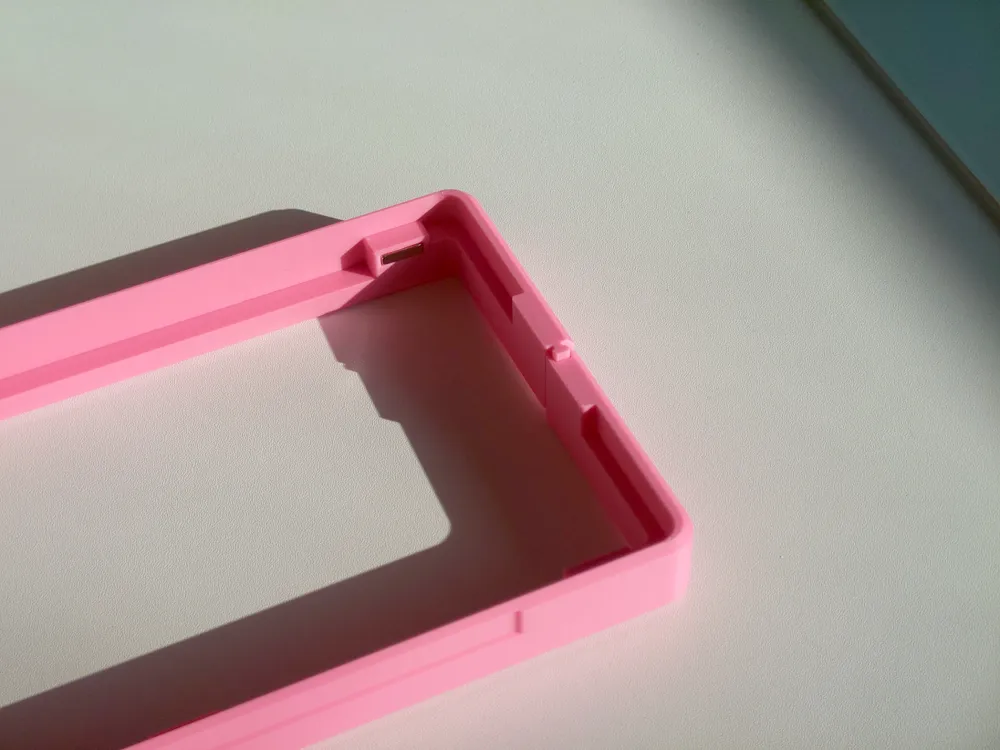
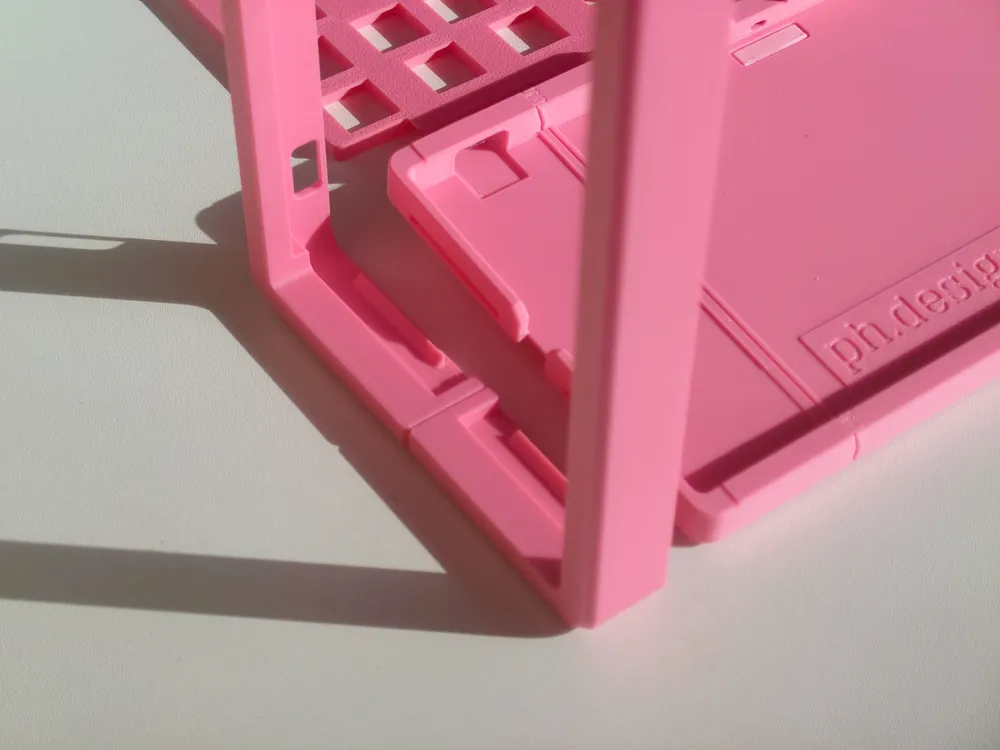
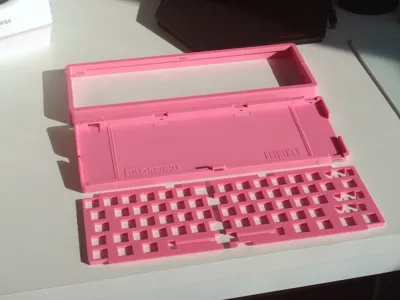
The PH60 case consists of six components: the central bottom shell, bottom shell L, bottom shell R, top cover F, top cover B, and the pillow. The installation steps are as follows:
Case Assembly:
1. Assemble the Bottom Shell
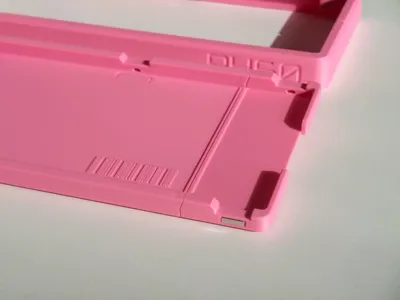
Align the internal markings of the central bottom shell and the two side shells, ensuring the text orientation matches. Press the side shells into the central bottom shell.
2. Assemble the Top Cover
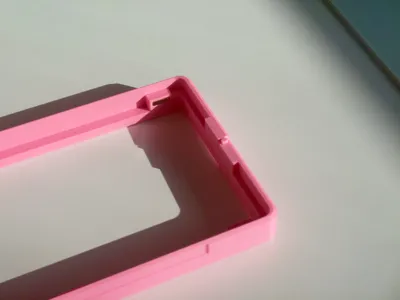
Similarly, assemble the two top cover components. After assembly, the top covers should align perfectly. Use a rubber mallet if necessary.
3. Insert the Magnets
Ensure consistent magnet polarity, then press magnets into all designated holes on the bottom shell, top cover, and pillow. Apply glue if needed.
4. Attach the Top Cover
Hook the left-side snap into place first, then release the cover, allowing the right side to be secured by the magnets.
5. Install Anti-Slip Pads
Flip the case over and attach silicone anti-slip pads to both the case and the pillow.
Mounting the Plate:
The Rev2 case includes multiple thickened plate designs specifically for 3D printing. Each plate consists of two components. After printing the appropriate plate for your layout, follow these steps:
1. Prepare the PCB
(Optional) Attach switch pads to the PCB.
2. Align the Plate and PCB
Place the PCB on the bottom plate, aligning the plate and PCB holes precisely. The two plate components do not require adhesive.
3. Install Switches and Stabilizers
Insert switches and stabilizers from left to right. Please do remind that the printed plate support only PLATE-MOUNT STABS.
4. Apply Foam
Flip the plate assembly over and attach PORON foam to the sections of the plate that contact the bottom shell.
Final Assembly:
1. Insert the Plate
Open the top cover by releasing the right side and place the assembled plate into the case.
2. Secure the Top Cover
Hook the left-side snap into place first, then release the cover to let the magnets secure the right side.
3. Test and Complete
Test the keyboard functionality to ensure everything works as expected. Assembly is now complete.
Documentation (1)
License



Comment & Rating (47)