
Instructions on a customizable business card


Print Profile(1)

Bill of Materials

Description
Boost Me (for free)
If you like my designs, feel free to hit the free Boost button 🚀 Your support helps me create more unique printable models!
English/Englisch
Instructions:
- Open the model in Makerlab
- Alternatively, create a sign in Makerlab/Makemysign.
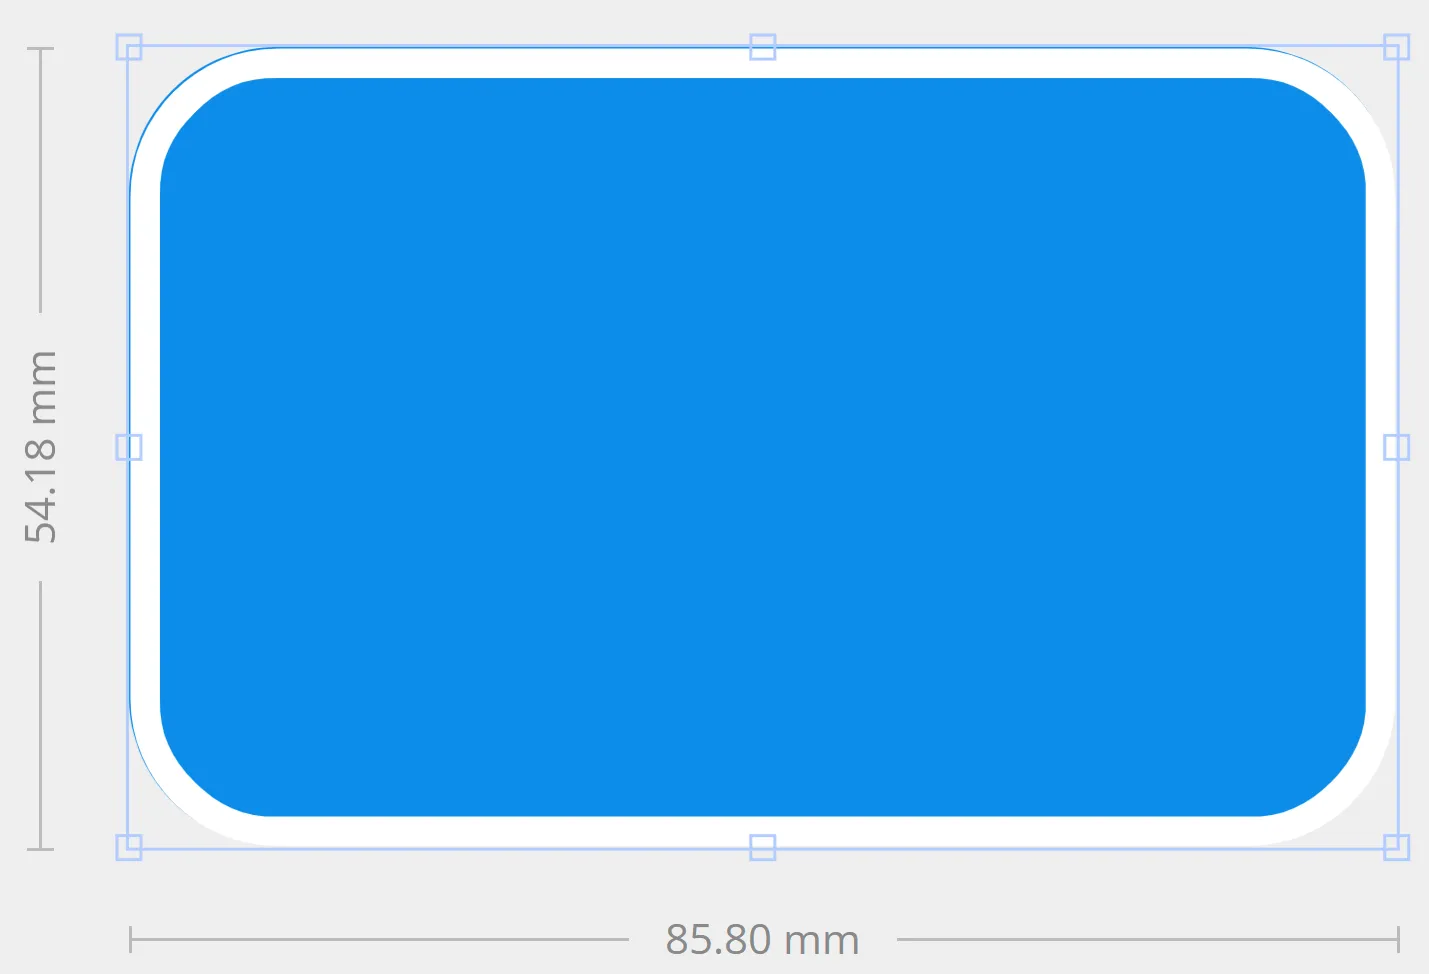
- Alternatively, create a sign in Makerlab/Makemysign.
- Ensure the settings are configured to credit card dimensions: 85.60 mm × 53.98 mm.
- Ensure the model thickness matches the typical credit card thickness of 0.76 mm
- However, a slightly thicker print (1-2 mm) is acceptable for 3D printing.
- Print the model using your 3D printer.
- Optional: Integrate an NFC tag by embedding it at the desired location. Follow these steps:
- Design a small recess in the card to accommodate the NFC tag.
- Print until the point of NFC tag insertion.
- Insert the NFC tag. I use 25mm diameter NFC tags: https://www.ebay.com/itm/234632635541
- Continue printing until complete.
I trust these instructions are helpful. Please inquire if you have any further questions.
German/Deutsch
Anleitung:
- Öffne das Modell von Makerlab.
- Alternativ kannst du auch ein Schild in Makerlab/ bei Makemysign anlegen:
- Alternativ kannst du auch ein Schild in Makerlab/ bei Makemysign anlegen:
- Stelle sicher, dass die Einstellungen auf die Größe einer Kreditkarte eingestellt sind. Die Standardmaße einer Kreditkarte betragen 85,60 mm × 53,98 mm.
- Stelle sicher, dass die Dicke des Modells auf die typische Dicke einer Kreditkarte eingestellt ist, die 0,76 mm beträgt.
- Wobei du bei einem 3D-Druck auch etwas dicker werden darfst. (1-2 mm)
- Drucke das Modell mit deinem 3D-Drucker aus.
- Optional: Integriere einen NFC-Tag in die Karte, indem du ihn an der gewünschten Stelle einbettest. Hier sind die Schritte, um den NFC-Tag in den Druck zu integrieren:
- Entwerfe eine kleine Aussparung in der Karte, die groß genug ist, um den NFC-Tag aufzunehmen.
- Drucke das Modell bis zur Stelle, an der du den NFC-Tag einbetten möchtest.
- Lege den NFC-Tag in die Aussparung ein. Ich verwende NFC Tags mit 25mm Durchmesser: https://www.ebay.com/itm/234632635541
- Drucke das Modell weiter, bis es vollständig fertiggestellt ist.
Ich hoffe, diese Anleitung hilft dir weiter. Bitte lass mich wissen, wenn du weitere Fragen hast.
License

You shall not share, sub-license, sell, rent, host, transfer, or distribute in any way the digital or 3D printed versions of this object, nor any other derivative work of this object in its digital or physical format (including - but not limited to - remixes of this object, and hosting on other digital platforms). The objects may not be used without permission in any way whatsoever in which you charge money, or collect fees.


Comment & Rating (4)