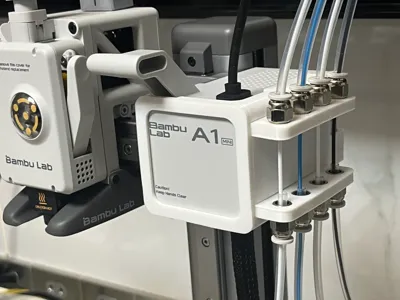
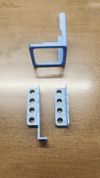
A1 mini Manual Filament Exchange Module V1.0 – Lightweight Side-Mount Version


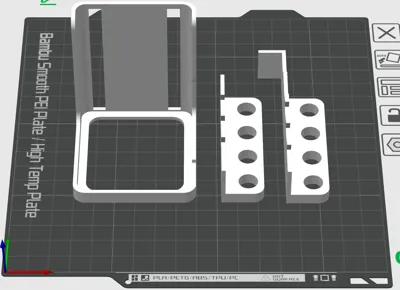
Print Profile(3)
Description
Optimized based on the original design, using the original model as a reference, I modeled and designed it from scratch. All dimensions were measured manually against my own machine.

Optimization results:
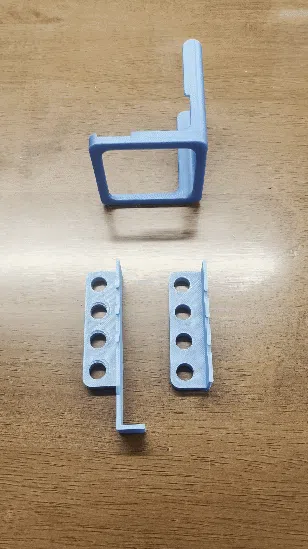
- Reduced weight and material usage, less than 35g
- Does not block the front icons
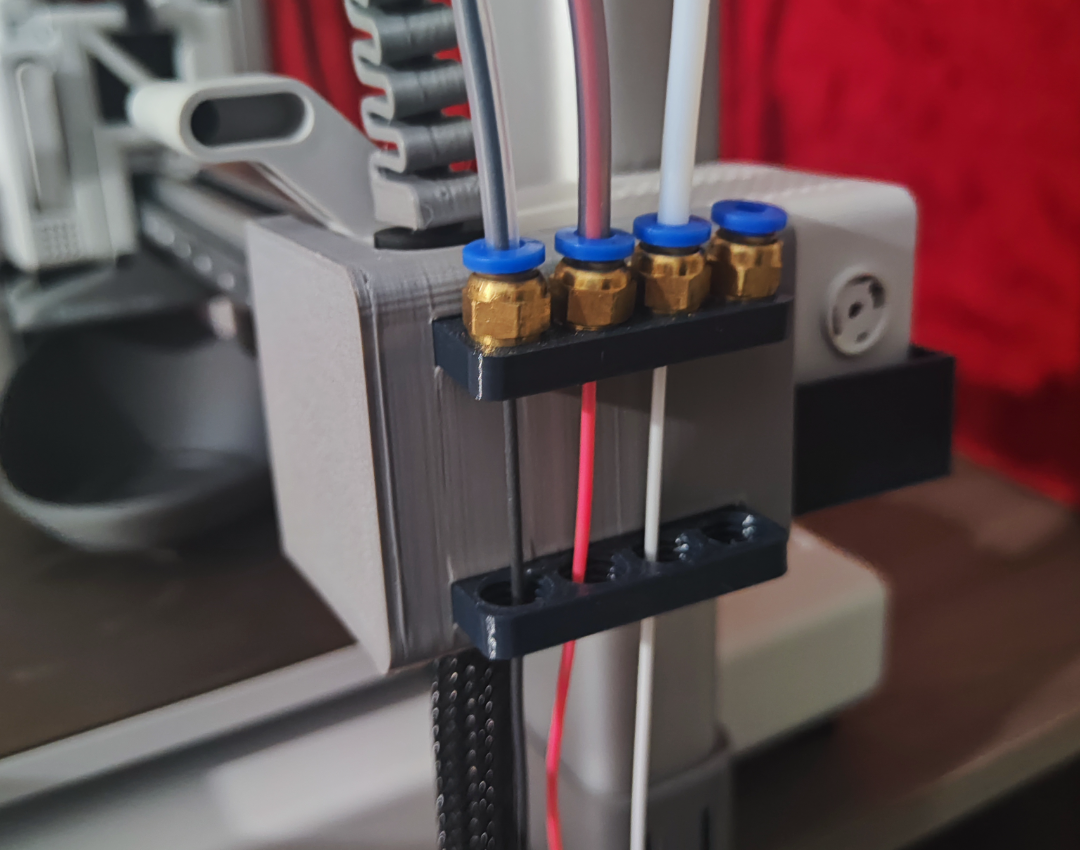
- Increased spacing between pneumatic fittings for easy one-handed filament pulling and pneumatic fitting installation
- Easy assembly and disassembly, taking only 5 seconds (refers to fixing to the machine, assembly also takes only a few minutes)
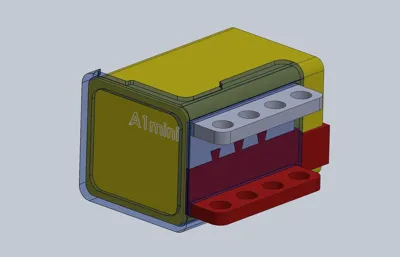
- Uses a split-part form, ensuring that the layer direction will not affect strength, and damaged or modified parts can be individually printed and replaced (tried one-piece printing, but found that some parts were not strong enough due to the printing direction, so I abandoned it)
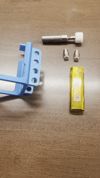
Required material and tool list:
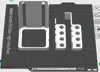
No. | Model | Size | Quantity | Notes |
1 | Pneumatic fitting PC4-01 | - | 8 | Used to secure the PTFE tube. It is recommended to use the through version. |
2 | PTFE Tube (also known as Teflon Tube) | Outer diameter 4mm Inner diameter 2.5mm or 2mm | At least 4 meters (excluding the length from the filament change module to the drying box, about 80cm from the extruder to this device) | Used for filament guiding. It is recommended to use the transparent version, which allows you to easily view the filament feed and retraction. It is recommended to leave enough length when purchasing. |
3 | Lighter/Heat Gun | - | 1 | Used to soften the interface to facilitate the screwing in of the pneumatic fitting using a wrench. You can choose a windproof lighter, the flame emitted is more straight and easier to control |
4 | Wrench/Socket | 10mm version | 1 | Used to tighten the pneumatic fittings It is recommended to tighten manually. It is not recommended to use electric drills or other high-torque tools for tightening, as this may cause the material to tear or strip. |
Mobile devices may not be able to view the above material list, you can view the picture:

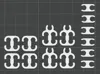
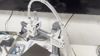
Installation instructions:
- Pay attention to the direction of the notch, distinguish the position of the upper and lower parts
- Use a lighter to slightly heat the inside for a few seconds to soften it, which will help the pneumatic fitting to be easily screwed in with a wrench.

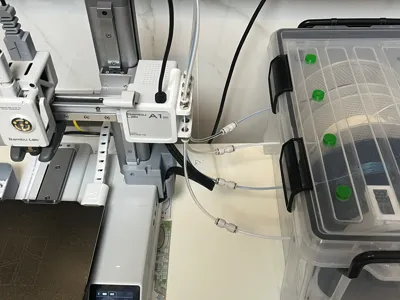
- After installing all the pneumatic fittings, you can install them according to the following diagram, which is very convenient.

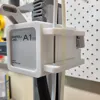
- After installing the module, install the PTFE tube in sequence.

Other things to say:
How to use?
It is recommended to use it with a drying box. To change colors, simply retract the filament and manually pull it out. To feed, simply manually feed the filament into it.
Will the exposed part affect the dryness of the filament?
I have been using it for a while and found that it has little impact, because the pipe is narrow itself and moisture will not flow into the drying box along the pipe (I am in the south), and the part exposed outside will not have much impact. Moreover, due to printing accuracy issues, it is difficult for FDM printers to guarantee airtightness. The next version may consider adding a dust cover.
What material is used for printing?
I used PLA for printing tests, and finally used PETG for printing and keeping for use, because I thought it would be better to choose a stronger material for long-term use. Of course, there is no problem using PLA and other materials.
Why don't you draw threads to facilitate manual installation of pneumatic fittings?
Because I tried drawing several times and found that the printed effect of small threads is not satisfactory, so I chose to use a lighter to soften the material and screw it in.
Will it affect the printer's accuracy?
The conclusion is that there is basically no impact, because the weight is light. You can use it directly. If you are still worried, it is recommended to perform an automatic calibration of the machine after all the installation to ensure accuracy.

Boost Me (for free)
If you have any questions, please feel free to contact me for answers or modifications. Thank you for downloading and using!
Documentation (4)
This remix is based on
License
You shall not share, sub-license, sell, rent, host, transfer, or distribute in any way the digital or 3D printed versions of this object, nor any other derivative work of this object in its digital or physical format (including - but not limited to - remixes of this object, and hosting on other digital platforms). The objects may not be used without permission in any way whatsoever in which you charge money, or collect fees.
Comment & Rating (76)