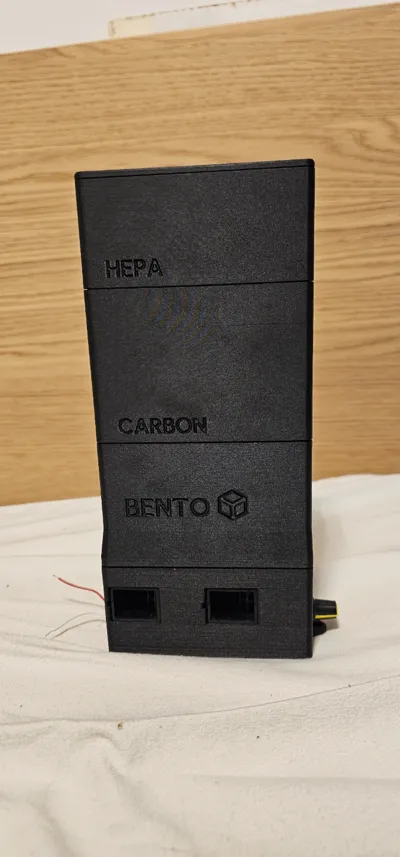
BentoBox V2.0 5020 Blower Fan with PWM fan control


Print Profile(1)

Description
This model is fully compatible with X1, X1C, X1E, P1S and P1P printers. This model is fully compatible with the original BentoBox V2.0 filter. Easy installation.
Use 12V (with buck converter) or 24V blower fans. 5015 and 5020 models compatible, although 5020 is recommended due to exit spacing.
Firstly, this model was for personal use and remixed by me. I wanted to share it because I am really happy with the system. Thats why the pictures and the guide is not fully completed. If you need any help, send me a message and I will respond a.s.a.p.!!
Instructions and parts listed below!
Boost Me (for free)
Do you also enjoy this BentoBox upgrade and do you appreciate the effort put into designing this? Then give me a boost! Boost are greatly appreciated!
Instructions:
- Print all original BentoBox V2.0 files (except the bottom and the fan casing)
- Print my 2 files (fan shroud and fan case)
- Buy the PWM controller, 5020 blower fans and buck converter from any website.
- Route GND and +24V cables from the PSU of the printer, thru the bottom, inside of the printer cabinet. Look for a small hole.
- Install the 4x2 magnets and M3 inserts into the model as the original model.
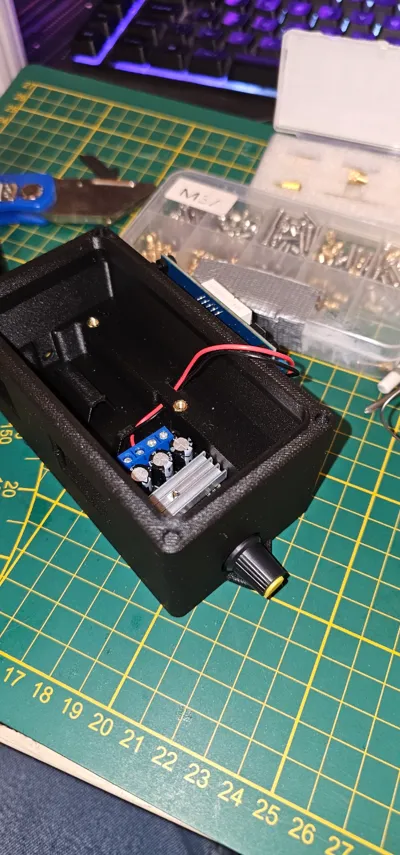
- Install the PWM controller in the bottom with M3 screws.
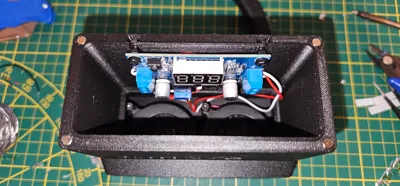
- Install the 5020 blower fans.
- (12V fan only) install the DC-DC buckconverter and plug the GND and +24V cables into it. Make the output +12V.
- Route cables from buckconverter to PWM controller, to the fans.
- Mount the fan case to the bottom of the printer with 1 screw.
- ENJOY!
PWM controller: https://nl.aliexpress.com/item/33023396847.html?spm=a2g0o.order_list.order_list_main.5.7c3279d2tmIOZu&gatewayAdapt=glo2nld
4x2mm magnets: https://www.amazon.com.be/-/en/dp/B0CPS1JF3W?ref=ppx_yo2ov_dt_b_fed_asin_title


Comment & Rating (7)