Sony A7iii Cooling Fan (a6000, a7sii + Other Cams)


Print Profile(1)

Description
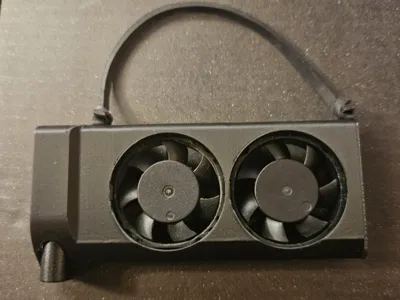
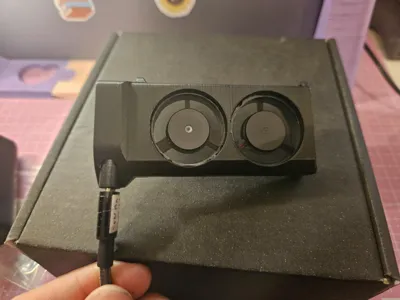
This camera cooler design works with raspberry pi fans and is an evolution of a project I started years ago - glueing together two fans and attaching a usb cable.
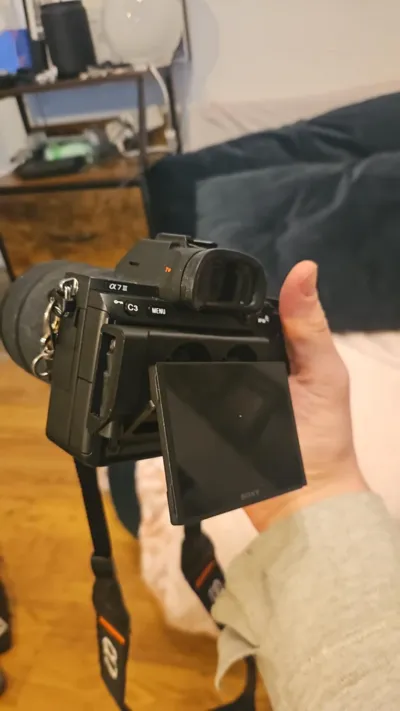
Many modern cameras overheat when shooting video for an extended time and a small amount of air being blown onto the rear of the camera will extend the record times substantially. I have a main project for this as you can find here for a7iii, a7siii and so on https://www.instagram.com/axelwdesign/ which I sell but for older and other cameras this will work just as well (providing a usb a - usb c cable will suitable power supply/battery bank)
Instuctions for assembly -
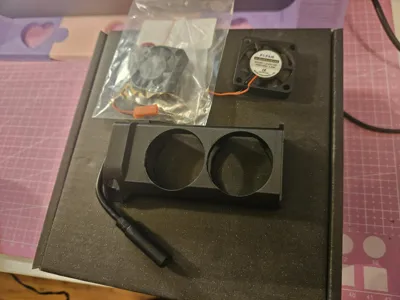
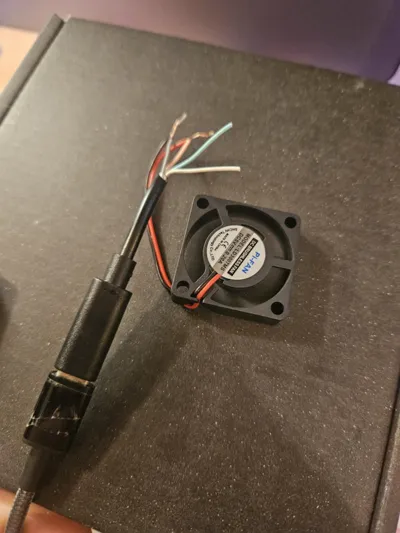
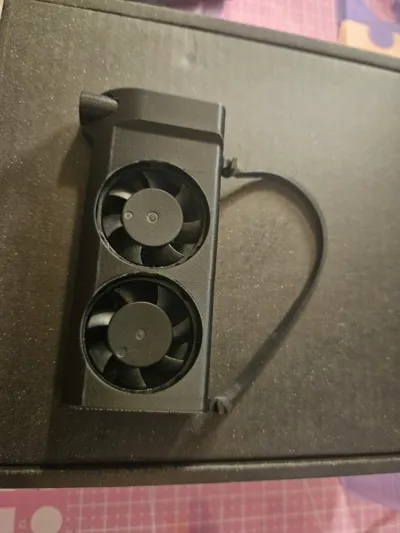
You will need two small raspberry ppi fans - 30mm x 30mm x 7mm - the ones that say Pi-Fan rather than just Fan work much better!
a cheap usb c extension cable with a female usb c port on the end (you could also use usb-b female adapter if you wish but may have difficulty fitting it in without modification)
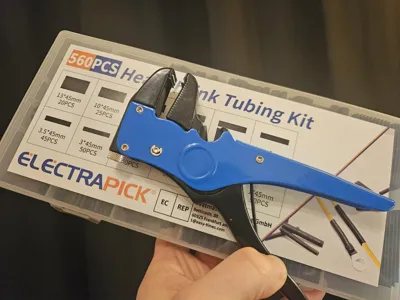
Also you will need wire strippers and heat shrink electrical wire covers - you can also solder the cables but it may not be necessary.
TO POWER THE FAN IT WILL NEED A USB A TO USB C ADAPTER! - this is because usb c - usb c cables need a digital handshake to engage power whereas usb a - usb c will default to 5v power draw.
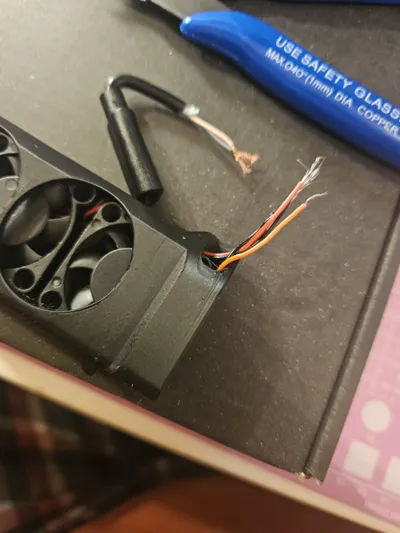
1 - strip the cables as shown - use a usb power supply/battery bank to check that the usb c adapters postive and negative cables are black (or grey) and red - if not it could be other combinations, see which when touched to the fans or a voltmeter give power
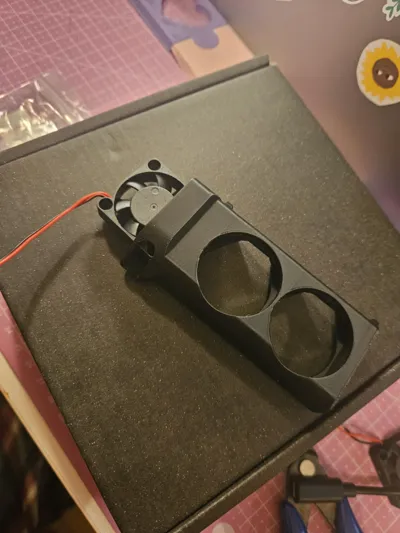
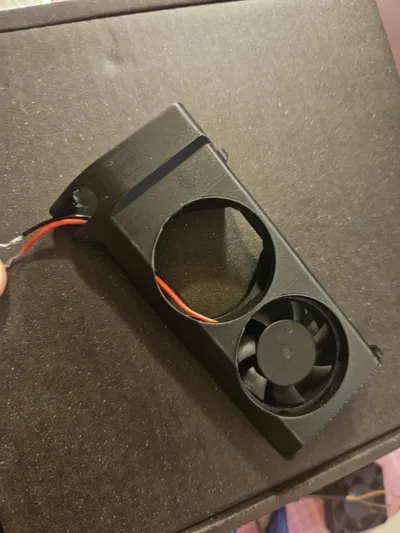
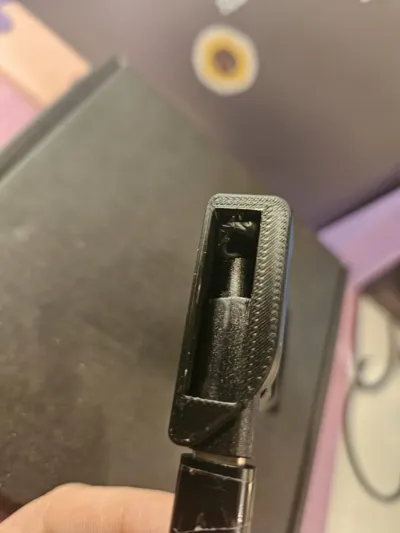
2. place a fan as shown into the holder, label should be “facing away” so against the camera when built, there is a tract at the bottom of the holder for the wires to run
3. feed the cables from the fan out of the usb port hole, that way you can place the second fan and run its cables out that hole too, its a bit fiddly but thats what it takes.
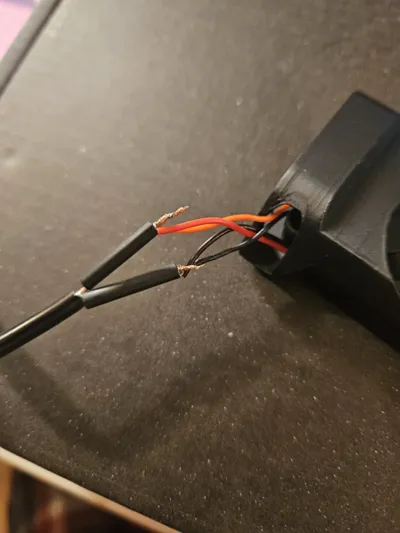
4. Connect your cables, all reds together (if your usb wire is red) and all blacks together (if usb negative is black) you can test again by plugging into a usb power supply to check its all working. BEFORE SECURING WIRES TOGETHER SLIDE ON HEAT SHRINK PLASTIC TUBE
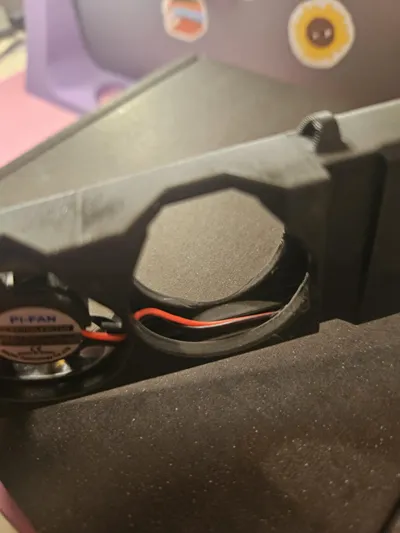
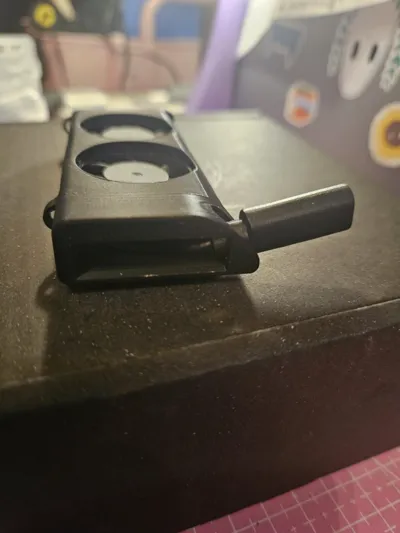
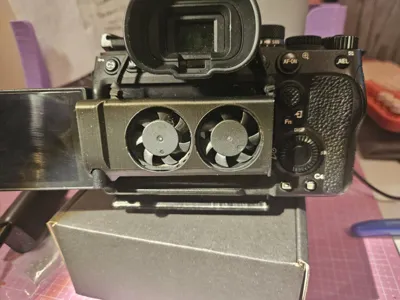
5. now comes the tricky bit, make sure you've made a strong bend in the top of the female usb cable as when it gets pushed in it needs to bend towards the fans, there is plenty of space for the cables but this may take some effort to work. As you can see in the picture attached mine got a bit smushed but the friction of the space holding the female usb c holds it all in place, also this keeps the fans where there need to be and can't slide back out.
6. Your mostly done! if you want to make it extra secure or using a camera without the tilt screen of Sony a7iii you can attach an elestic band through the (narrow) hoops, this can then go over the viewfinder to keep the fans in place.
Enjoy, happy printing and filming!
P.S when I printed this on my Ender 3 sometimes it would fail near the end, if needed add a trim to the adhesion layer to keep the print in place but be mindful of the small 3 layer right angle in the corner (this hooks onto the screen mount to stop from falling out the side of the camera)
Comment & Rating (15)