BMW Sunshade Repair Clip


Print Profile(1)

Description
Boost Me (for free)
Did you find this helpful? A boost would be greatly appreciated :-)
(English Translation below)
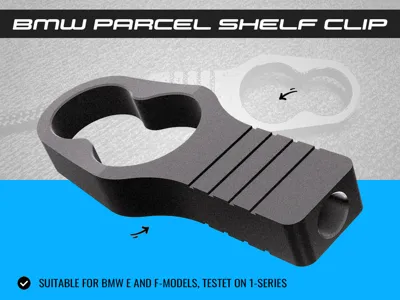
Today, I am pleased to introduce my practical repair clip for the BMW E and F Series
This clip serves as a replacement for damaged original clips
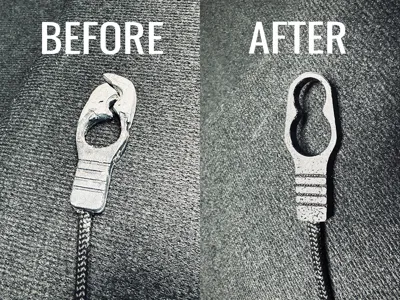
The clip on our 1 Series F20 failed, and prior repair attempts proved unsuccessful—hence, the creation of this 3D-printed component
The repair process is as follows:
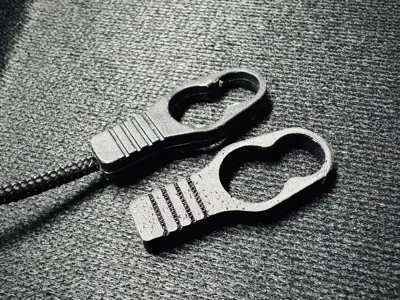
- Sever the original clip (DO NOT simply detach it from the cord, as this will shorten it); carefully remove the original clip using wire cutters or a similar tool, preserving the cord's full length. Trim it to approximately 4mm in diameter.
- Mark the original clip's position. This ensures proper cord insertion depth into the new holder.
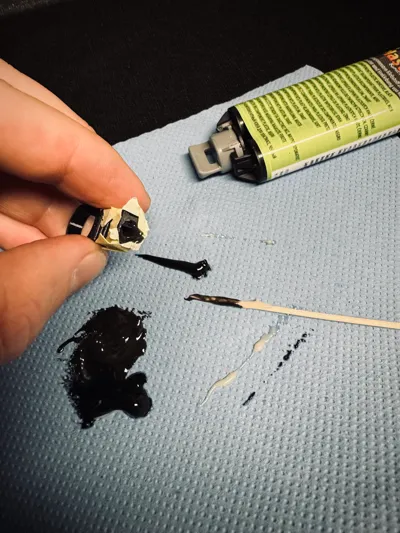
- Lightly sear the cord's end with a lighter to harden it and facilitate insertion into the hole.
- Acquire adhesive—I employed a two-part plastic repair adhesive, applying a small amount to the hole via a toothpick.
- Insert the cord into the hole and allow it to cure.
- Complete
Feel free to inquire if any questions arise
A boost would be most welcome:
Boost Me (for free)
Today I would like to present my practical repair clip for the BMW E and F series
The clip can be used to repair a defective original parcel shelf clip
The clip on our 1 Series F20 broke, previous repair attempts were unsuccessful - so I created a printed part
The procedure for the repair is as follows:
- Cut up the original clip (DO NOT simply cut off the cord, otherwise it will be too short), the original clip must be carefully removed with a side cutter or similar so that the cord remains in its entire length, please cut off so much that the remaining part has a diameter of approx. 4 mm
- Mark the original clip position, this is important so that you know how far the cord should be glued into the new holder
- Burn the end of the cord a little with the lighter so that the end becomes hard and can be inserted into the hole more easily
- Get some glue - I used a 2K plastic repair glue and pressed some glue into the hole with a toothpick
- Insert the cord into the hole and allow to harden
- Finished
Please let me know if you have any questions
Comment & Rating (10)