
DIY Grow Fan / Fans

Print Profile(1)

Description
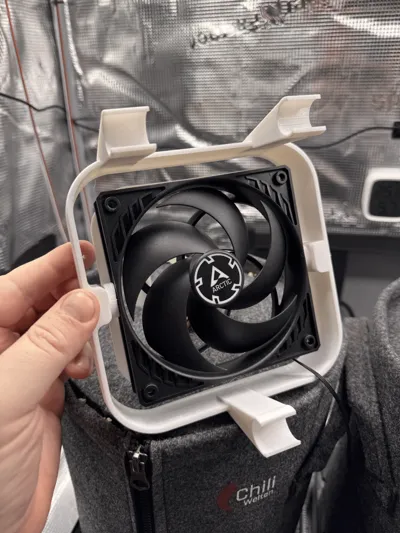
DIY Grow Fan
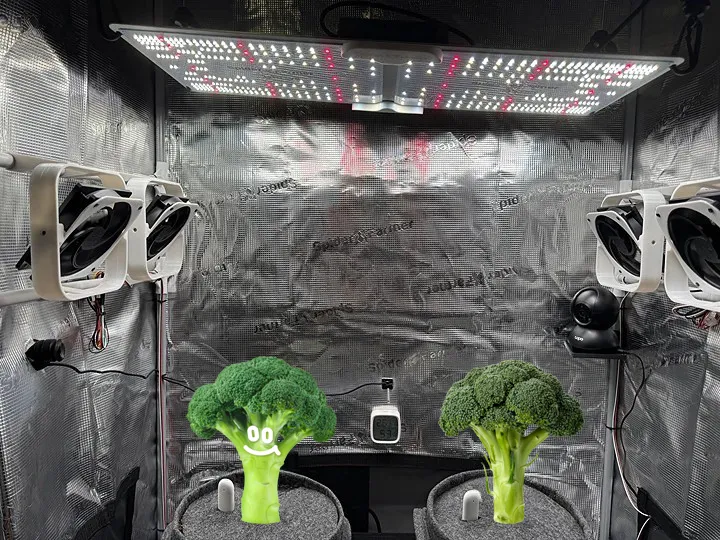
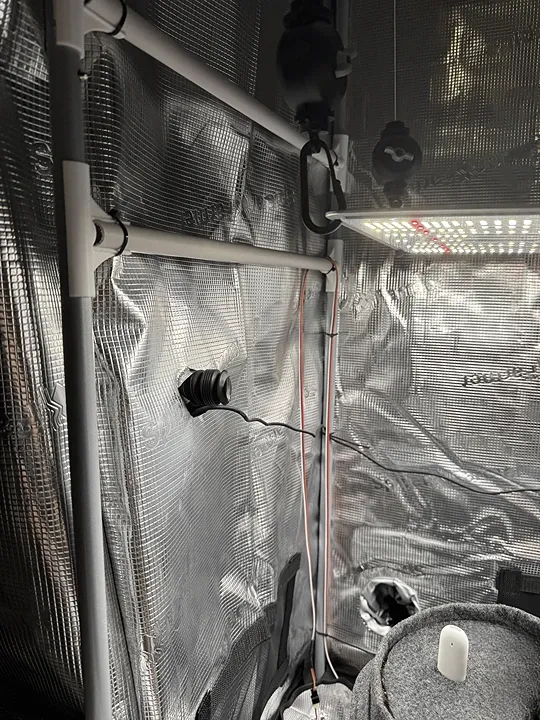
Here I present to you my self-built grow fan. It boasts a cost-effective design and can be easily adapted to any tent size – whether with one fan or eight fans, anything is possible.
The entire design is based on 120-mm fans, whose speed can be regulated via a classic fan controller. The fans are also vertically adjustable.
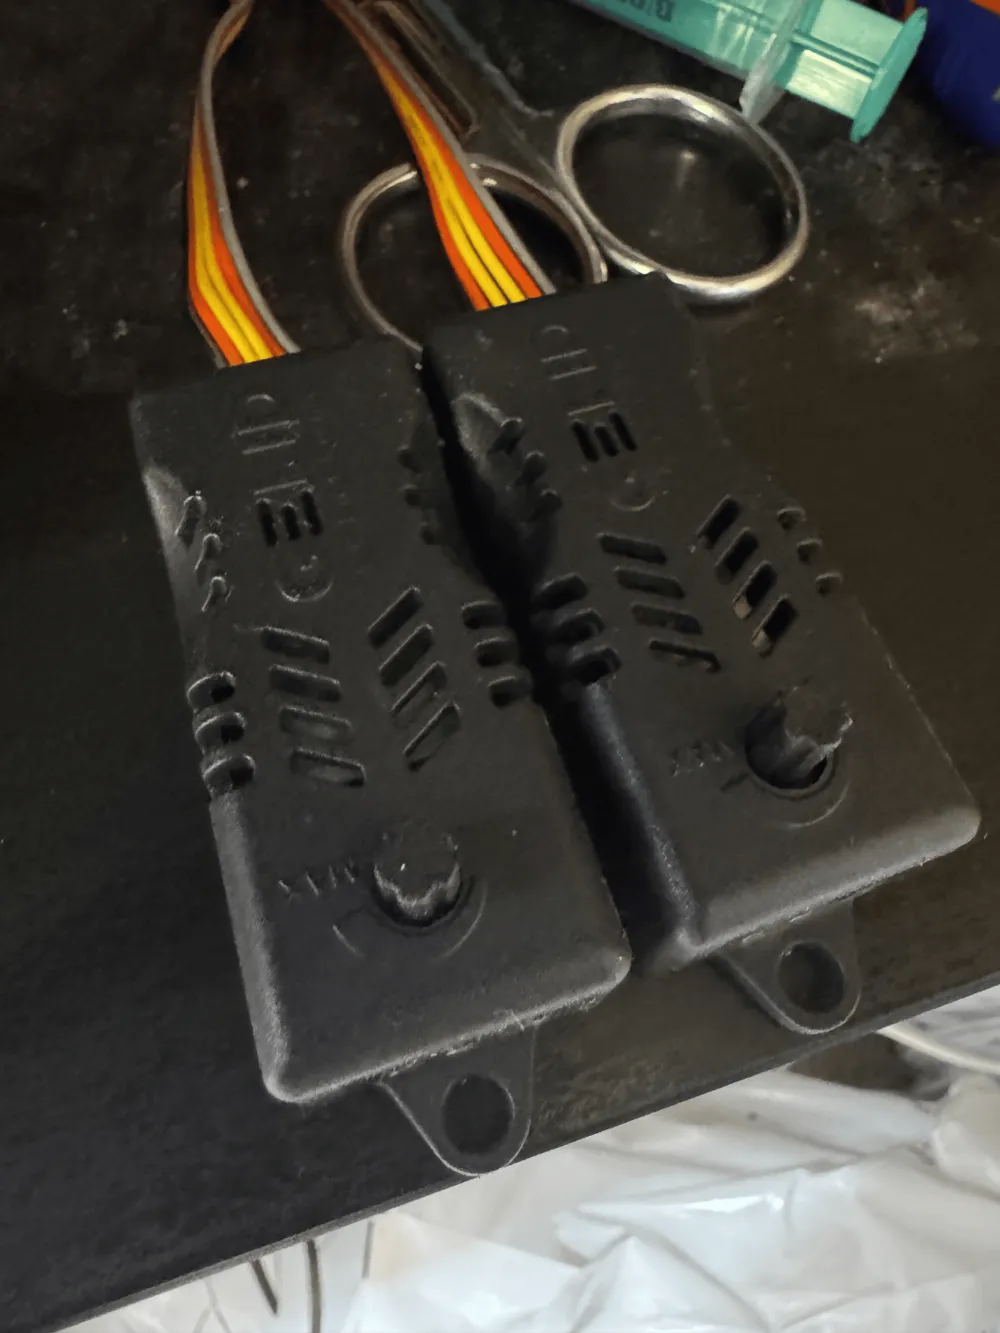
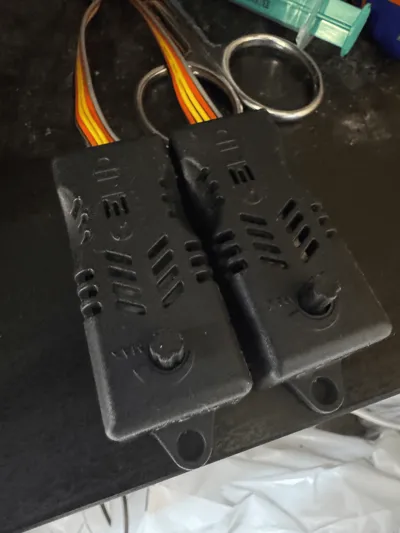
In my 90x50 tent, four fans fit perfectly, which I operate with two fan controllers. These are connected to a 12V 2A power supply.
Together against mold
BOM for 4 fans (2 per side):
3D-Printed Parts:
- 8 x 16mm Pole Clip (100g - 4h 16min) (Support required)
- 4 x GrowFanInnerPart (80g - 4h 5min) (no support required)
- 4 x GrowFanOuter120mmFan (420g - 16h 30min) (no support required)
Purchased Parts:
- 4 x 120mm DC PC fans (Recommendation: Arctic P12 DC - Part No.: ACFAN00118A - €3.47/ea.)
- 2 x Fan Y-adapters (€2.88/ea.)
- 2 x Fan controllers (€3.38/ea.)
- X Meter 3-wire LED cable (€1/lm)
- X Meter 16mm installation pipe (from the hardware store, two rods per side)
- 12V power supply (amperage depending on the fans used; in my case 2A)
- Cable ties
- M3x10-15mm screws
Instructions:
- Print the parts.
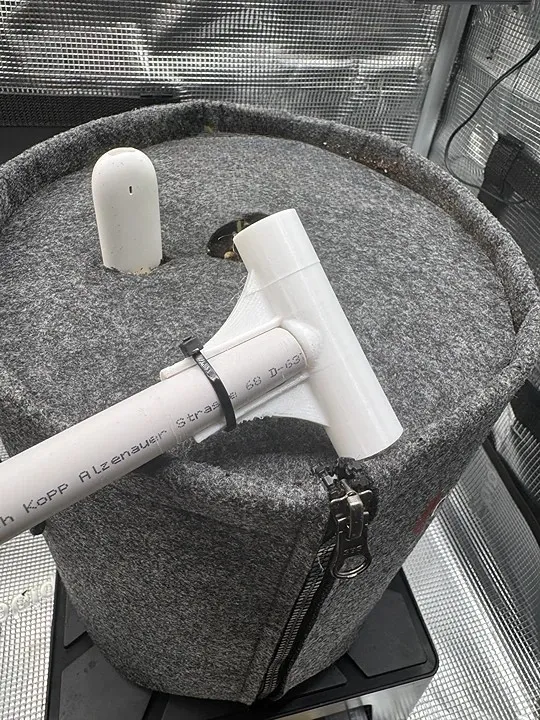
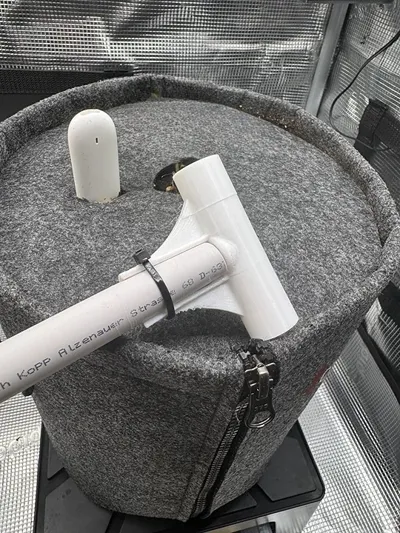
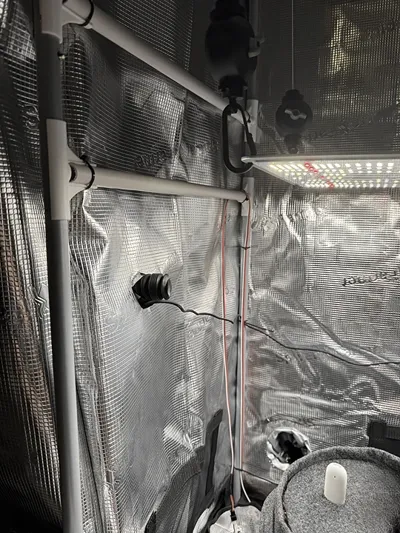
- Measure the inner distance from rod to rod, subtract 1 cm and cut four rods of the 16-mm insulation pipe accordingly.
- Insert the rods into the 16mm Pole Clips and secure them with a cable tie as shown in the photo.
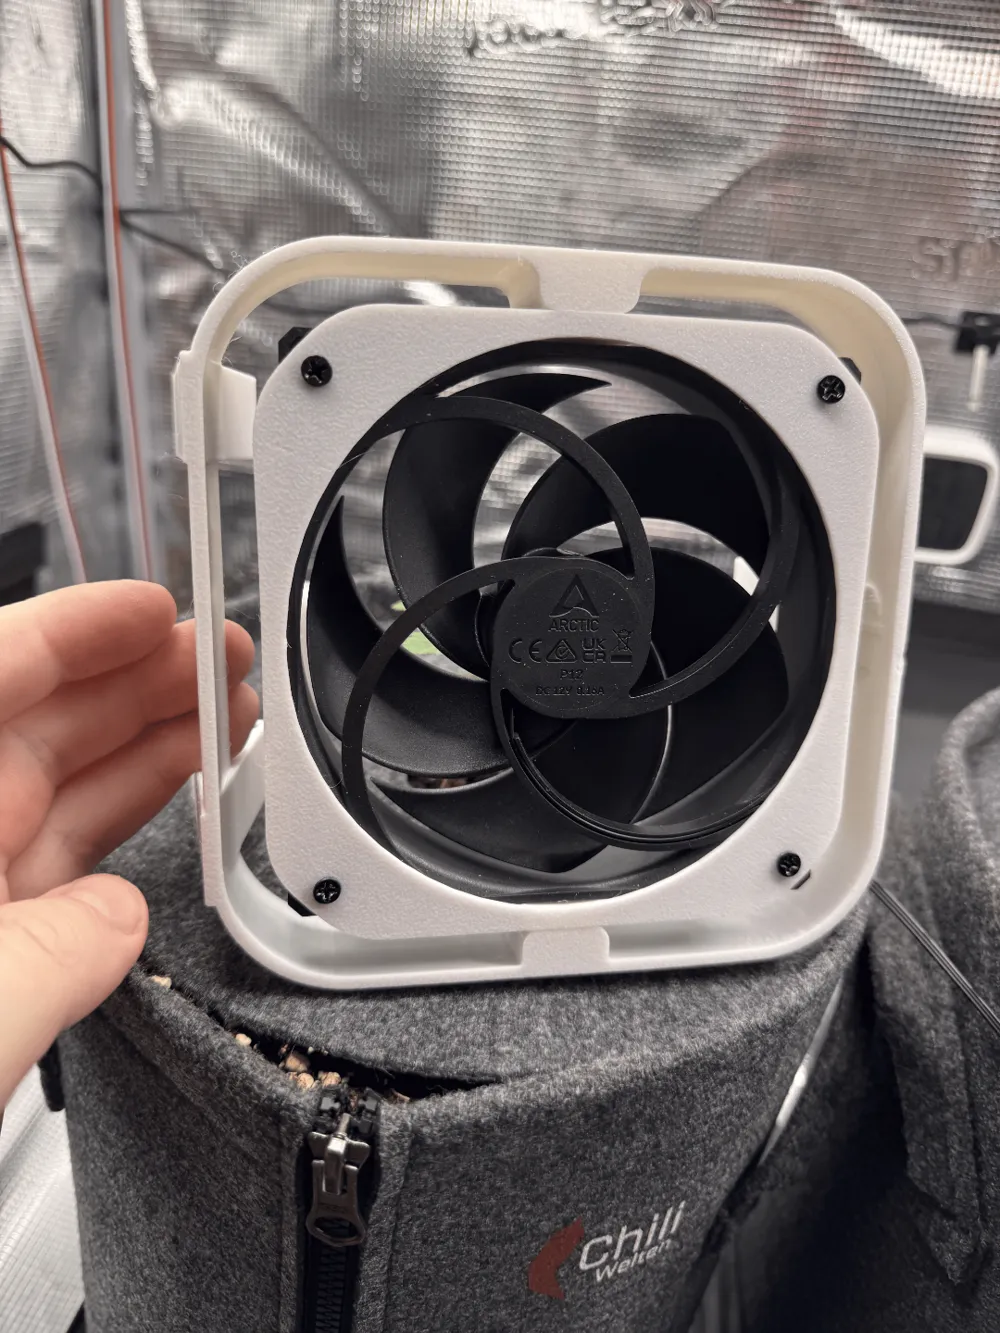
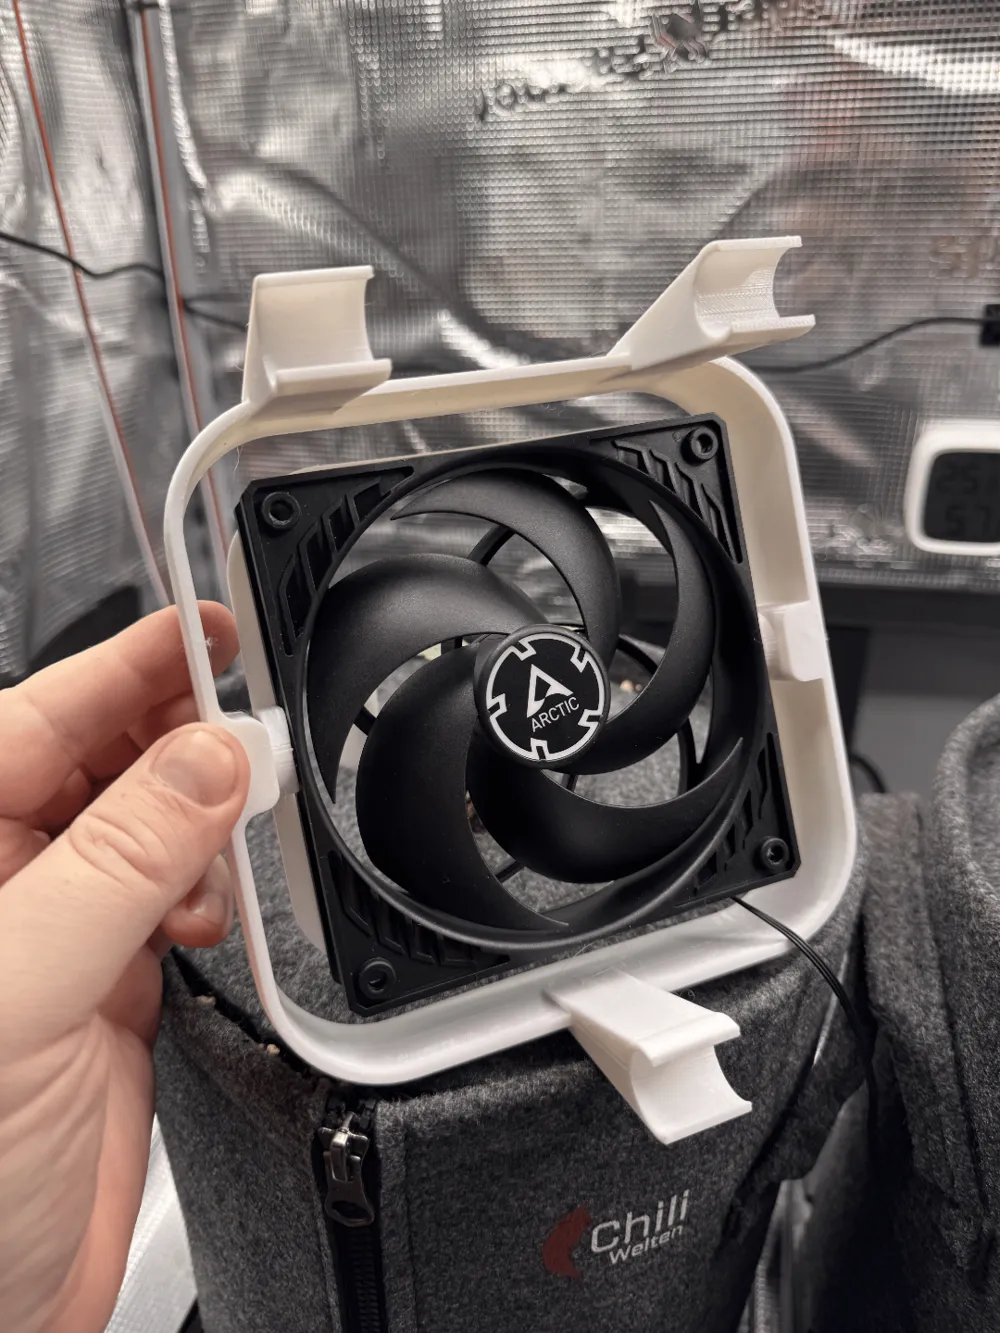
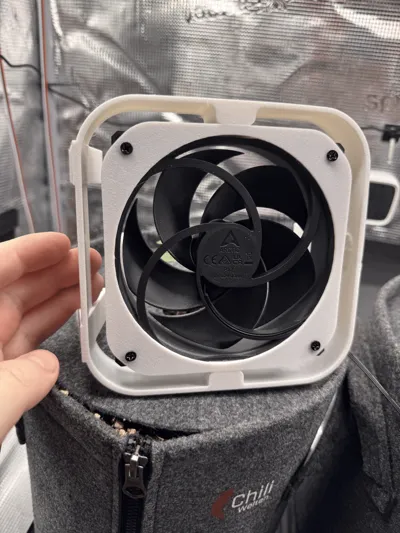
- Screw the fans onto the "GrowFanInnerPart" with the original screws as shown in the picture and then attach them to the outer housing with two M3 screws.
- Wire the fans with the Y-adapters, extend the cables if necessary with the LED cable and connect them to the power supply.
Have Fun!
License

You shall not share, sub-license, sell, rent, host, transfer, or distribute in any way the digital or 3D printed versions of this object, nor any other derivative work of this object in its digital or physical format (including - but not limited to - remixes of this object, and hosting on other digital platforms). The objects may not be used without permission in any way whatsoever in which you charge money, or collect fees.


Comment & Rating (26)