
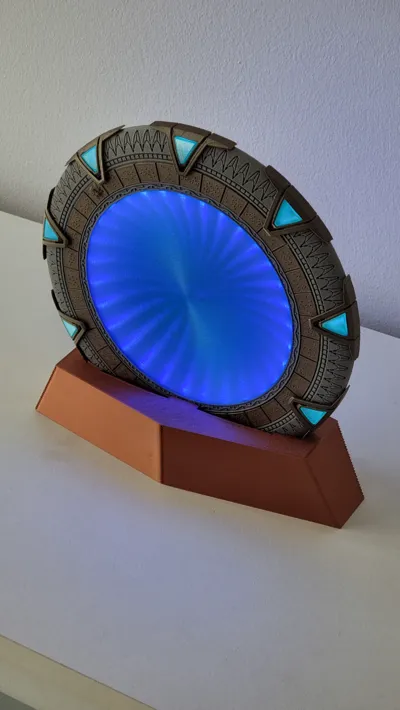
Stargate Deluxe [Atlantis / SG1]
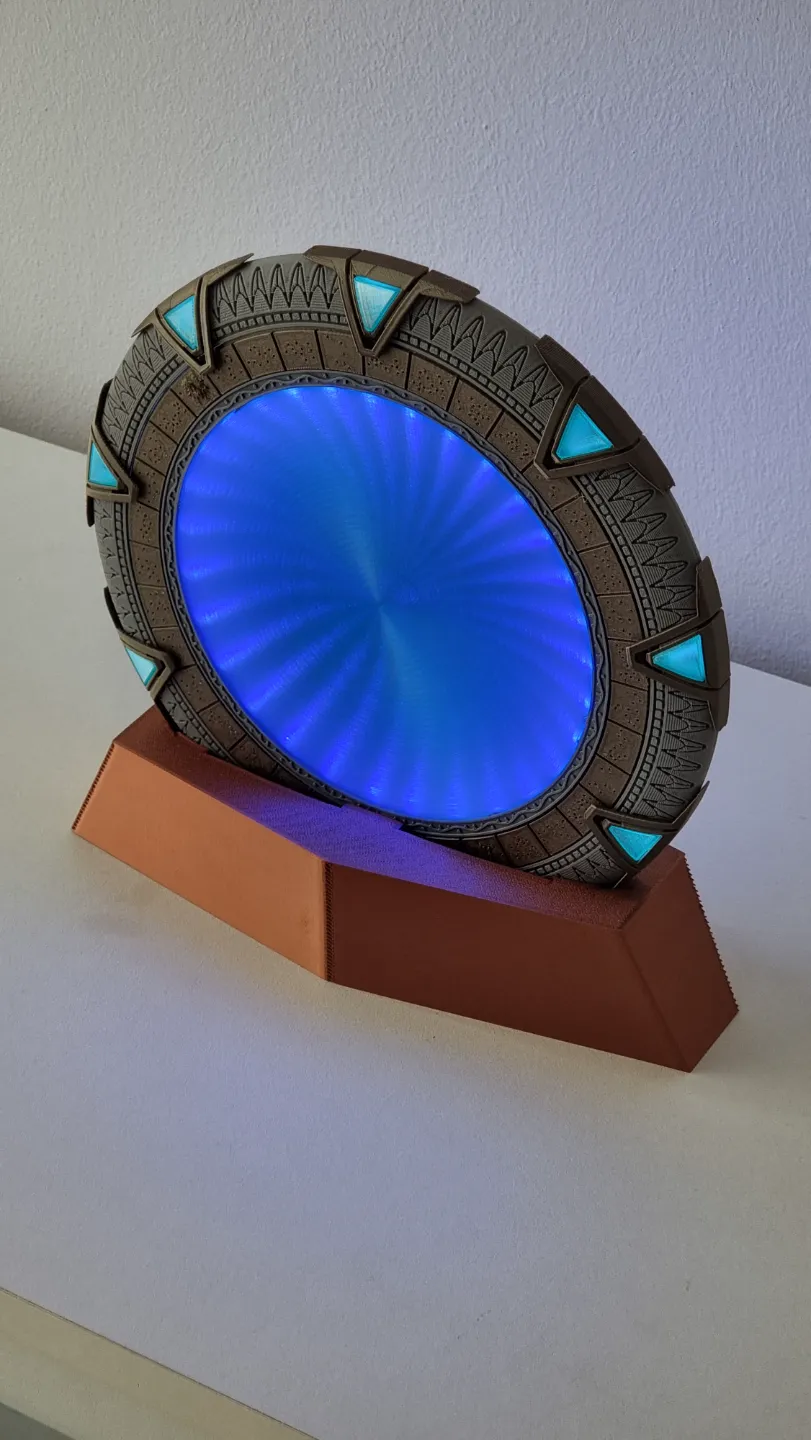
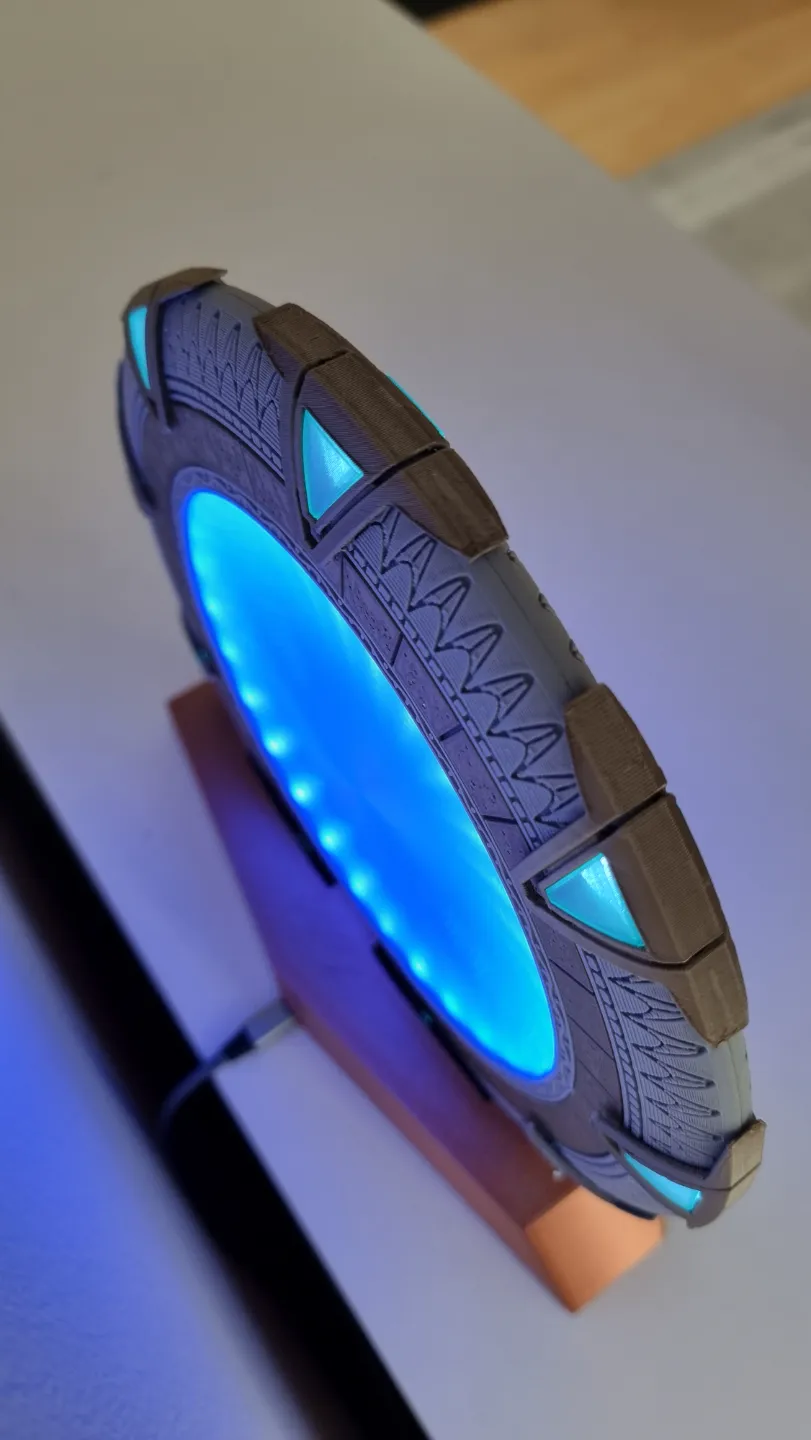
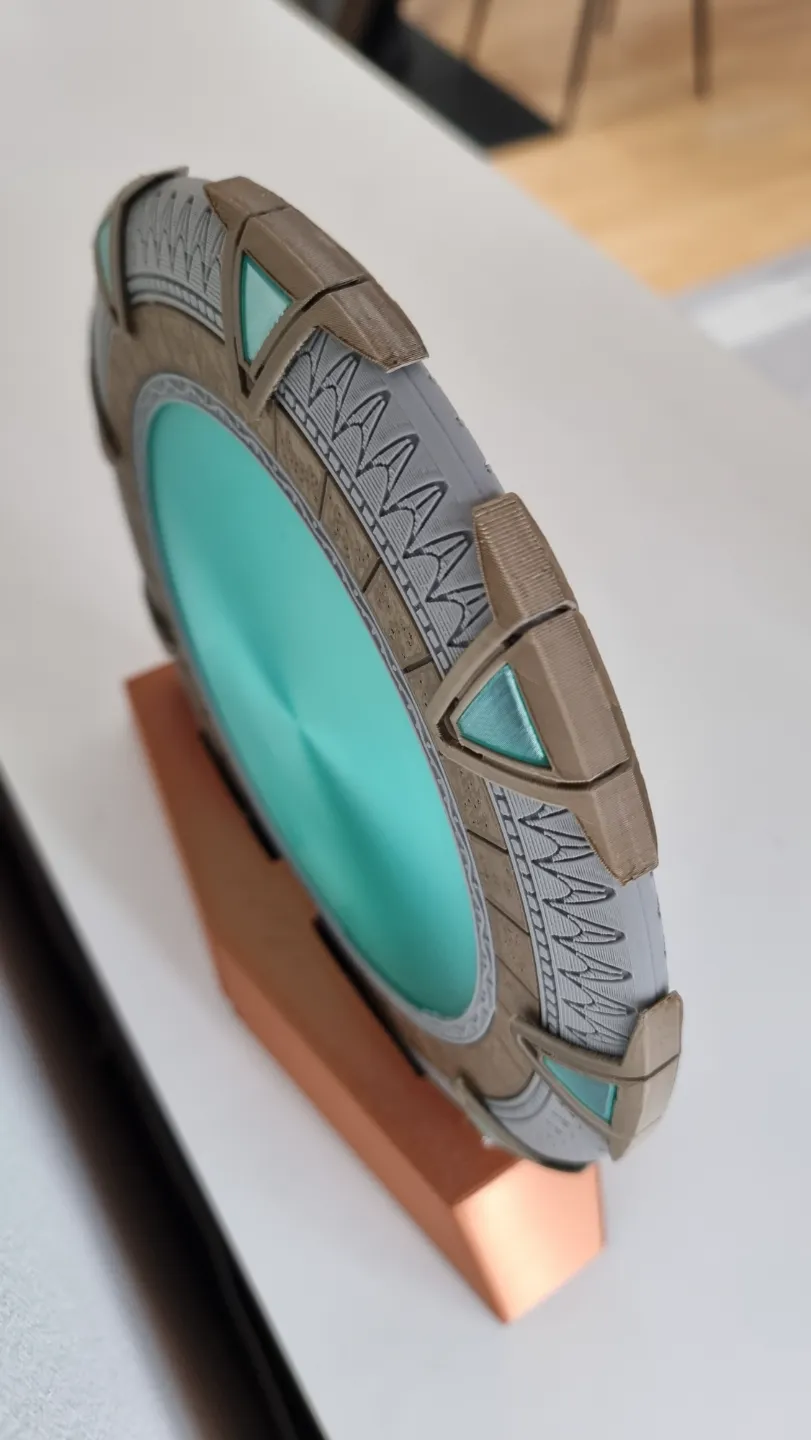
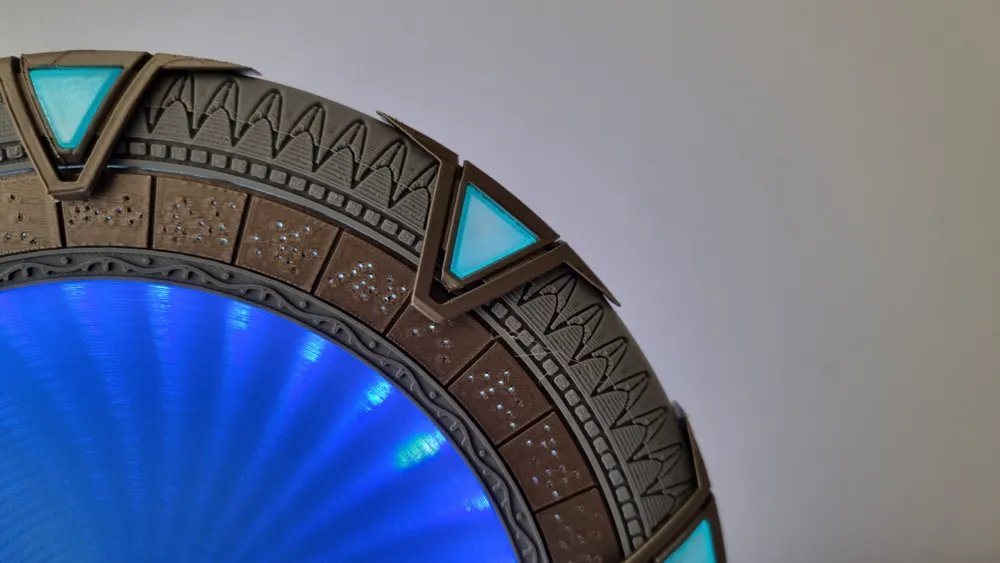

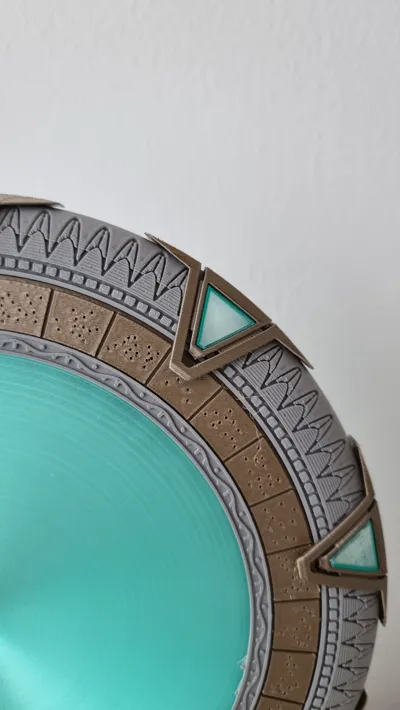
Print Profile(13)

![Stargate [Jumper Pins]](https://makerworld.bblmw.com/makerworld/model/USd3786c25b7680c/143683640/instance/2024-10-19_cd382abbb906a.jpg?x-oss-process=image%2Fresize%2Cw_100%2Fformat%2Cwebp)


Bill of Materials

- ESP32 8266 x 1:
- Jumper Cable (Male & Female) x 3:
- Pogo Pins x 1: [optional]
Description
Prologue
Hi guys,
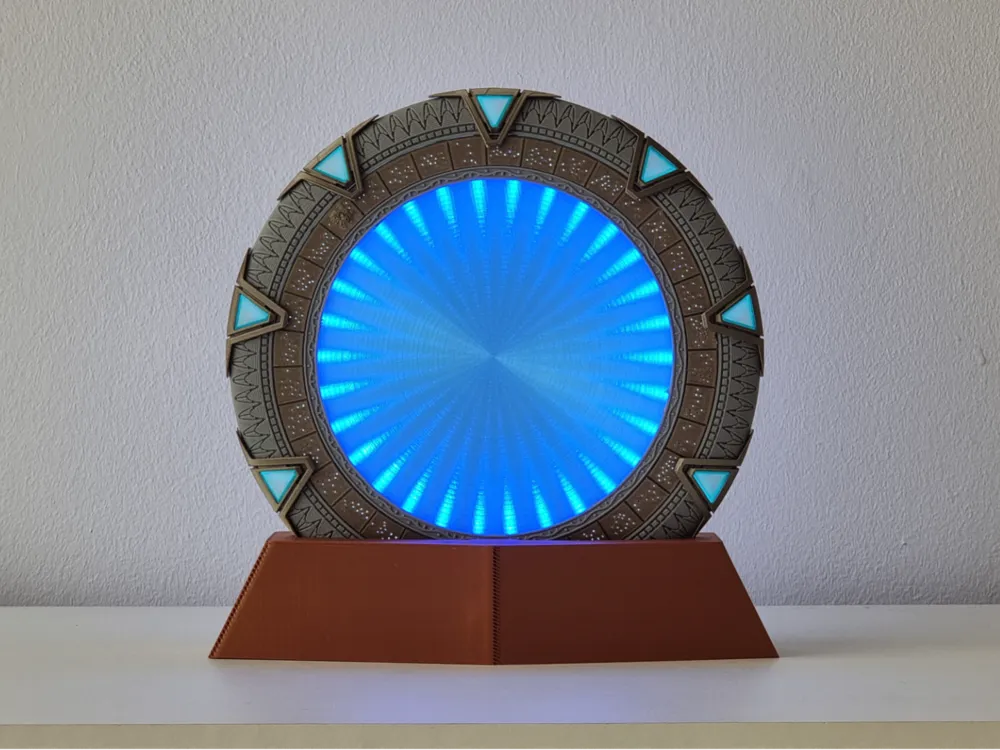
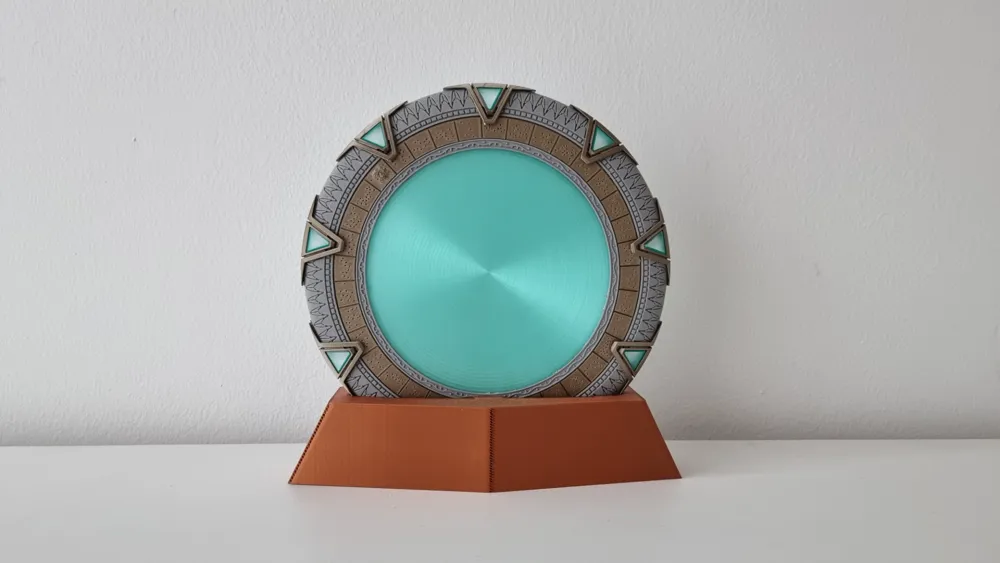
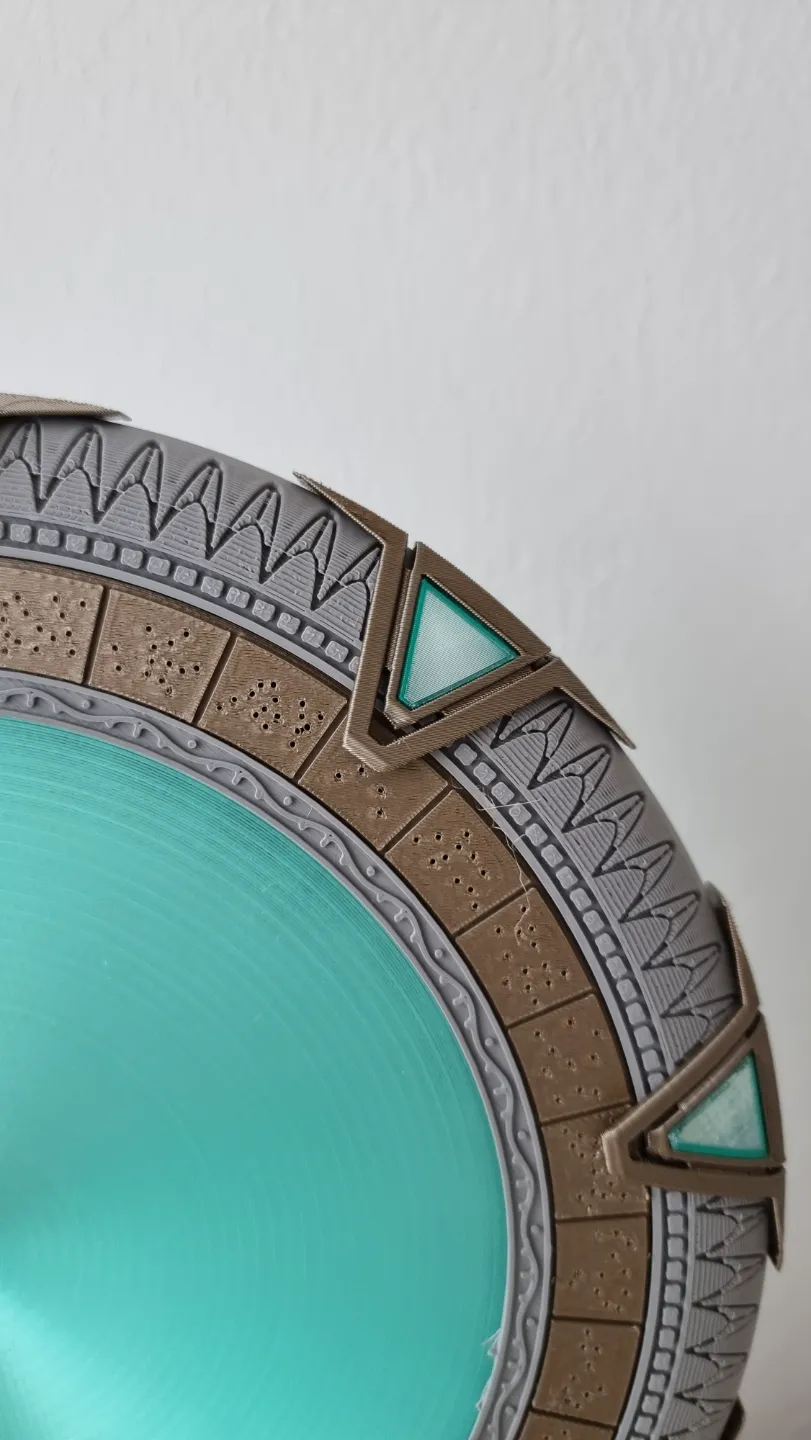
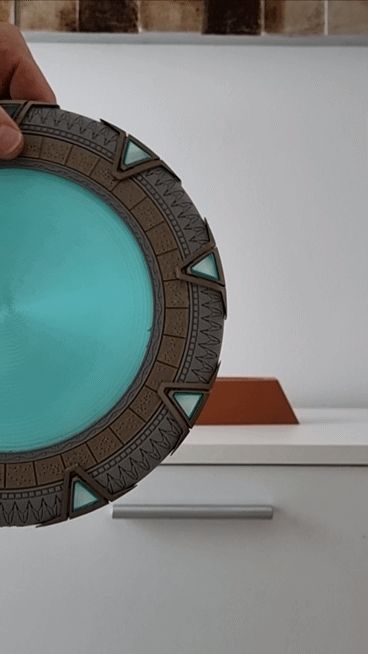
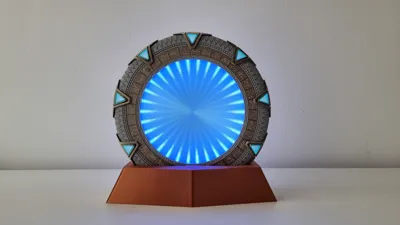
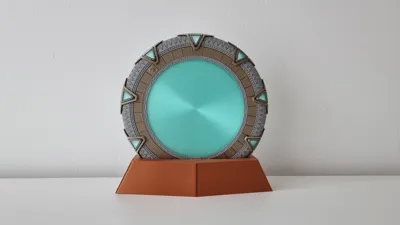
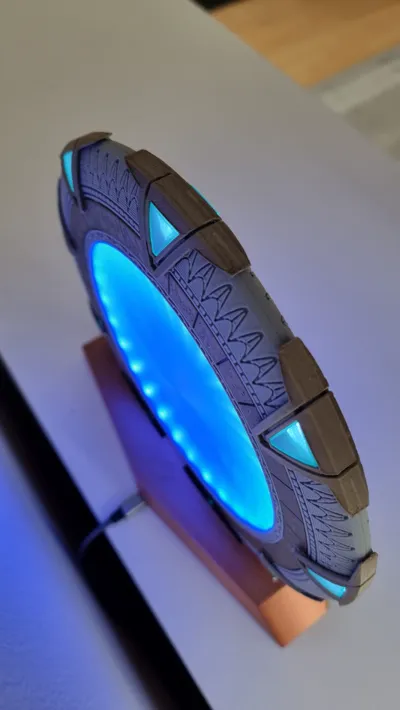
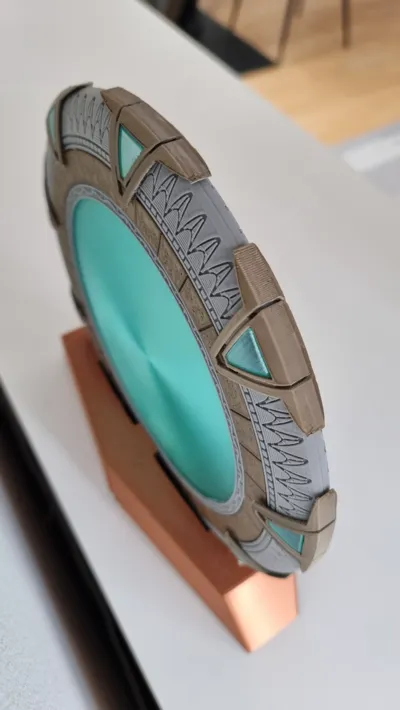
it's been a while since I released my last lamp.. ..guess what - it's time for a “new” one ;) I was asked from PixelBuster whether I could create a new Stargate Atlantis model. And here you go! I used most of my printing knownledge in this project to create something very special :)
This project adresses the following topics:
- extrem easy removal of supports by using different materials

- moveable parts
- insertable parts which hold the main parts together without any glue
- almost solder free (depends on the quality of solderpoints of the WS2812B stripe)
- potential use of the 0.2 nozzle for detailed effects
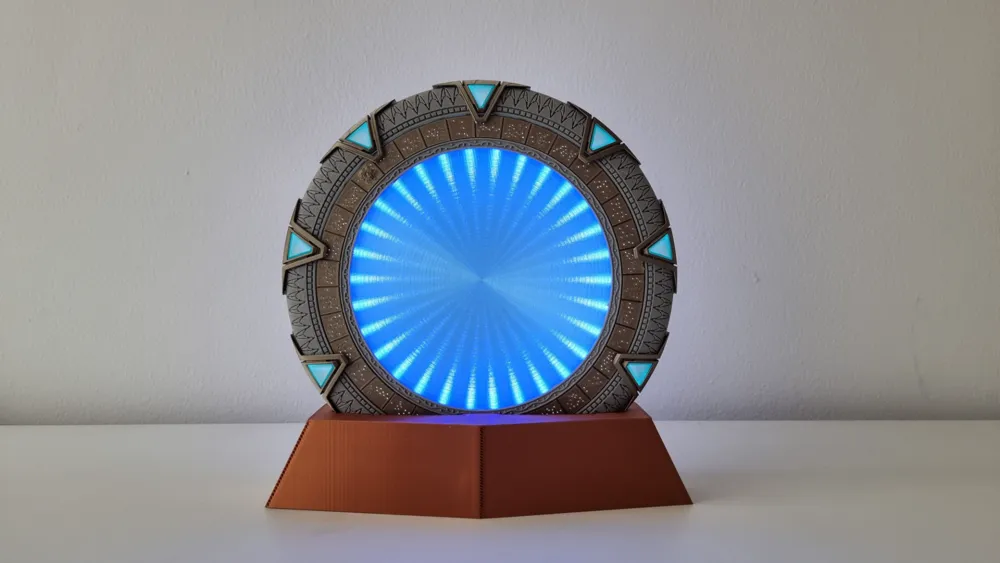
- perfect diffusors which generate an infinity effect without any mirror
- (almost) perfect round edges while printing in Z-axis without the use of variable layer height
pausing the print in order to insert enclosing parts
- UPDATE(24.10.24 21:05 germany): there is now an alternative profile for the stargate and the base using pogo-pins :) this profile replaces the usual Stargate [Jumper Pins] & Base [Jumper Pins] profiles!
Boost Me (for free)
If you like the project - no matter you print it or just read this description - feel free to support me :)
Printing Guide
Before you start printing PLEASE read the whole printing guide as there is a dependency regarding the print order and the materials!
As mentioned earlier this project focuses on a lot of topics. Before starting your print we should handle multi-material usage and print pausing. Both are used while printing the stargate profile.
Multi-Material
You might know special support material which allows easy removal of supports e.g. Bambulab Support for PLA. This is really cool stuff but most of you do not have it. What you can do is using PETG instead. Why? Because PLA is not adhesive on PETG and vise versa (attention → some MATT PLA is!!! ..so do not use this trick with others than normal PLA).
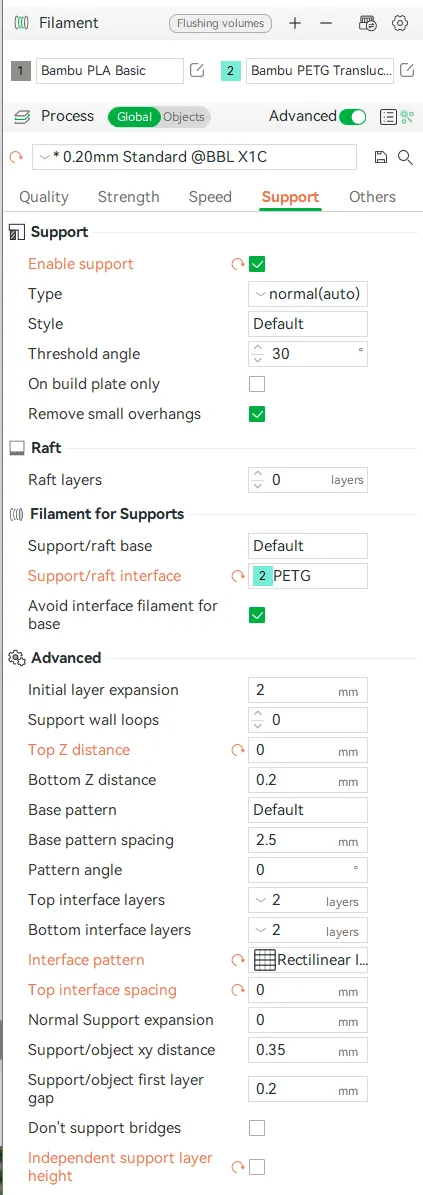
In order to achive a perfect setting in Bambustudio do the following:
- Add Bambu Support PLA to your project
- Enable supports
- Change “Filament for Supports → Support/raft interface” to the newly added Support PLA
- Accept the upcoming message with “Yes”
- Some auto-settings will be applied
- After that change the type of the filament from 1.) to PETG
- Check that your change from 3.) has also auto-switched to PETG. If not do it. We use 3.) to make the auto-settings (you see the differences under “Advanced”). You can also skip 1.), 3.) & 4.) if you do these settings by hand.
After that your settings should look like that:
Trust me - you will love this ;)
Print Pausing
Have you already thought of how cool it would be, to e.g. insert magnets into your print? Or to make it heavier by added sand, screws, whatever? ..and of course you want that this is not visible! Then print pausing is the perfect option for you. In this project we use this feature to insert the big diffusor (the “wormhole”). Resuming the print will then enclose this part directly into the gate. Or in other words → two parts become one :)
You can do this the following way:
- Slice your print
Navigate to the layer you want to pause
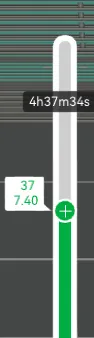
- Right-click on the + Symbol
Choose “Add pause”
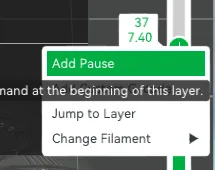
“Pause” appears next to the layer (you also can delete it by the “x”).
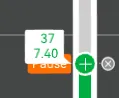
- Slice your print again
In the end it should look like this way.
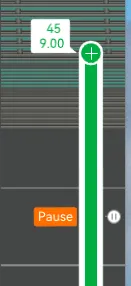
So whenever your print reaches the previously declared paused-layer the print head will move to the trash bin and you will be able to do something with your print. You just need to resume afterwards and the printer will go on as nothing else happened.
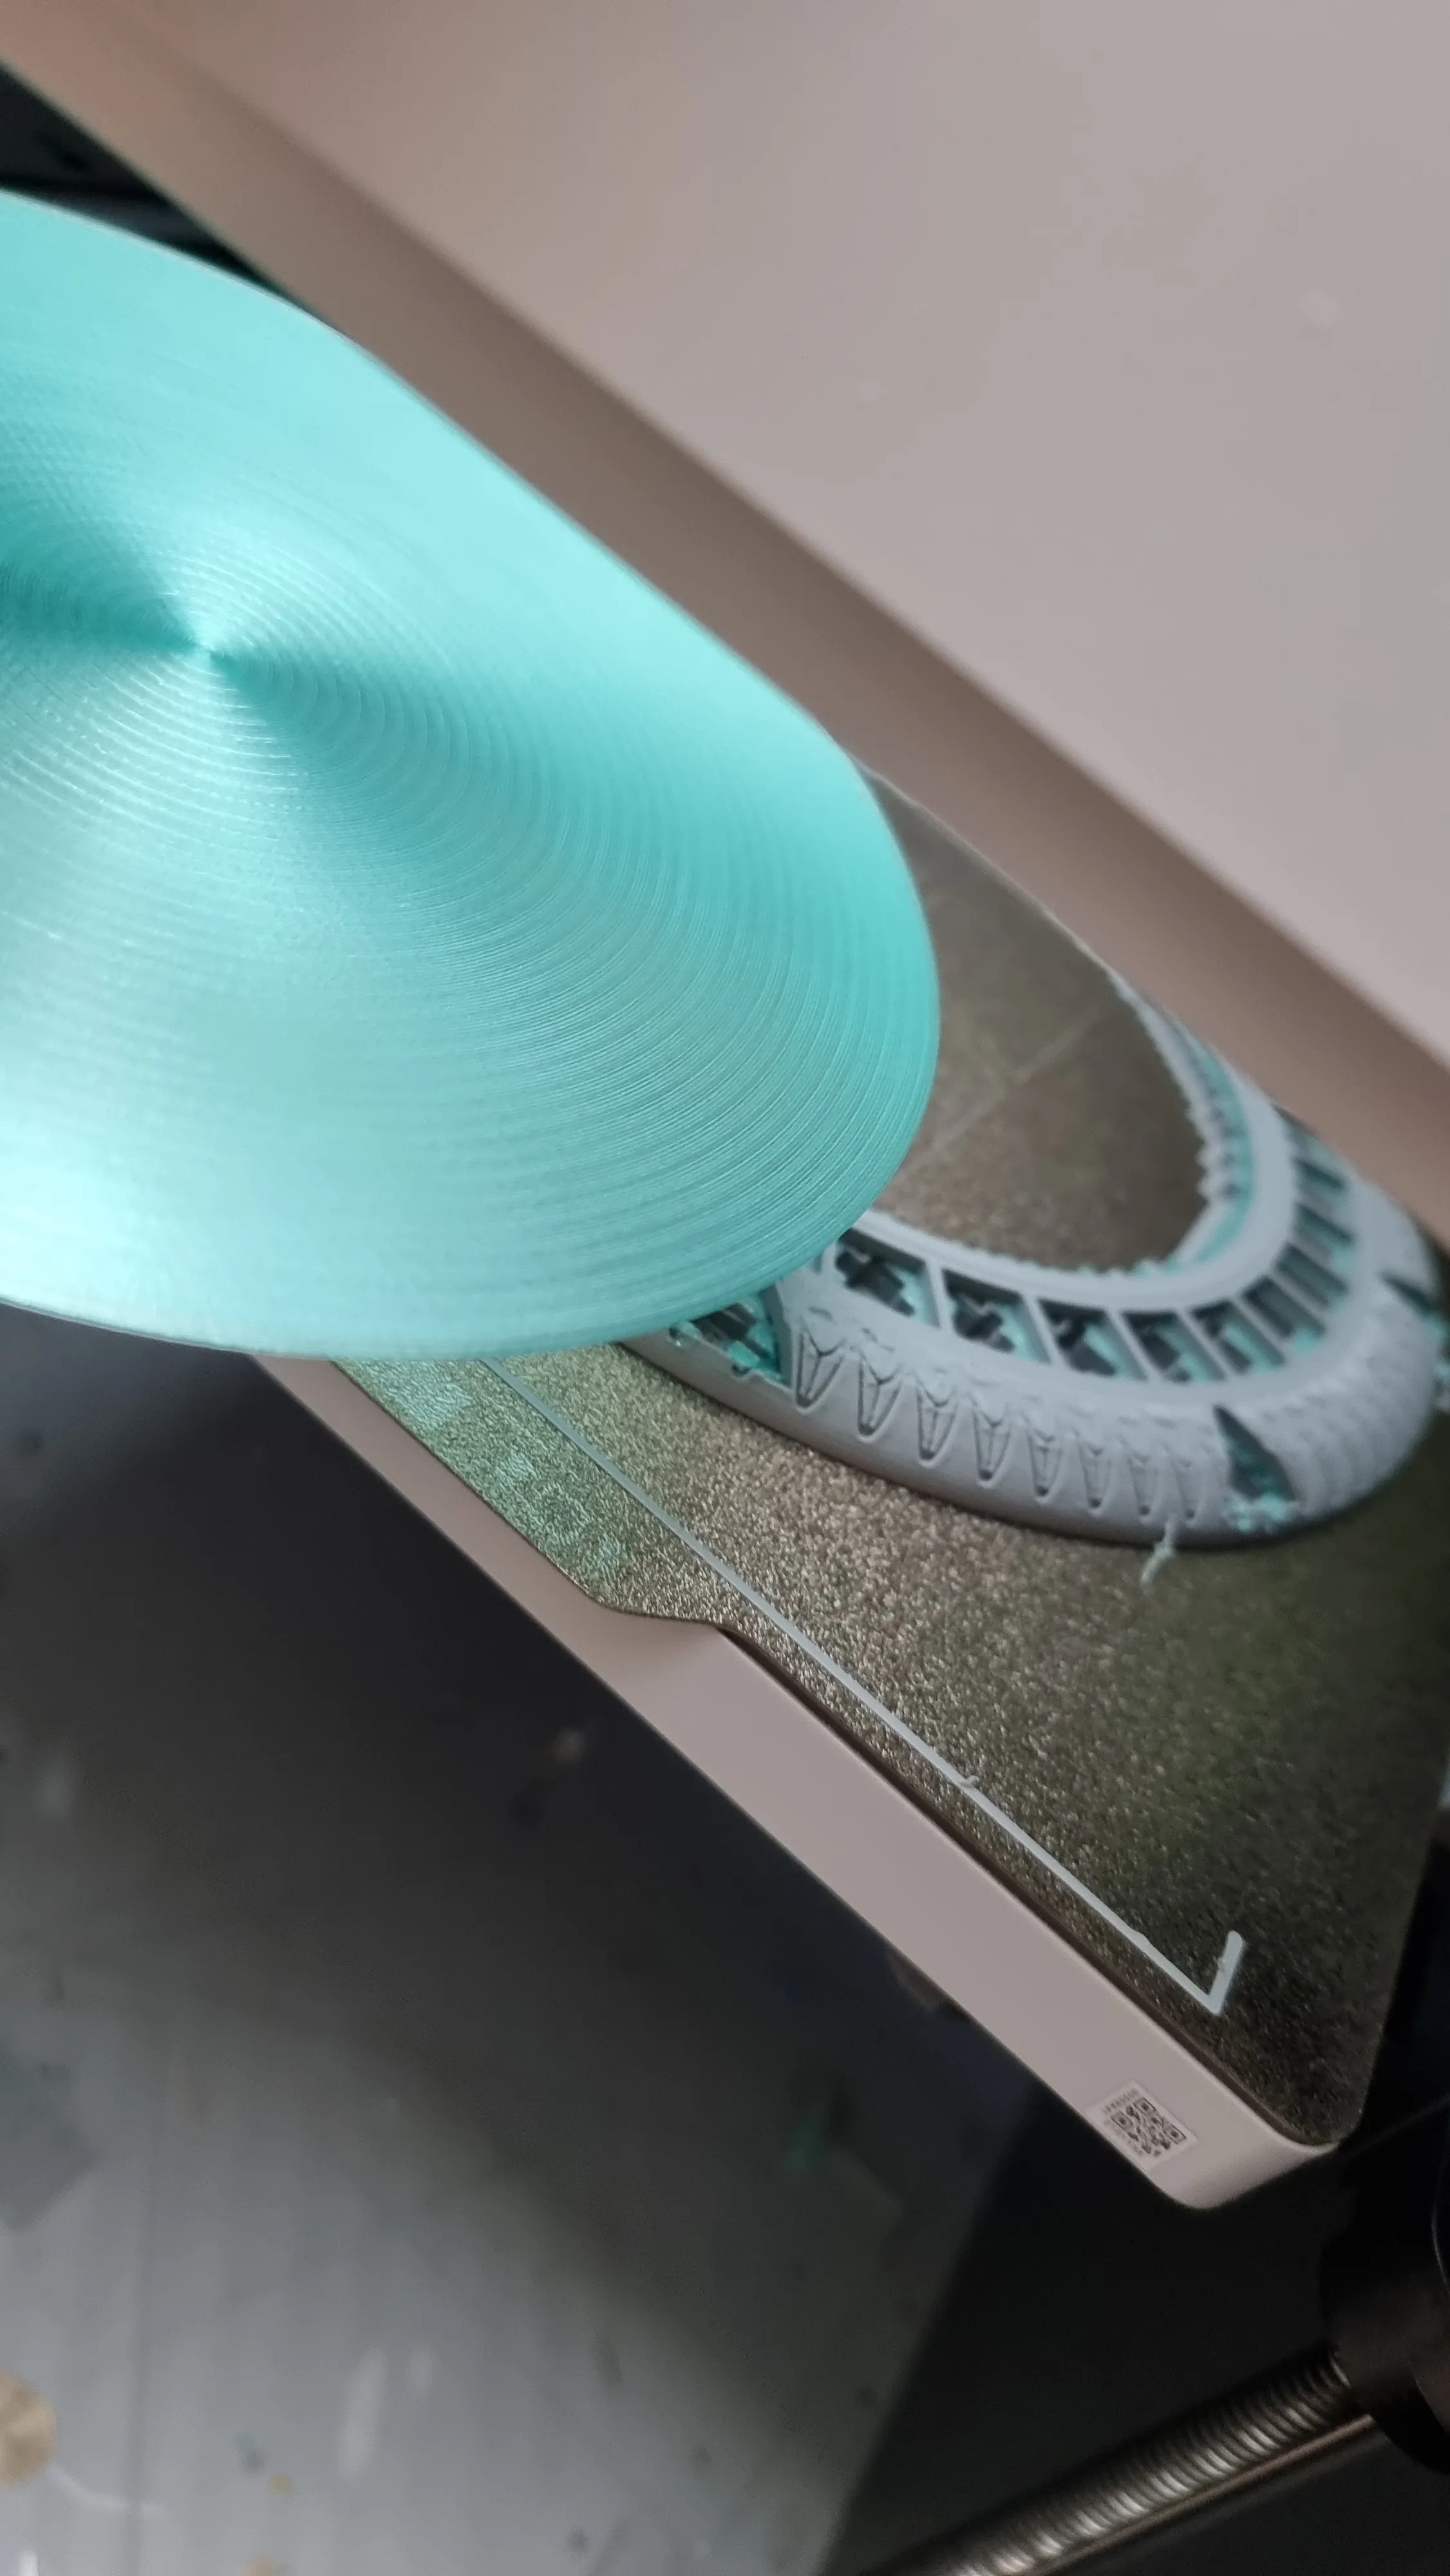
Of course my profile already has that setting and you do not need to do this here ;) During the pause we insert the diffusor into the gate. Then we can resume the print. The fan will may blow really hard during this so keep an eye on the diffusor while inserting it. It's maybe blown away as long as it's not laying in it's correct position!
Print Order
As mentioned earlier we want to include the wormhole diffusors directly into the gate parts. Due to this dependency you need to print at least the wormhole diffusors before the gates. I would recommend the following order because then you might can do some of the assembly in parallel later:
- Wormhole diffusors
- Gates (use [Jumper Pins] or [Pogo Pins] profile)
- Chevrons
- Chevron diffusors
- Symbol ring
- Base (use [Jumper Pins] or [Pogo Pins] profile)
Improving the Print Quality
Print Angle
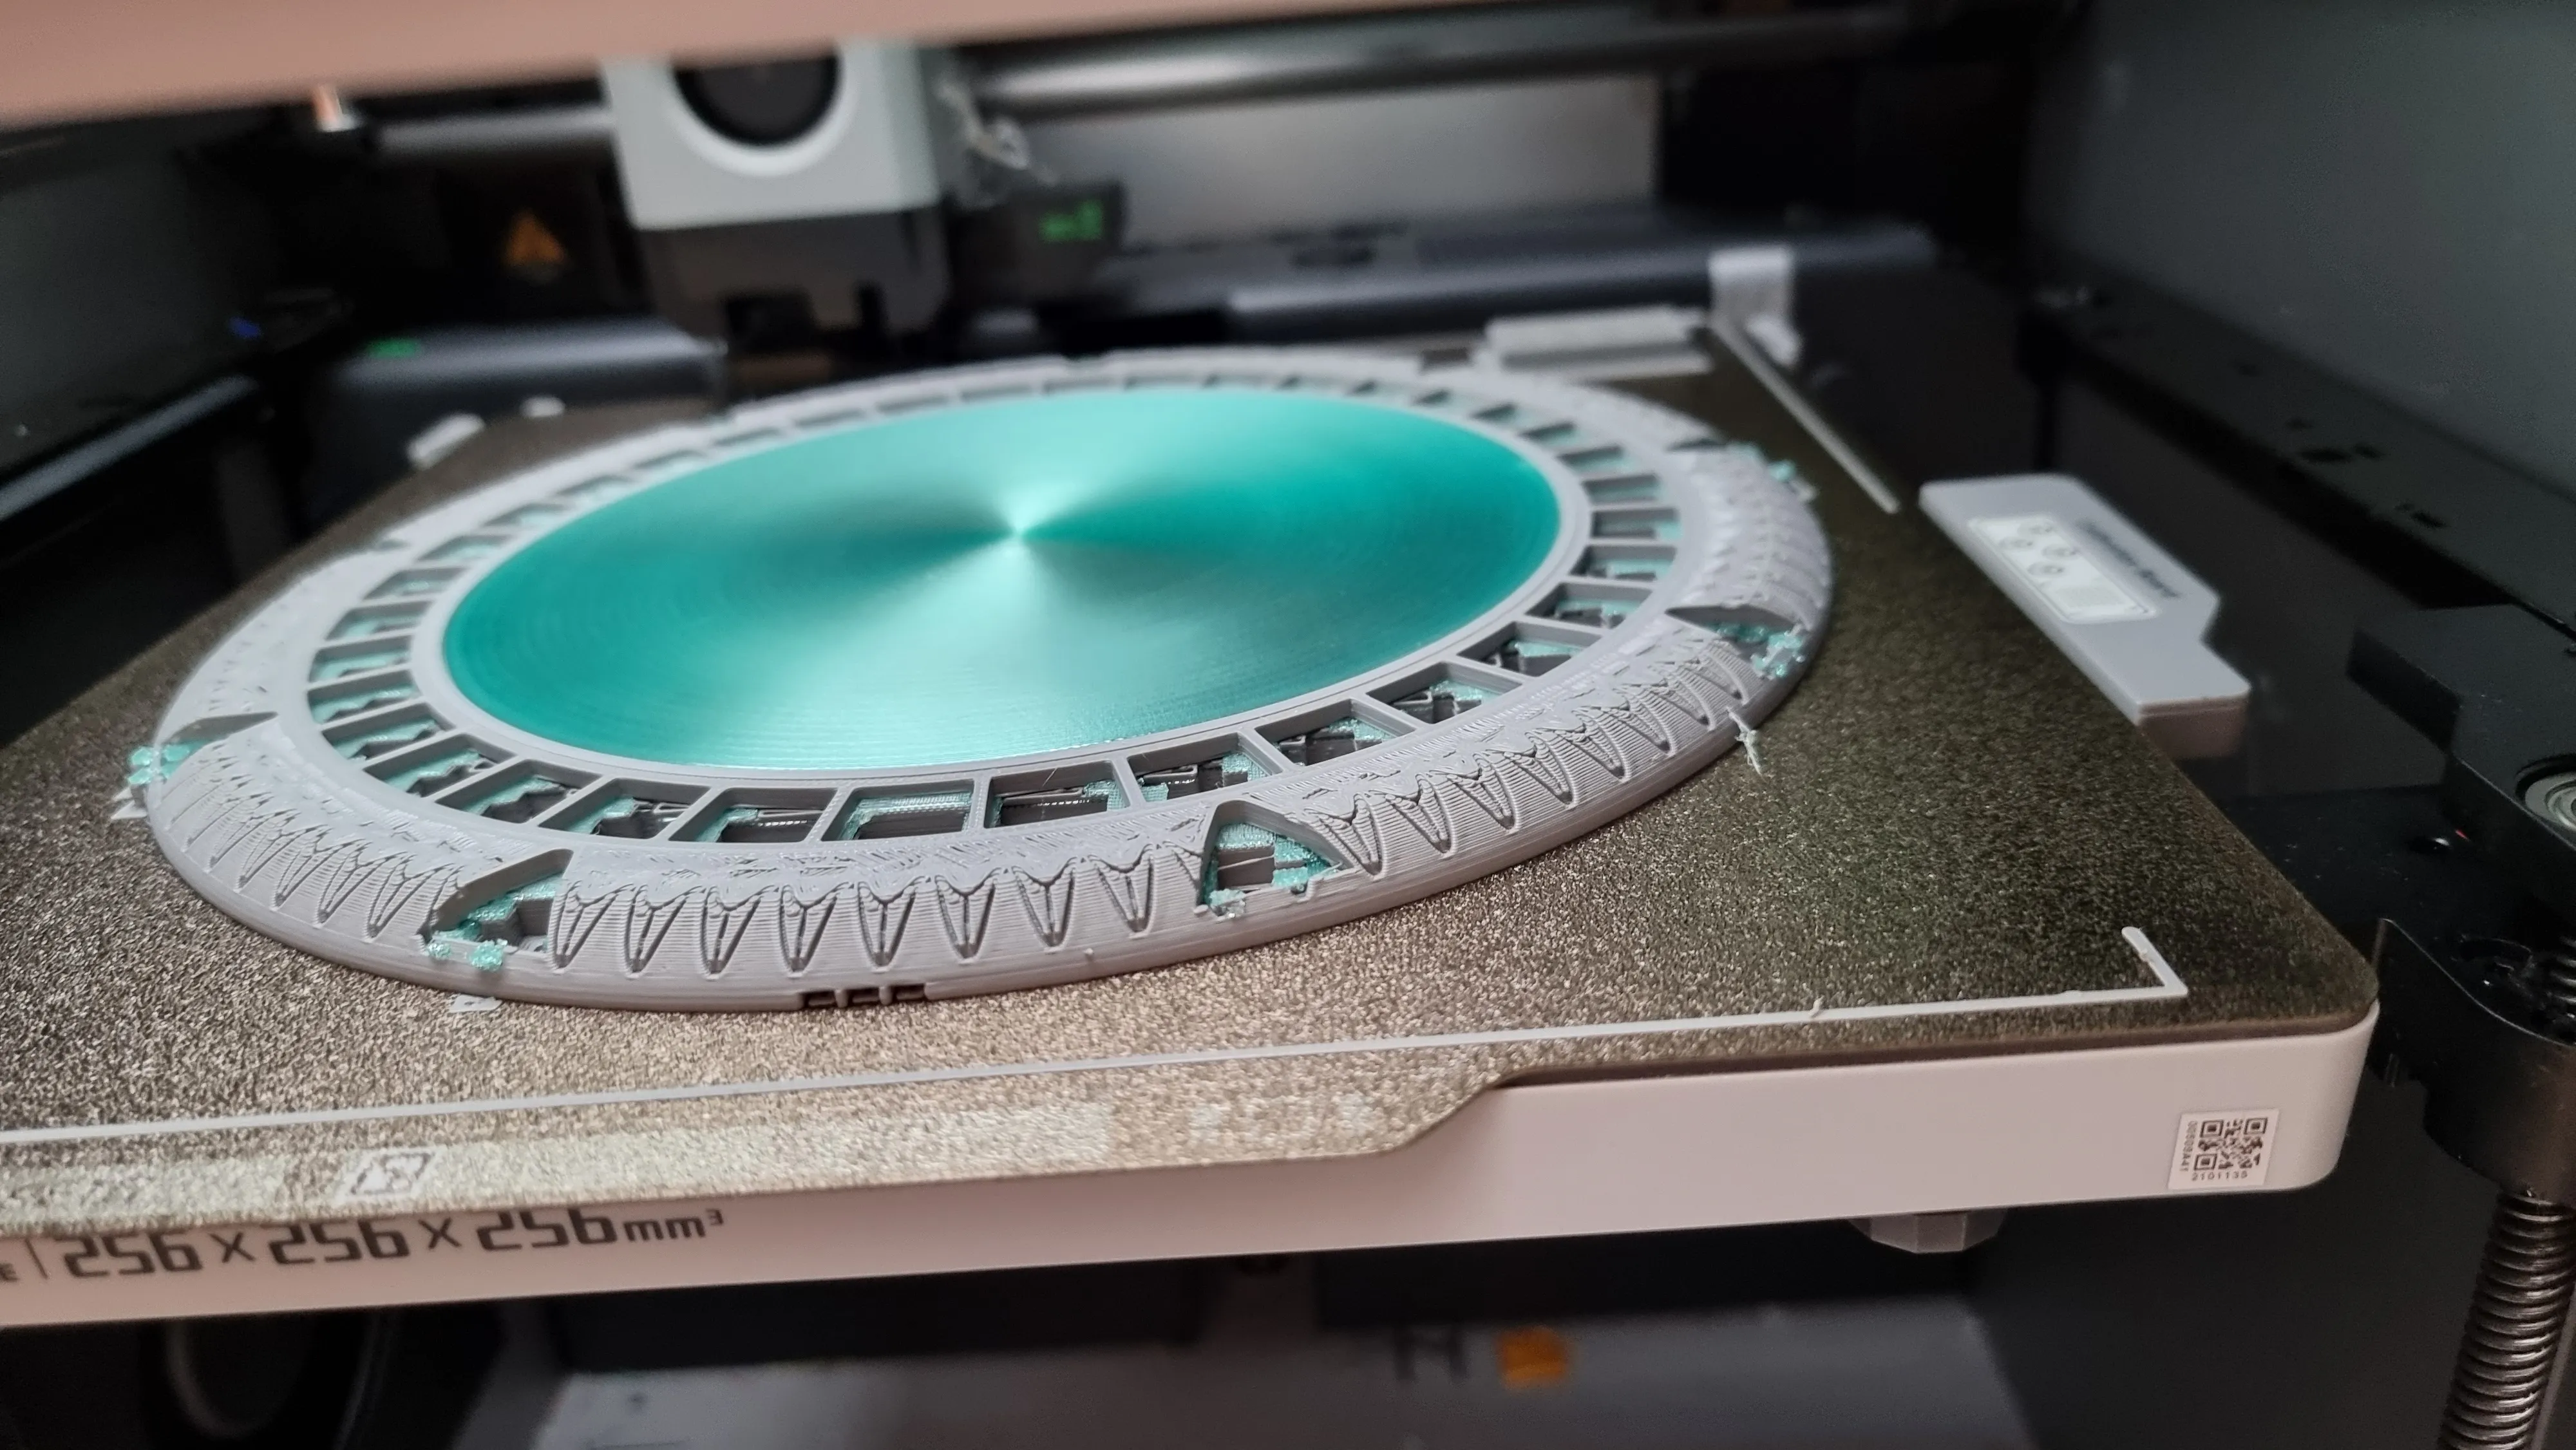
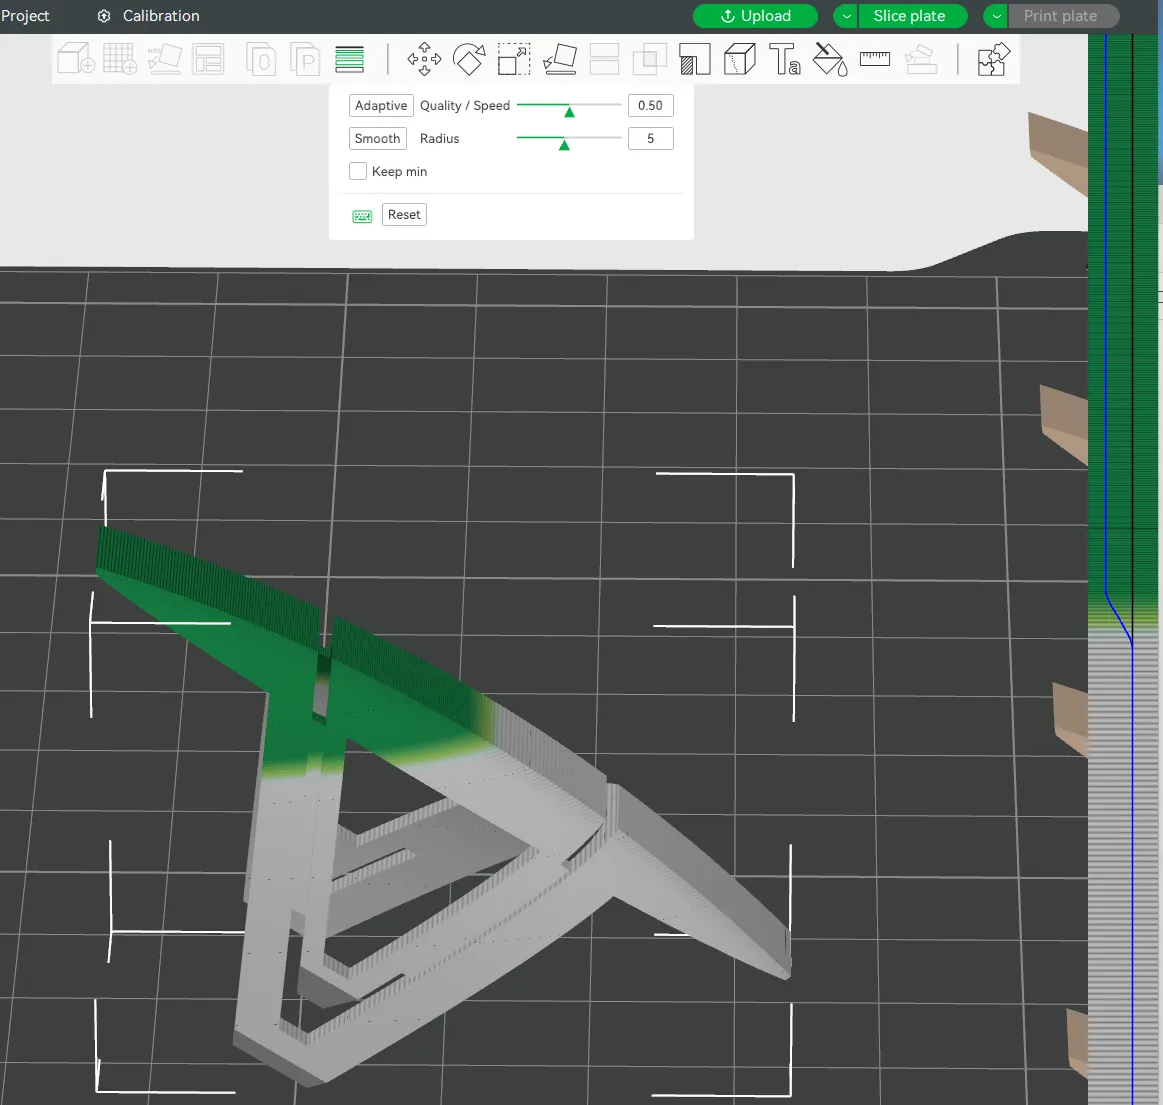
The print angle makes sometimes a really big difference! The auto placing from BambuStudio often works very well and gives good initial hints. But sometimes you need to tweak the angles, directions, etc. yourself. Here just a few examples and their differences as these influence your parts print quality tremendously!
Imagine you print that part this way. The front will look quite nice but the upper surface will not be round!
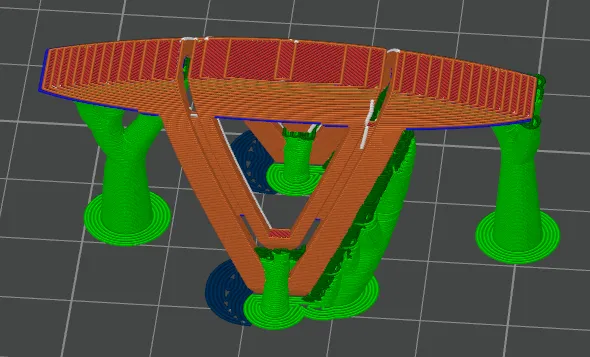
Here you can improve that upper part by changing the parts angle. You see what I mean? The upper surface of the part is much better! But this is still not perfect. Do you see the blue lines in the mid of the part? These will become ugly. So we need to find an angle where all that stuff is keeping it's level.
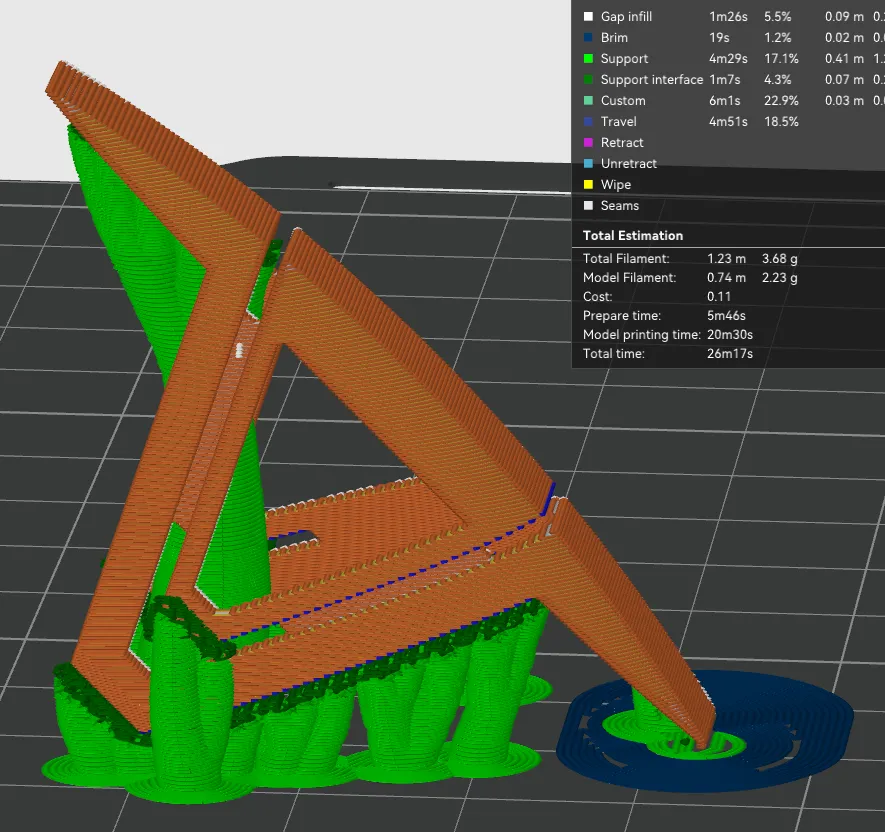
So may try arround and in the end you will get an almost perfect setting :)
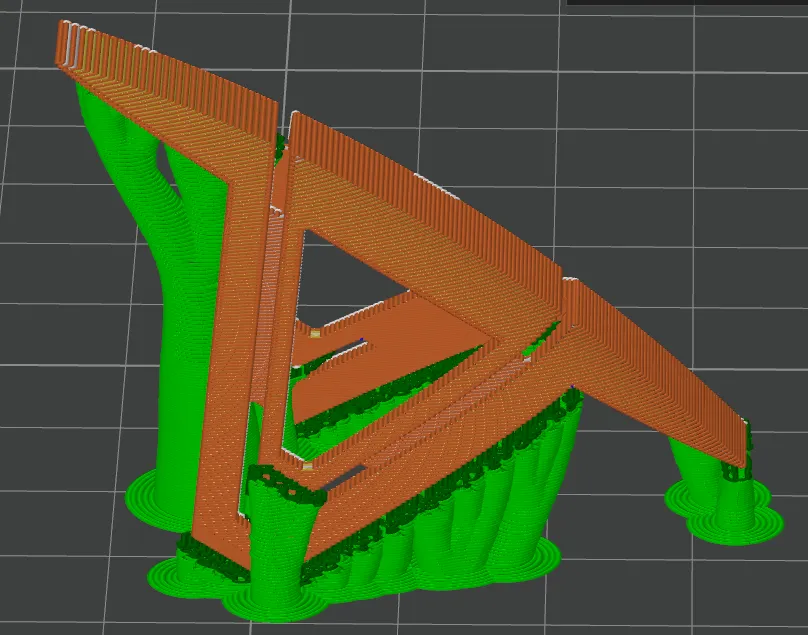
Finally you could additively use variable layer height. I tried it here but was not satisfied with my first approach (theory vs. real life). So I decided to release the chevrons without it (I printed them ~10 times to find the perfect angle setting. enough is enough :P). I will may change that profile once I found the perfect setting for this. ..that's why I said “(almost) perfect round edges” in the very beginning :P
Perfect Diffusors
In order to get perfect diffusors you need to use as less material as possible. The thickness of course influences the amount of light shining through. Sometimes you need more light sometimes not. In this project I used two types of diffusors:
- The wormhole diffusors → there I want to have that infinity effect without using a mirror, foil, etc.
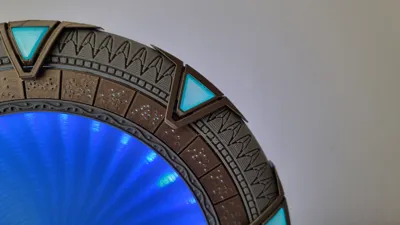
- The chevron diffusors → here I want to get as much light through it as possible
And of course I want to have them clear and error free ;) May have a look at the printer settings section below as this will sometimes also influence the quality!
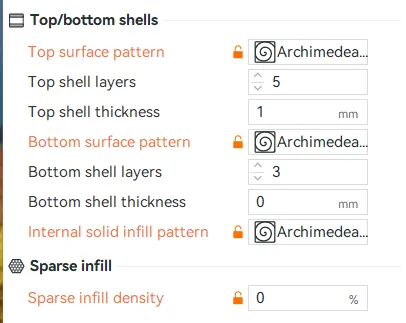
In order to achieve 1.) you need to print the diffusor circular. So you need to apply the follwoing settings:
- Top surface pattern → “Archimedean Chords”
- Bottom surface pattern → “Archimedean Chords”
- Internal solid infill pattern → “Archimedean Chords”
- And depending on the thickness and size of the object sometimes 0% or 100% “Sparse infill density”. Here I used 0% as it would not be used either way as the thickness is to small. When your object is bigger (X,Y) you need to use 100% infill as bridging (Z) will may destroy the surface. When using 100% infill you should also use the same pattern you choosed for the surfaces. Otherwise your light will be broken in different directions (sometimes you want to have this).
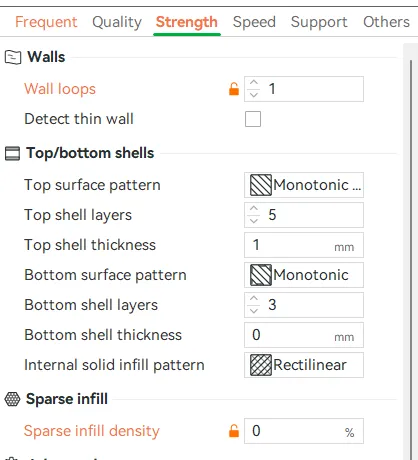
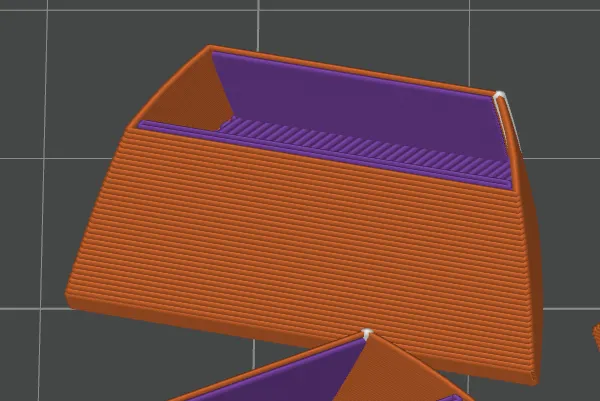
In order to achieve 2.) you need to print the diffusors with less walls and 0% “Sparse infill density”. I used only one wall. But do not wonder → the slicer auto-adds kind of support walls (Internal solid infill) when the angle is to risky. For my profile this resulted in having up to three “walls” even when only one wall was configured.
Clear Shining Symbols (or at least shining small circles)
Sometimes you need a really detailed print quality. Especially when you want to print ~450 small circles each having only a diameter of 1mm :P (I really designed this by hand! each ******* circle!!!). In these cases I would recommend using a 0.2 nozzle. My profiles for the symbols also work with a 0.4 nozzle but the circle size (where the light comes through) will be a bit random. So decide yourself if you whether want to use a smaller nozzle. Just for your imagination here you can see the difference:
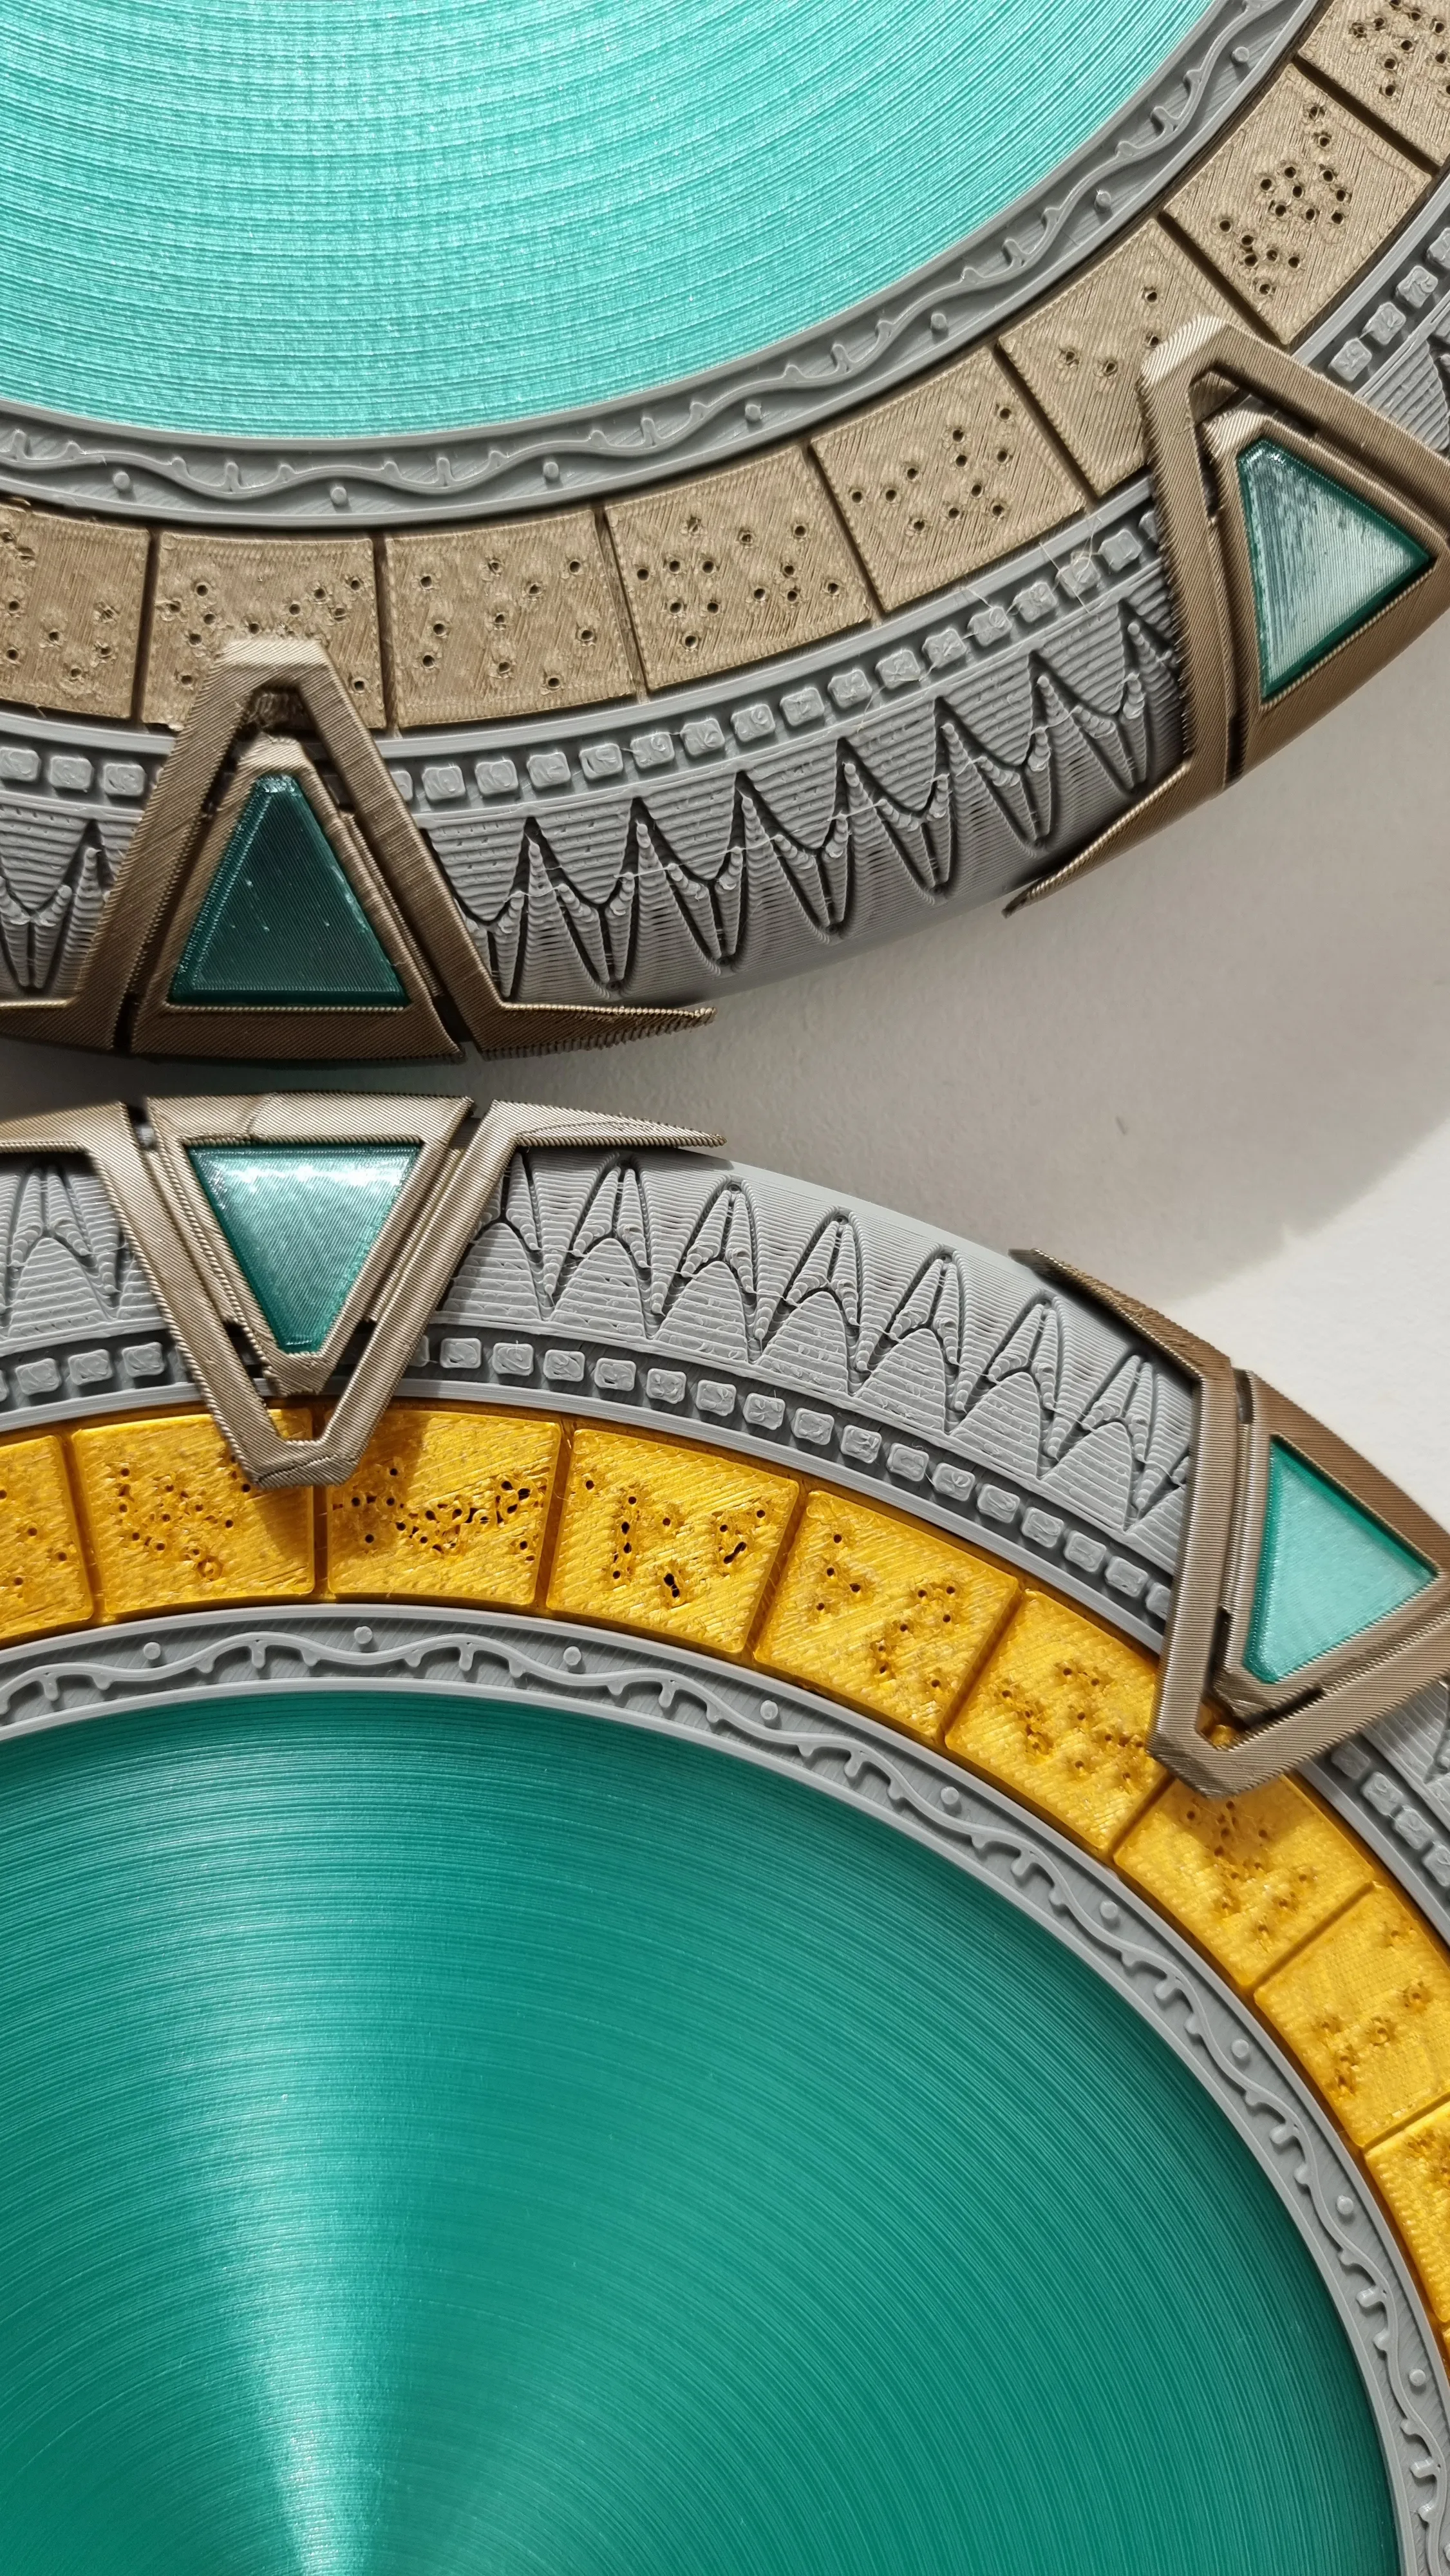
The gate at the top has the ring printed with the 0.2 nozzle & PLA Metal. The gate at the ground has the ring printed with the 0.4 nozzle & PLA silk.
But you also need to choose your filament carefully. Do you want to have a complete shining symbol ring? Then you should use filament with a high TD (you might know this from HueForge → transmission distance; there you can find an explaination and a catalogue of filaments with their TD). Do you want to have that the light is only coming through the small circles? Then you need filament with a low TD. ..and it should also look cool when the light is completely turned off as it's sunny outside :P
I would recommend silk filament if you want to have the full ring shining. But this may reduces your print quality as some of the silk filaments shouldn't be used with the 0.2 nozzle (potential clogging!).
If you want to see only the shining circles then use filament which will not potentially clogg your 0.2 nozzle ;) I used both ways as you can see here:
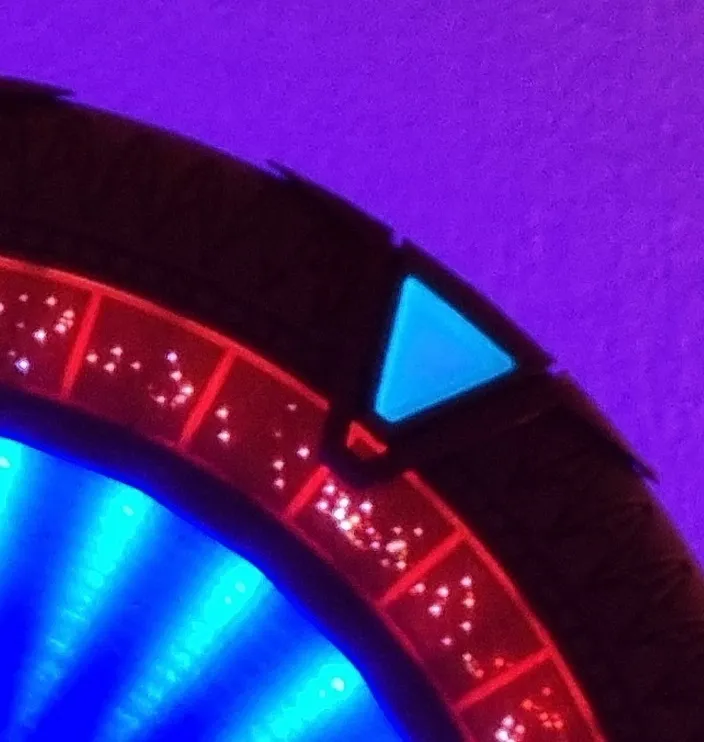
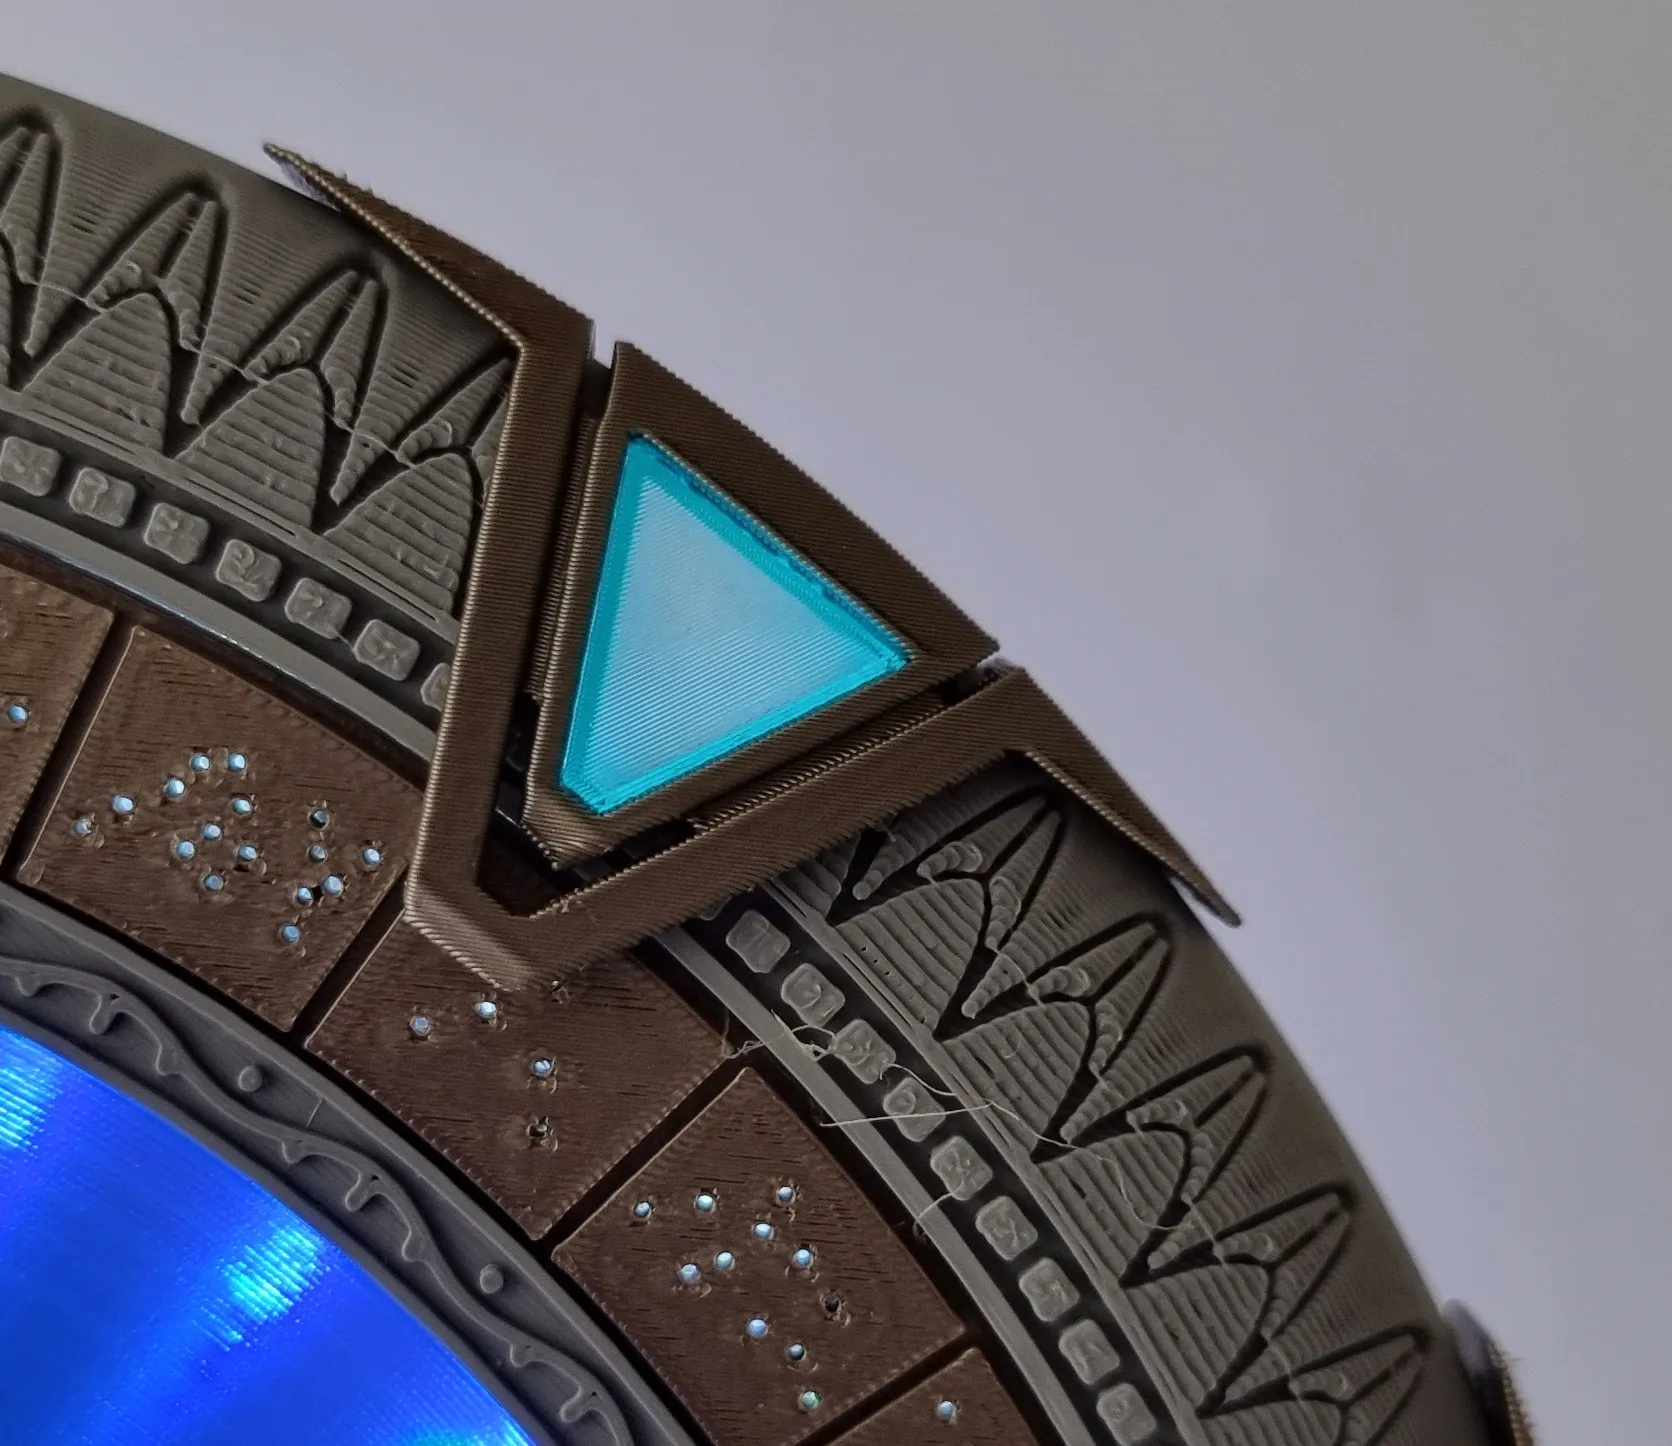
You will find the filament I used later in the upcoming sections.
Printer Settings / Maintainment
As mentioned earlier sometimes the print quality is - let's say reduced - by the printer OS settings. For example I had the problem that my wormhole diffusors always had fine hairs between the first and the second layer. Of course you will see them when light is shining through which makes the effect quite ugly (at least for me). I had this issue on my X1C. My P1S showed other problems. The first layer was always a mess. So how I solved it?
- I re-calibrated my printers. This solved the issue on my P1S, but not the hair problem on my X1C
- I disabled first layer check on my X1C. This prevented the hair problem. So what is the problem with that setting? The setting itsself sometimes detects those errors but here it was also triggering it*gg When doing the first layer check the printer decreases the nozzle temperature and starts checking the layer with the lidar scanner. During the temperature loss still some of the PETG was running out of the nozzle and immedeately hardened. This was creating the fine thin hairs. Just because the print was interrupted with a decrease of the nozzle temperature. Disabling the check also disabled the problem :) This will off course NOT appear for our planned print pause as the print-head is parked near the trash bin and does not move ;)
Others
In the beginning I mentioned a few more bullet points which were targetted through this project. ..but these are modelling related. For example to use propper tolerances, to keep in mind that the wall thickness is dividable by the desired nozzle, holding parts together without any glue, etc. . Maybe I will describe more of those topics with my next project. ..but for today it's enough :) Let's start with the assembly!
Assembly
Required Parts / BOM
First I need to say that this project does not need soldering. There is a way to do it completely solder-free by just using the stock cable connector and the stock LED controller. For the moment the following instructions focus on soldering as you will get a better result. Solder-free instructions will be mentioned but not showed in detail.
You need the following hardware:
- WS2812B RGB LED Strip Light Bundle → you can use the controller of the bundle. But I would recommend using the next bullet point
- ESP32-Board
- Jumper Cables (use the [Jumper Pins] profiles) or Pogo-Pins (use the [Pogo Pins] profiles)
- A glue gun
- Solder equipment for a perfect result (optional)
- a 0.2 nozzle (optional)
Filament I used
- Bambulab Translucent PETG color “teal” → this is used for the diffusors (wormhole & chevrons) and as support interface
- Bambulab PLA Metal color “iridium gold metalic” → this is used for the chevrons & the symbols (optional)
- Bambulab PLA Basic color “grey” → this is used for the stargate
- Bambulab PLA silk color “copper” → this is used for the base
- Bambulab PLA silk color “gold” → this is used for the symbols (optional). do not use the 0.2 nozzle with that filament!
Instruction Videos
Overview of all parts
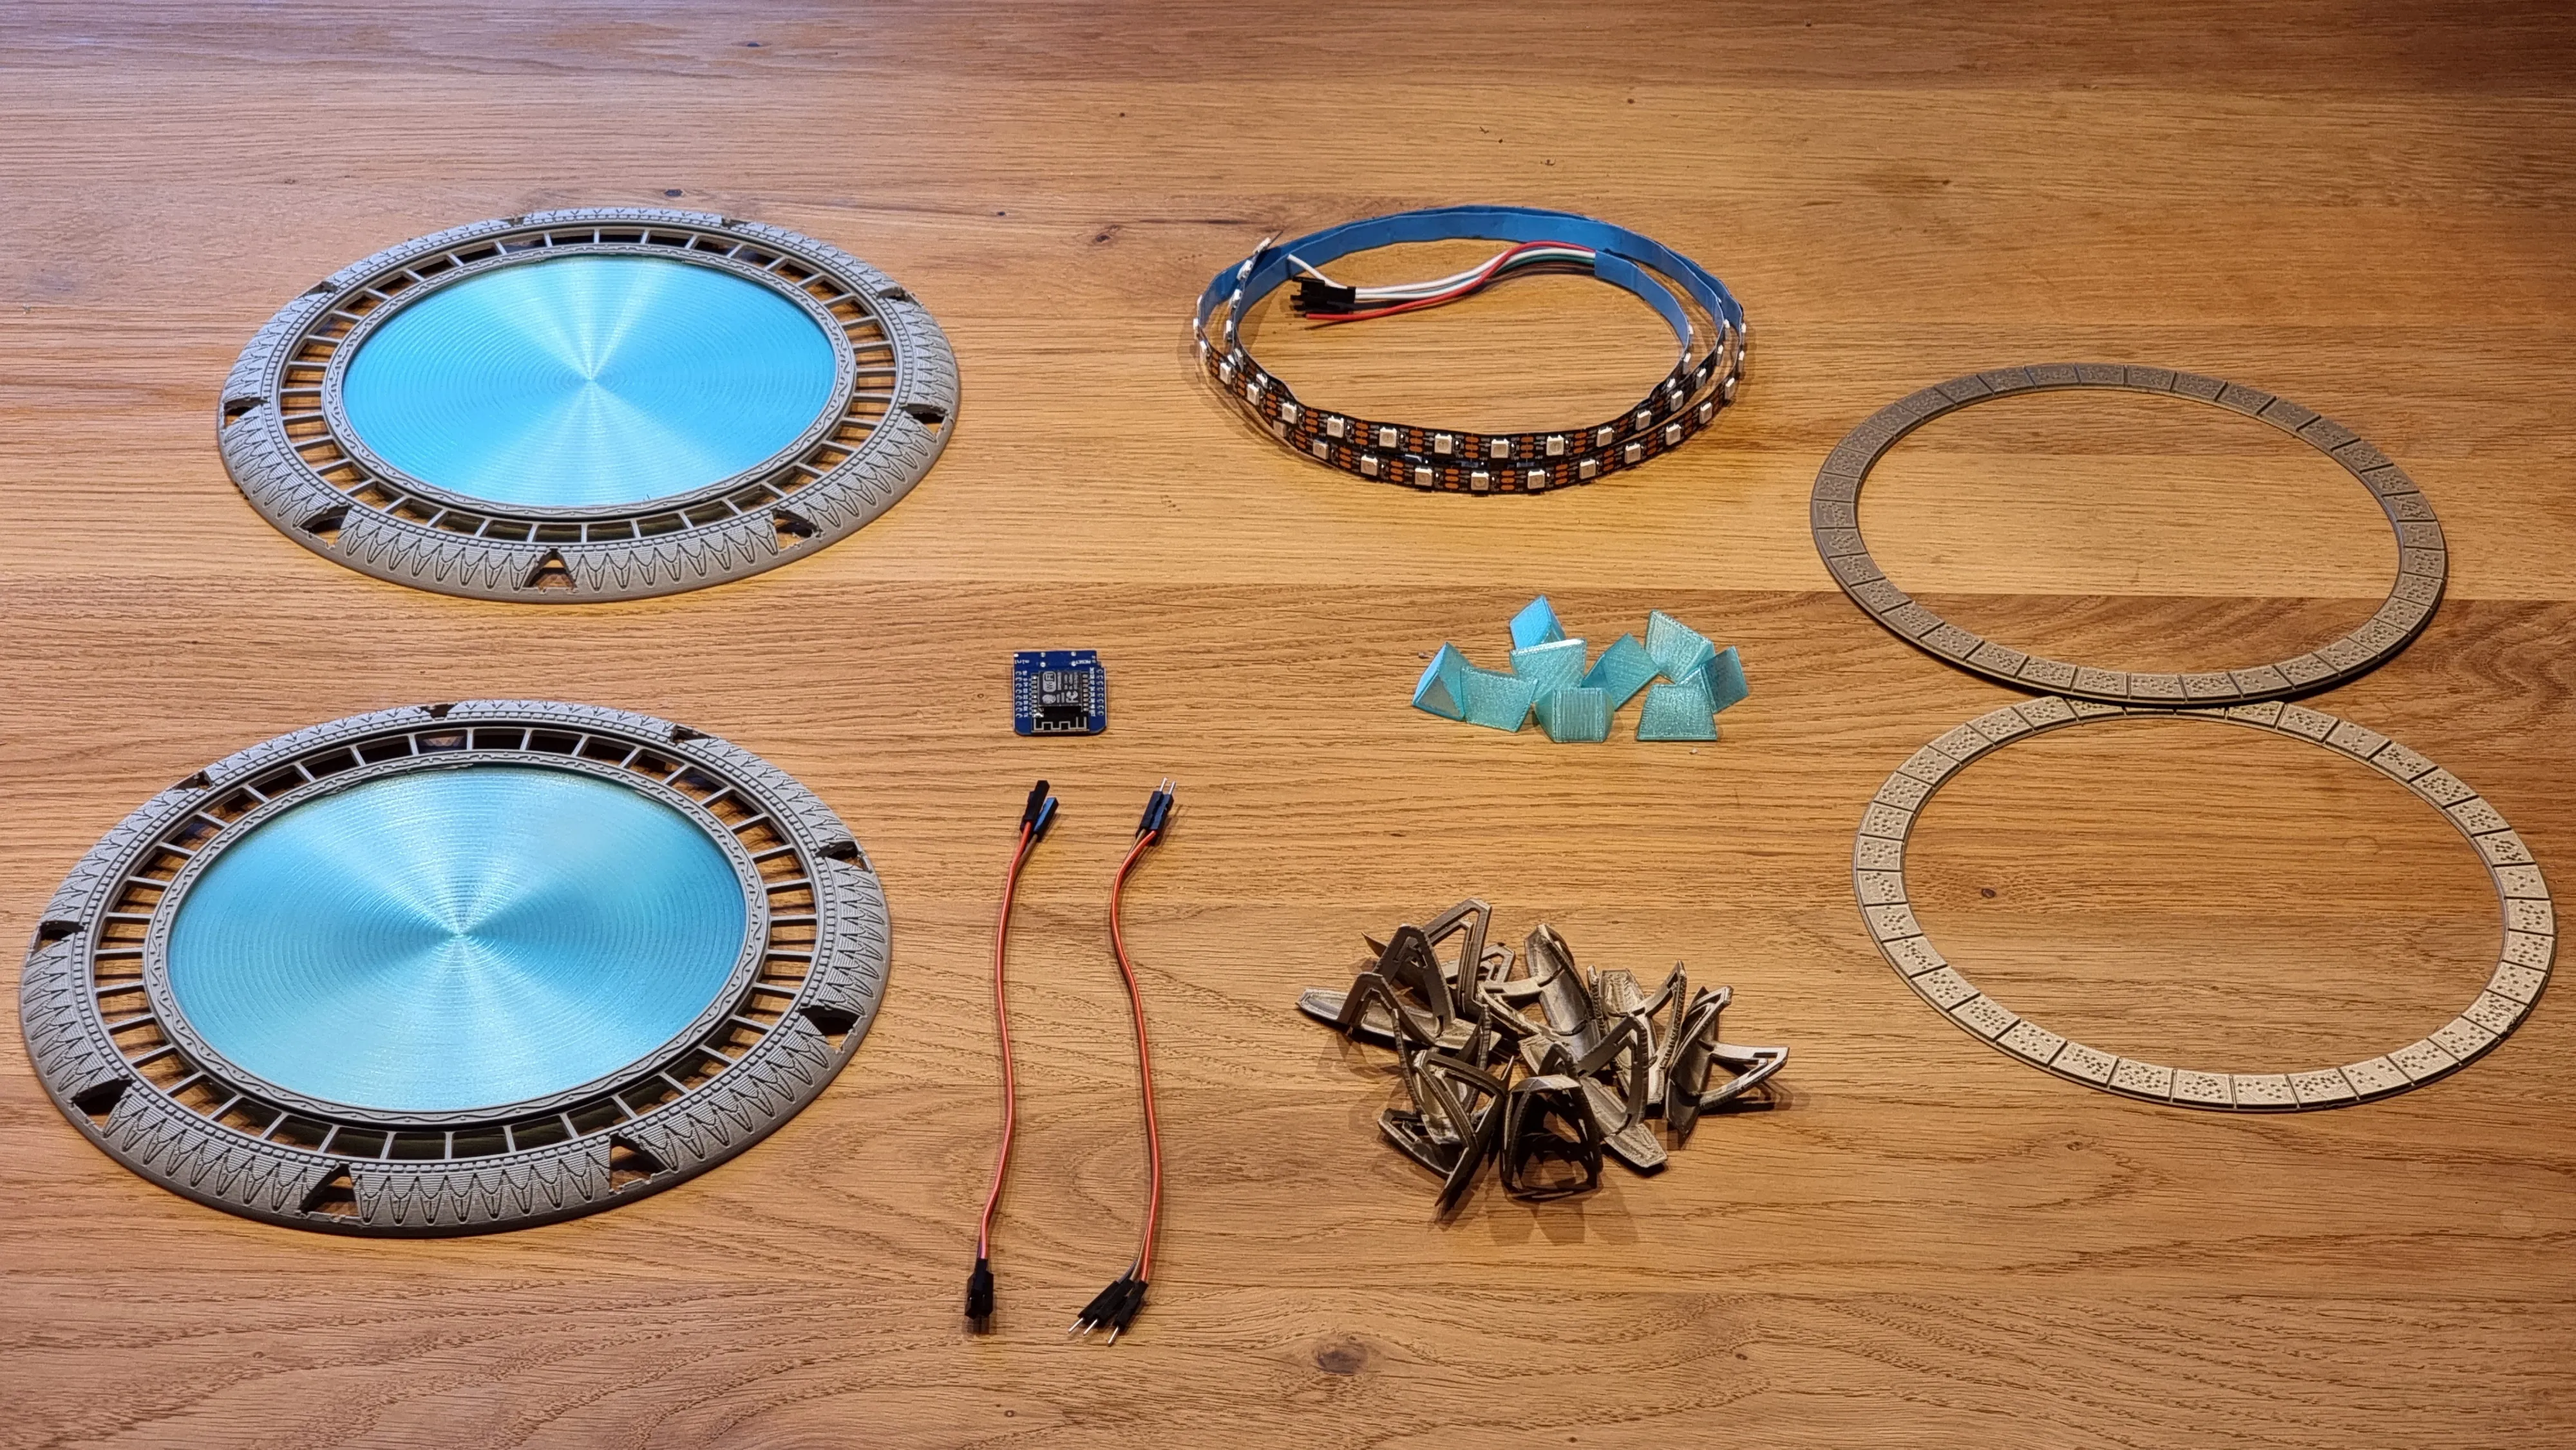
1.) Cleaning the printed parts
2.) Preparations
a.) Solder Stripes and Board
b.) Combine LEDs and glue them into the gate
c.) Glue the connector cables of the gate and the base
UPDATE: there is now also another profile replacing the usual Stargate [Jumper Pins] & Base [Jumper Pins] profiles. Here we use pogo-pins instead of the jumper cables. This makes the assembly a lot of easier :) A video will follow as soon as I have the time for recording it. ..but the setup is simple - you can also do it without the video.
d.) Flash the board
- Flash the ESP328266 board like described here:
- Download the flasher software
- Download the binary (this is the one fore ESP328266 - if you use a different board then you have to select another bin)
- Flash how it is described
3.) Build the gate
4.) Configure WLED (the flashing procedure can be found above)
In the meanwhile I created some configuration-files. See the appendix at the end.
I hope you enjoyed printing and building up the new gate as much as I did :) Overall this project took me about ~40hours of time (documentation, designing, taking the videos, …). I would really appreciate if you would leave me a boost :) I tried to explain as detailed as possible. If something is still unclear for you just write me a pm or leave a comment.
Enjoy your new stargate! More content (SG1-Symbols, differently styled chevrons, etc.) will come soon :)

Happy printing,
Basti
Appendix
WLED Configuration
I uploaded some presets & a better configuration regarding power consumption. Just download the three documentation files and delete the “.txt” at the end. Then navigate to “Security & Updates” on your WLED device. Goto “Backup & Restore” and select the file “wled_cfg_Stargate.json” under “restore configuration”. Then click upload.
The device will reboot. Your WLAN settings will also be deleted. So you need to access to the device like in the beginning of my configuration video. Only configure the WLAN settings!
Then again navigate to “Security & Updates” and goto “Backup & Restore”. Select “wled_presets_Stargate - 01.json” under “restore presets”. Then click upload. Then click save. Navigate to the presets. Click on one preset. When the wormhole lights blue then everything is ok. When the chevrons light blue then you need to delete every preset again, delete the second segment and do the upload step again with the “wled_presets_Stargate - 10.json” file. Why this could happen? ..because it's dependent from how you inserted your stripe ;) When the first led is used for the inside then you need the 01 file. When the first led shows to the outside you need the 10 file. Just write me a pm or leave a comment when you are experiencing any troubles.
UPDATE 24.02.2025:

I added the presets for the “dial-animation” created by Gymratz. He has used 144 LEDs, so it will take me some time to apply it to the 60 LEDs I'm using in the project. Again a big THX to Gymratz for sharing his settings :) You can find the file like the other presets described above ("wled_presets_144led_sg1.json.txt")
UPDATE 25.03.2026:
Thx to Weslocke who created another animation for the 60 LEDs configuration. I havn't tested it yet due to lack of time. Once tested I will remove that sentence ;) You can find the file like the other presets described above ("wled_presets_60led_sg1.json.txt")
Documentation (5)
License

You shall not share, sub-license, sell, rent, host, transfer, or distribute in any way the digital or 3D printed versions of this object, nor any other derivative work of this object in its digital or physical format (including - but not limited to - remixes of this object, and hosting on other digital platforms). The objects may not be used without permission in any way whatsoever in which you charge money, or collect fees.


Comment & Rating (374)