
Minion Ghost Tea Light

Print Profile(1)
Bill of Materials



Description
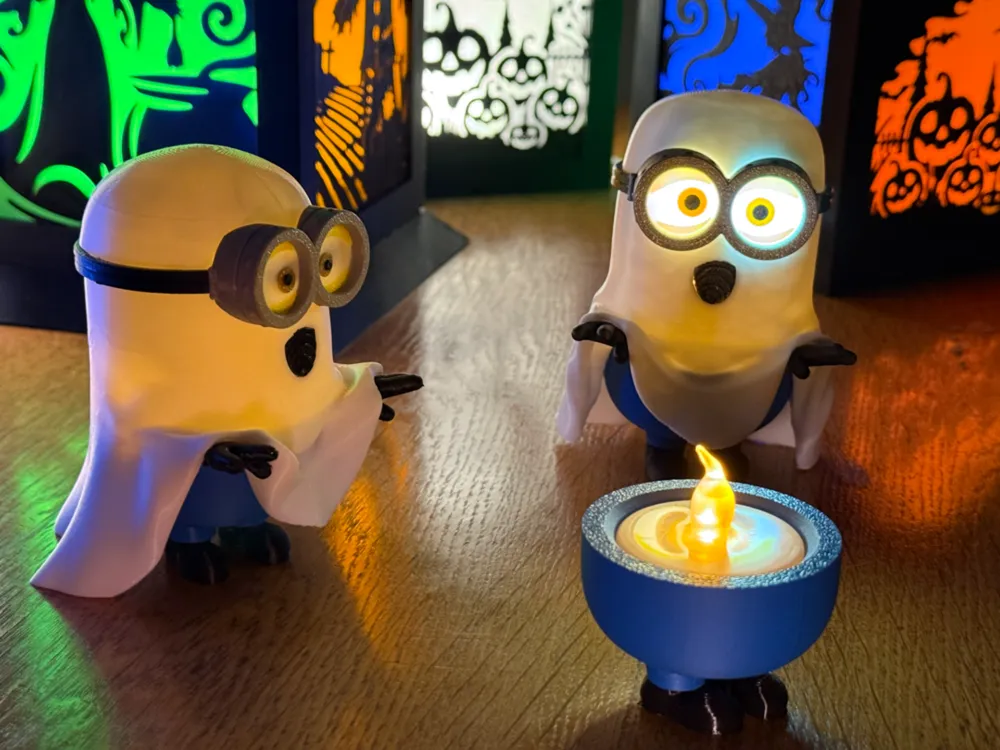
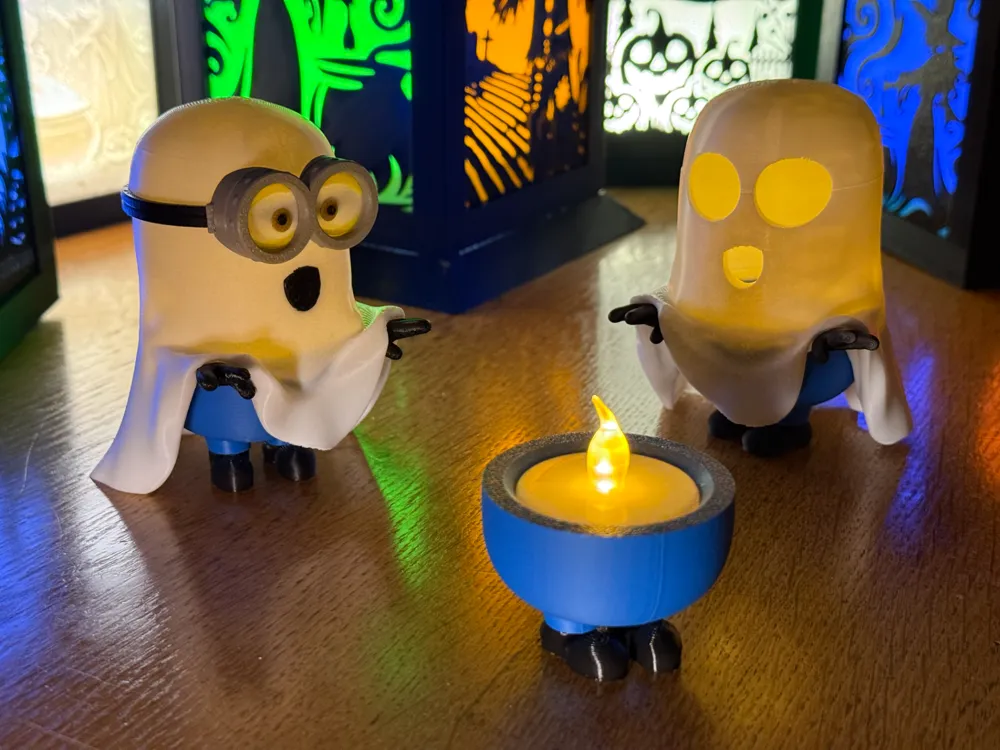
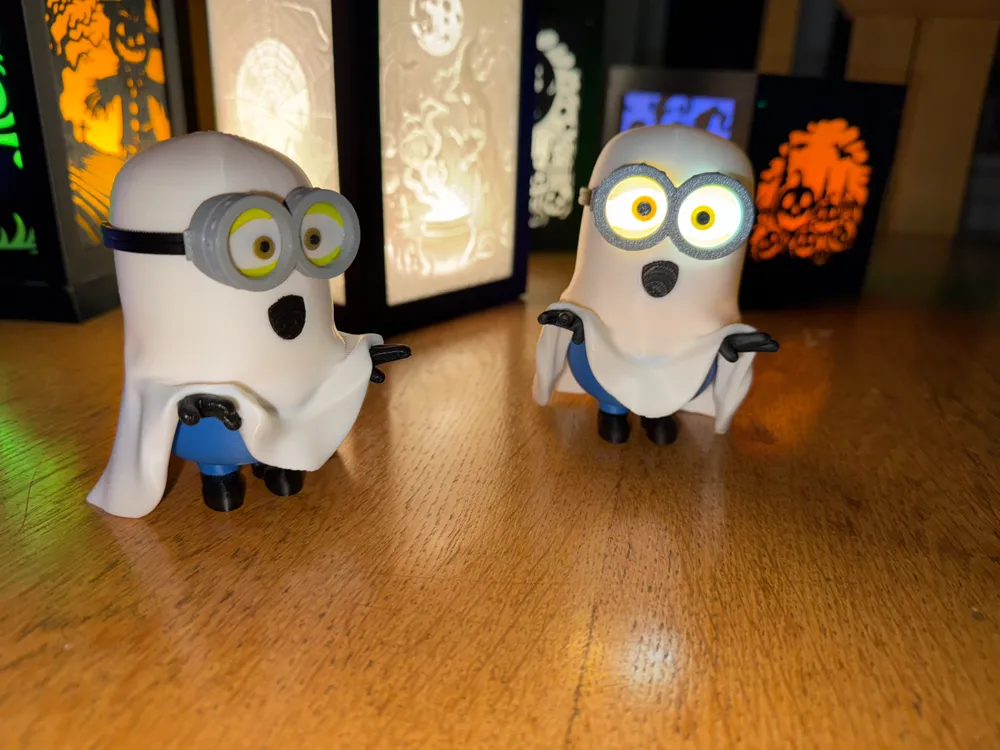
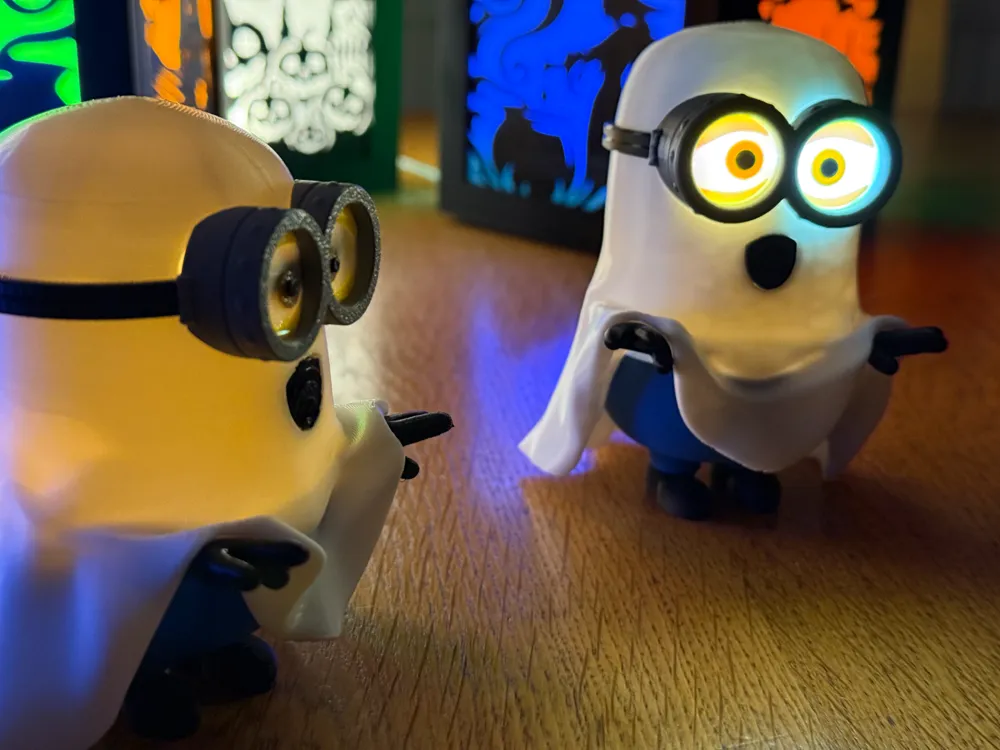
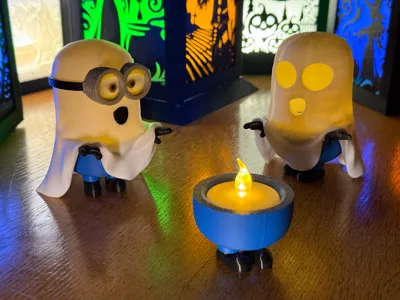
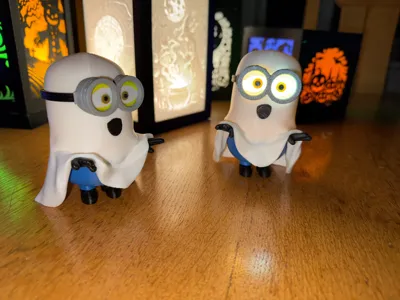
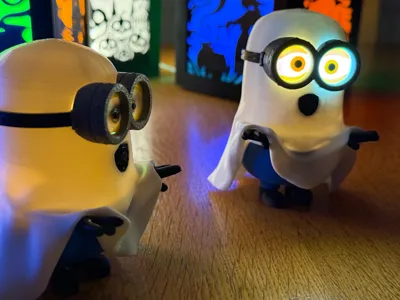
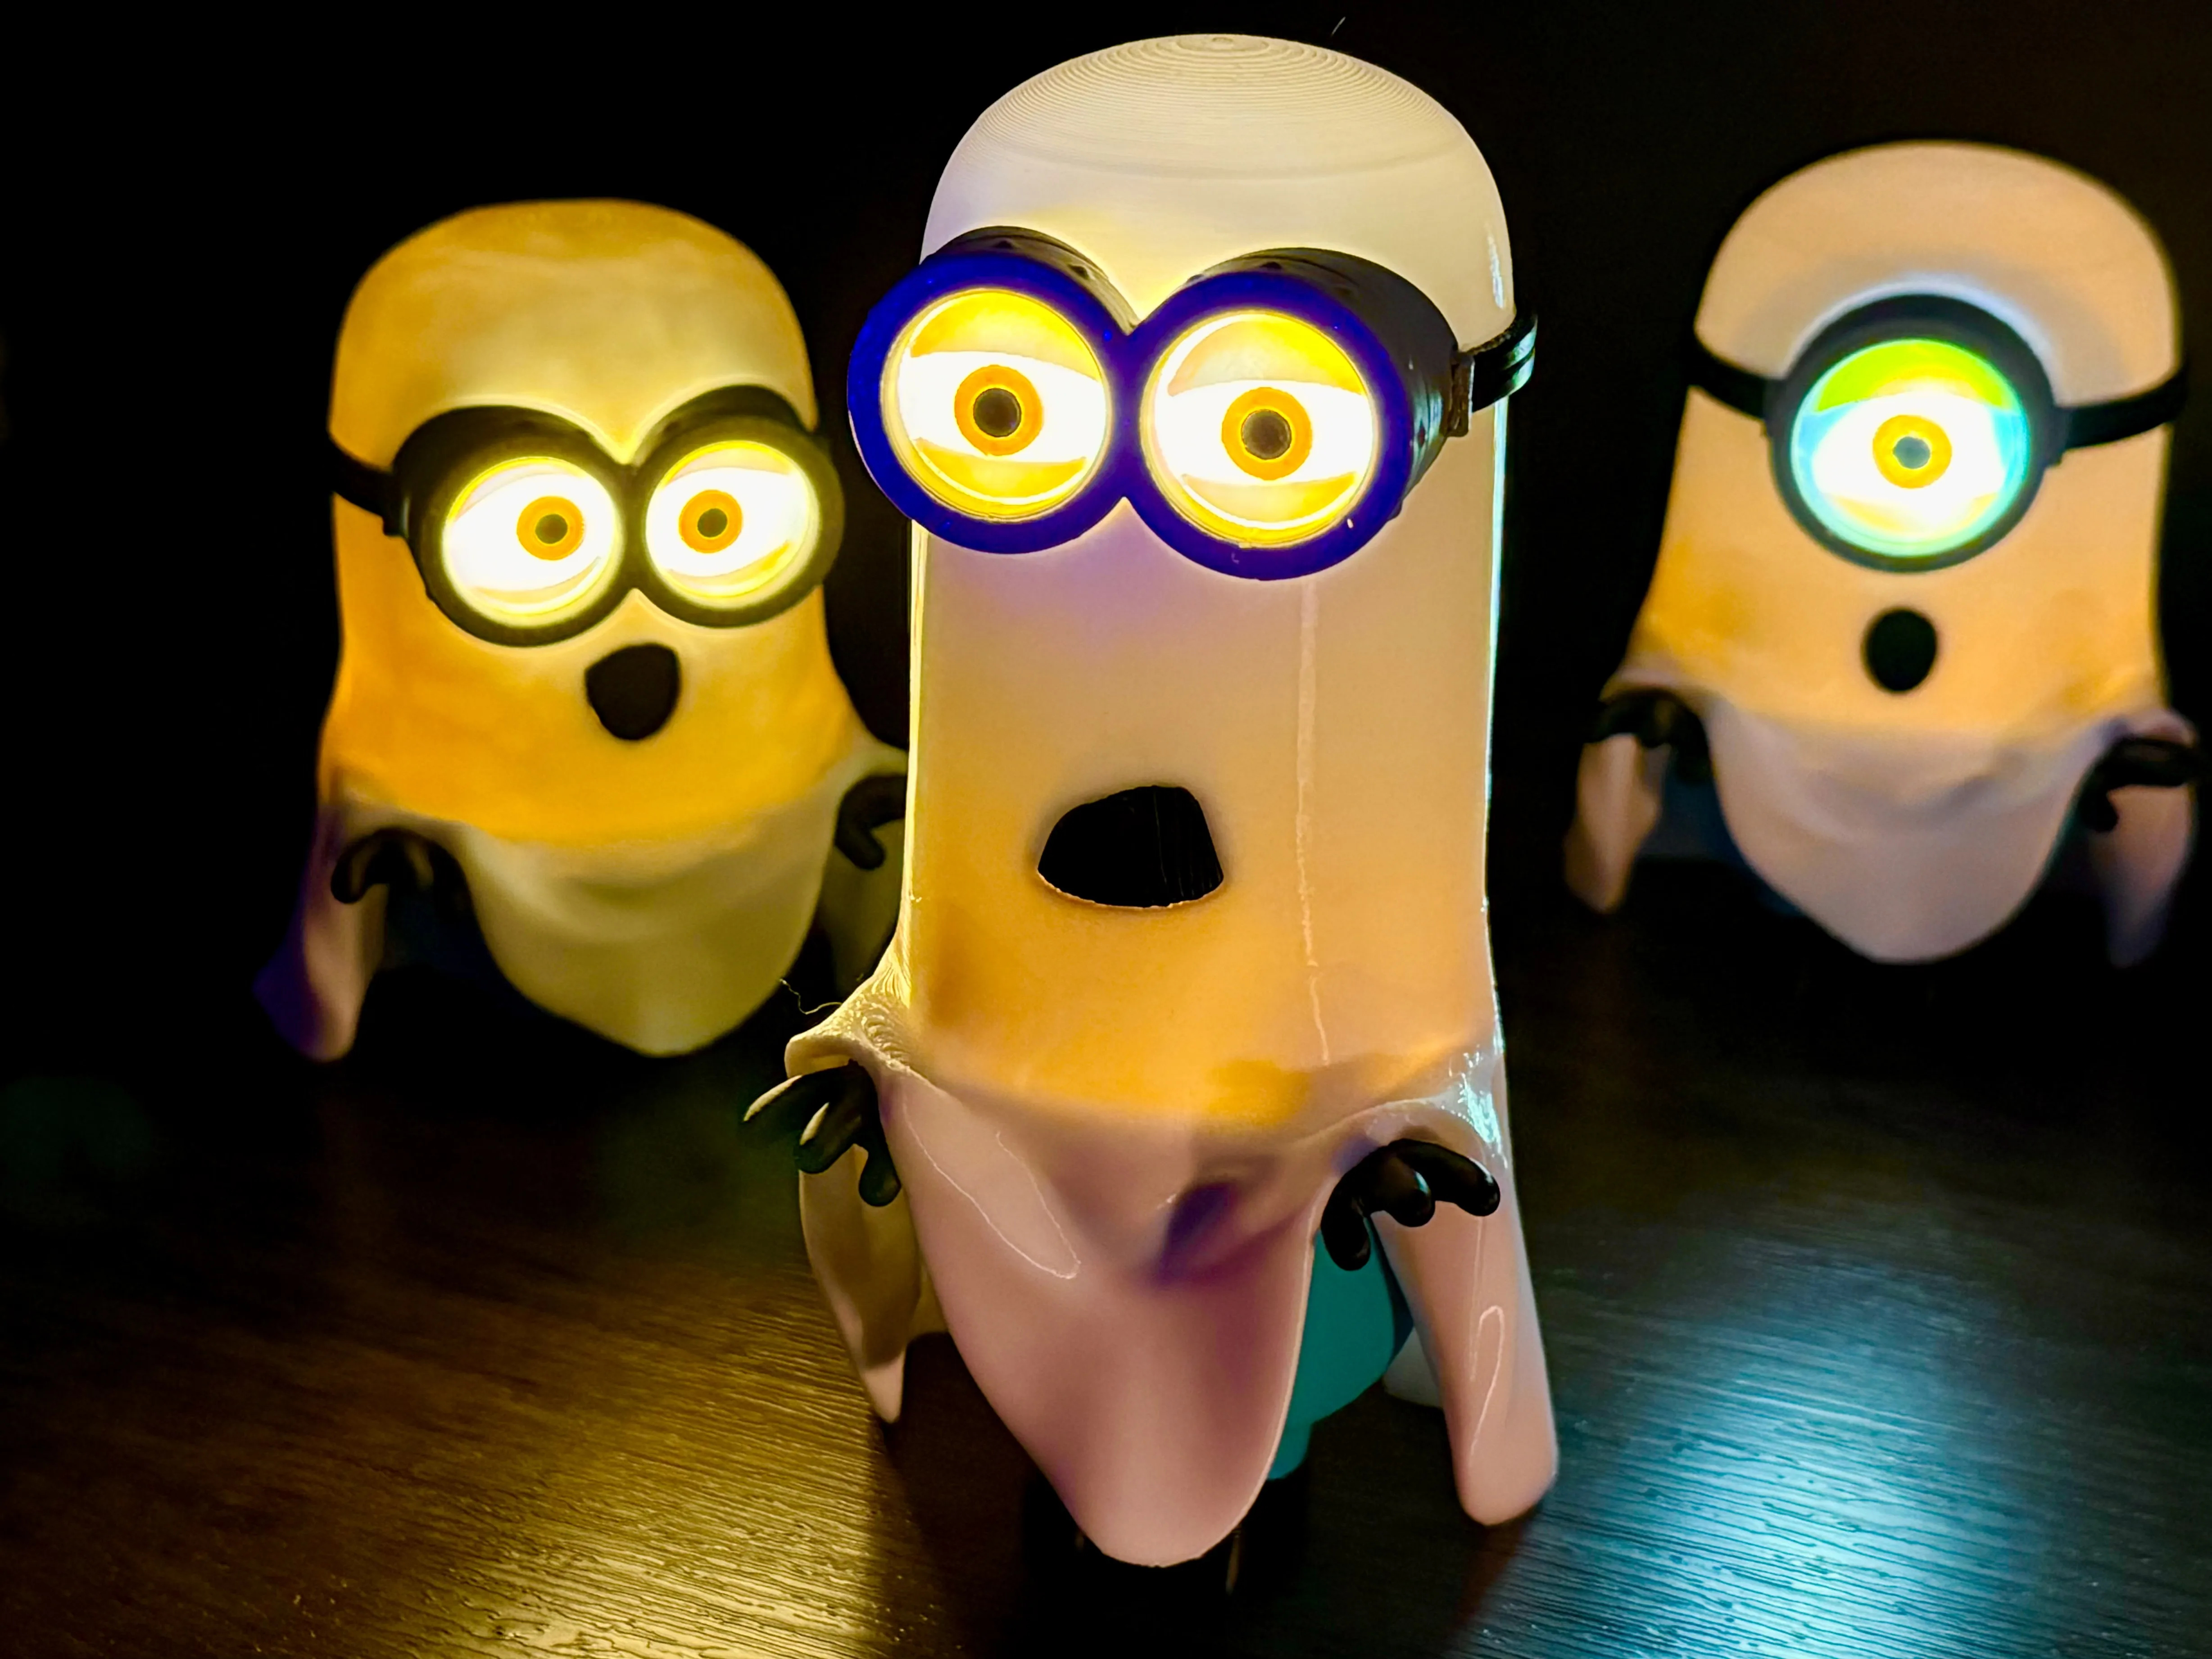
I think I know who's hiding under that sheet! (If the optional goggles don't give it away!) Add some more fun to Halloween with this cheeky tea light decoration. A warm LED gives the top half a lovely yellow tint.
No AMS required, the print profile contains AMS options hence why it says AMS.
If you enjoy this then checkout the tall and slim version to join the party.
Boost Me (for free)
A Boost is just that to me. A Huge boost and recognition of the effort I've put into my models. A great reason to keep creating and sharing while enjoying this hobby. Thankyou!
Don't forget to check out my Patreon for bonus files to free members and even more for early supporters.
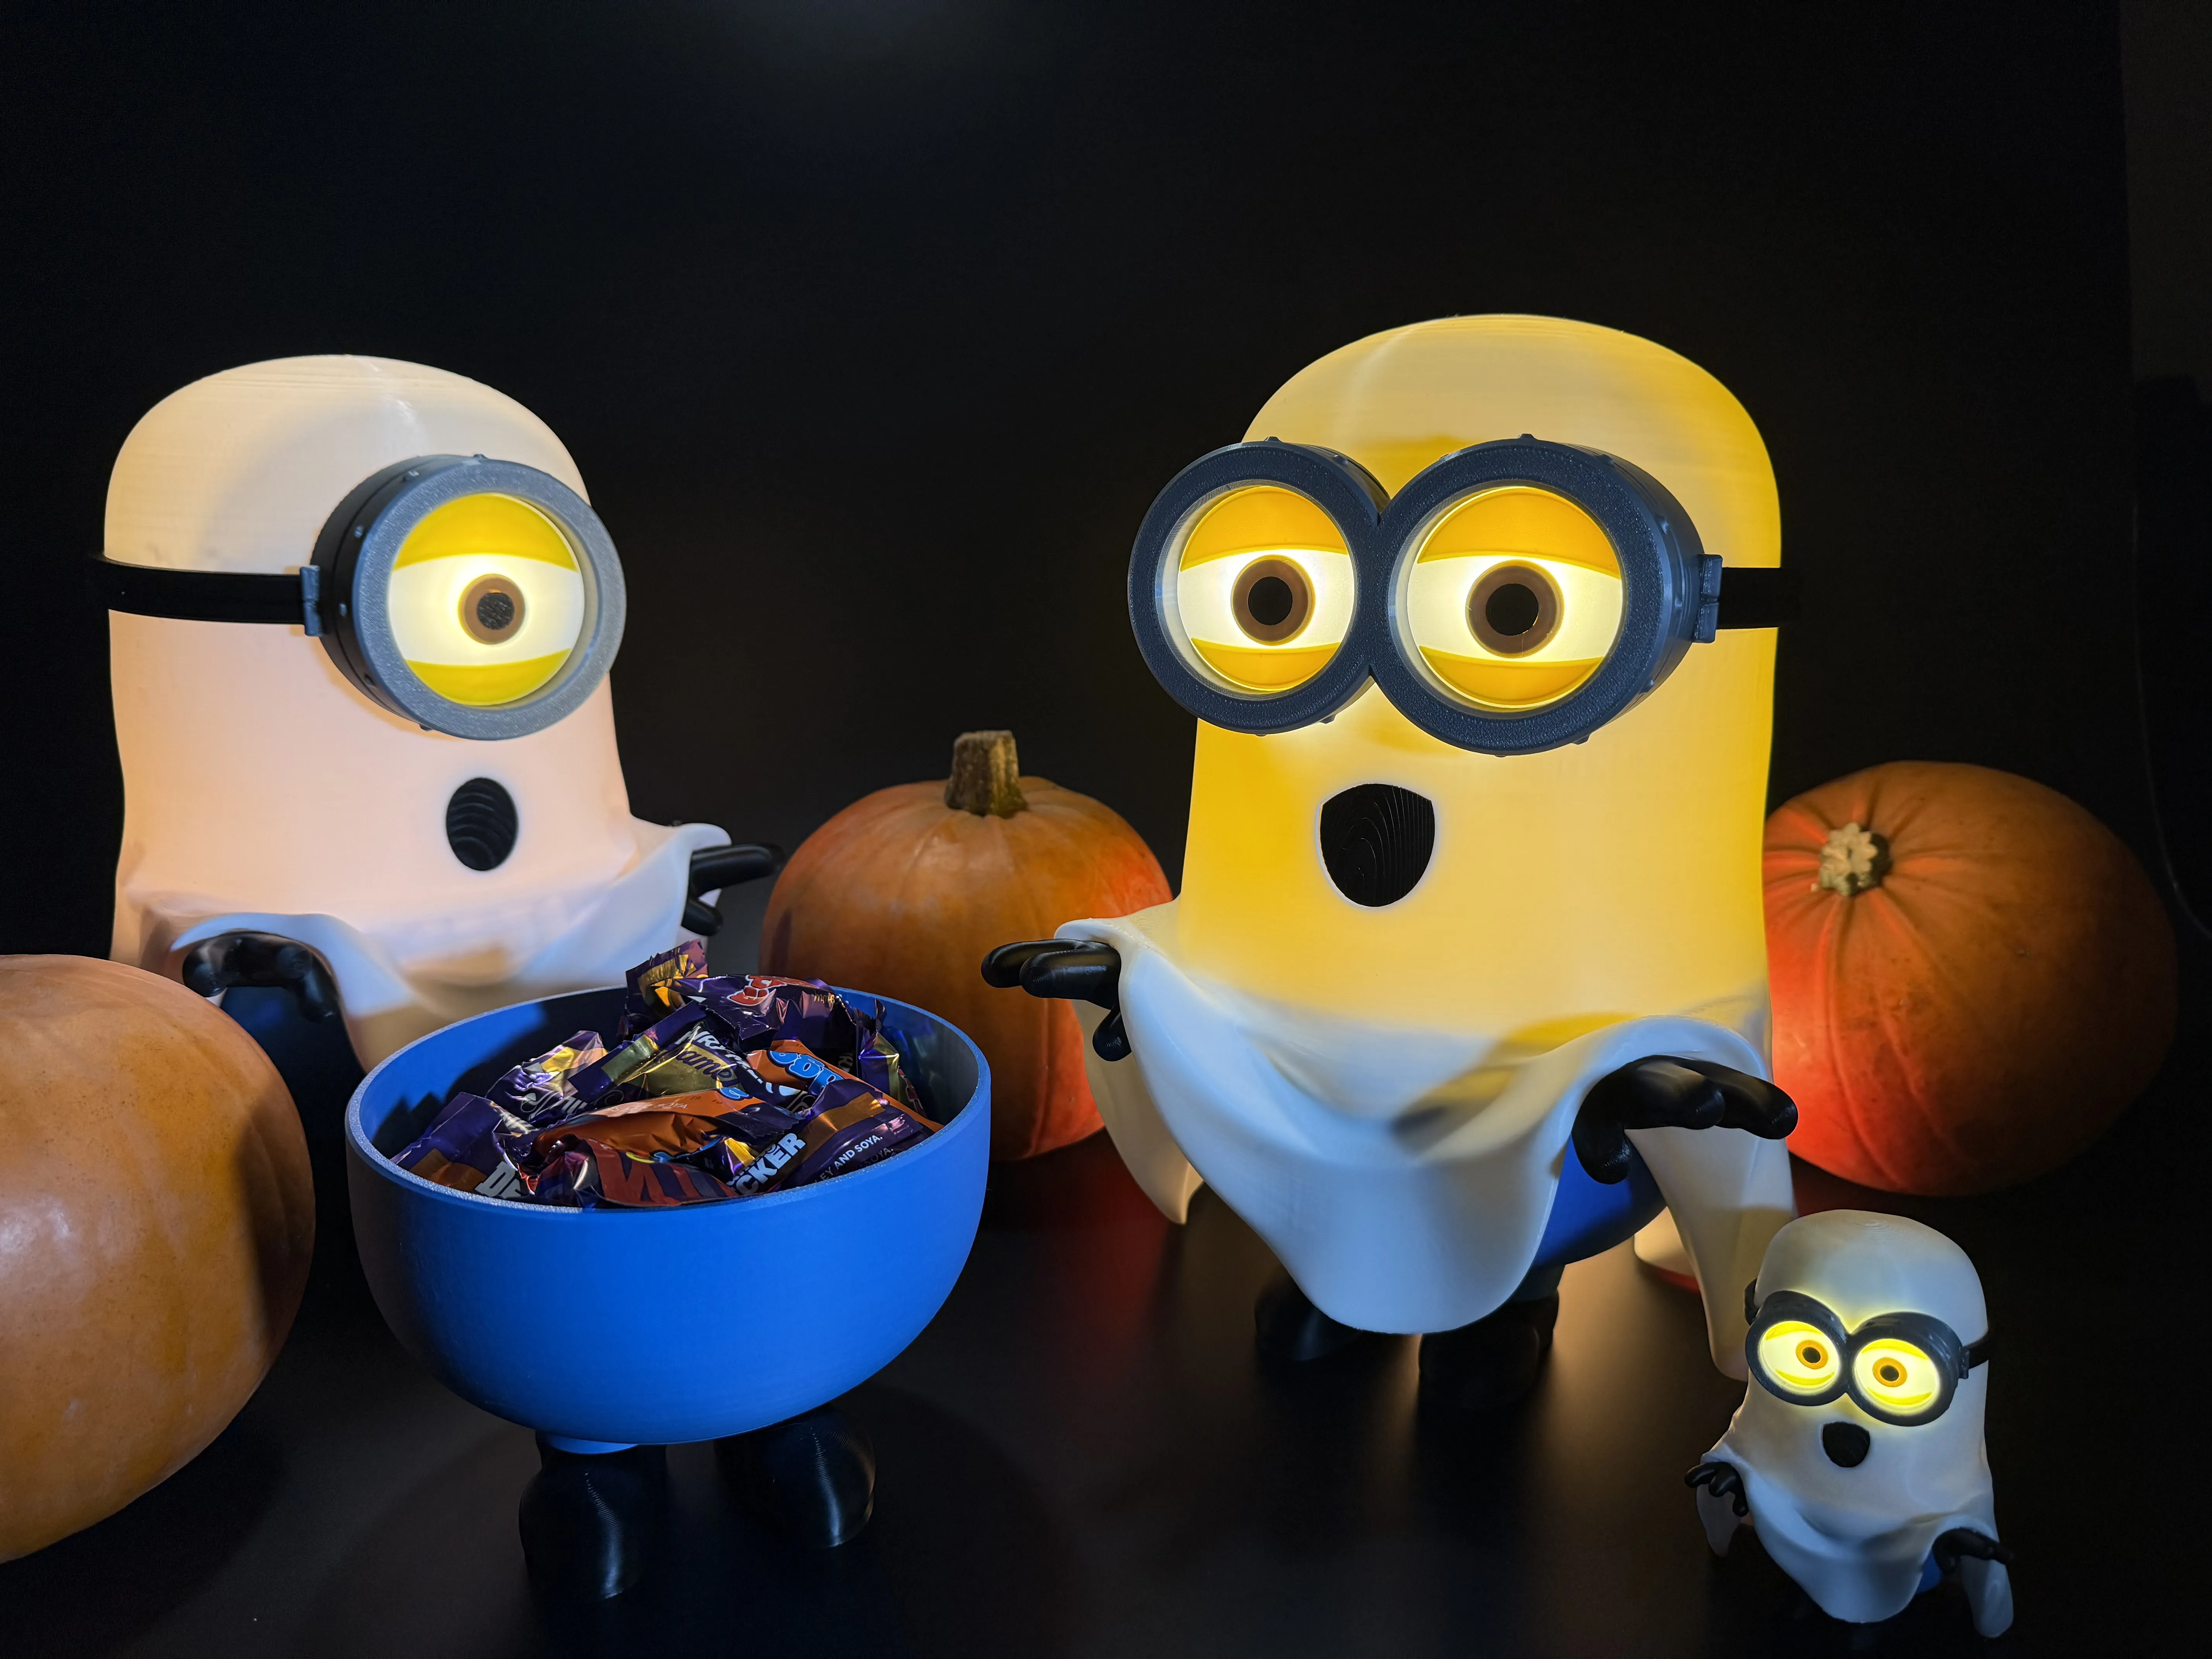
I love this small version for the speed of the print, It's a derivative of what I was working on which is now released; a large version with a couple of hidden bowl options for treats on Halloween. Lift up the body or head to reveal the treats.
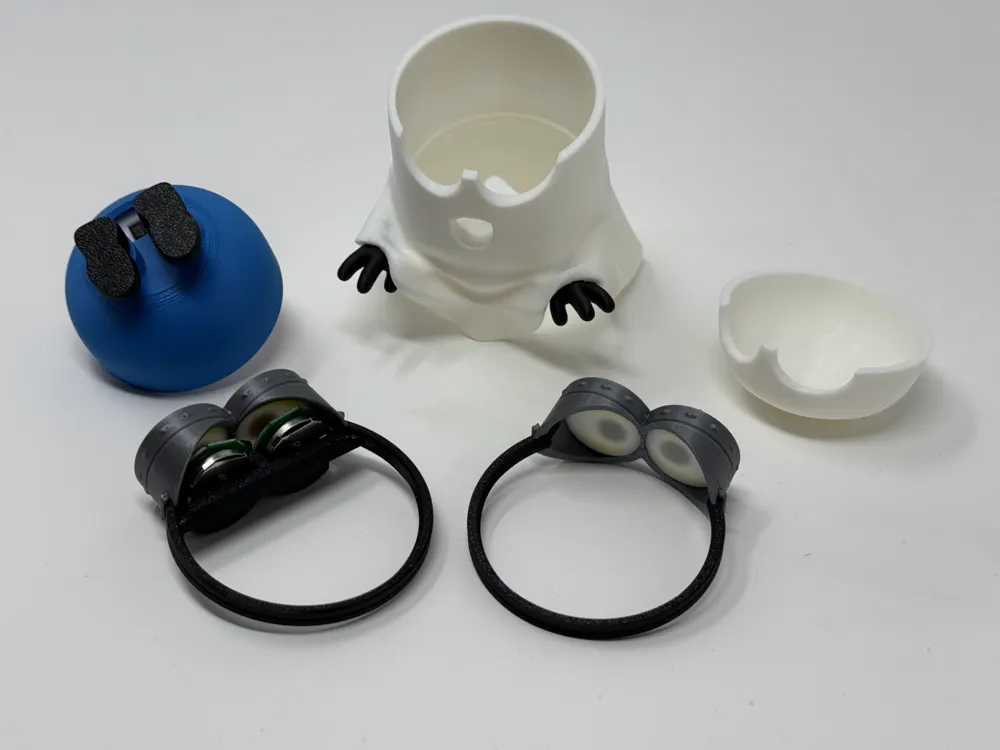
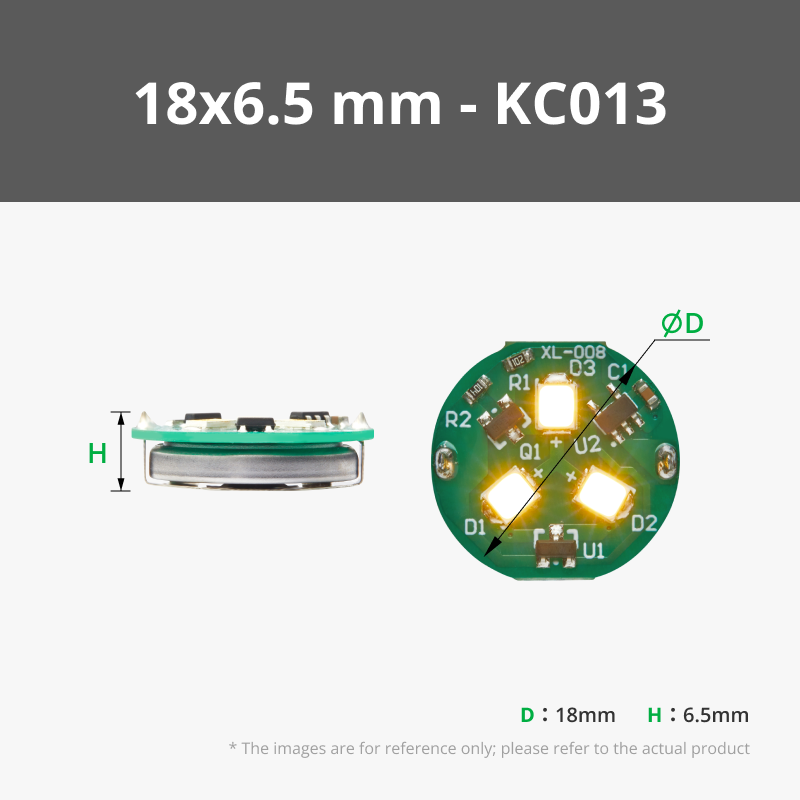
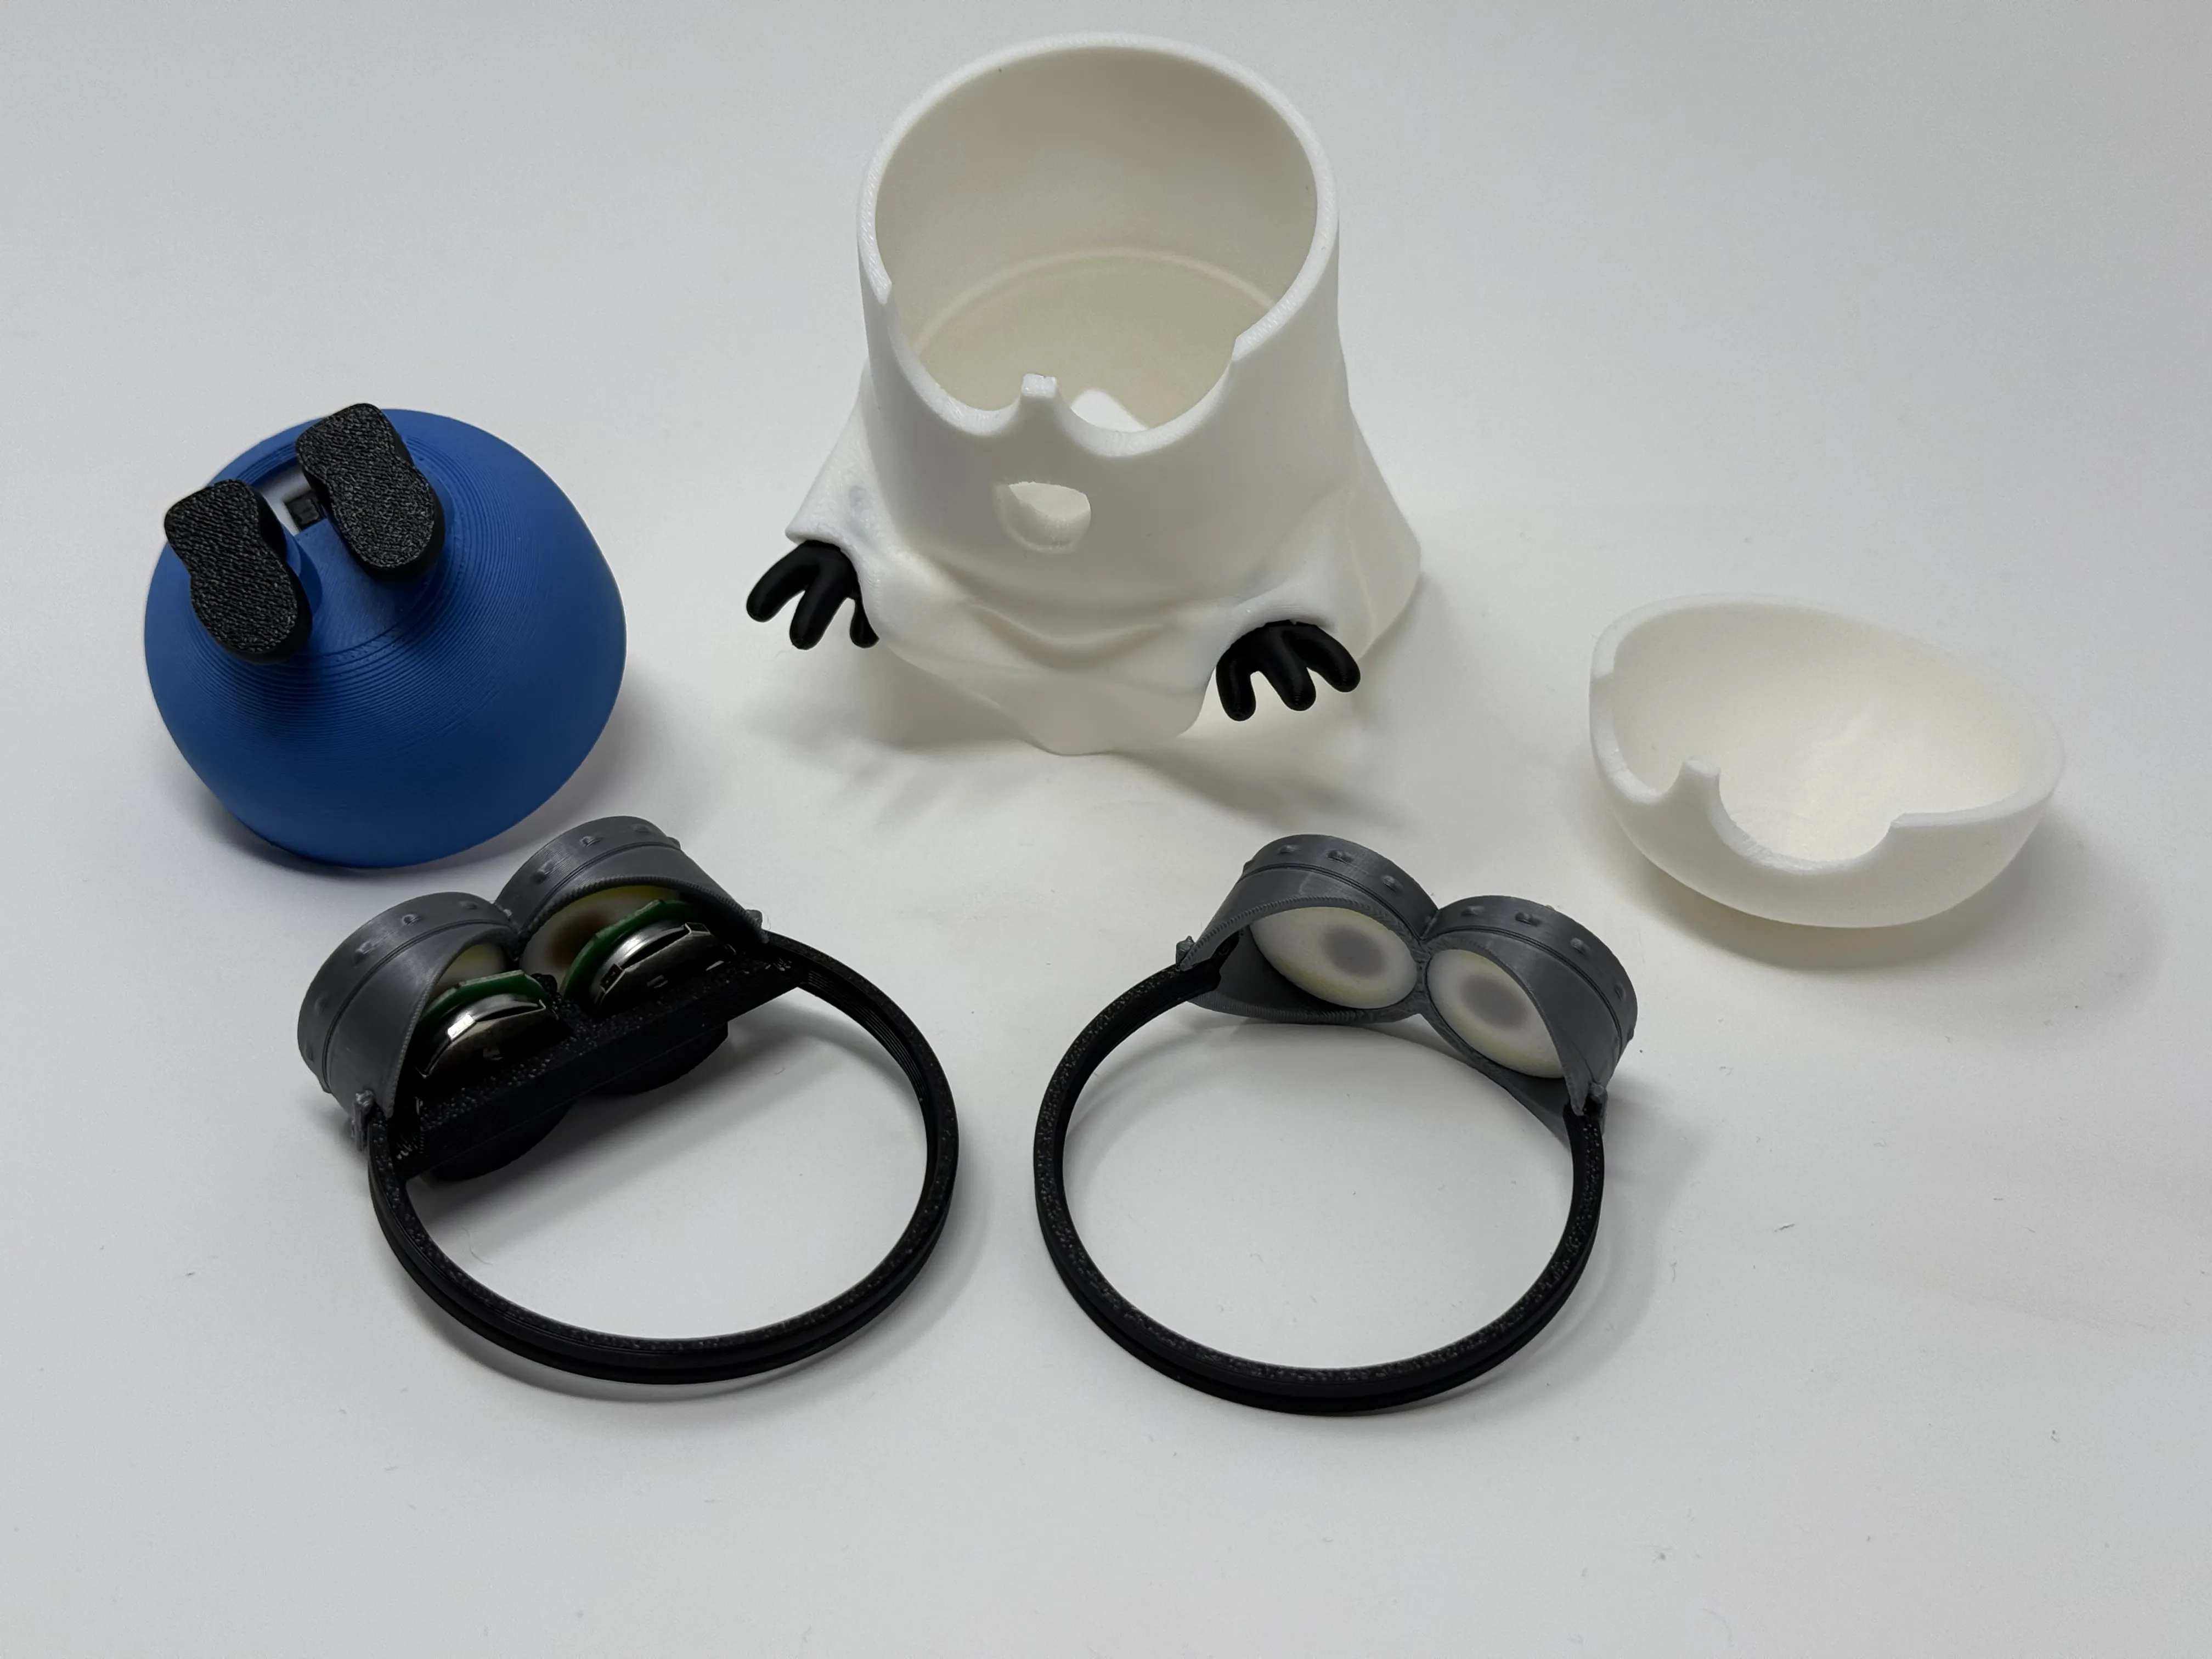
Push the feet into the bottom piece (no glue needed, but you can always add some). You will find the Bambu Tea Light fits perfectly and there is a hole to switch it on and off at the bottom.
Or print the ‘BottomLargeTeaLight’ object which will accept a light up to 49mm in diameter.
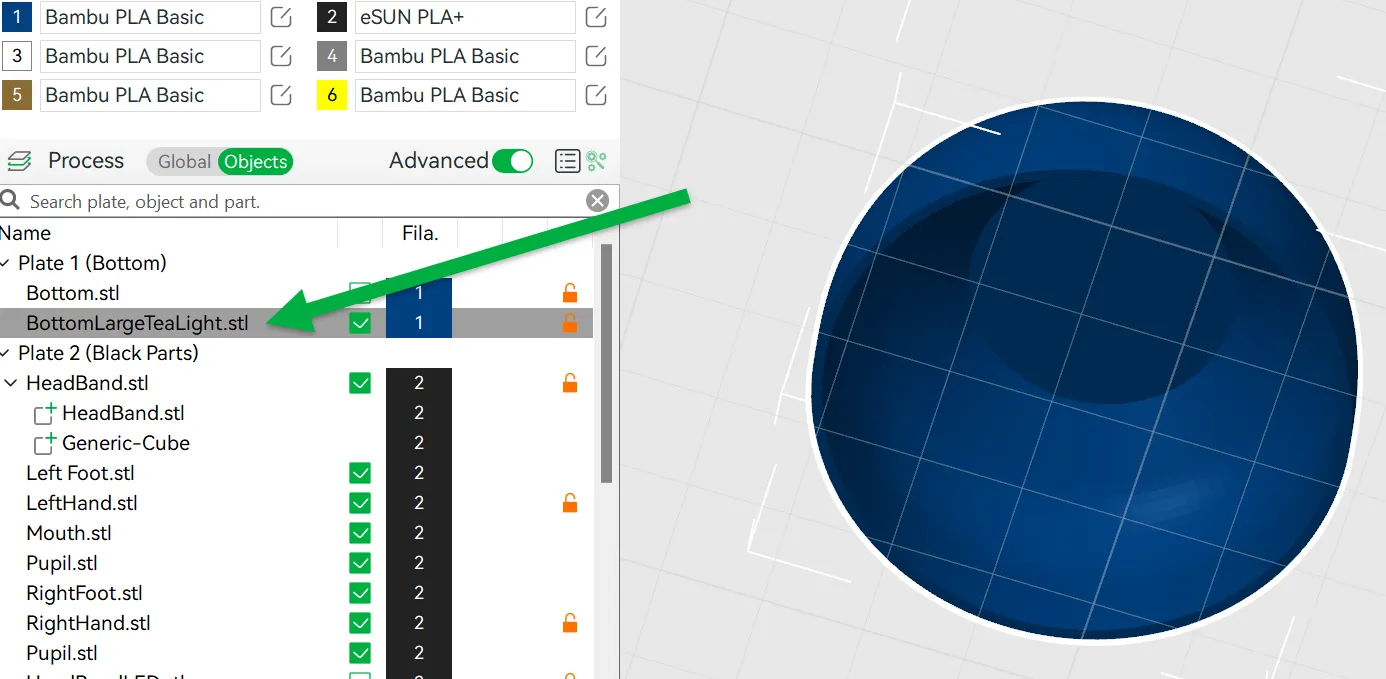
If you want a tight fit for a non Bambu candle see section toward the bottom of this page.
When removing the small supports from the body I find it useful to use some pliers and break the supports that connect to the mouth from the other supports. Then you have two separate areas to deal with the bottom and the mouth, using the pliers again it should be relatively easy once the mouth supports are no longer connected to the cloth support.
Now dab a bit of glue to the ends of the hands and push them into place. I find Superglue accelerator really useful but not necessary.
You have a choice you can add the black mouth or leave it open. It pushes in and out so you can decide to change it.
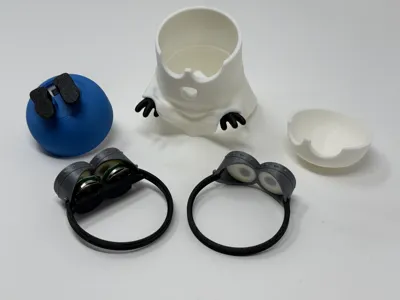
Equally with the Goggles these are optional, you can glue the top of the head on. Or put the goggles together.
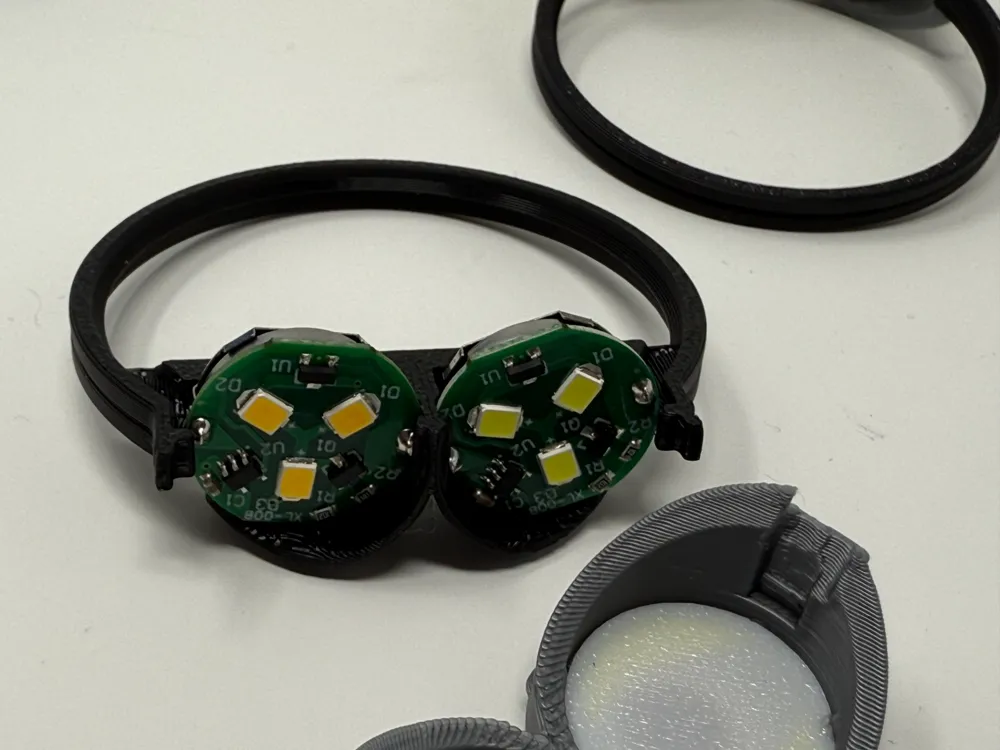
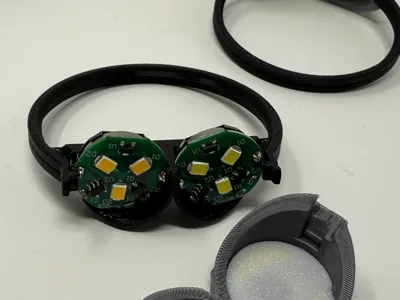
There are two options, a simple one and one that accepts two of the Y LED lights from Bambu that switch on and off with a magnet. See Bill of materials at the end of this description. These really add a bit of flare to the model. Alas I had two different coloured ones (Warm white and white) so need to order some matching ones!
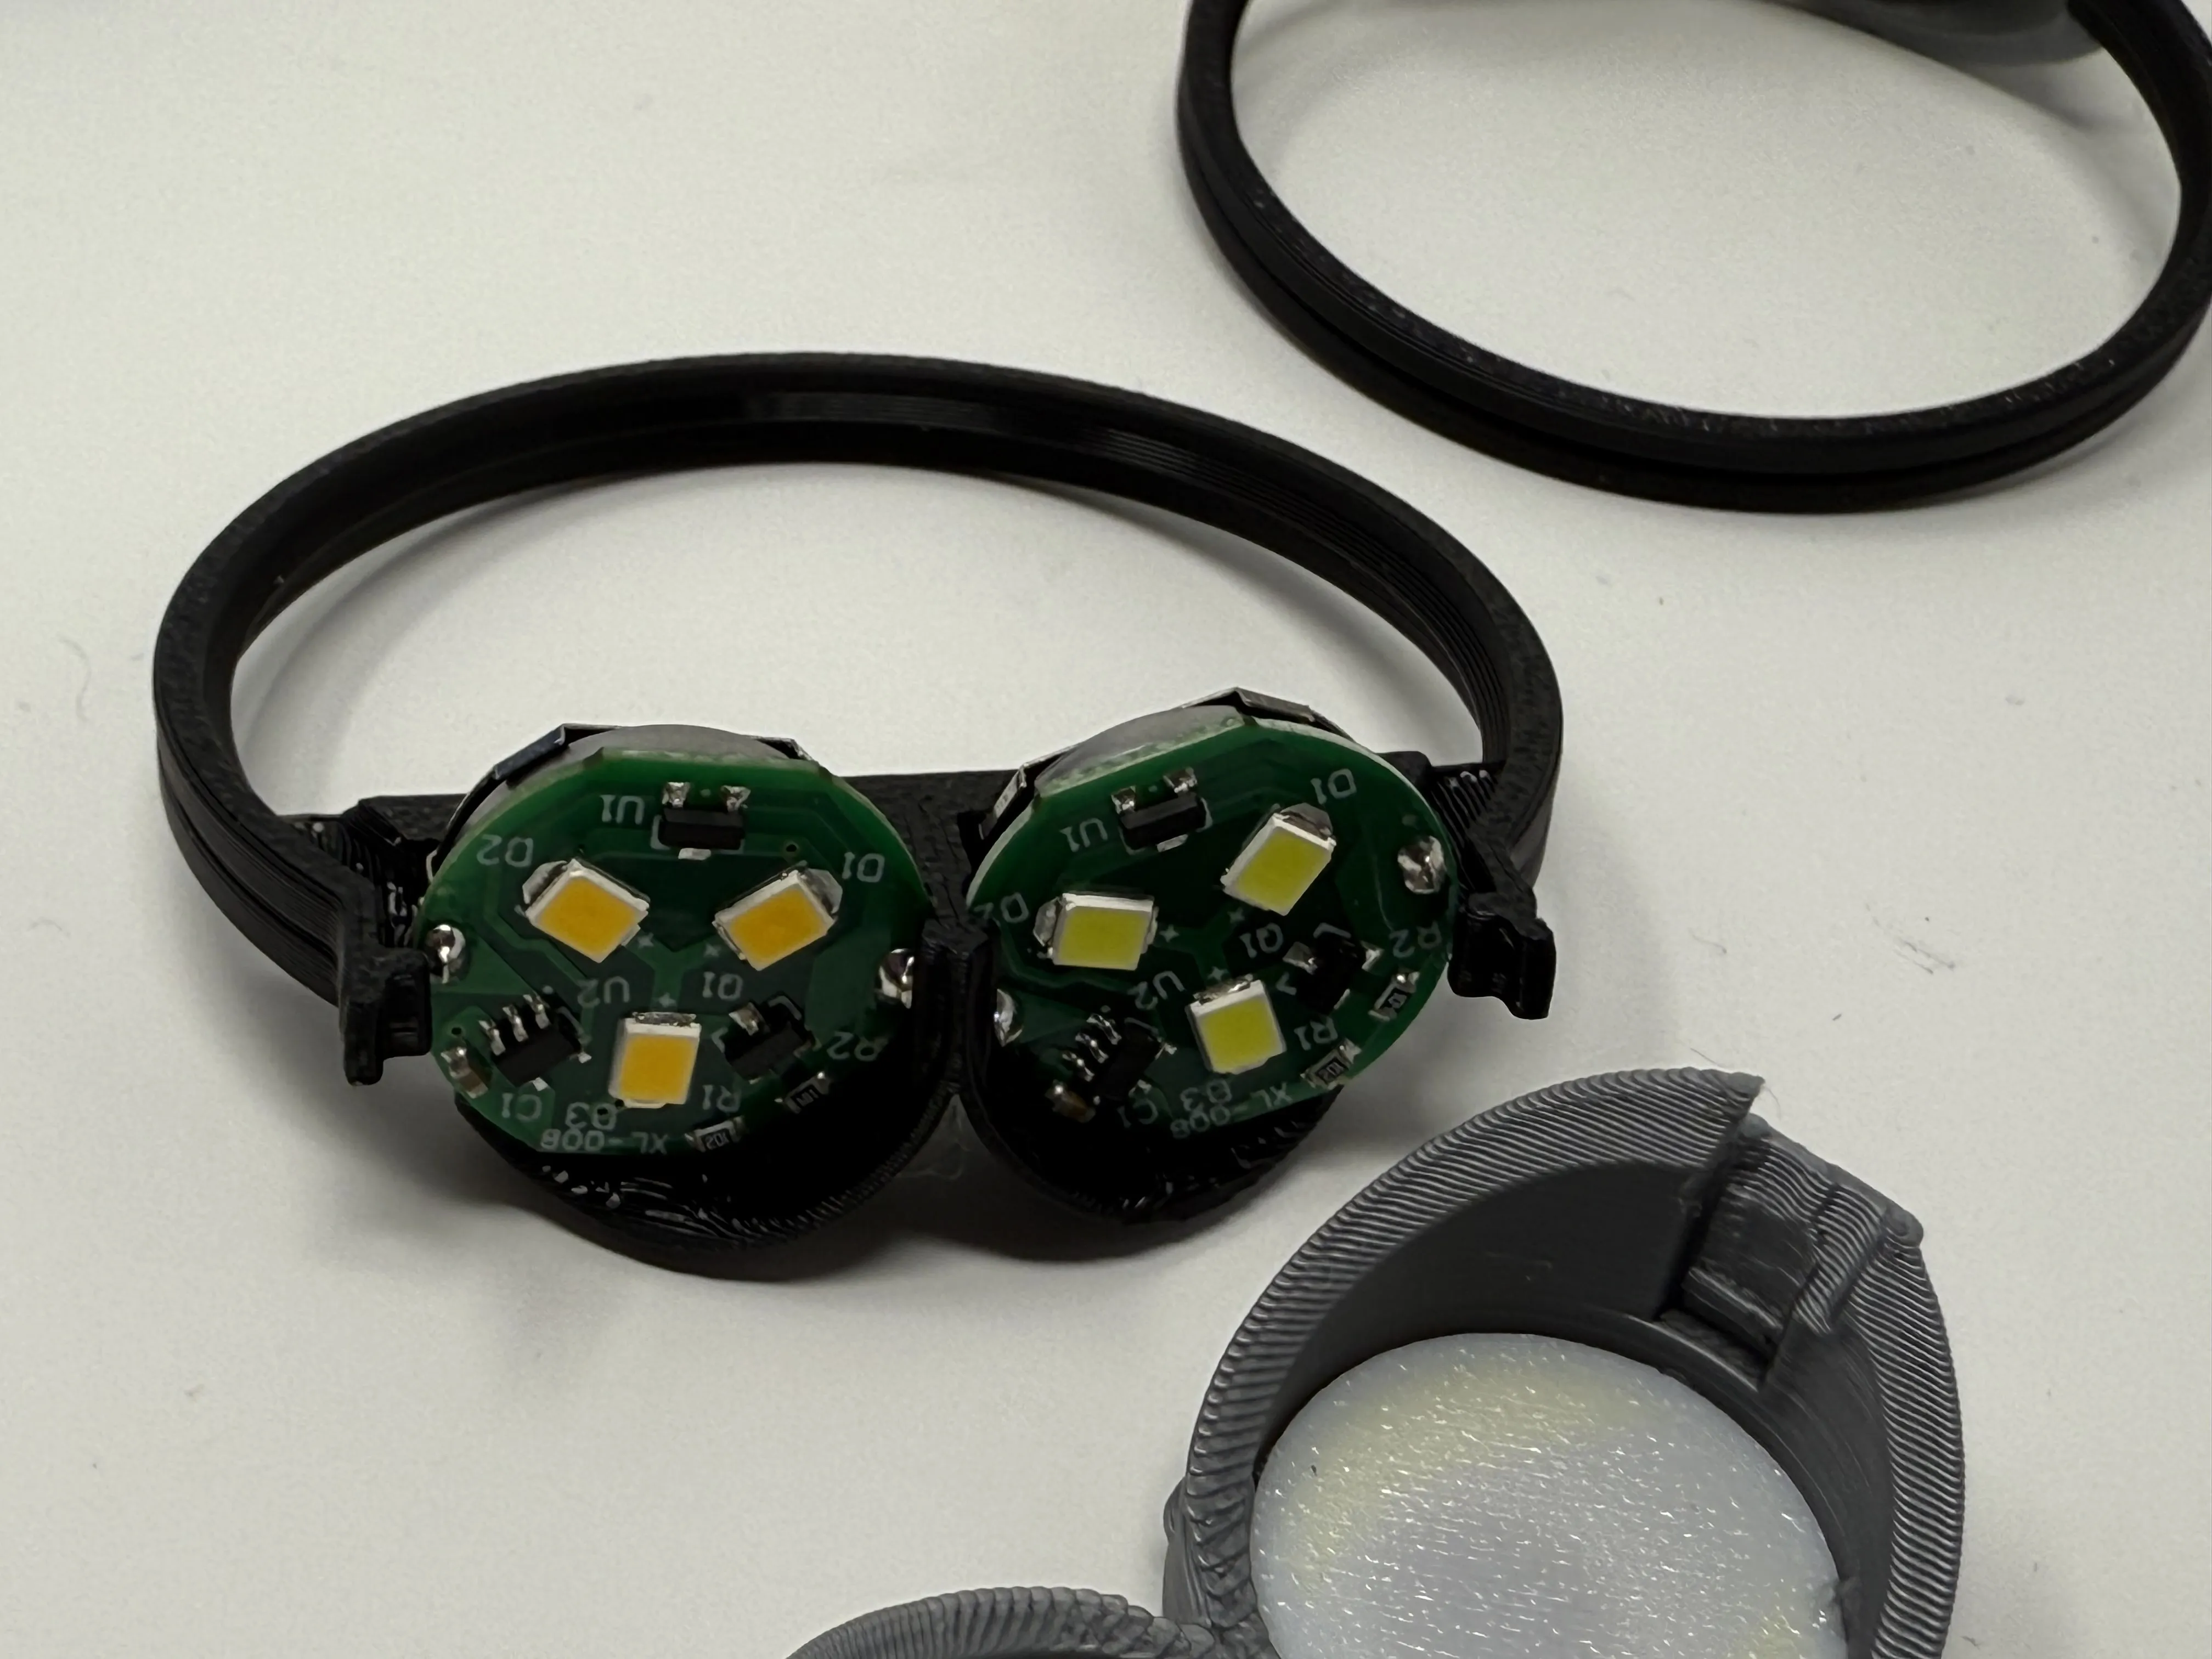
When putting the LEDs in the goggles the flat area should be horizontal. In the orientation I have below the magnet sensor will be above his eyes.
To make the Eyes you have several options included in the print profile. You can print each colour separately if you wish to test your gluing abilities :-) Or you can do a manual filament change when the printer pauses (Switch from white to yellow for the Lids and Whites. Switch from Brown to black for the Iris and pupil)
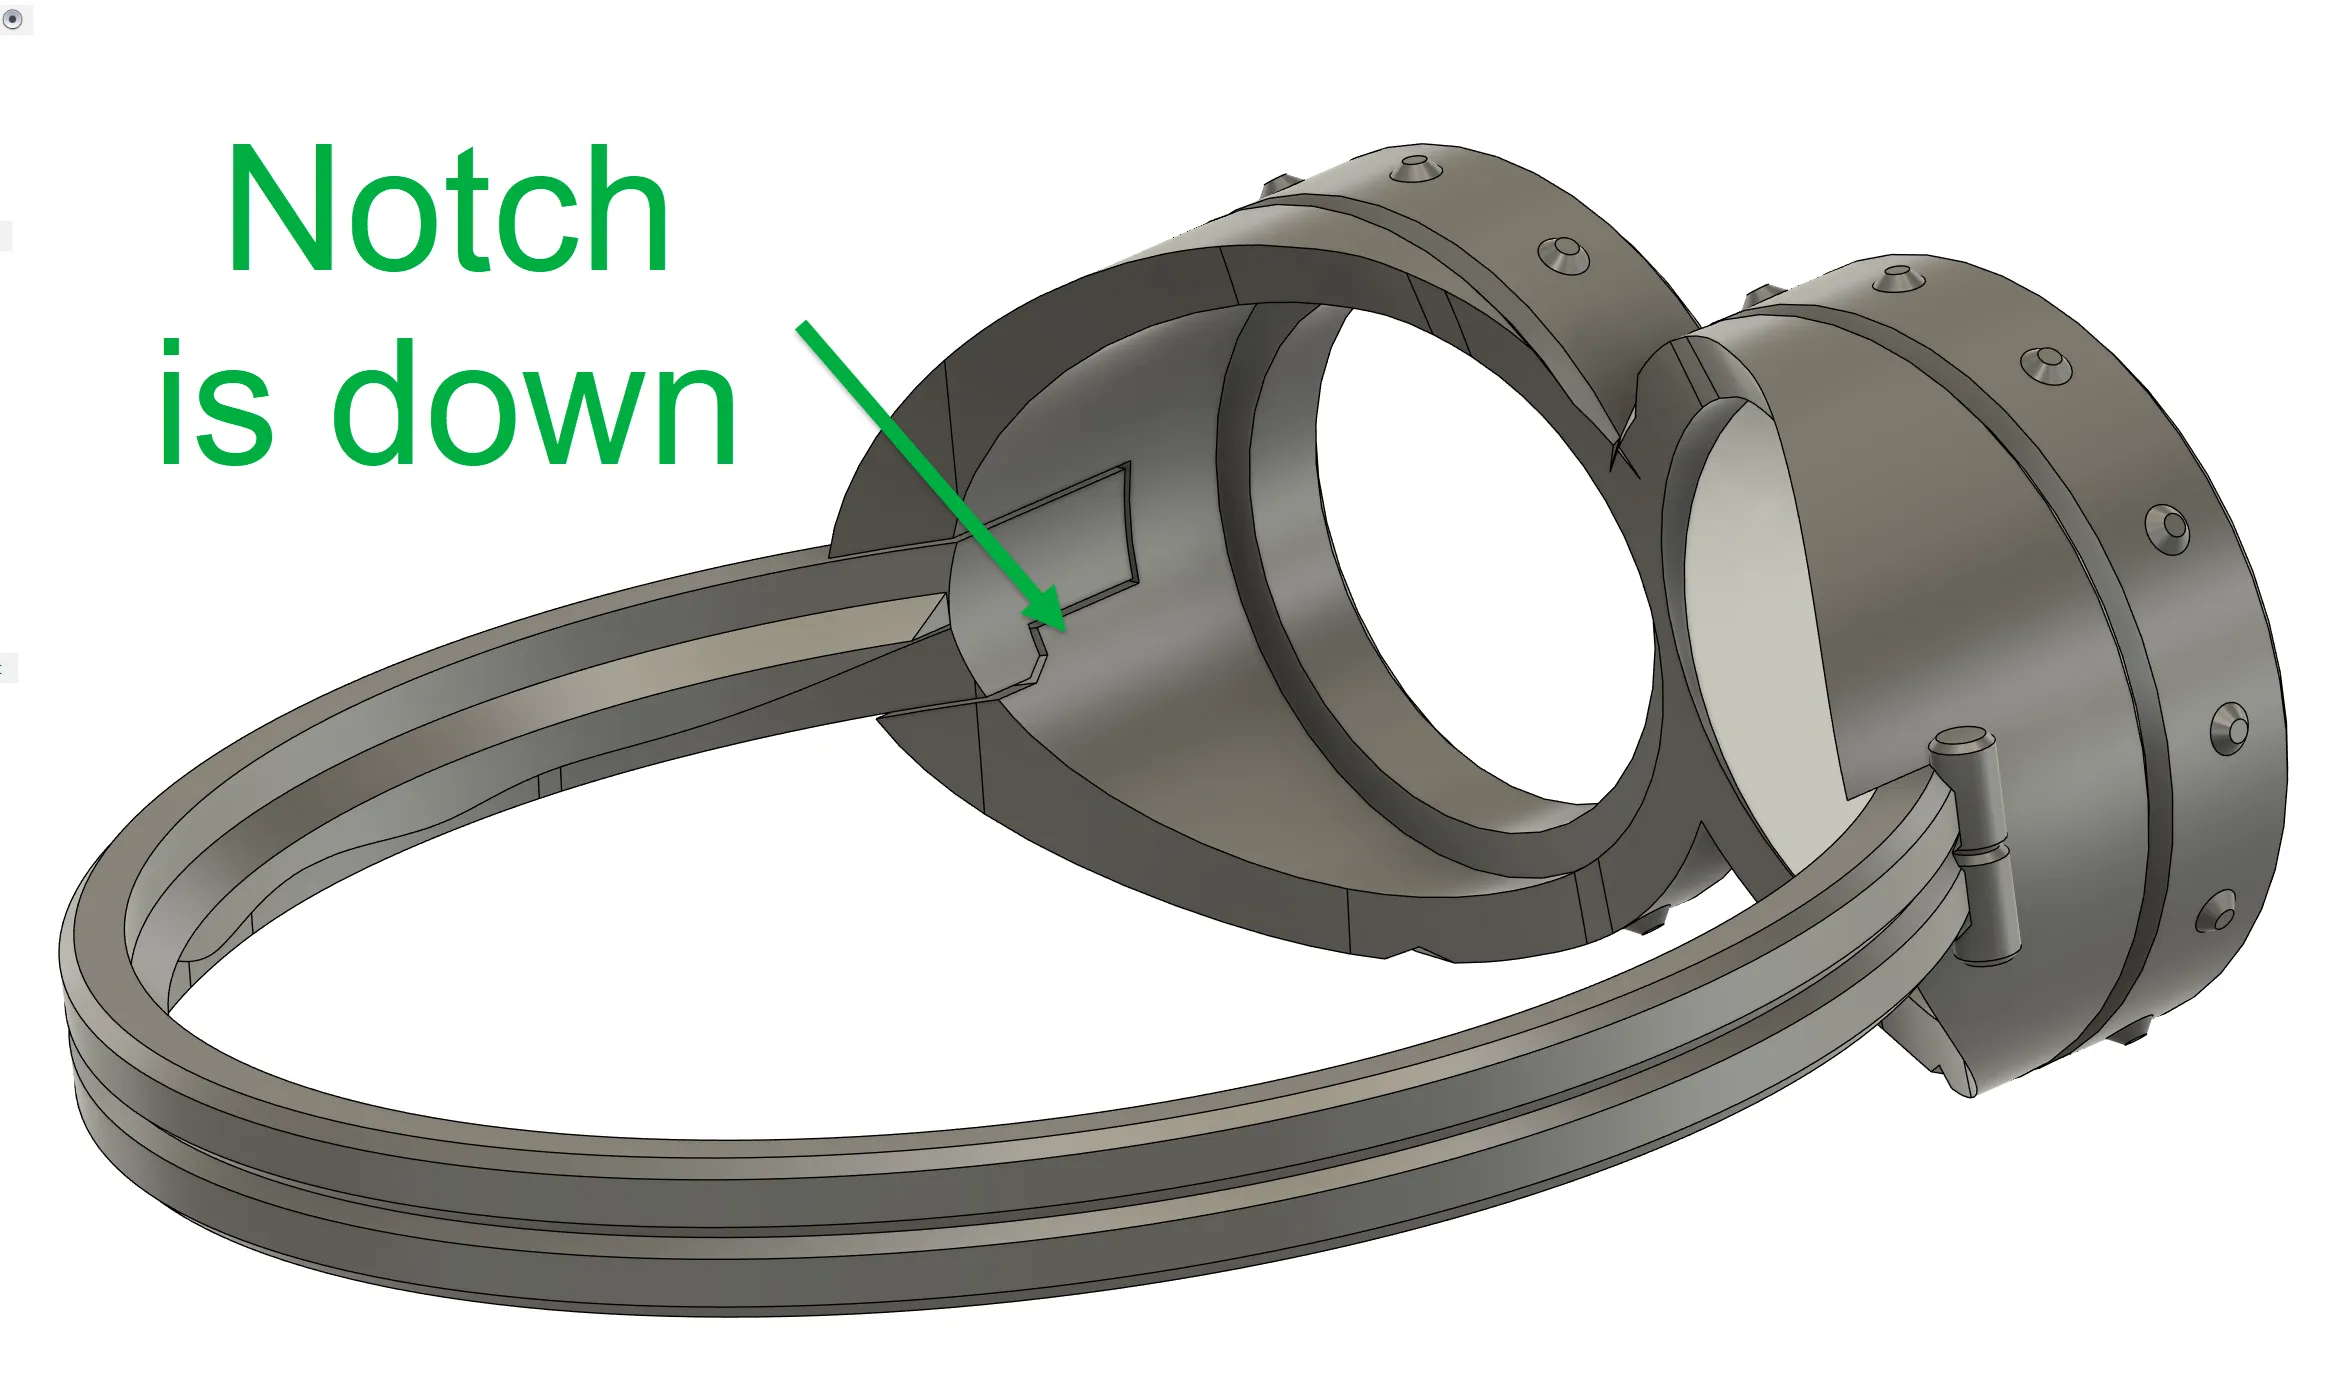
If you are using the LEDs in the goggles then they push fit onto the head band. If not then you will need to add a bit of glue to the ends. Note in both cases that there is a notch in the band and that should match the goggles and face toward the floor:
As always leave comments, if you hit an issue DM me or comment below so that I can help and make the profile and instructions clearer.
Enjoy!
Alternative Bottoms
The hole for the tealight is 38.1mm at the top and 37.1mm at the bottom, griping the light as you push it in.
Off the plate I've included versions of the bottom to accommodate 36mm - 39mm candles at 0.5mm increments.
Alternatively you can have analogue control by adjusting the XY size of the TeaLightEnlarger (Untick uniform scale first!):
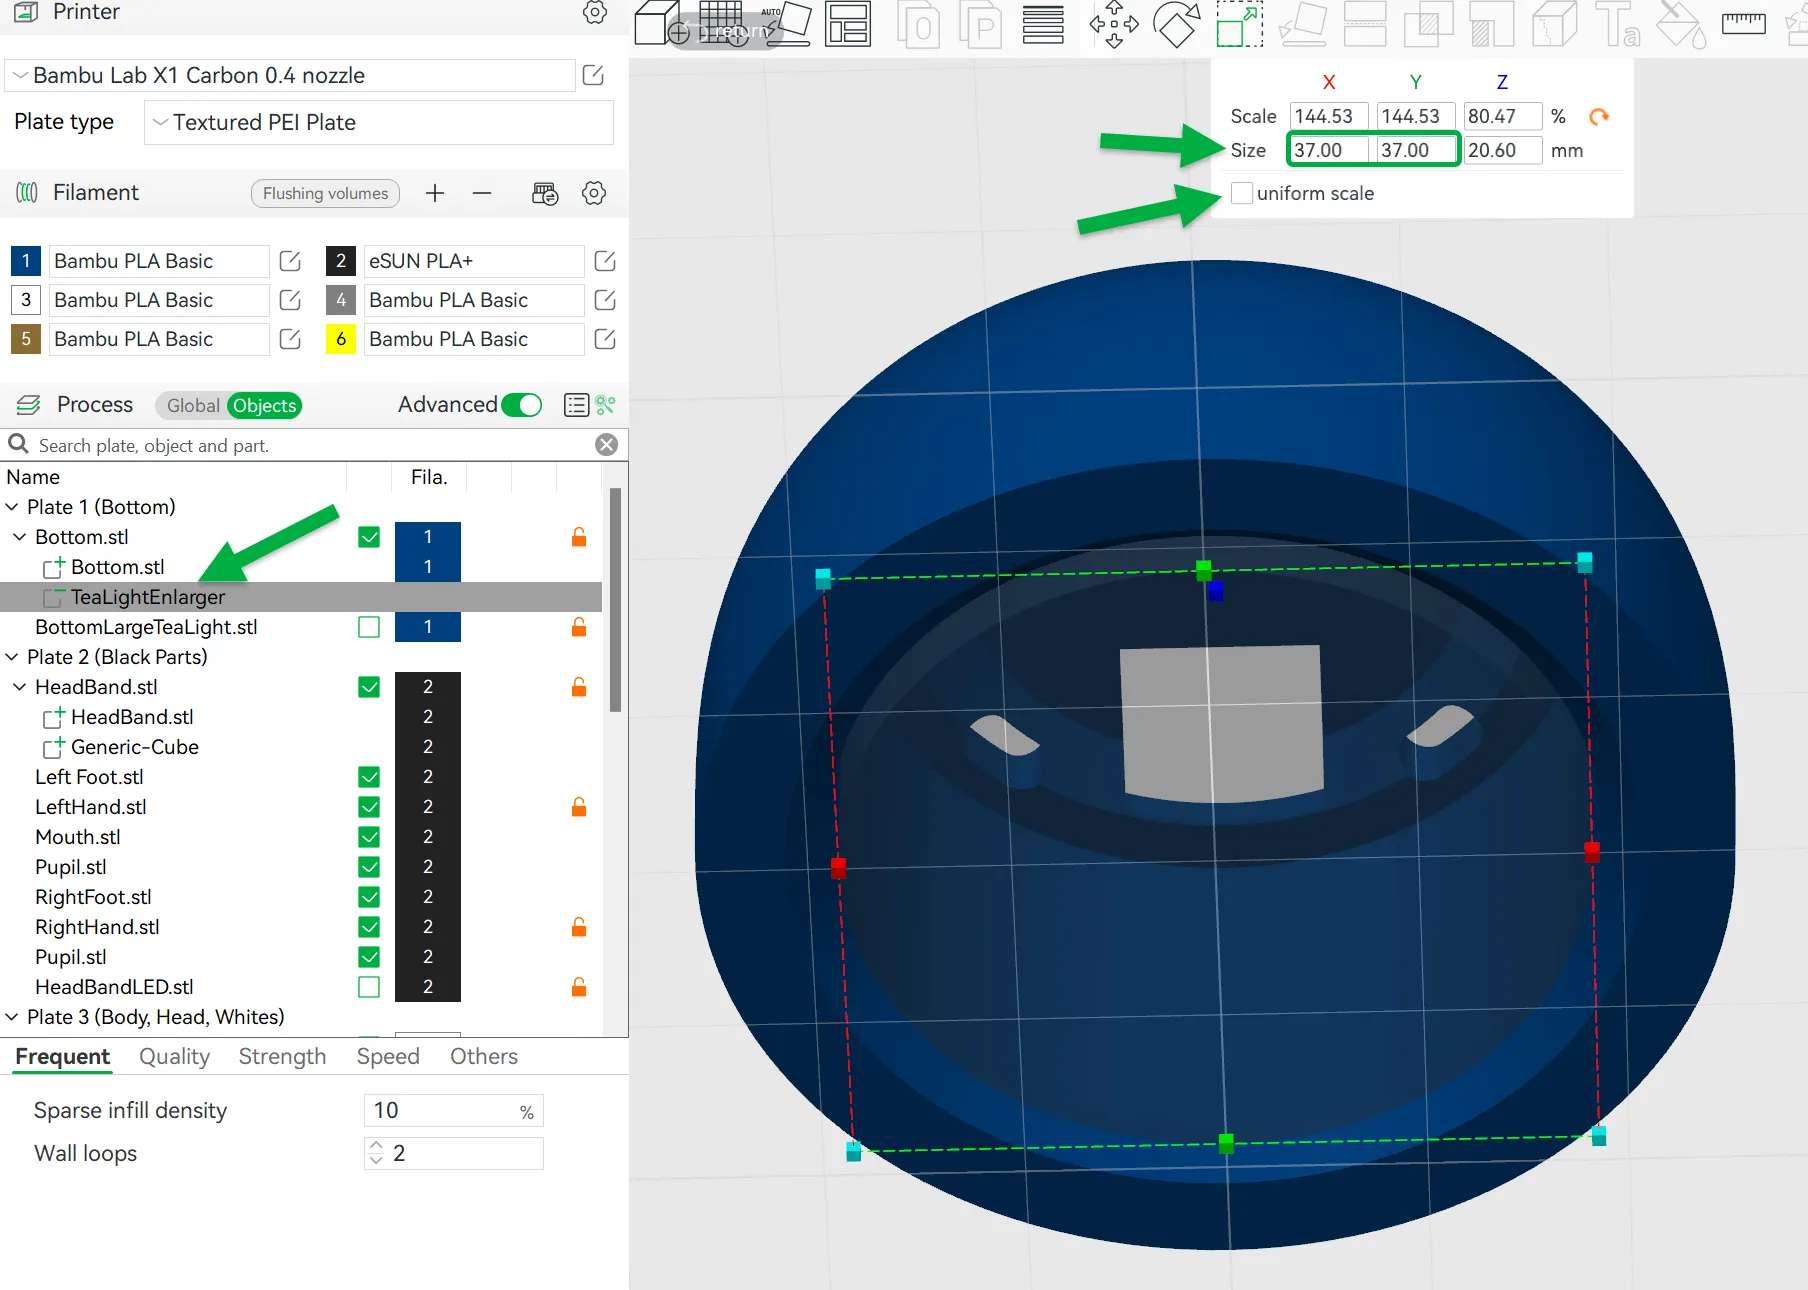
If you go larger than 39mm you will need to adjust the height and vertical position too to avoid cutting through the curved base, so check in sliced view first.
License

You shall not share, sub-license, sell, rent, host, transfer, or distribute in any way the digital or 3D printed versions of this object, nor any other derivative work of this object in its digital or physical format (including - but not limited to - remixes of this object, and hosting on other digital platforms). The objects may not be used without permission in any way whatsoever in which you charge money, or collect fees.


Comment & Rating (137)