
BitAxe 52Pi ICE-Tower 52Pi cooler mount
Print Profile(1)

Bill of Materials


- GeeekPi 52pi ice-tower x 1: https://www.amazon.nl/dp/B0CJM93Y7C?ref=nosim&tag=basthout-21
- Noctua NF-A4x20 5v PWM x 1: https://www.amazon.nl/dp/B071FNHVXN?ref=nosim&tag=basthout-21
- Arctic MX-6 Thermal paste x 1: https://www.amazon.nl/dp/B09VDL3CW6?ref=nosim&tag=basthout-21
Description
Boost Me (for free)
I'm constantly making more functional parts. Designing, refining and giving you a good quality print takes a lot of time. Please consider giving me a boost for the effort.
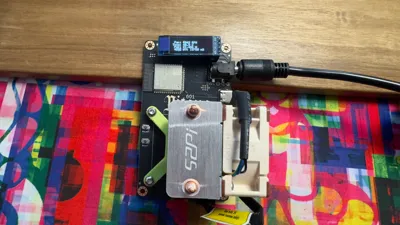
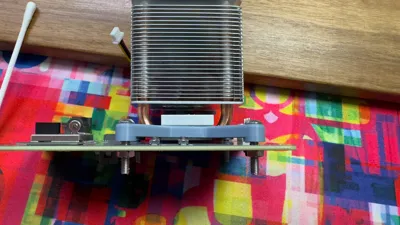
I have a BitAxe Gamma running and the downside is that these can get quite hot with the stock cooler and fan. I got numbers running up to 65-70 degrees celsius without overclocking it. I was limited to 595MHz by 1.15 volt.
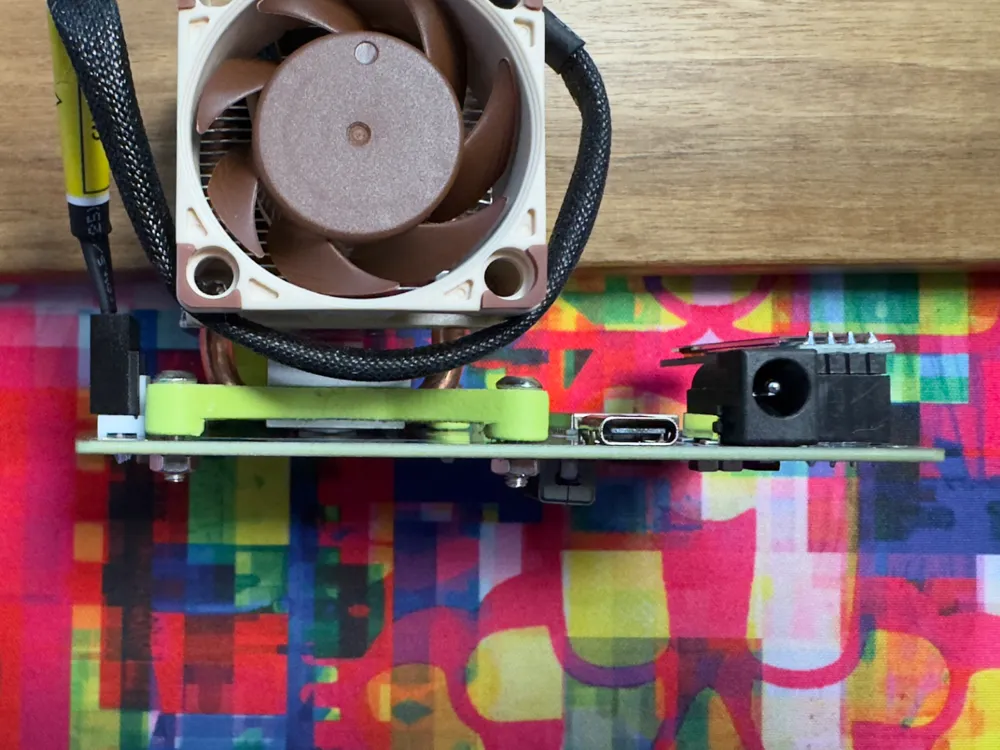
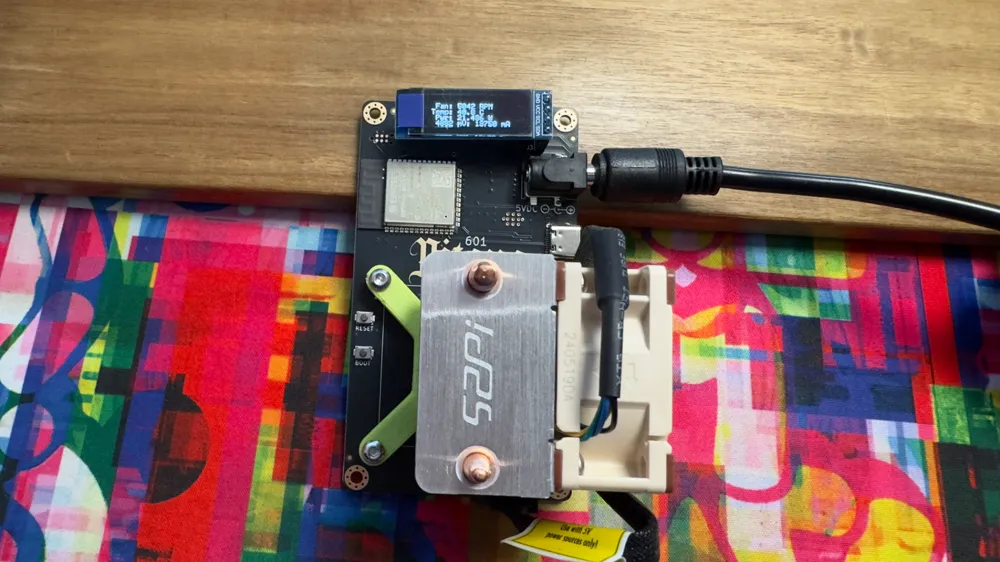
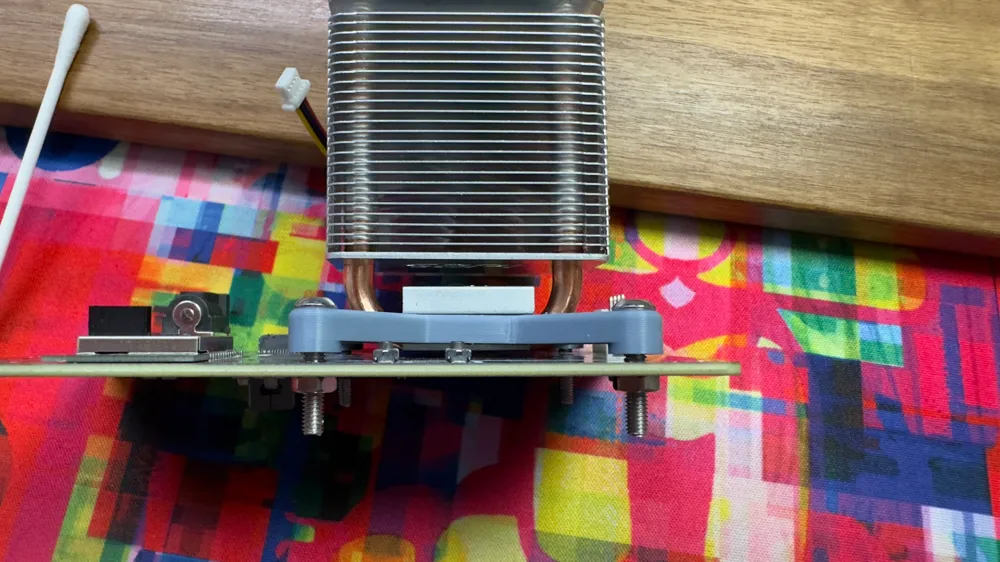
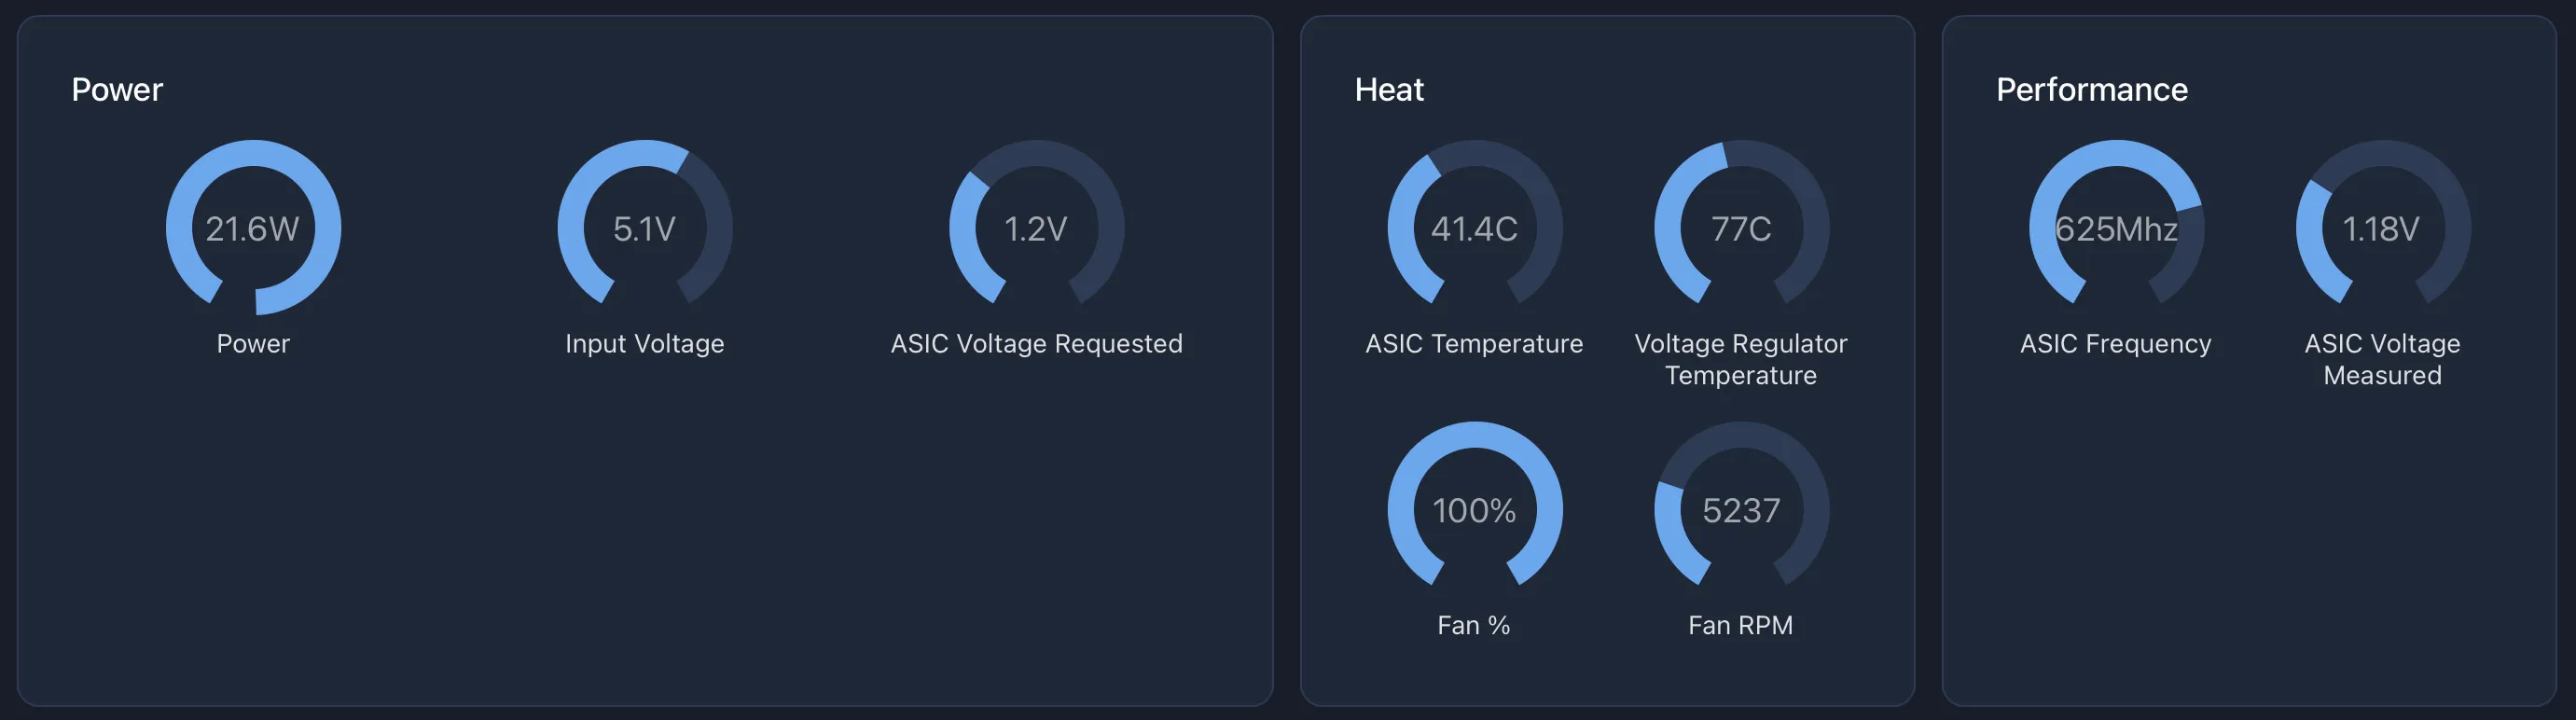
After the upgrade I'm now running between 40-45 degrees celsius on 625MHz at 1.20 volt:
External parts required:
Please support me with the affiliate link:
- GeeekPi 52pi ice-tower: https://www.amazon.nl/dp/B0CJM93Y7C?ref=nosim&tag=basthout-21
- Noctua NF-A4x20 5v PWM: https://www.amazon.nl/dp/B071FNHVXN?ref=nosim&tag=basthout-21
- Thermalpaste of your choosing, I used Arctic MX-6 Thermal paste: https://www.amazon.nl/dp/B09VDL3CW6?ref=nosim&tag=basthout-21
- 4x m3*10 screws and nuts.
Important:
- make sure to use the 5v PWM fan version! do not use the 12 or 24v as it will fail.
- There's also a NF-A4x10 on the market, do not use it. The air pressure will be too low.
- If you replace the cooler, you create an airgap between the cooler and the chip. Always replace the conductive thermalpaste to ensure proper adhesion.
- DO NOT USE PLA!
FIlament choice!
If the chip runs hot, then the heatsink can easily run up to 70 degrees celsius. This will cause the PLA to become weak and cause the cooling tower to shift, causing more problems.
I used PLA only for prototyping. Please use PETg, ASA or PA6 for this print.
License



Comment & Rating (9)