
Montessori Style Numbers with box

Print Profile(3)



Bill of Materials

Description
In the series of "Montessori style" games for young children, I wanted to create this one.
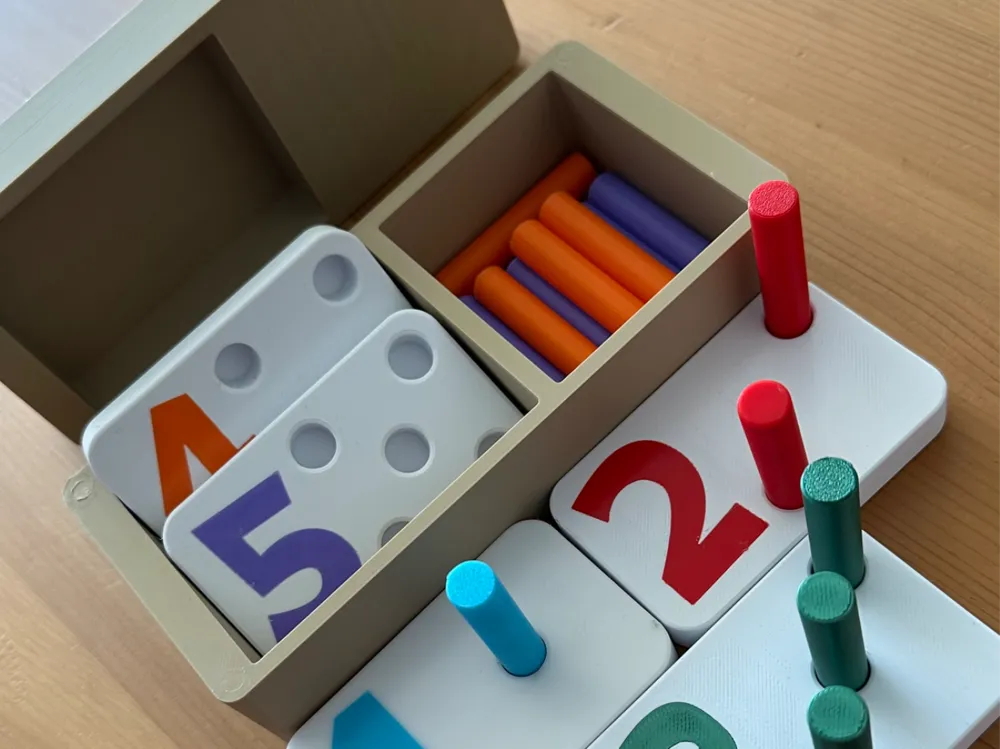
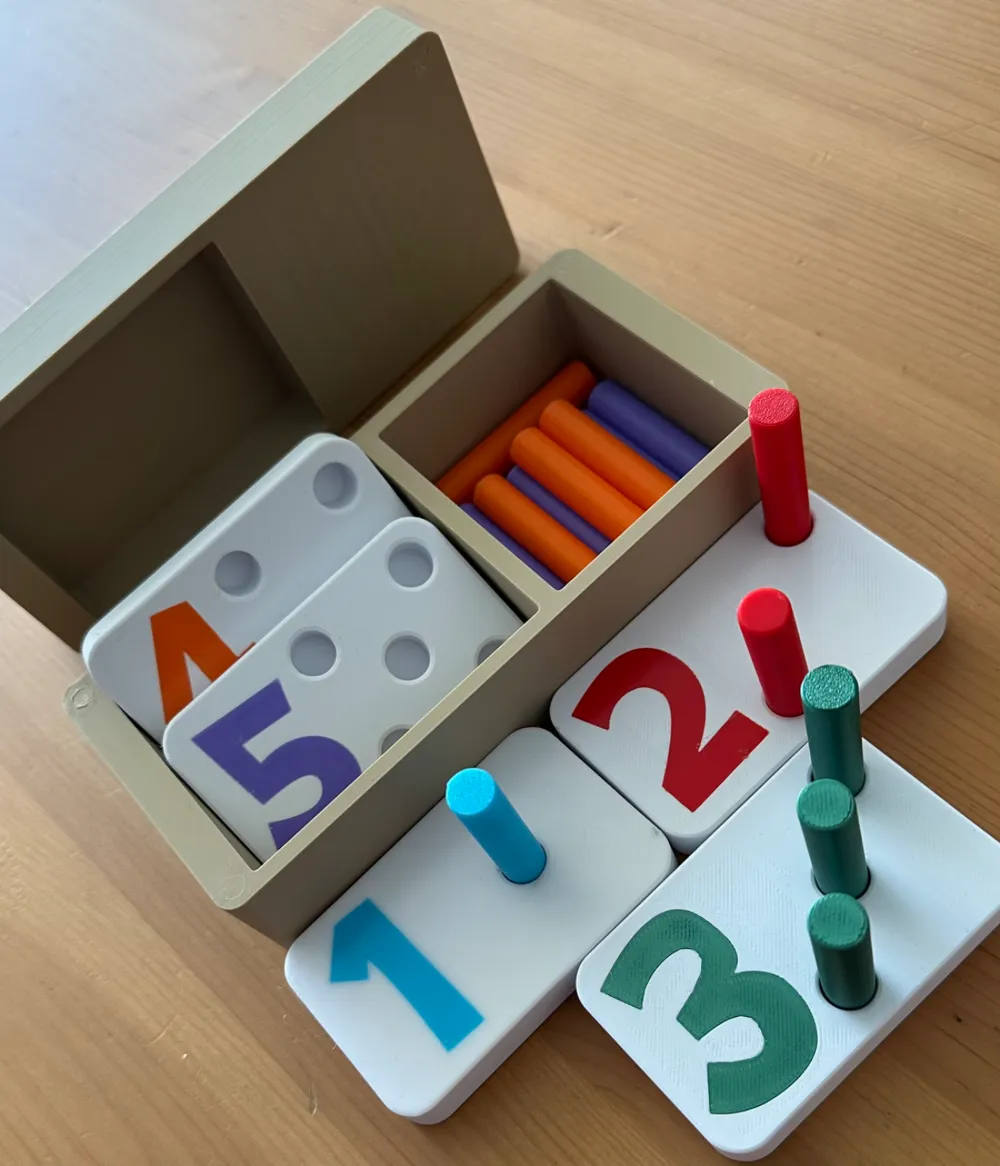
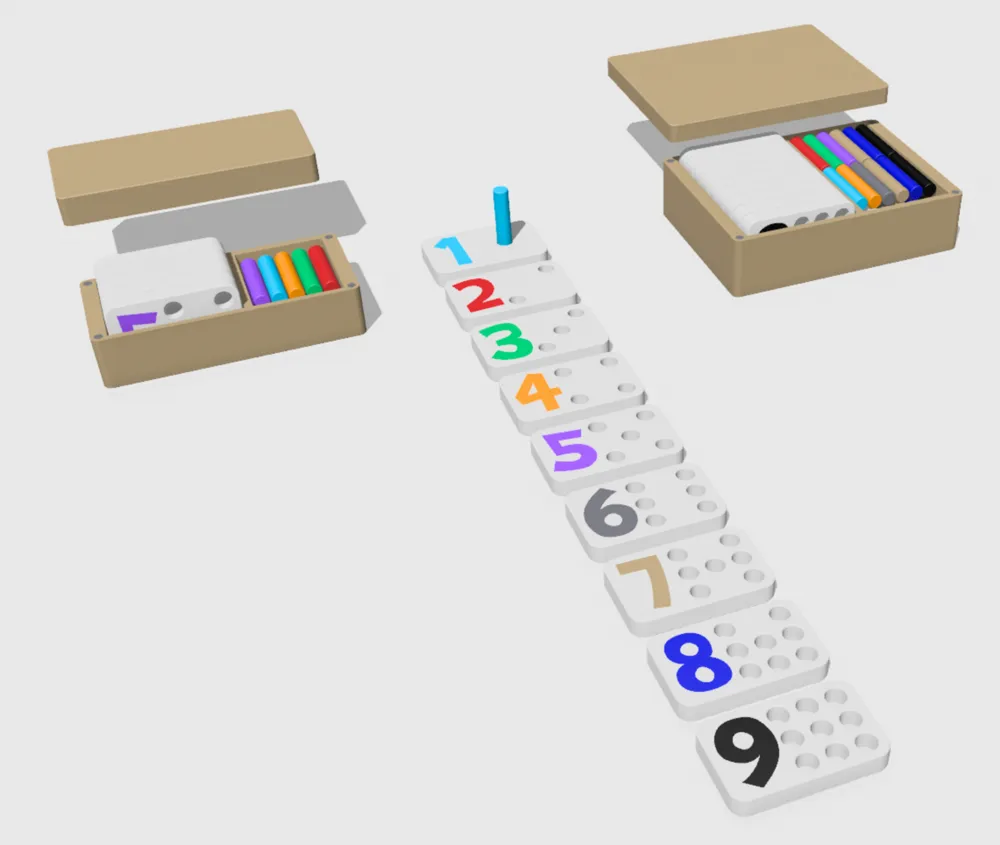
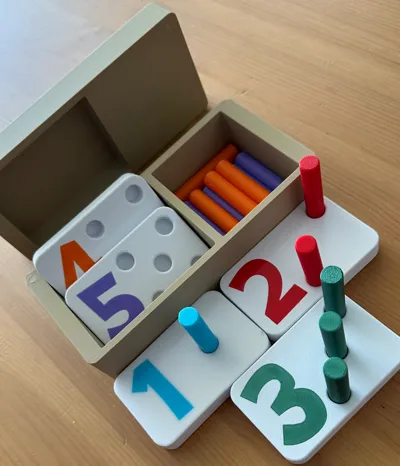
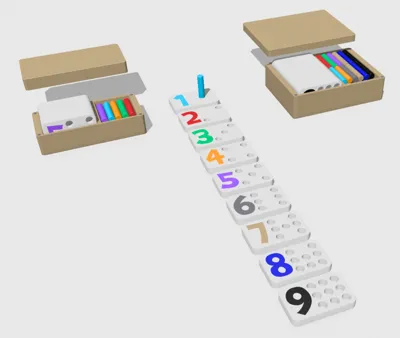
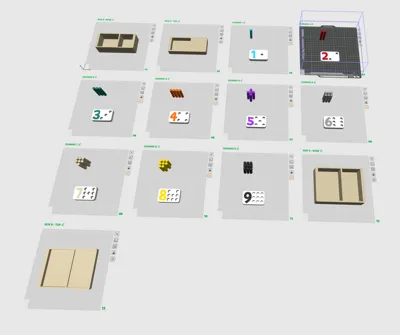
These are plates with numbers and as many holes as the value of the number.
I designed the plates so that the numbers have a different color on each plate, and to print the sticks of the same color.
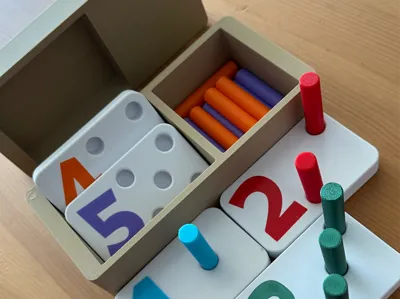
So, at first, the child can have fun putting the sticks in the holes, then in a second time can assemble the colors and finally can learn to count.
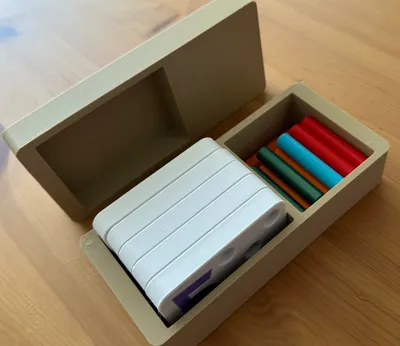
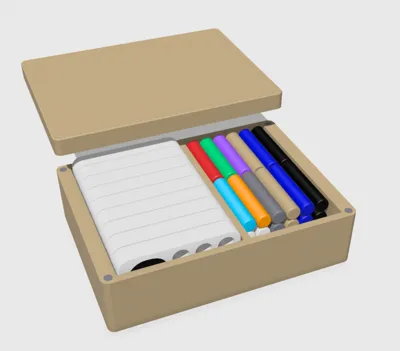
Concerning the optional storage boxes:
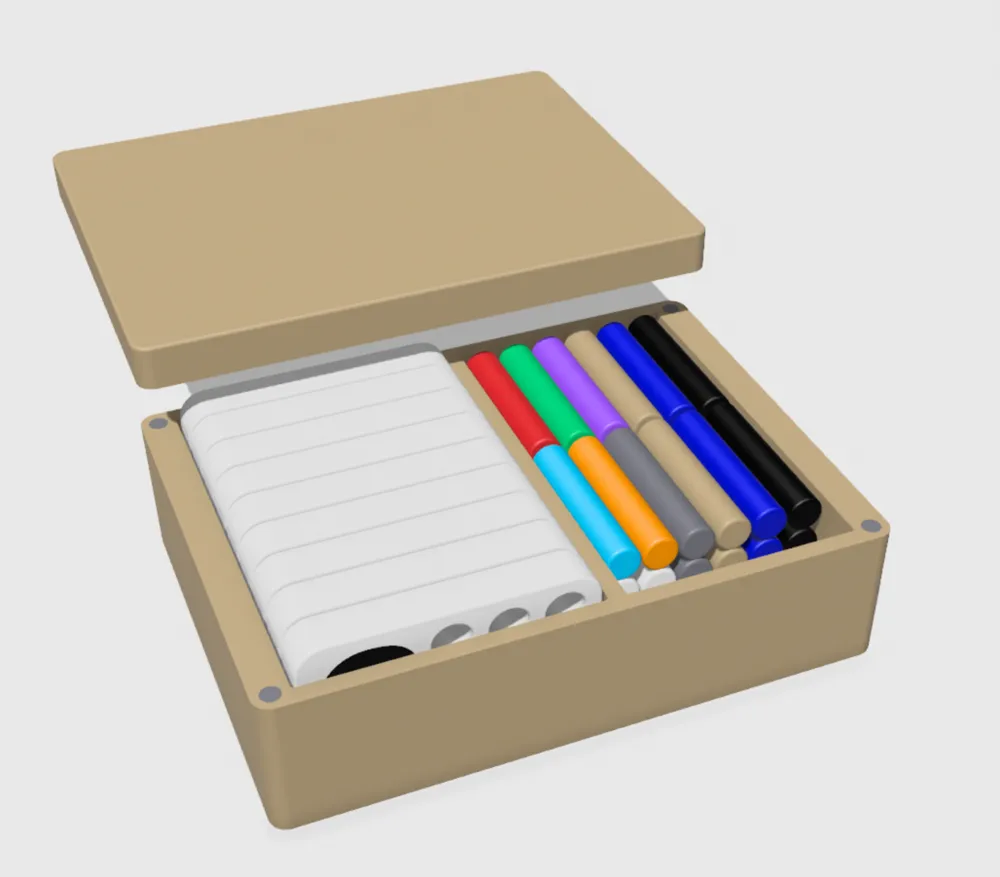
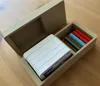
You can of course either print the plates, the sticks and store them in a small bag if you wish. You can also print one of the two boxes that I created.
There is a box to store 5 plates (from 1 to 5) and their sticks and a box to store 9 plates and their sticks.
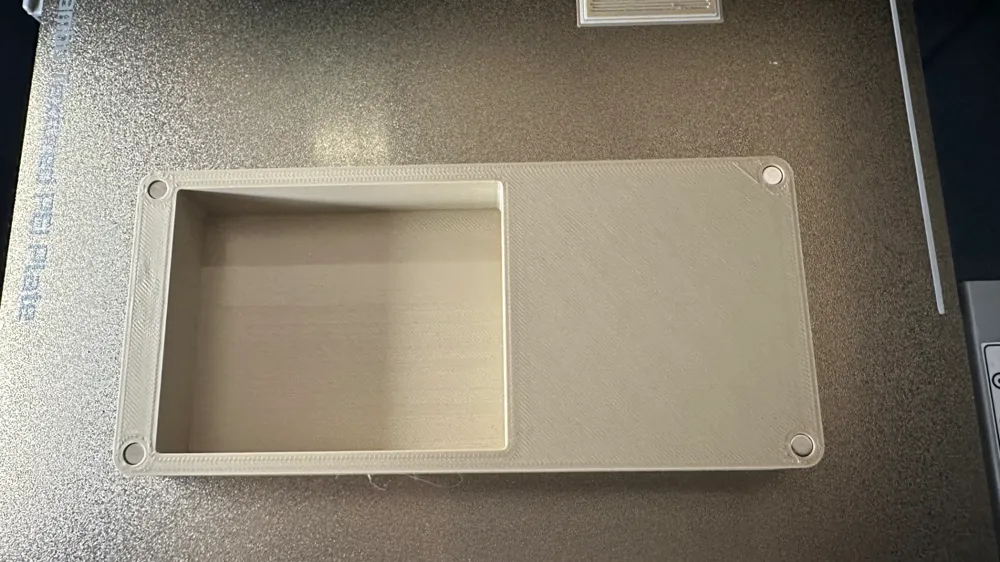
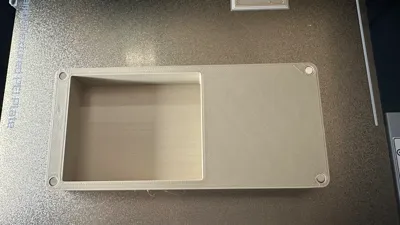
I planned these boxes so that the box and the cover will become magnetic.
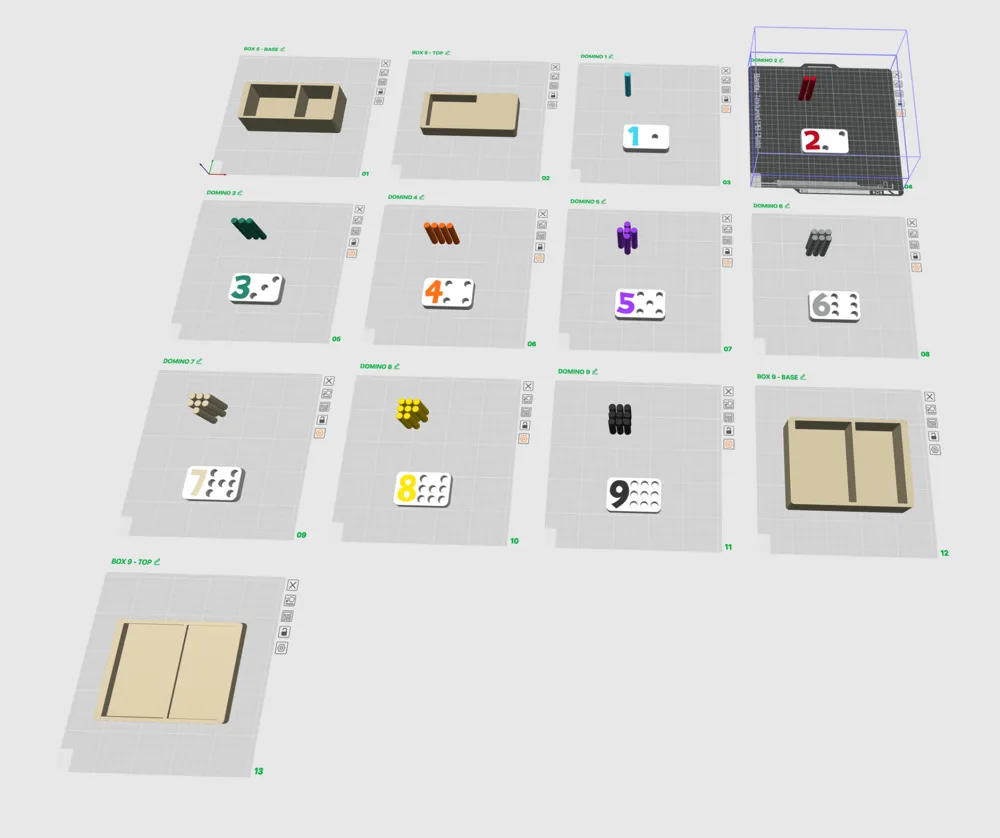
Normally, the profile I created contains the necessary pauses on the boxes and covers so that the printer stops, gives you time to put small 5mmx3mm magnets (N35) in the holes with a dab of extra strong glue such as loctite (to prevent the magnets from sticking to the extruder), then resume to print 2 layers of filament on top to hide the magnets.
So be sure to check, in your slicer, that there is a pause on the last layer where you can see the 4 holes before they are covered.
Also pay attention to the direction of your magnets. Indeed, if you print the box and the cover each in the right direction to start with the bottom, you will therefore have to reverse the direction of the magnets between one and the other so that they can attract each other and not repel each other.
I hope this design will delight your children as much as my daughter :)
Boost Me (for free)
If you want me to design another baby games, please Boost Me ;)
Membership
Want to sell high-quality 3D prints legally and stress-free? Join my Membership to get commercial rights for my designs, support my work, and help me keep creating new, well-designed models. Thanks for being part of the journey 🚀
License

You shall not share, sub-license, sell, rent, host, transfer, or distribute in any way the digital or 3D printed versions of this object, nor any other derivative work of this object in its digital or physical format (including - but not limited to - remixes of this object, and hosting on other digital platforms). The objects may not be used without permission in any way whatsoever in which you charge money, or collect fees.


Comment & Rating (176)