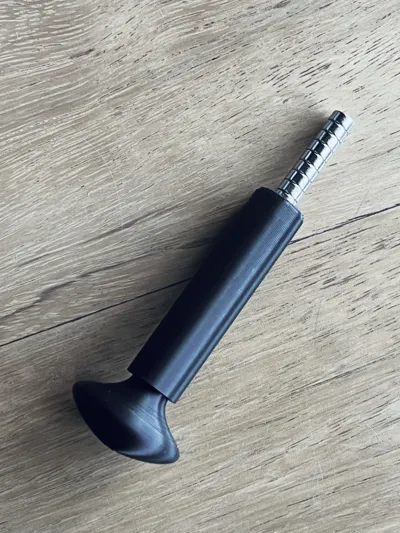
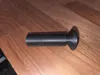
Magnet insertion Fast-Tool


Print Profile(4)


Description
Boost Me (for free)
I usually don’t ask for this, but I’ve noticed that many creators actively encourage it on other platforms—and it makes sense, as it helps increase visibility. So, if you can follow me, it would make difference. It’s a great way to support my work and show appreciation. For more insight subscribe my blog at: https://designrepcom.com/ This design is freely available for the community, but if you enjoy my work and would like to show your support, you can boost this project. Thanks!
Introduction
This tool is available for diameters of 6 and 8, which are the most common diameters for UMSS. Please note that it is necessary to check the desired orientation for the magnet before placing the magnet, which will adhere to the tool. It should fit under pressure, but you can also use glue. However, remember that if you use glue, it will not be possible to remove the magnet, and as a result, you will not be able to reverse the polarity.

Instructions on how to use
As mentioned in the previous chapter, it will be necessary to choose the desired orientation. After that, it is simply a matter of loading the tool with the number of magnets you deem appropriate and using the tool.
Note: after placing the magnet, do not pull the tool back, but rather slide it to the side, as this is much easier; another useful tip is that there should only be a single magnet visible at the tip of the tool.

This will be made available in more diameter for now:
- Fast Tool for magnets of 6mm
- Fast Tool for magnets of 8mm
Support the designer:
This design is free for the benefit of the community, but If you like my designs and want to contribute, you can make a donation to buymeacoffee or paypal, that will be greatly appreciated.
Change Log
- (26-07-2024) - Initial release
- (25-08-2024) - Added the 5x3 and 10x3 mm size
Curious About My Tools? Check This Out!
For those of you who often ask about the tools I use to bring ideas to life, this article, The Journey From Idea To Object (Part I), offers some insights into the initial stages. It highlights the use of various tools, including software like Autodesk Fusion for CAD design, Blender for render and Bambu Studio for 3D printing preparation, and other... So, if you're curious about the software and hardware too, that I've incorporate in my workflow, take a look at the link for more details!" – Visit https://designrepcom.com/ for much more.
License
You shall not share, sub-license, sell, rent, host, transfer, or distribute in any way the digital or 3D printed versions of this object, nor any other derivative work of this object in its digital or physical format (including - but not limited to - remixes of this object, and hosting on other digital platforms). The objects may not be used without permission in any way whatsoever in which you charge money, or collect fees.
Comment & Rating (349)