Search models, users, collections, and posts
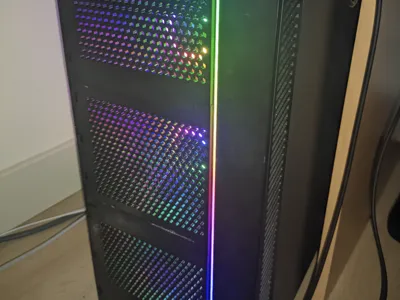
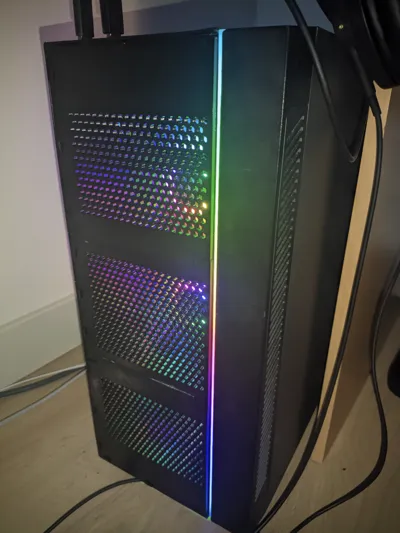
Front panel replacement for Deepcool Matrexx 55
IP Report


Print Profile(1)

0.2mm layer, 3 walls, 15% infill
Designer
9.5 h
3 plates
Open in Bambu Studio
Boost
3
7
4
0
25
3
Released
Description
So, since the original Deepcool Matrexx 55 which I bought a while back had very little airflow coming from the front, I decided to remove the glass panel from the front and 3D print a better suited replacement.
You will need glue to assemble each parts together, and then some more glue or adhesive to stick it to the where the glass panel was originally.
Be careful while removing the glass front panel, it's glued in and easily breaks especially in the corners, you don't want to send glass shards everywhere.
License
This user content is licensed under a
Creative Commons Attribution-Noncommercial-Share Alike
Comment & Rating (4)