
Milwaukee M18 Table Saw Insert (2736-20/M18FTS210)
Print Profile(3)


Bill of Materials
- M4_13MM_Button_Head_Screw x 1:
- M5_Grub_Screw x 4:
Description
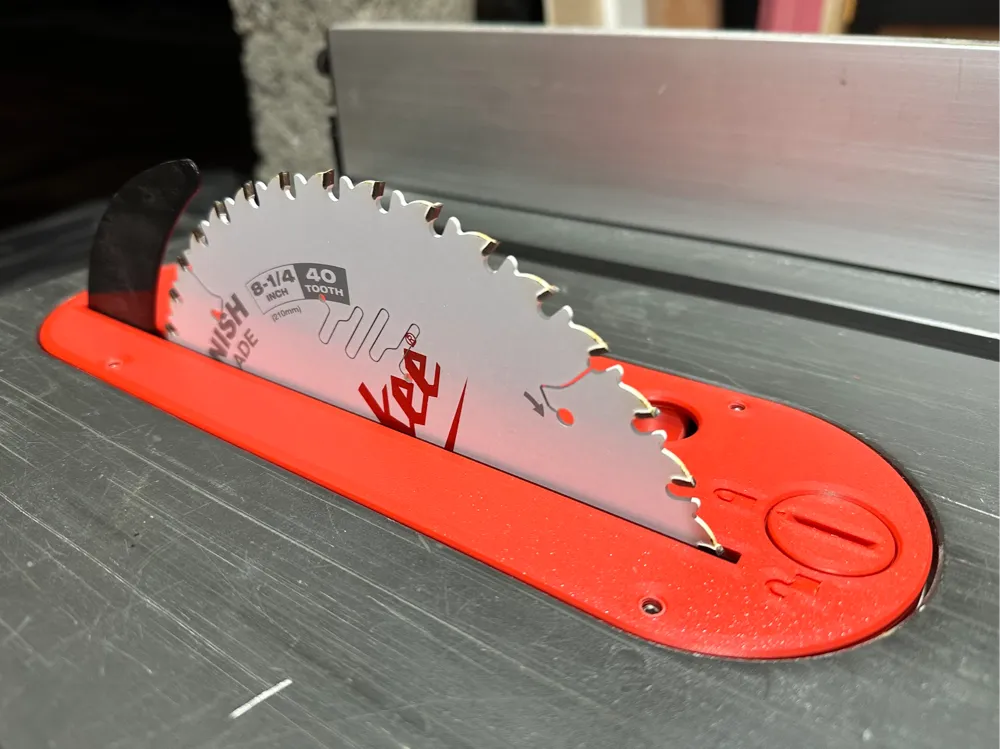
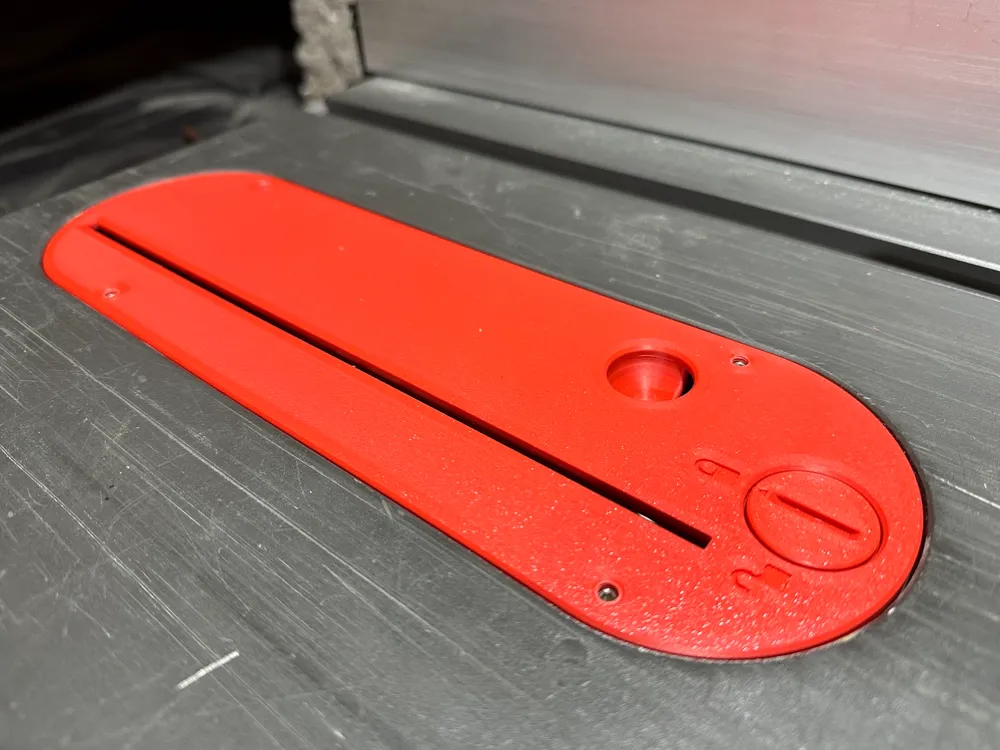
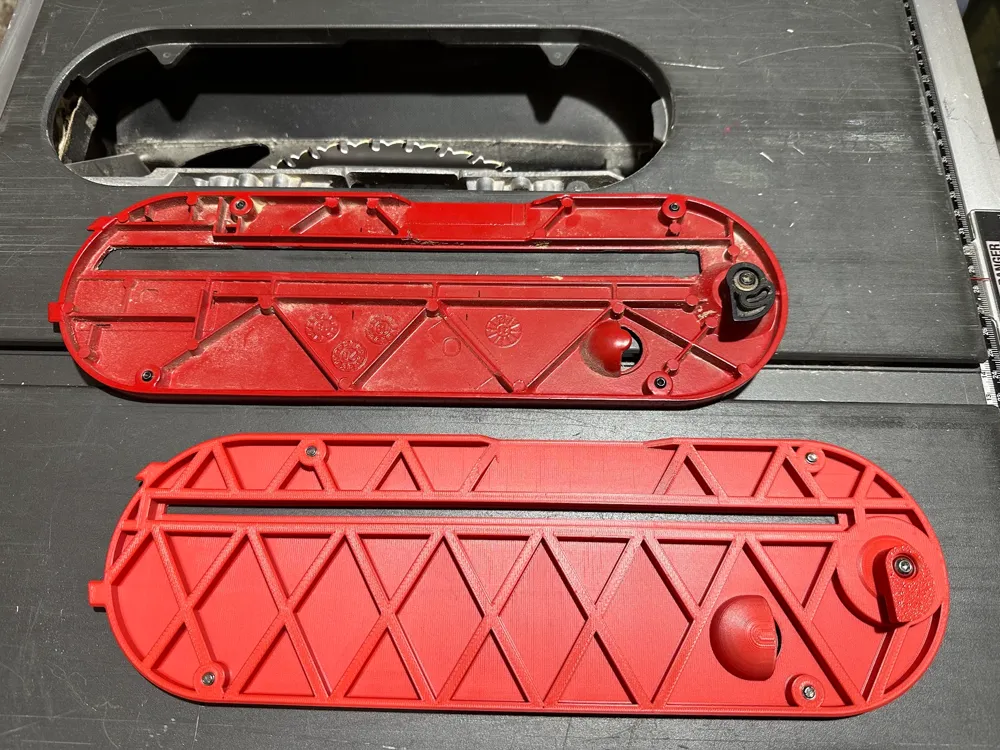
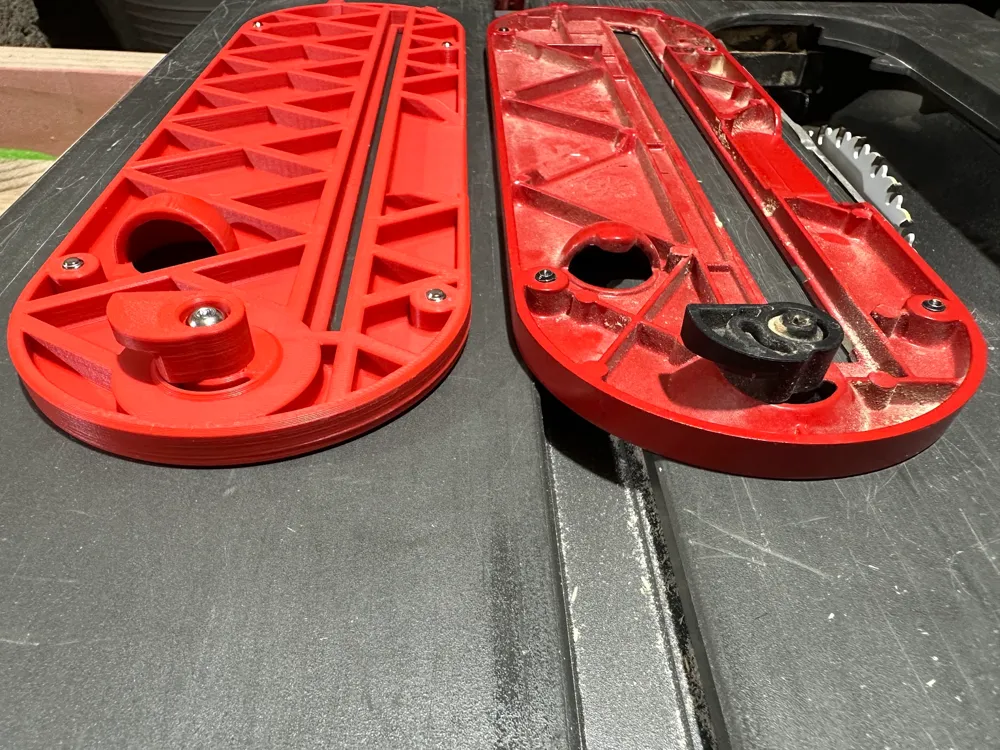
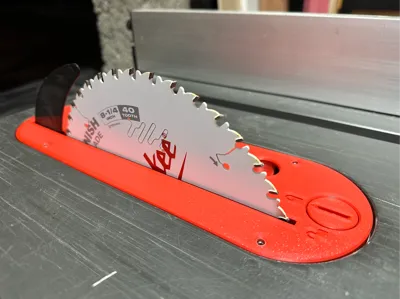
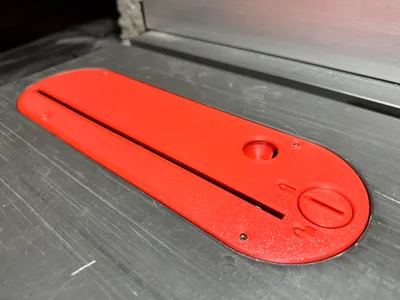
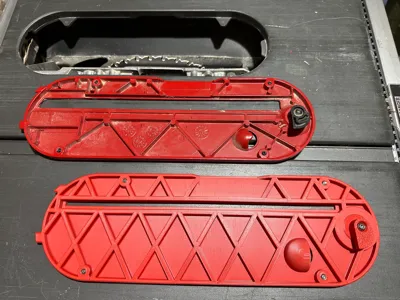
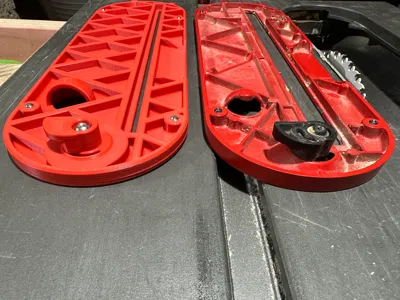
Replacement blade insert for the Milwaukee M18 8 ¼" (210mm) table saw. Model 2736-20 in US markets, and M18FTS210 in Australian.
Can be printed diagonally in one piece on X series, P series and A1 beds. Basically anything 256mm x 256mm will be fine. Double check in your slicer if you're unsure.
Printing tips:
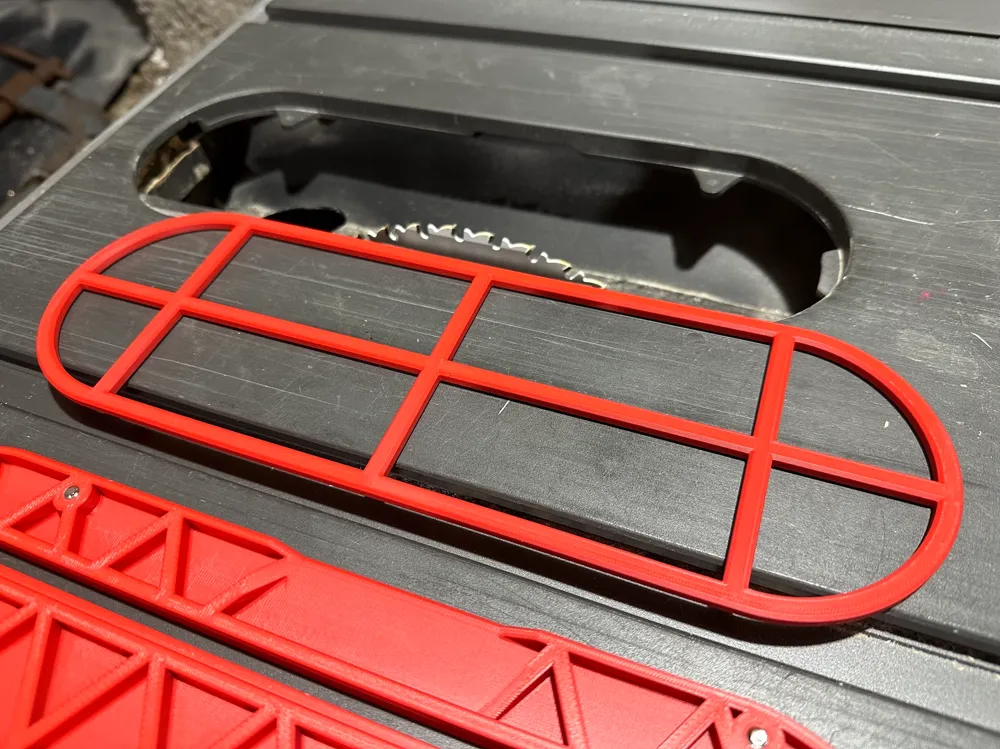
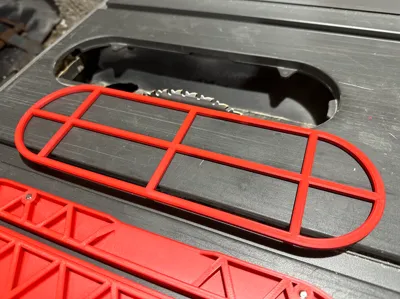
Please check your filament shrinkage before printing full insert. Test by printing the included template first, measuring dimensions (should be 300mm long x 95mm wide). You can find the template in the “Download STL/CAD files” option. Then use the scale feature in your slicer to compensate X and Y. Keep compensation for X and Y equal. Ensure you apply these scaling settings to all the parts you're printing.
Once insert is printed. Leave to fully cool down before removing from build plate to avoid warping or bending the part.
Hardware required:
1x M4 13mm button head screw
4x M5 grub screws (~8mm is fine)
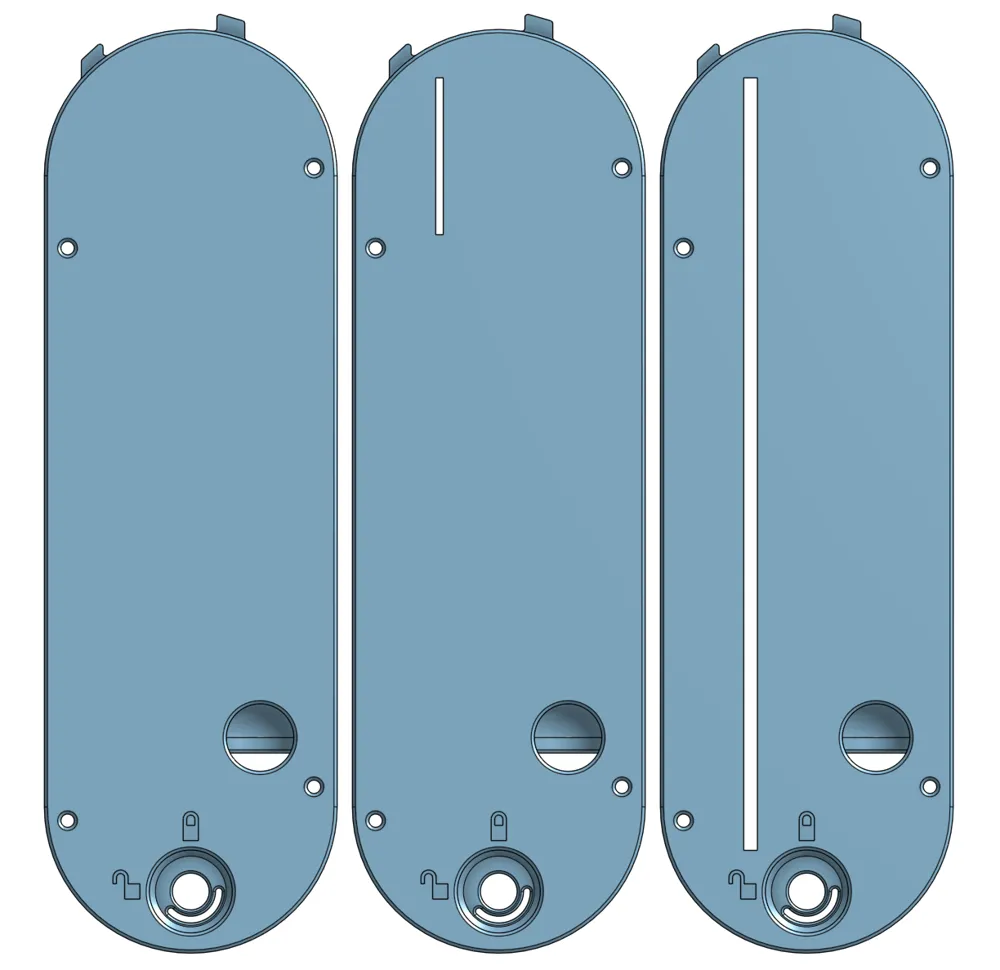
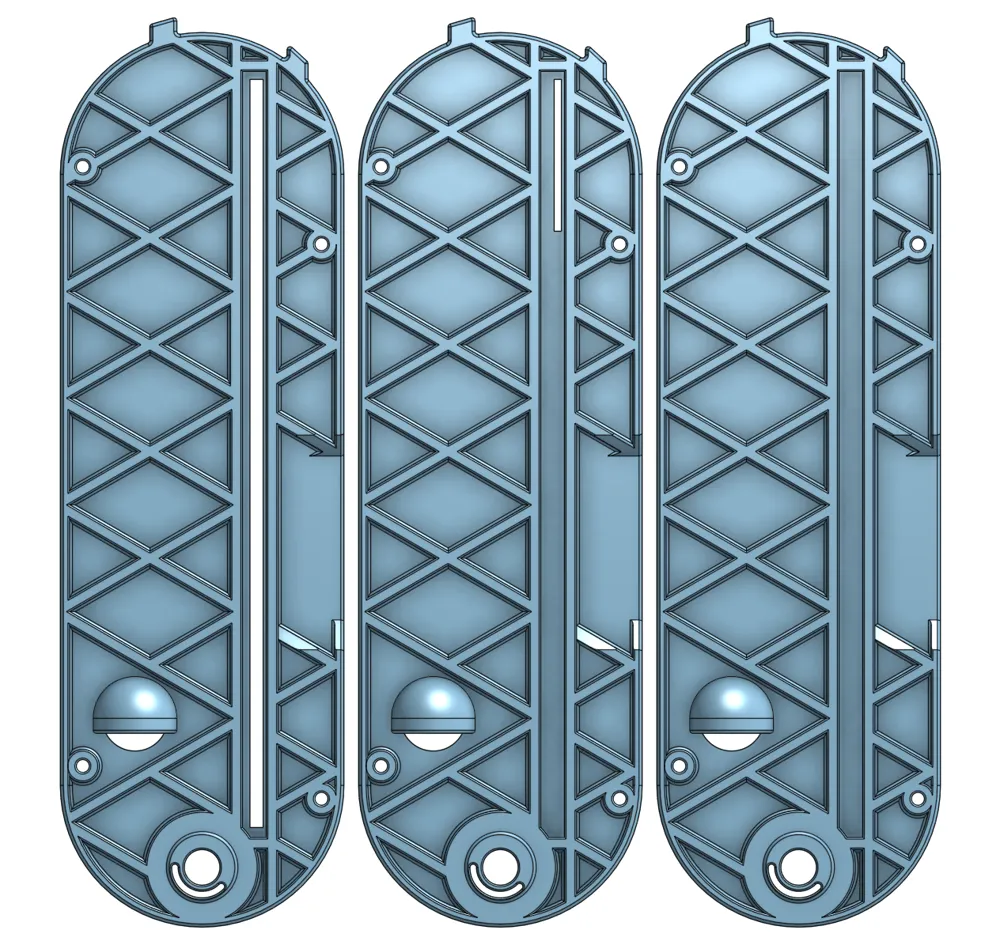
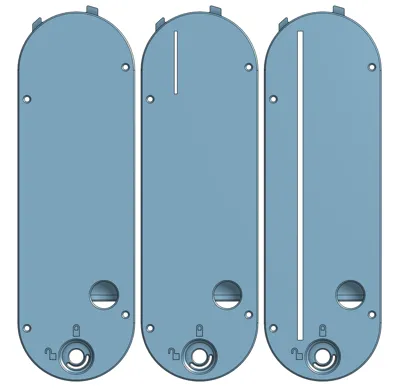
3 model options available:
| Fully precut slot (recommended) | 4.5mm precut slot. ~1mm clearance on either side of blade, when using standard Milwaukee 2.1mm kerf blades | 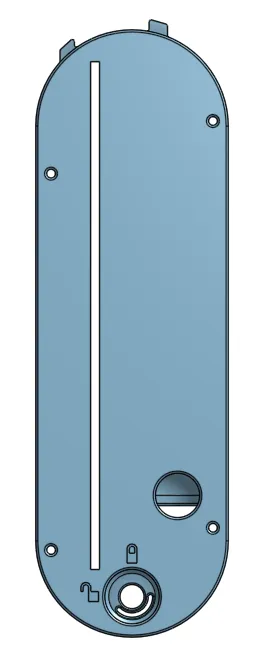 |
| Riving knife slot only | Remove riving knife first. Install the insert, then slowly raise blade to cut zero clearance slot. Reinstall riving knife via precut slot afterwards | 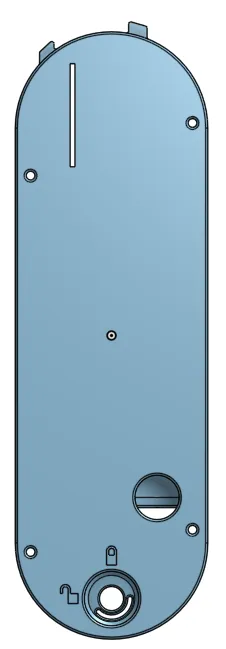 |
| Completely blank insert | If you don't use a riving knife, you can use this blank insert to cut a zero clearance slot by raising the blade | 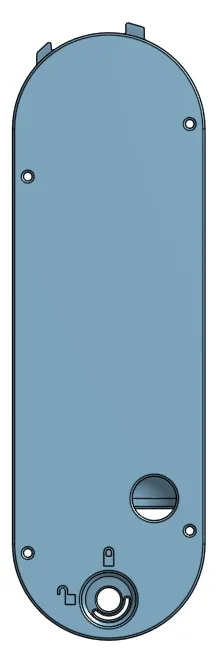 |
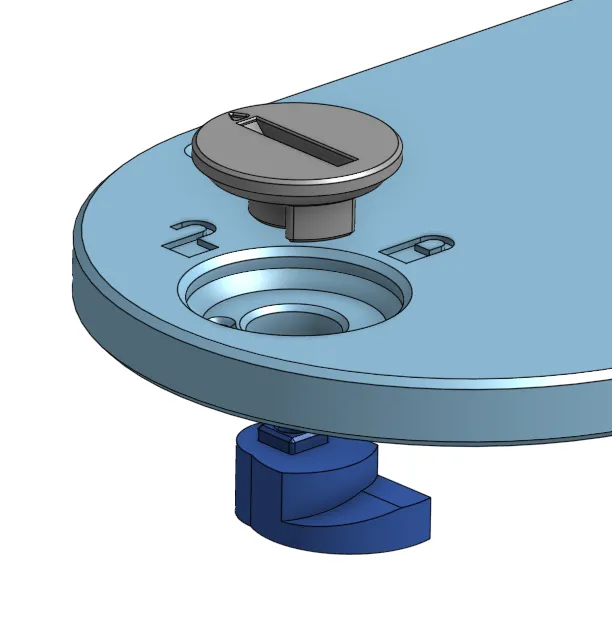
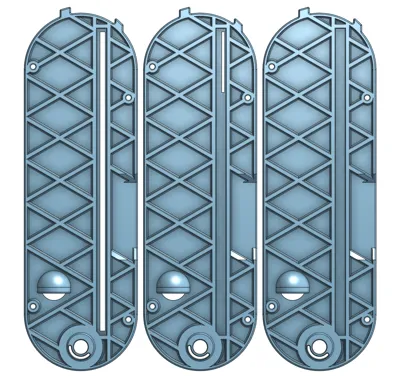
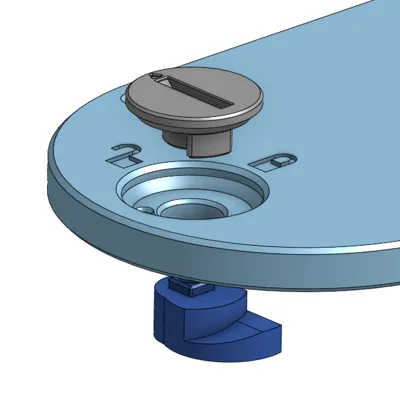
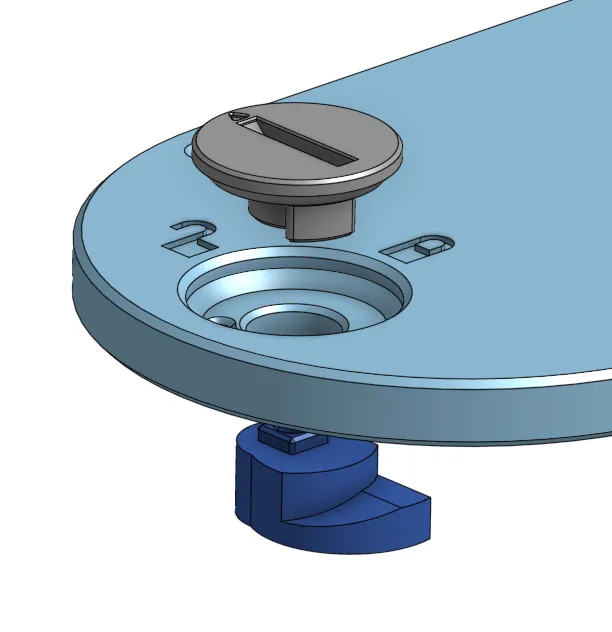
Locking cam assembly:
Ensure your assembly matches the image below. Keep in mind the direction the parts are facing.
License

You shall not share, sub-license, sell, rent, host, transfer, or distribute in any way the digital or 3D printed versions of this object, nor any other derivative work of this object in its digital or physical format (including - but not limited to - remixes of this object, and hosting on other digital platforms). The objects may not be used without permission in any way whatsoever in which you charge money, or collect fees.


Comment & Rating (21)