
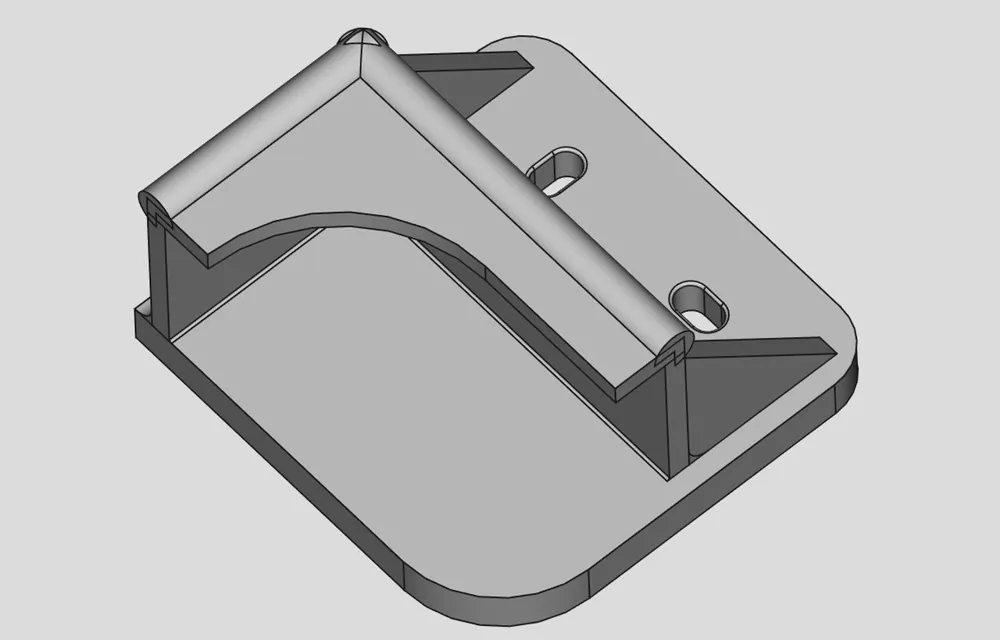
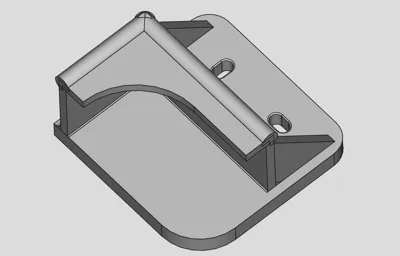
Mounting brackets for PV module / Montagehalter

Print Profile(2)

Description
German | English |
|
|
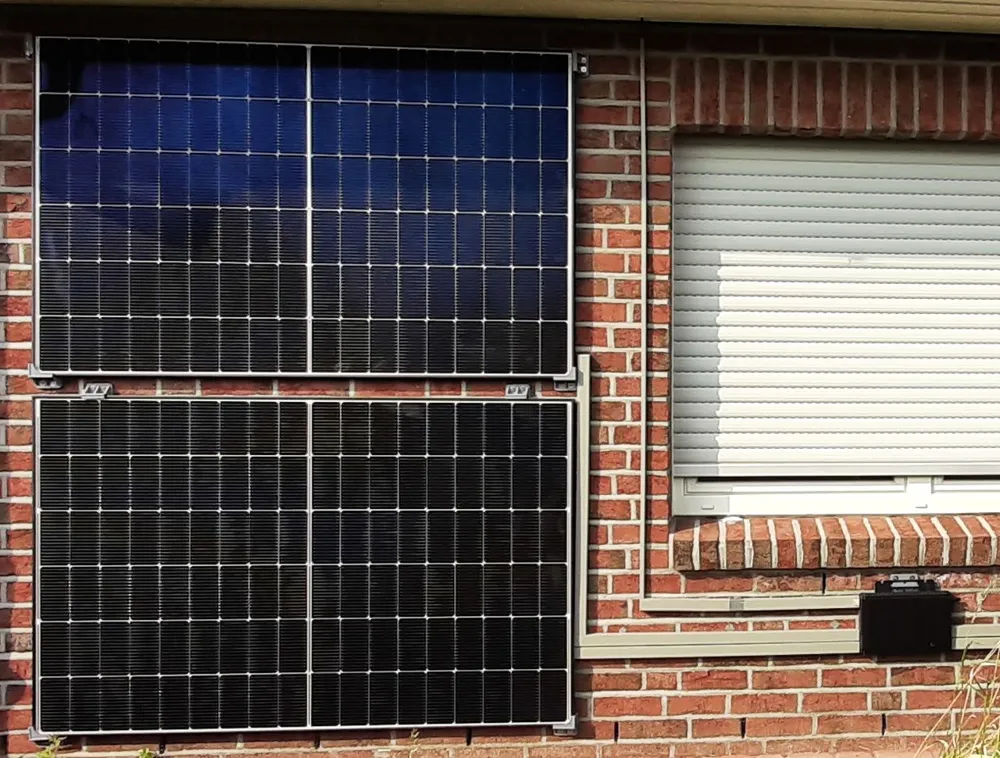
If the roof is not an option for mounting photovoltaic modules, the wall remains. Installation is considerably easier than on the roof, particularly when no elevation is required
- Vertical mounting could also be referred to as the “winter variant” because it is more effective in winter than in summer
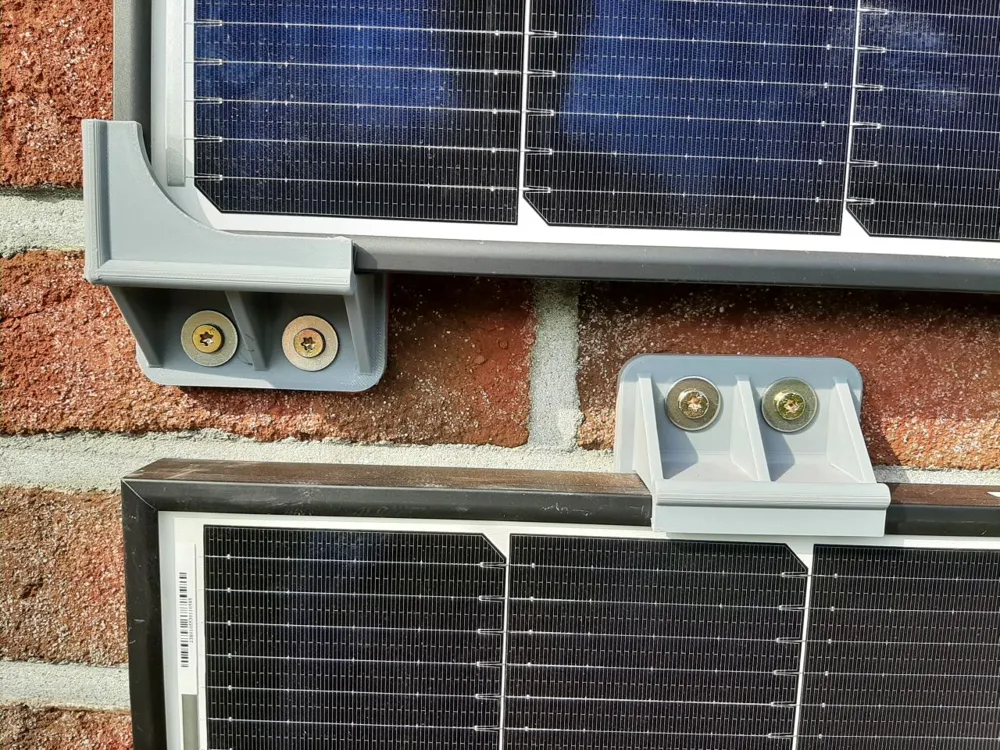
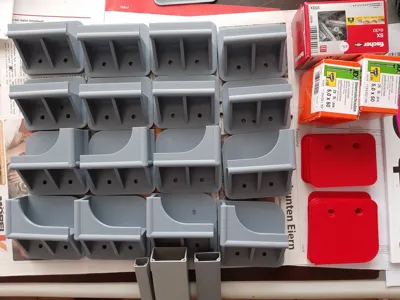
- A brick wall's surface is rarely even. For this reason, I used a flat TPU washer to distribute the force of the screw connection over the entire bracket
Without additional spacers, the brackets provide an 8mm gap to the wall. This is insufficient for plug routing. Wiring must either be completed before mounting, or the plugs must be routed out during installation
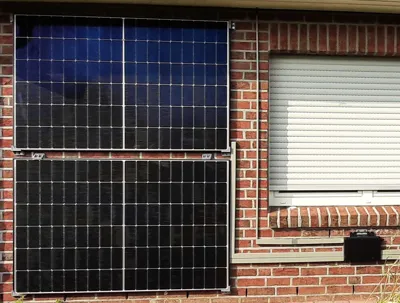
Mounting PV Modules (see also photos)
- The use of these brackets offers many options; here is a description of my approach as a non-binding suggestion:
- Start by securing a bottom corner element (drill, dowel, TPU surface, bracket, washers, screw)
- Next (with assistance, my modules weigh 24kg), temporarily position the module and mark the holes for the other corner. Then, set the module aside
- Install the second corner (leaving approximately 2mm of clearance in width – this simplifies module insertion)
- Temporarily re-insert the module and mark the positions for the upper brackets. In my setup, these were offset laterally to minimize the gap to the module above. Set the module aside once more
- Prepare for mounting the upper brackets (drill, dowel)
- Re-insert the module and hold it securely
- Install the upper brackets, remembering the TPU
- Done!
- Note: Ensure the module is inserted perfectly vertically. Tilting can cause improper loading and damage the bracket
- The upper corners can also be secured with the corner brackets, but this requires greater precision during setup and is more time-consuming
- Alternatively, using only the retaining clips is also an option
- For increased wind load, additional retaining clips could be installed
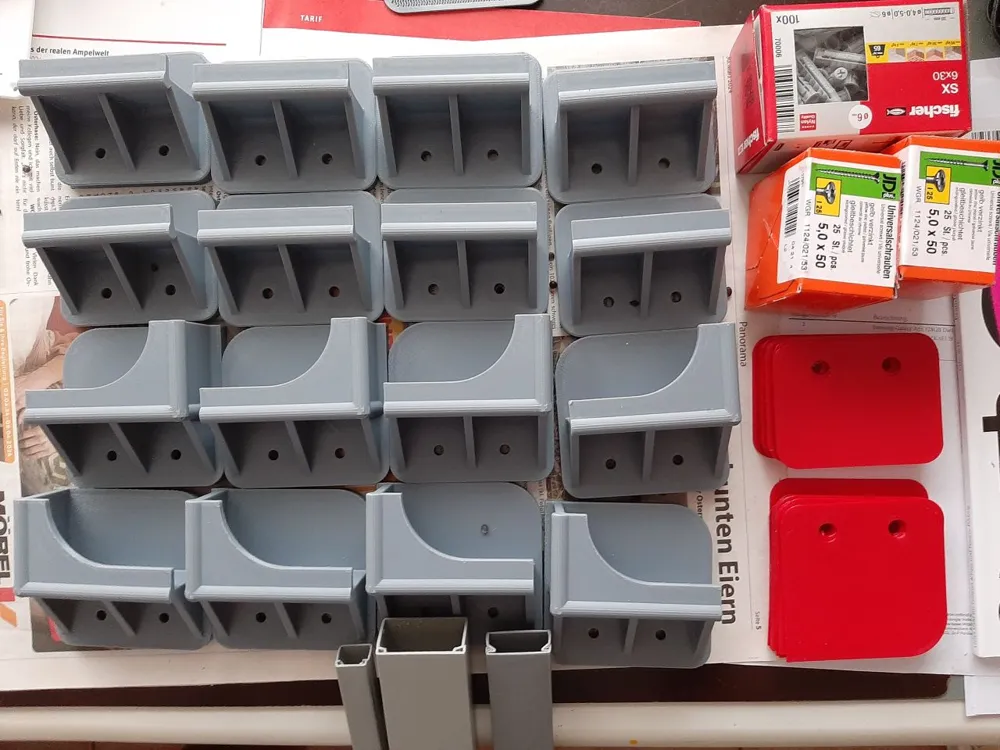
- The PV module brackets and TPU washers are available with or without slotted holes. As drilling into brick and concrete can sometimes yield unpredictable results, I recommend using the slotted holes
I opted not to use them for the inverter bracket - Thanks to @daMustermann for his remix of the corner bracket, which eliminates the unsightly edge ("Remix_Wall_bracket_edge_longhole_(by_@daMustermann).stl" in the parts list)
- The use of these brackets offers many options; here is a description of my approach as a non-binding suggestion:
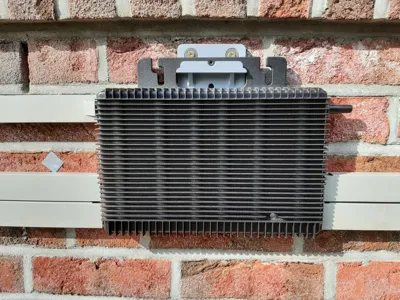
- Mounting Microinverter (see also photos)
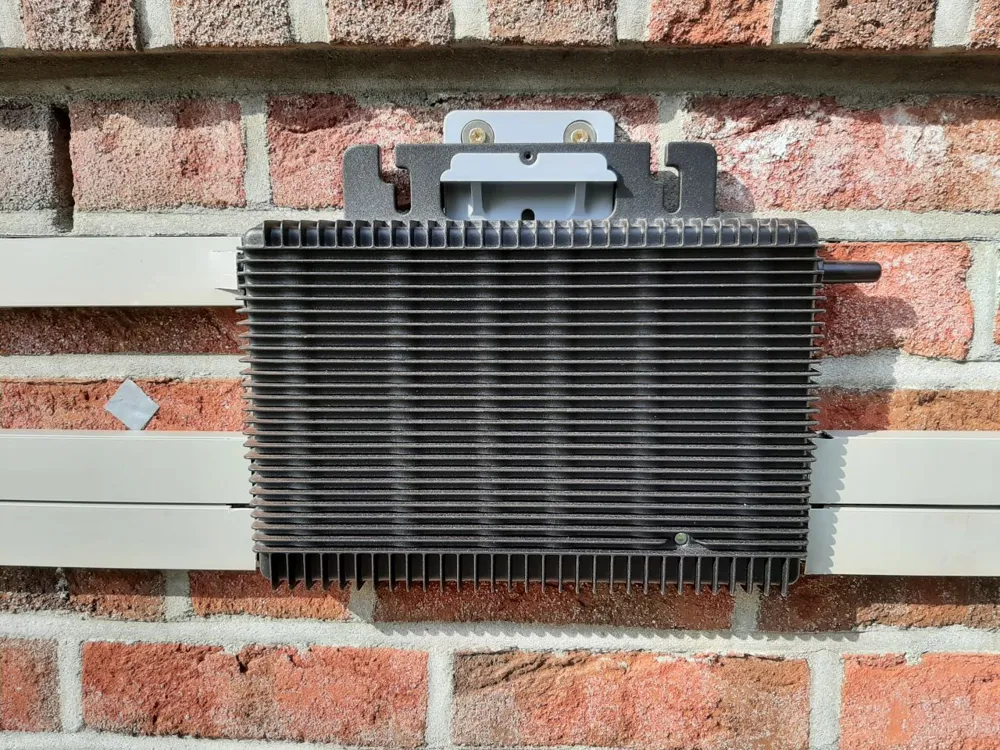
- Since the hoymiles-HMS simply hooks into the bracket, there is not much to consider
Additionally, the device can be secured with a screw located centrally in the “handle”. The bracket provides a clear area for inserting a dowel even at a later time
- 3D Printing
- All brackets should be printed in ABS, or preferably ASA, as they will be highly exposed to weather and UV radiation. Gyroid is a suitable infill pattern
Due to warping, a perimeter brim is recommended
- Material
- Screws and washers are primarily determined by the substrate
- My application (solid brick):
- Fischer dowel SX 6x30
- Wood screws 5.0x50mm
- Washers 6.9x19mm
License

You shall not share, sub-license, sell, rent, host, transfer, or distribute in any way the digital or 3D printed versions of this object, nor any other derivative work of this object in its digital or physical format (including - but not limited to - remixes of this object, and hosting on other digital platforms). The objects may not be used without permission in any way whatsoever in which you charge money, or collect fees.


Comment & Rating (45)