
PV Module Spacer
Print Profile(1)
Description
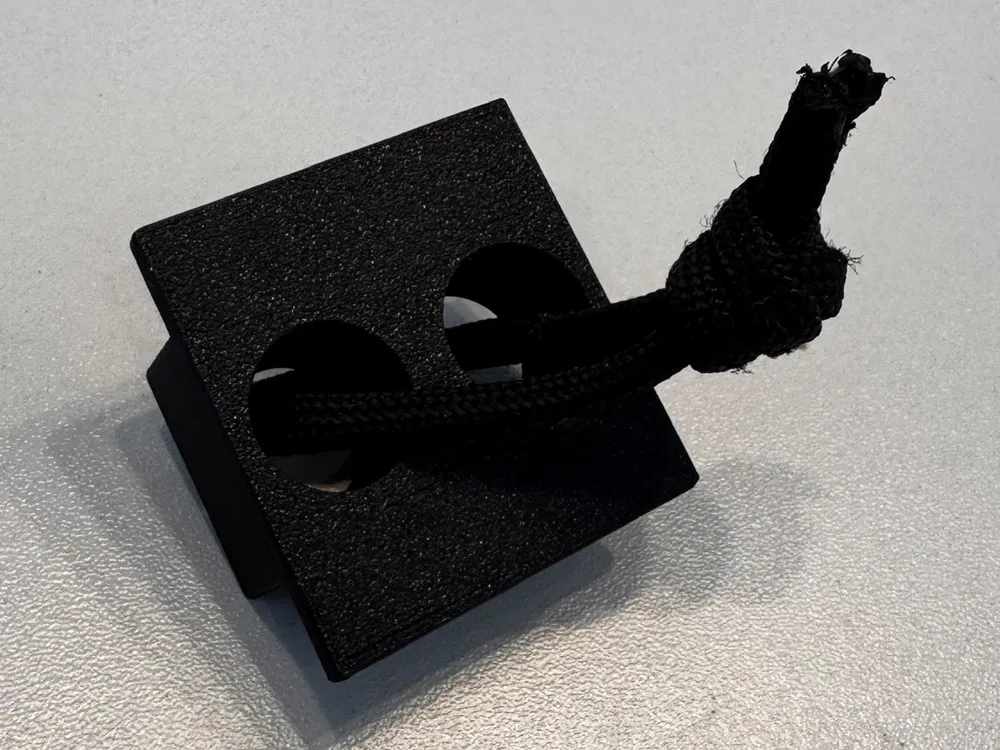
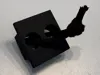
This 3D printed spacer facilitates the installation of photovoltaic modules in multiple stacked module rows.
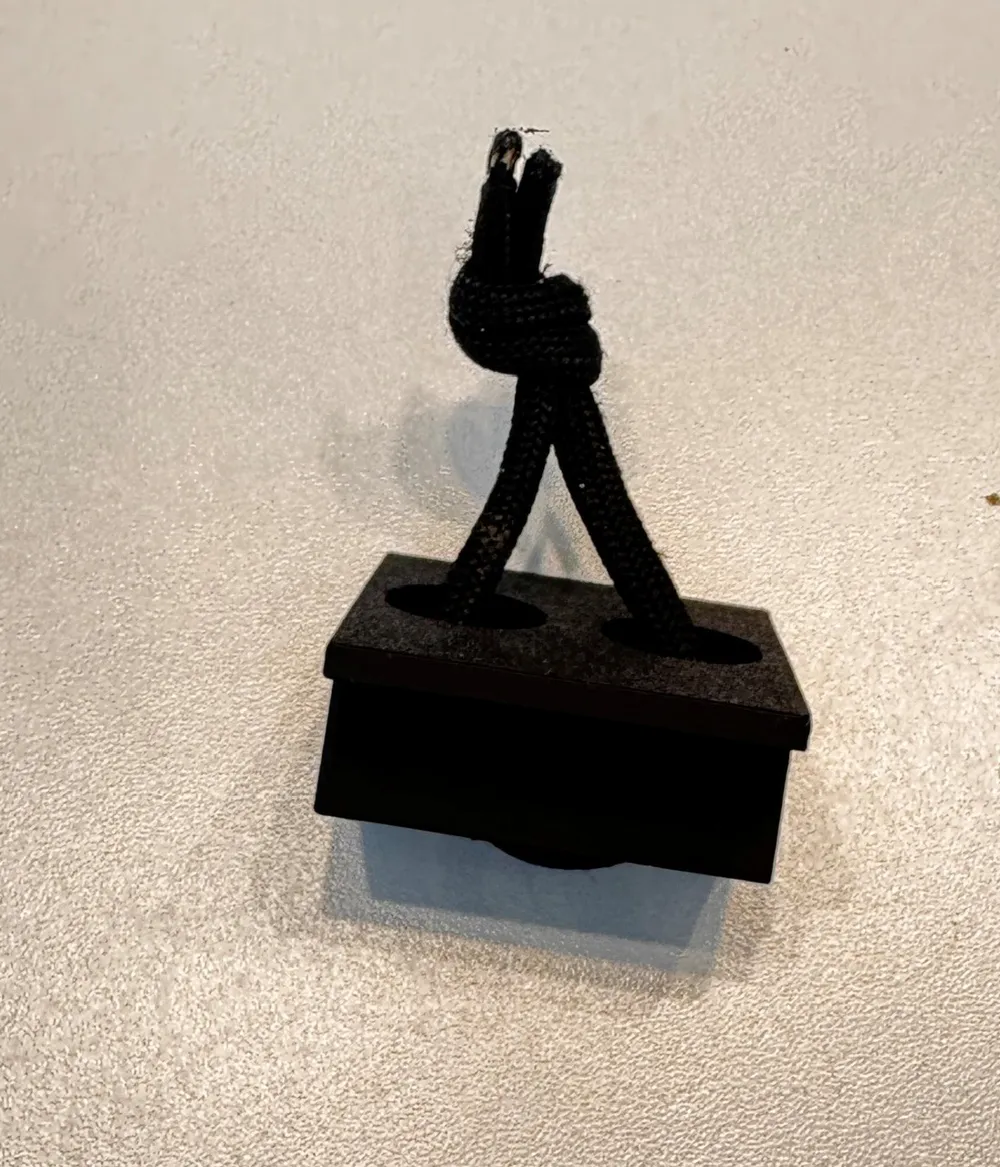
Its shape is based on a PV middle clamp and is placed between the modules or at the module edge during installation. This allows the desired distance to the module row above to be set quickly, uniformly, and reproducibly.
The spacer has two holes. These can be used to easily pull out the tool after alignment or to attach a small paracord loop or safety cord. This makes the spacer easier to handle when working on the roof and less likely to get lost.
Advantages
- Even spacing between multiple PV module rows
- Faster alignment during installation
- Shape similar to a standard PV middle clamp
- Two holes for removal or attaching a paracord loop
- Compact, lightweight, and reusable
- Easy to print without supports
Application
- Mount and align the first PV module or the bottom module row.
- Position the spacer at the upper module edge.
- Push the module of the next row up to the spacer.
- Align and fasten the module.
- Remove the spacer using the holes or an attached cord.
License

You shall not share, sub-license, sell, rent, host, transfer, or distribute in any way the digital or 3D printed versions of this object, nor any other derivative work of this object in its digital or physical format (including - but not limited to - remixes of this object, and hosting on other digital platforms). The objects may not be used without permission in any way whatsoever in which you charge money, or collect fees.


Comment & Rating (0)