
Sauron's Mace Sconce


Print Profile(4)


Description
First, anyone coming from my original Sauron's Mace model, thank you so much for the awesome support! If not, you can view the full mace here: https://makerworld.com/en/models/477771#profileId-388887

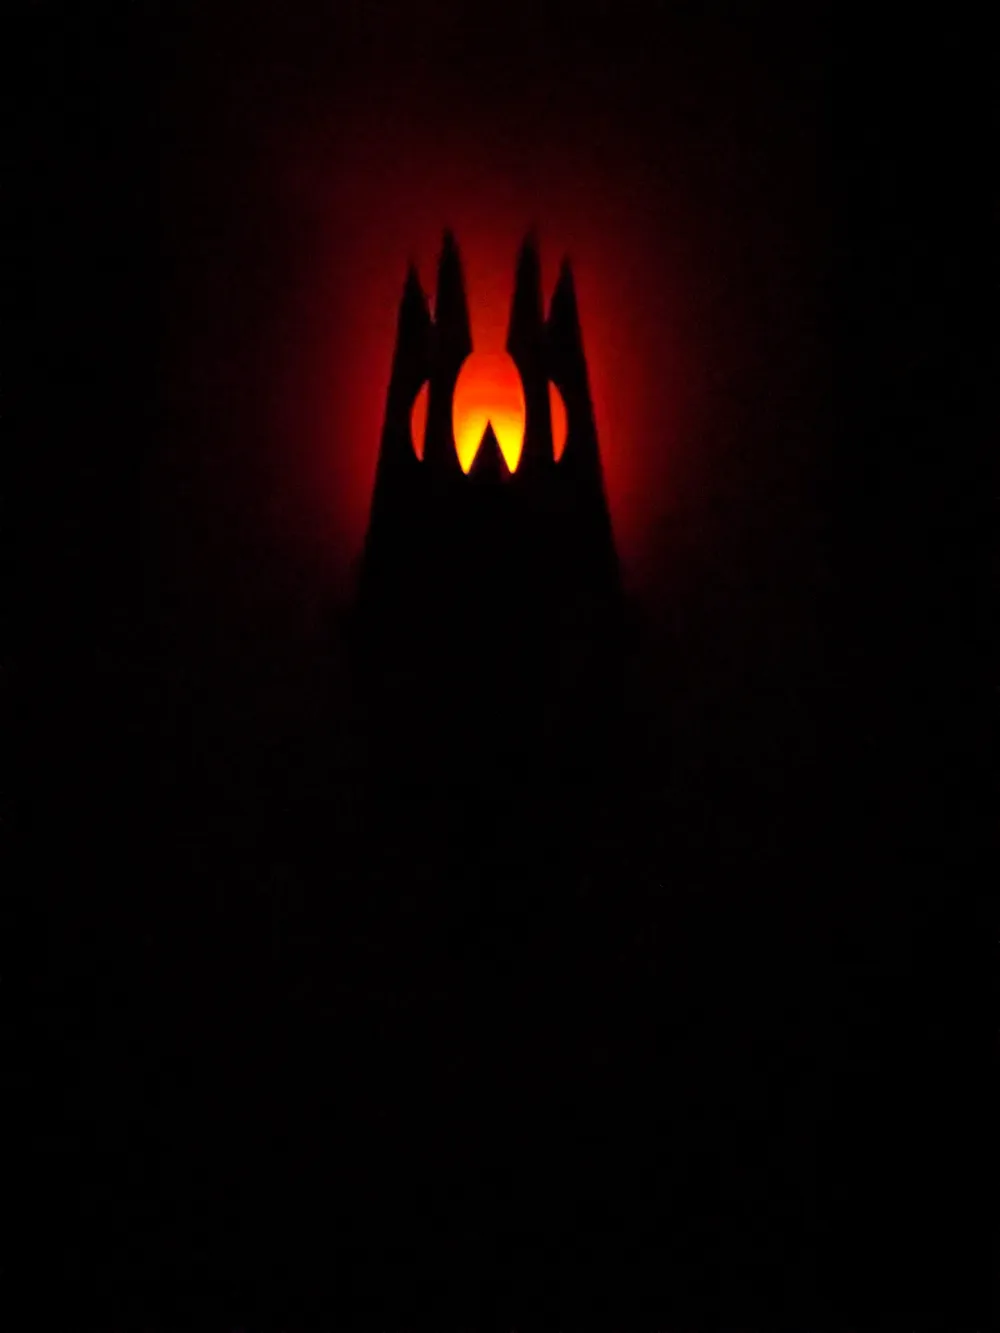
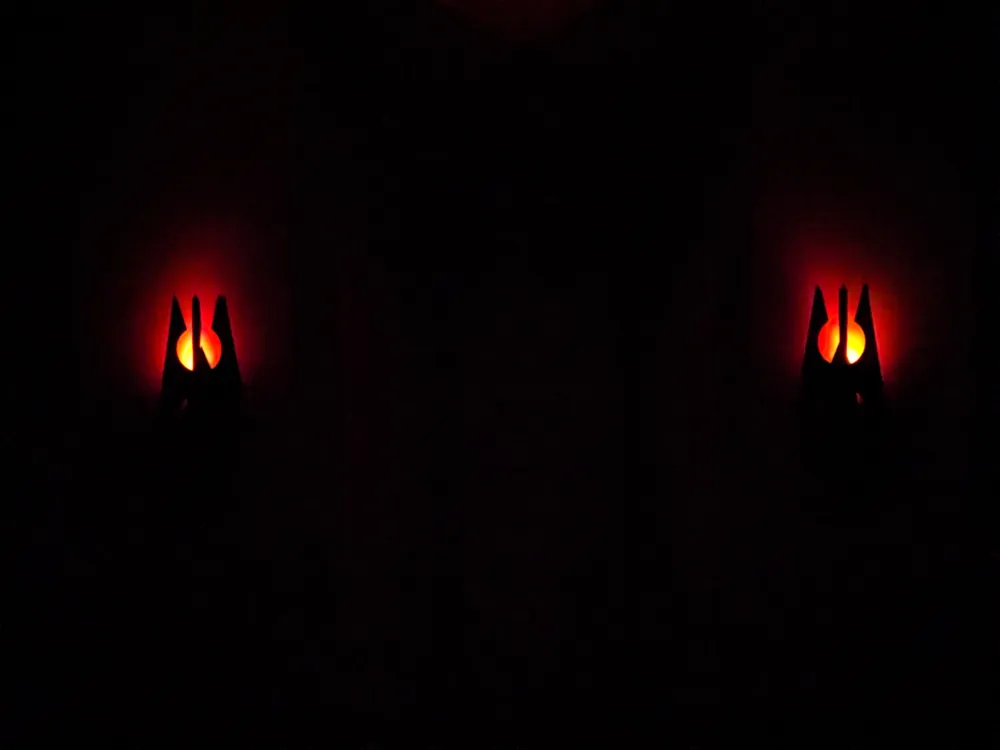
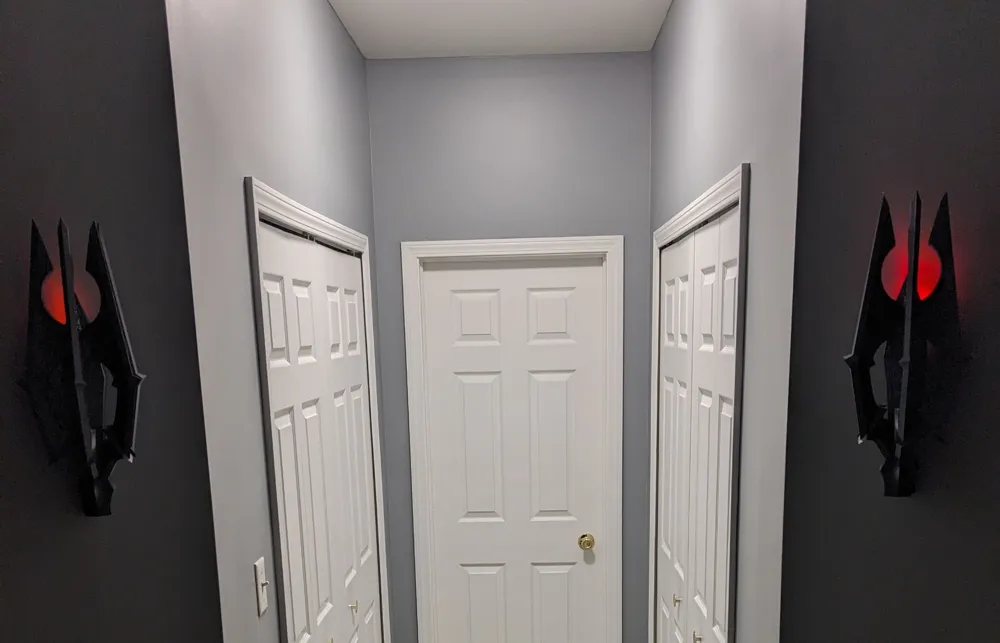
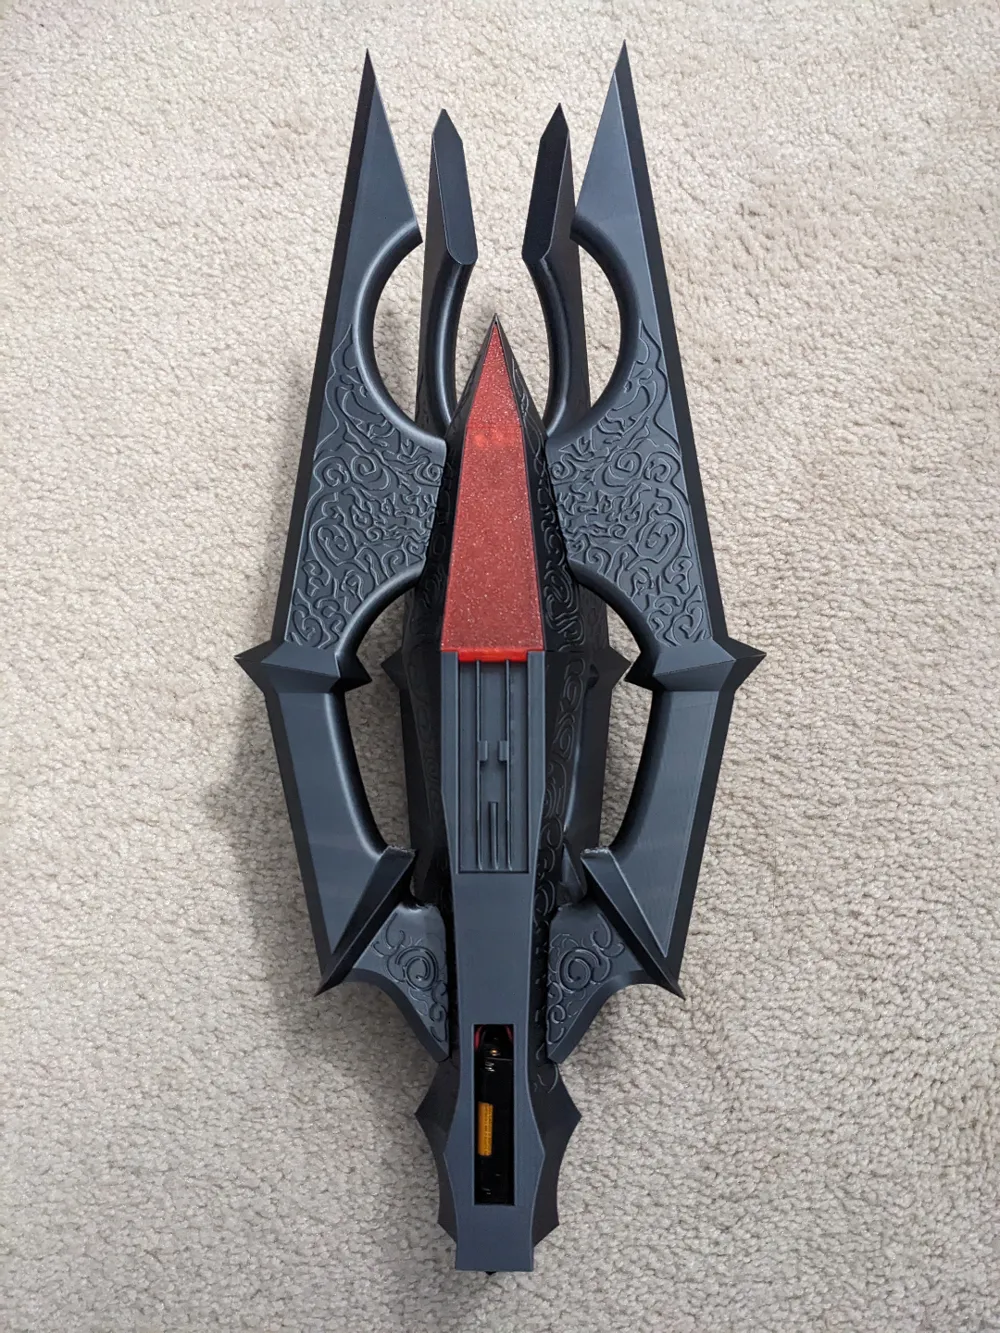
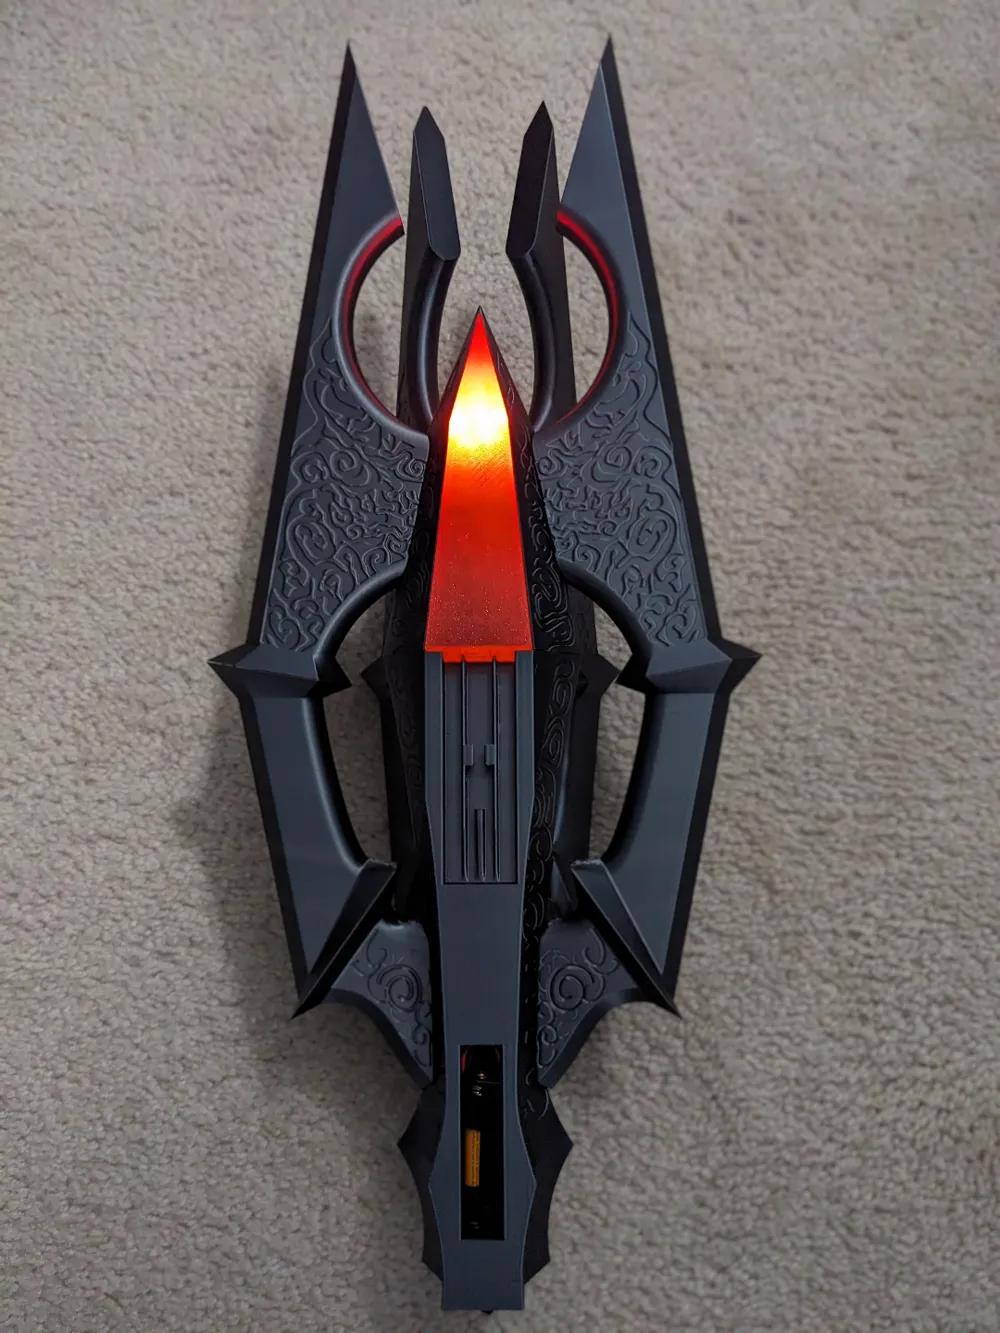
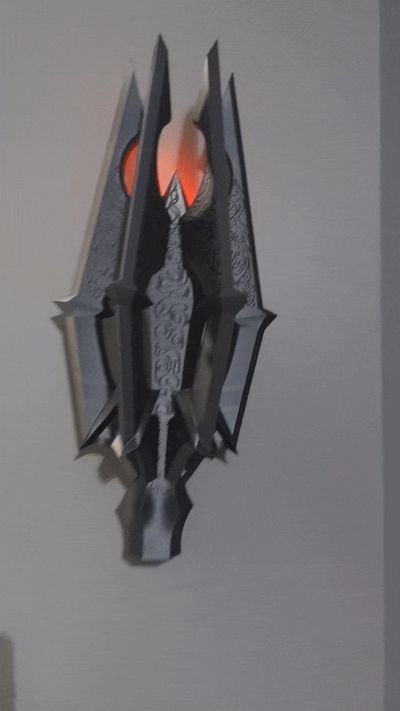
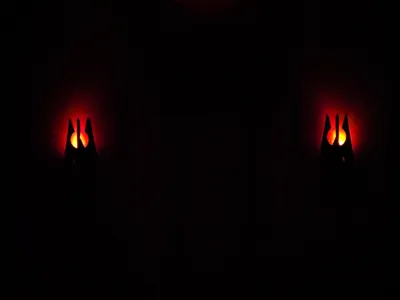
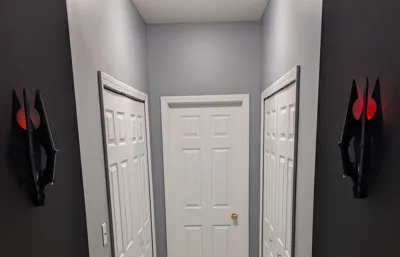
As I was putting the original model together, I had gotten four of the blades on it and jokingly placed it against the wall and wondered. Low and behold, a new idea a born--a wall scone using the mace head while also attempting to make it look as though it was aflame. I know this is going to be a more niche use-case, but I would love to see some completed in your spaces.
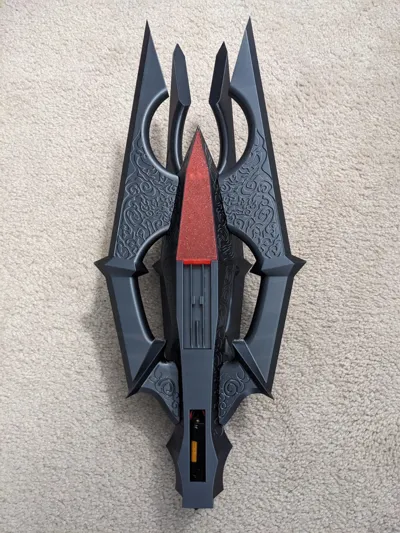
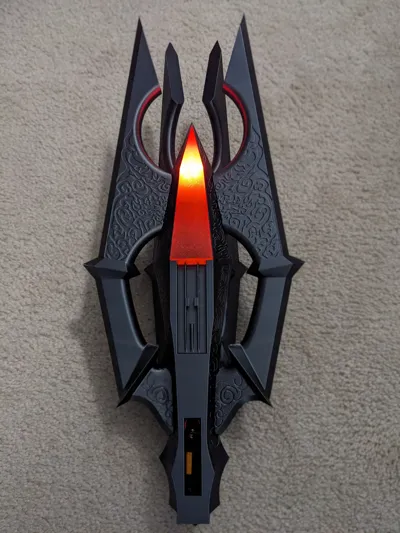
First let me start by saying that there are two versions of the pike. One version allows for the use of lights to create a flickering and glowing effect. The other simply has those parts of the model removed so it can just be placed against a wall. In the below sections you can find links to the specific electronics and command hooks that are needed.
Printing Profiles:
- Pikes: If you are choosing to wire up LEDs, then choose the printing profile Pike. If you don't want to wire LEDs, then choose Pike (No Lights).
- This profile includes the bottom pike, the top pike, and the connector piece that goes between the two.
- Diffuser: This is only necessary if you print with the desire to add LEDs and you want to diffuse some of the LED flashing light
- When against the wall, the added diffuser helps to mitigate the individual LEDs from being noticed
- While technically not completely necessary, it really makes the effect much better
- Blades: The blades profile is universal to whichever pike profile is chosen. Four blades are needed.
Printing Tips:
- By now, I have used the blade and pike profiles to successfully print a full mace and two wall sconces. Many other makers have used these profiles to success as well, so I do suggest to at least use these as a starting point
- When using silk filament (especially lighter colors) it may be best to print the pieces individually for the best look. For the sconces, I printed the plates as you will see them and used a very dark silk grey filament.
- Supports are manually painted on where necessary
- I only own a P1S and have optimized this to print using most of the vertical space of that sized printer. If you have a smaller printer, I do apologize, but there are likely some spots where you can use the slicer to make parts smaller.
- Because the blades are optimized to be printed vertically, they have the pegs that will require support. Be sure to clean these supports well as the pegs being too large may effect final fitment.
- I have specifically sliced (and printed my own versions) so that a single roll of filament can make two sconces with a small amount of leftover (In the posted print profiles, each sconce would roughly be 475 grams).
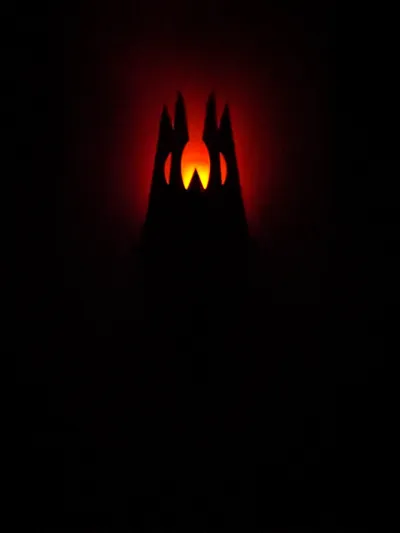
- If printing a diffuser I highly suggest to use a translucent filament that is either red, orange, or yellow. This will help to give the fire effect that the LEDs are meant to give
- I used Ziro Translucent Red
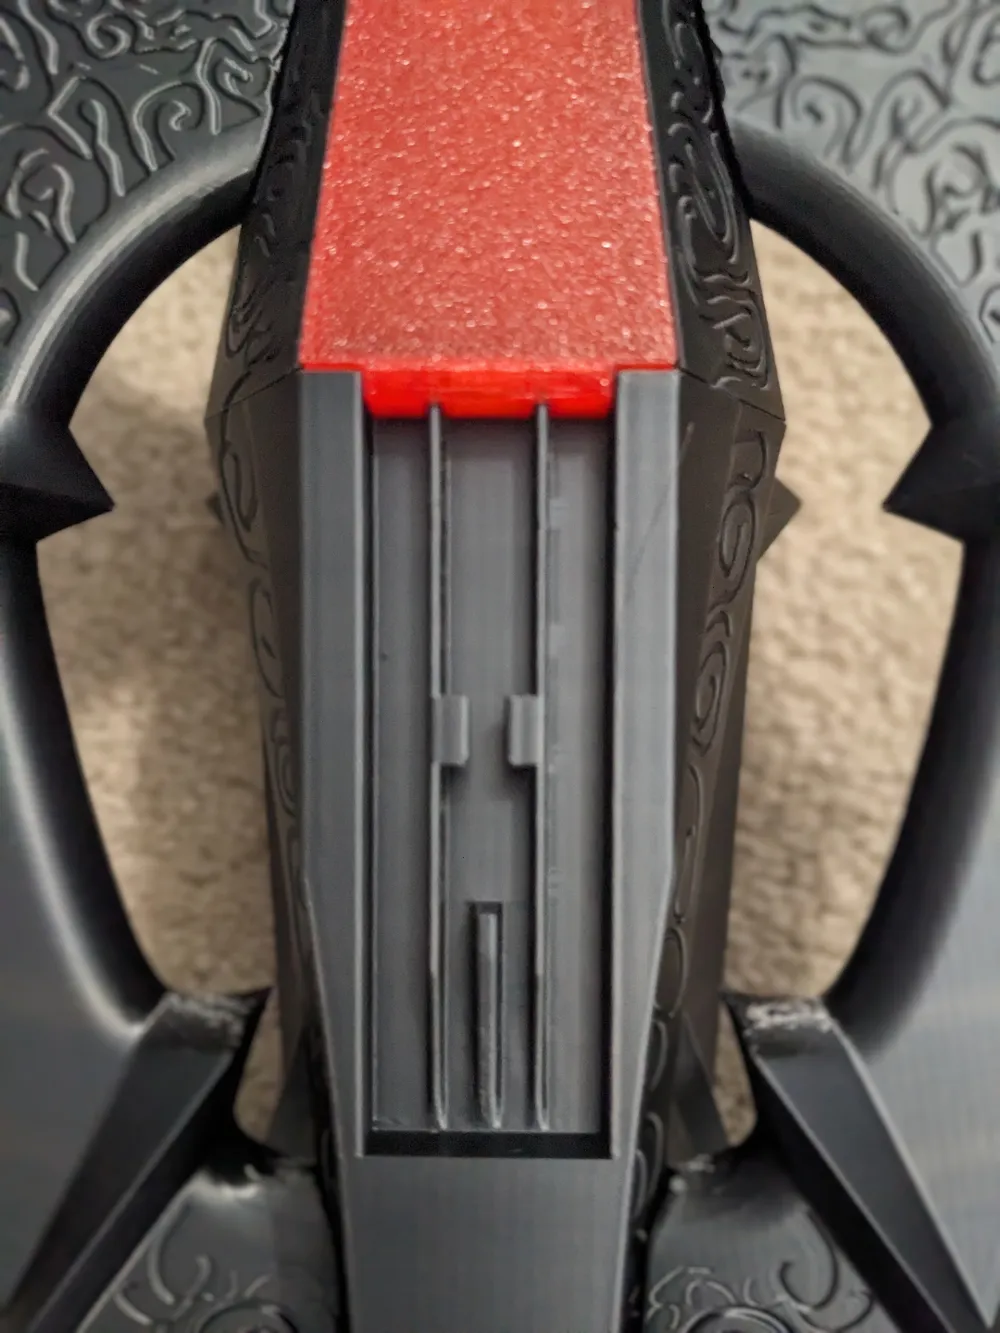
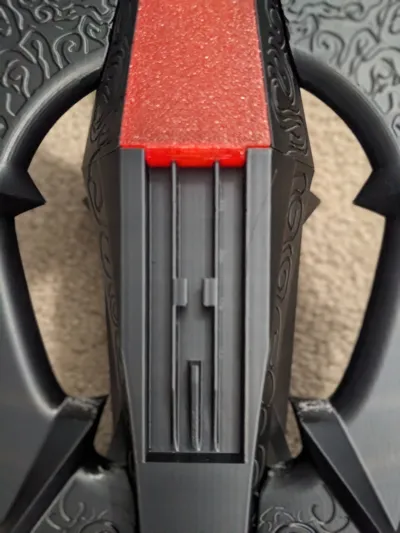
- If you decide to print this model for hanging, you will require a 3M command hook. I modeled the back of the pike using the back of a command hook so that the plastic piece fits perfectly into the slots
- When doing this modeling, I used command hooks I had on hand, but did not realize that all of the plastic pieces are not the same. This means the same exact command hook must be used in order to fit the pike piece
- The command hook can be found here: https://www.amazon.com/dp/B071XSTK24/ref=twister_B0D84D6SR7
- It should be the medium sized hook and I believe the color will not matter as the metal part is not used
- I apologize that this is rather pricey for two hooks. I did later purchase cheaper hooks to see if I could model that hook into the sconce, but the cheaper hooks have different plastic pieces that are not as conducive for modeling
- The pike model back also has a built in support piece that should pop right out and leave a perfect back ready to install on the plastic piece
- When doing this modeling, I used command hooks I had on hand, but did not realize that all of the plastic pieces are not the same. This means the same exact command hook must be used in order to fit the pike piece
LED Materials:
- These items are only required if you plan on having the model light up as seen in the pictures. If you are printing two, you will need to purchase two of each of a-c
- LEDs: Flickering fire LEDs, 5mm, 3V DC, 14 inch wire - https://evandesigns.com/products/fire-led-kit?variant=6762821877808
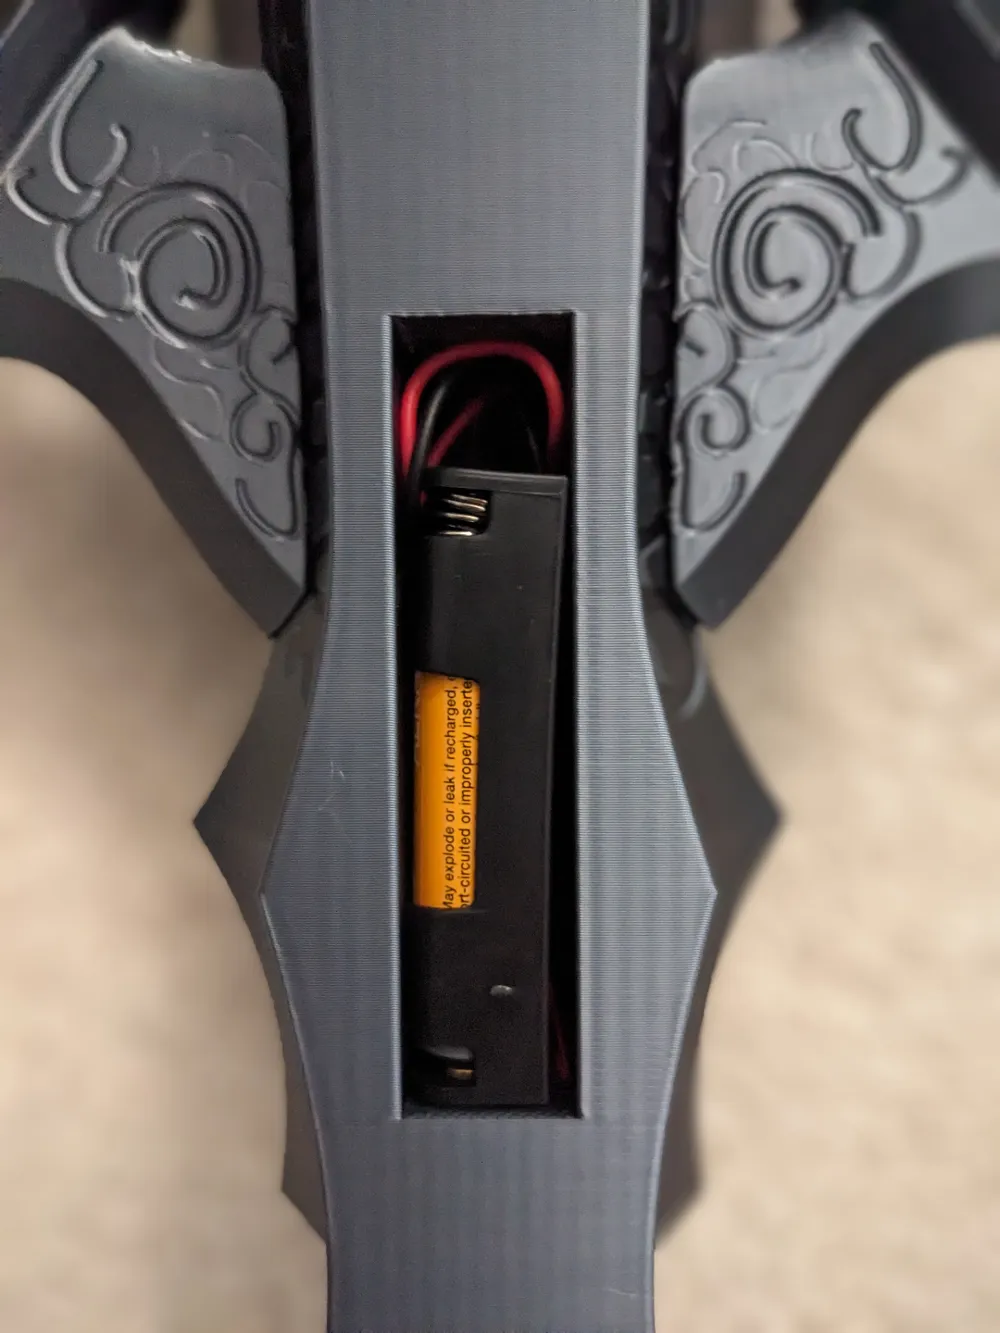
- Battery Pack: AAA Battery Holder (No Switch), Side by Side - https://evandesigns.com/products/aaa-battery-holder-with-switch?variant=32607830671408
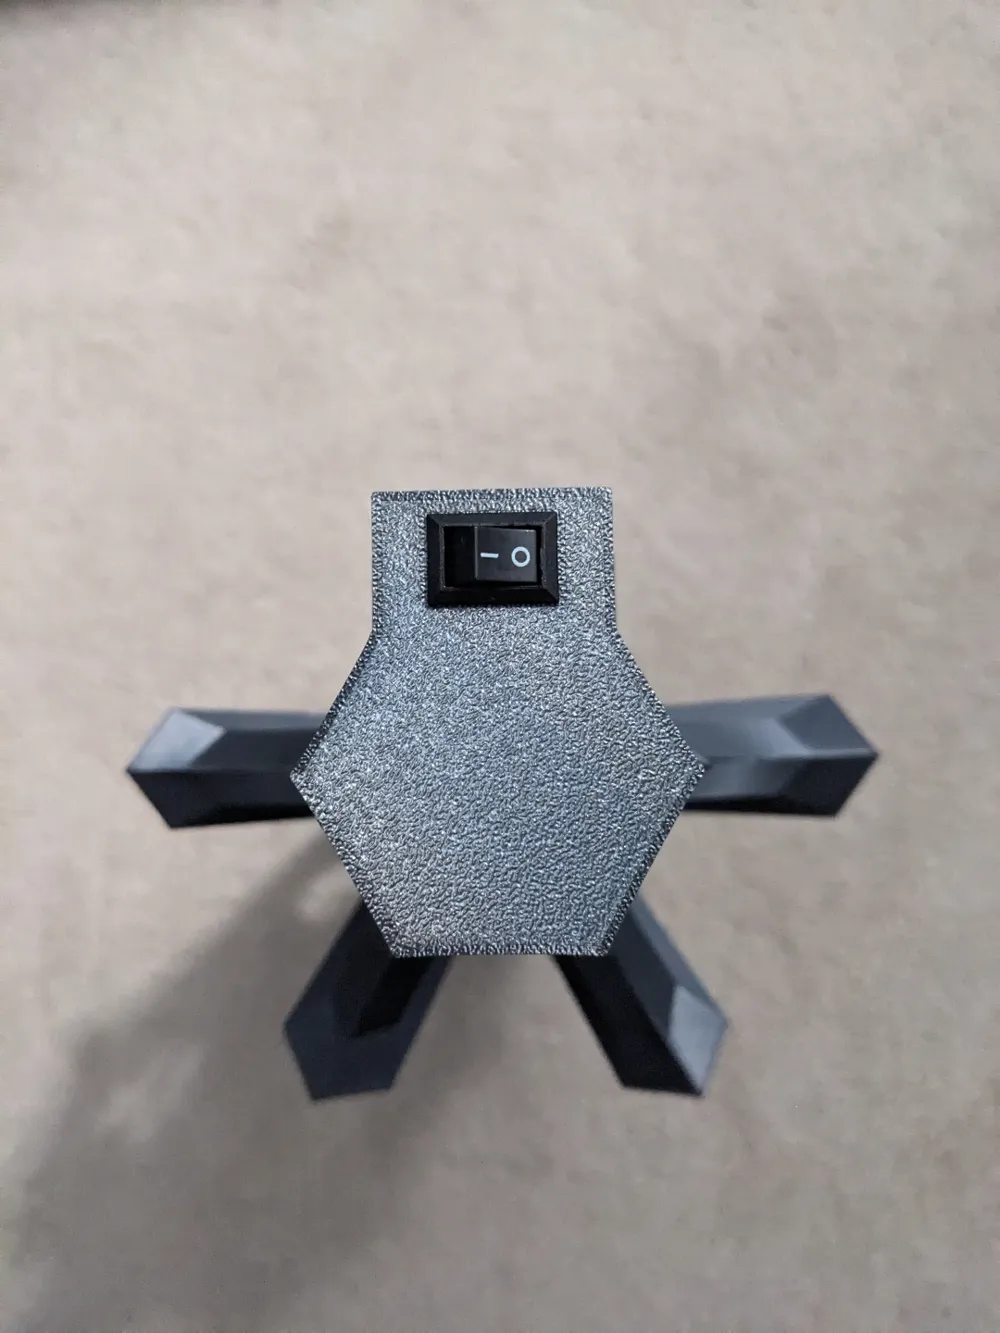
- Switch: Minature Rocker Switch - https://evandesigns.com/products/miniature-on-off-rocker-switch?_pos=1&_sid=3fa0108d3&_ss=r
- Shrink tube is necessary when connecting wires. The LEDs come with tubing, but I find having some one hand to be invaluble when wiring LEDs
Assembly Tips (No LEDs):
- Assembly should be rather straight forward if you are not wiring LEDs. I do suggest doing each section as a dry fitment before gluing everything together. After final gluing, I suggest letting it cure for 24 hours before handling or hanging.
- Connect the upper and lower pike pieces using the large connector and CA glue. Let these cure 24 hours.
- Dry fit each of the upper and lower blade sections into their respective positions in the pike. If these don't go in with no more than a little effort, ensure all support material has been removed. For blade assembly what worked best for me was:
- Add few drops of CA glue into each of the pike holes
- Glue the blade connector into the bottom blade
- Add glue to the top of the connector and place the top blade onto the lower blade and connector (this should give a few seconds to pull them apart when placing them into the pike holes).
- Place the lower blade partway in to its pike hole
- Place the upper blade partway into its pike hole
- Press both the lower and upper blades all the way into their holes--this may require some wiggling and effort
- Hold the upper and lower sections together vertically while pressing the entire thing toward the pike. Hold this for several seconds until glue sets. Then let cure fully before moving on to the next blade.
LED Wiring and Assembly:
Wiring and assembly should not be overly complicated, but the wires are thin, so care must be taken at LED connections and when cutting or stripping wires.
- There are two ways to assemble the pike, glue the top and bottom and connector together and then snake the LED wires through, or snake the LED wires though each piece and then carefully pull the pieces apart to glue.
- I found it was easier to snake the LED wires through each section and then glue after
- The wire ends should be fed through the hole at the top of the pike and fed down. There is a cut that travels all the way down through the model. Make sure the connector pike piece is lined up so the wires are not crossing at this connection.
- The LEDs themselves are not meant to be put through the hole. They will sit outside the hole
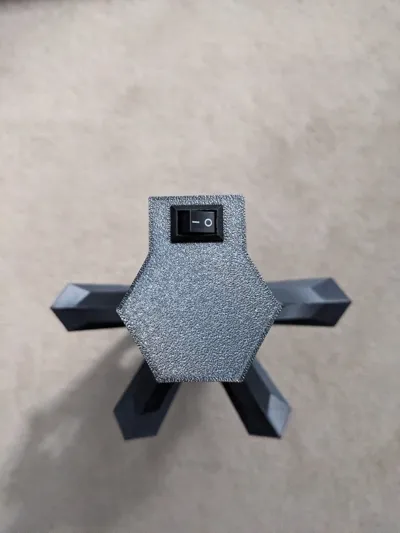
- After the wires are fed and the pike pieces are glued and cured, you can move on to installing the rocker
- The rocker should sit flush into the bottom of the pike, this will only require a little pressure to set in place
- Pro tip: you may want to wire the switch non-permanently to the LEDs to ensure the rocker is working before installing--as it may be difficult to remove without damaging the model
- The rocker should sit flush into the bottom of the pike, this will only require a little pressure to set in place
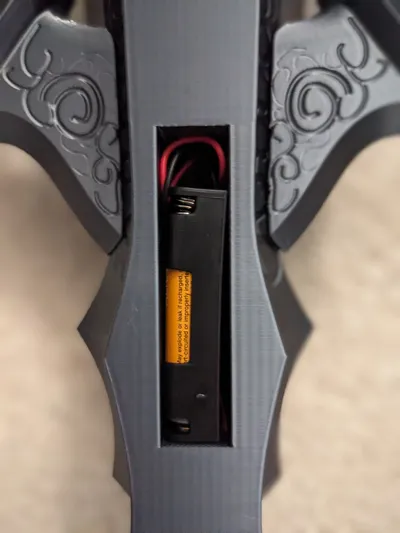
- Once the rocker is installed, everything can simply be wired to the battery pack
- The appropriate way to wire can be found on the Evan Designs website
- Essentially, the rocker has two red wires and one will connect to the red wire of the battery pack and one to the red wire of the LEDs
- The black wire from the battery pack is wired to the black wire of the LEDs
- There is some room in the battery compartment for excess wires, but I found it was best to shorten them after mock installing everything. That way you can shorten them to the prefect length you need
- The appropriate way to wire can be found on the Evan Designs website
- After the LEDs are wired and the battery is placed into the compartment, complete the assembly of the blades as above
- If installing a diffuser, this should be able to simply be installed without much issue.
- Install the bottom piece first, then flatten the LEDs to they are facing up, then install the top piece
- No glue was necessary for this installation
Finally, regardless of lights or not, follow the instructions that 3M gives for installing the command hook. Once the model and command hook are fully cured, the model can be placed on the wall.
License

You shall not share, sub-license, sell, rent, host, transfer, or distribute in any way the digital or 3D printed versions of this object, nor any other derivative work of this object in its digital or physical format (including - but not limited to - remixes of this object, and hosting on other digital platforms). The objects may not be used without permission in any way whatsoever in which you charge money, or collect fees.


Comment & Rating (23)