
18650 Battery Spacers
Print Profile(14)


Description
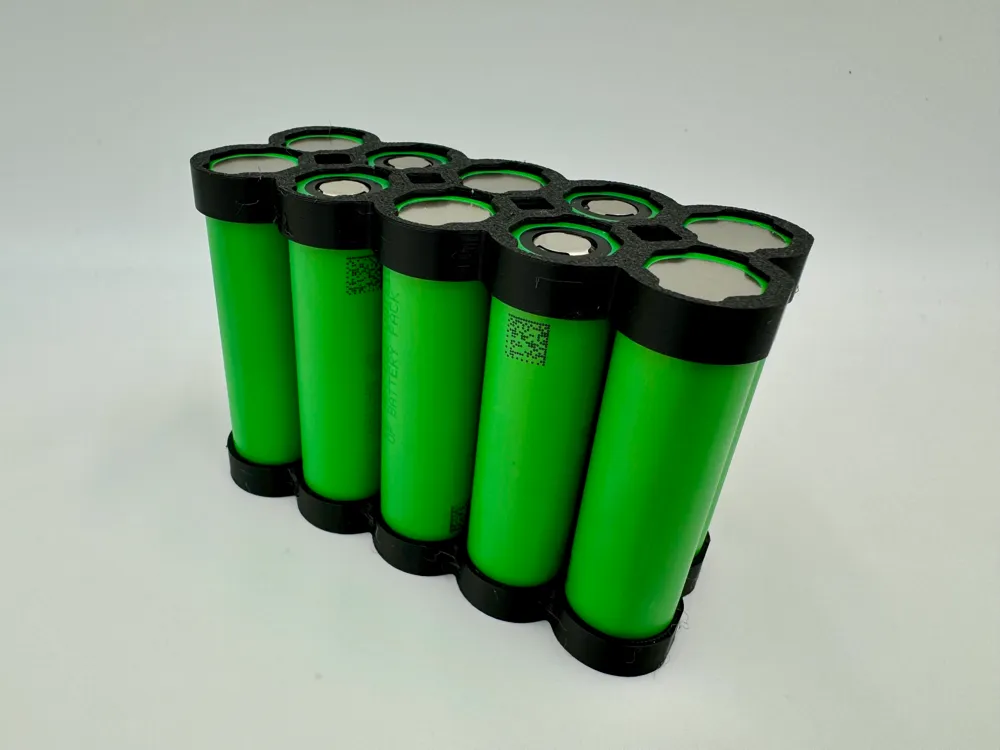
I was fixing my Ryobi One+ battery and on the way to making a Ryobi specific spacer I made some generic ones. They use metal inserts so they can be securely connected.
You will need M3 inserts and M3x8mm screws to complete the model.
As these are fairly thin to fit in compact spaces they tend to go on in one piece but not come off in one. Be mindful of the heat generated by your application of these and use an appropriate plastic.
I don't mind making other sizes on request if I have time.
 | One side of each set of spacers has longer posts. This is where you should install the inserts. |
 | Before connecting the two sides poke a hex wrench or other tool through the holes in the other half to remove the supports.
I like to poke the screws through the wrong way after to ensure they will go through, then poke them through the correct way just to ensure they will go through after assembly.
When you come to installing the two halves together, insert the batteries individually in one half, then press the other half on with a flat object that fits wholly across the spacer. |
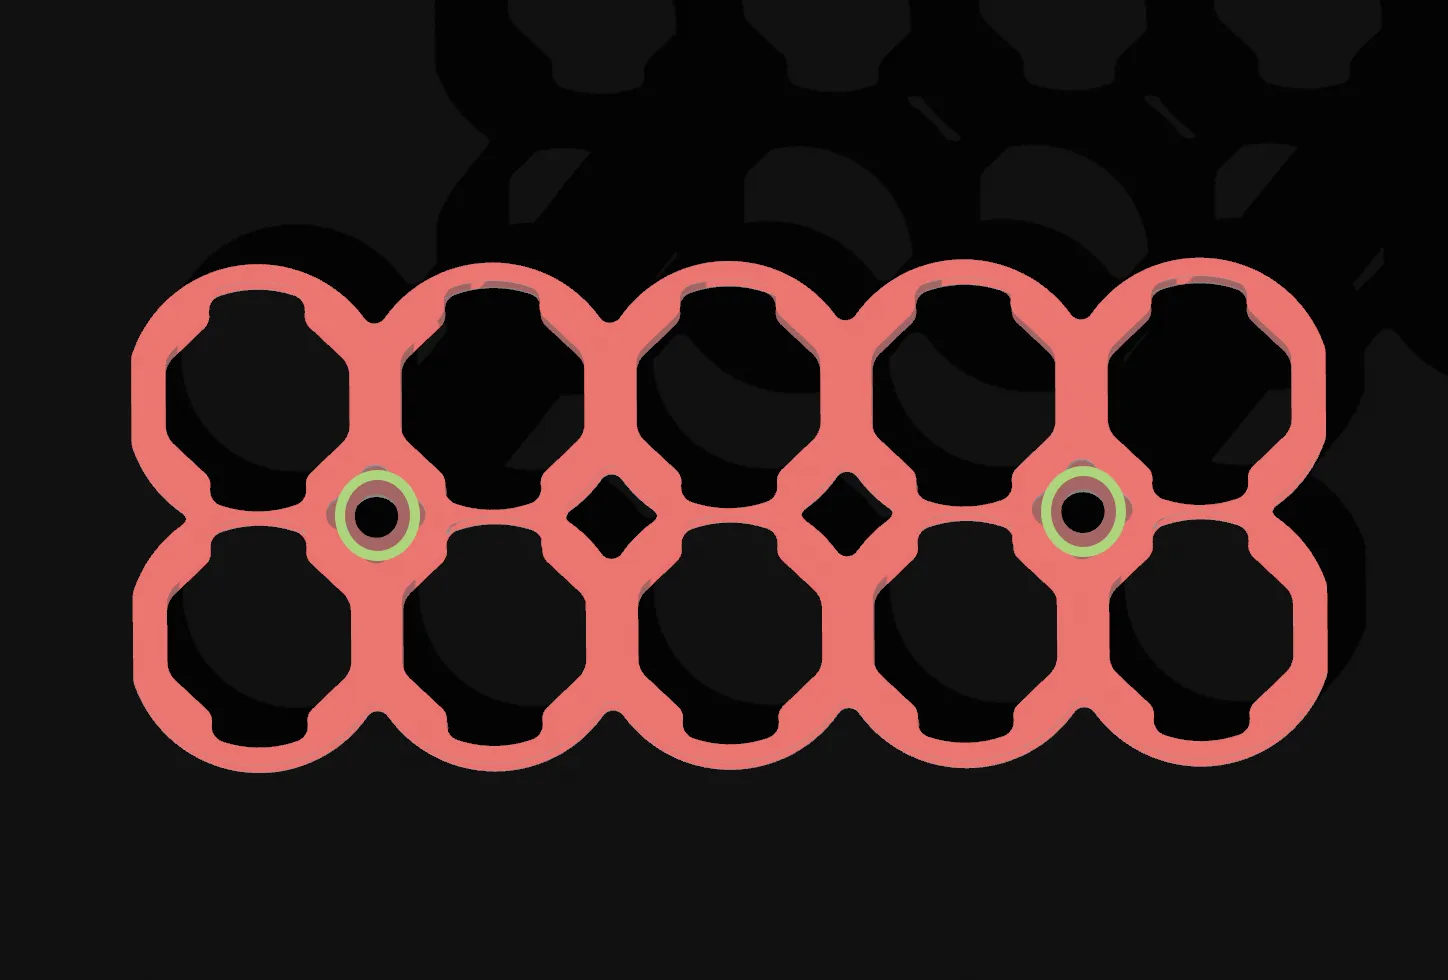 | Now the batteries are installed and the two halves connected, connect the posts with M3x8mm screws. |
License

You shall not share, sub-license, sell, rent, host, transfer, or distribute in any way the digital or 3D printed versions of this object, nor any other derivative work of this object in its digital or physical format (including - but not limited to - remixes of this object, and hosting on other digital platforms). The objects may not be used without permission in any way whatsoever in which you charge money, or collect fees.


Comment & Rating (37)