


Print Profile(7)


![A1 Mini [72% scale] - 0.16mm layer, 2 walls, 15% infill](https://makerworld.bblmw.com/makerworld/model/USe2499e89bb0525/177317649/instance/2024-12-14_3990f92faa6348.jpg?x-oss-process=image%2Fresize%2Cw_100%2Fformat%2Cwebp)

Bill of Materials
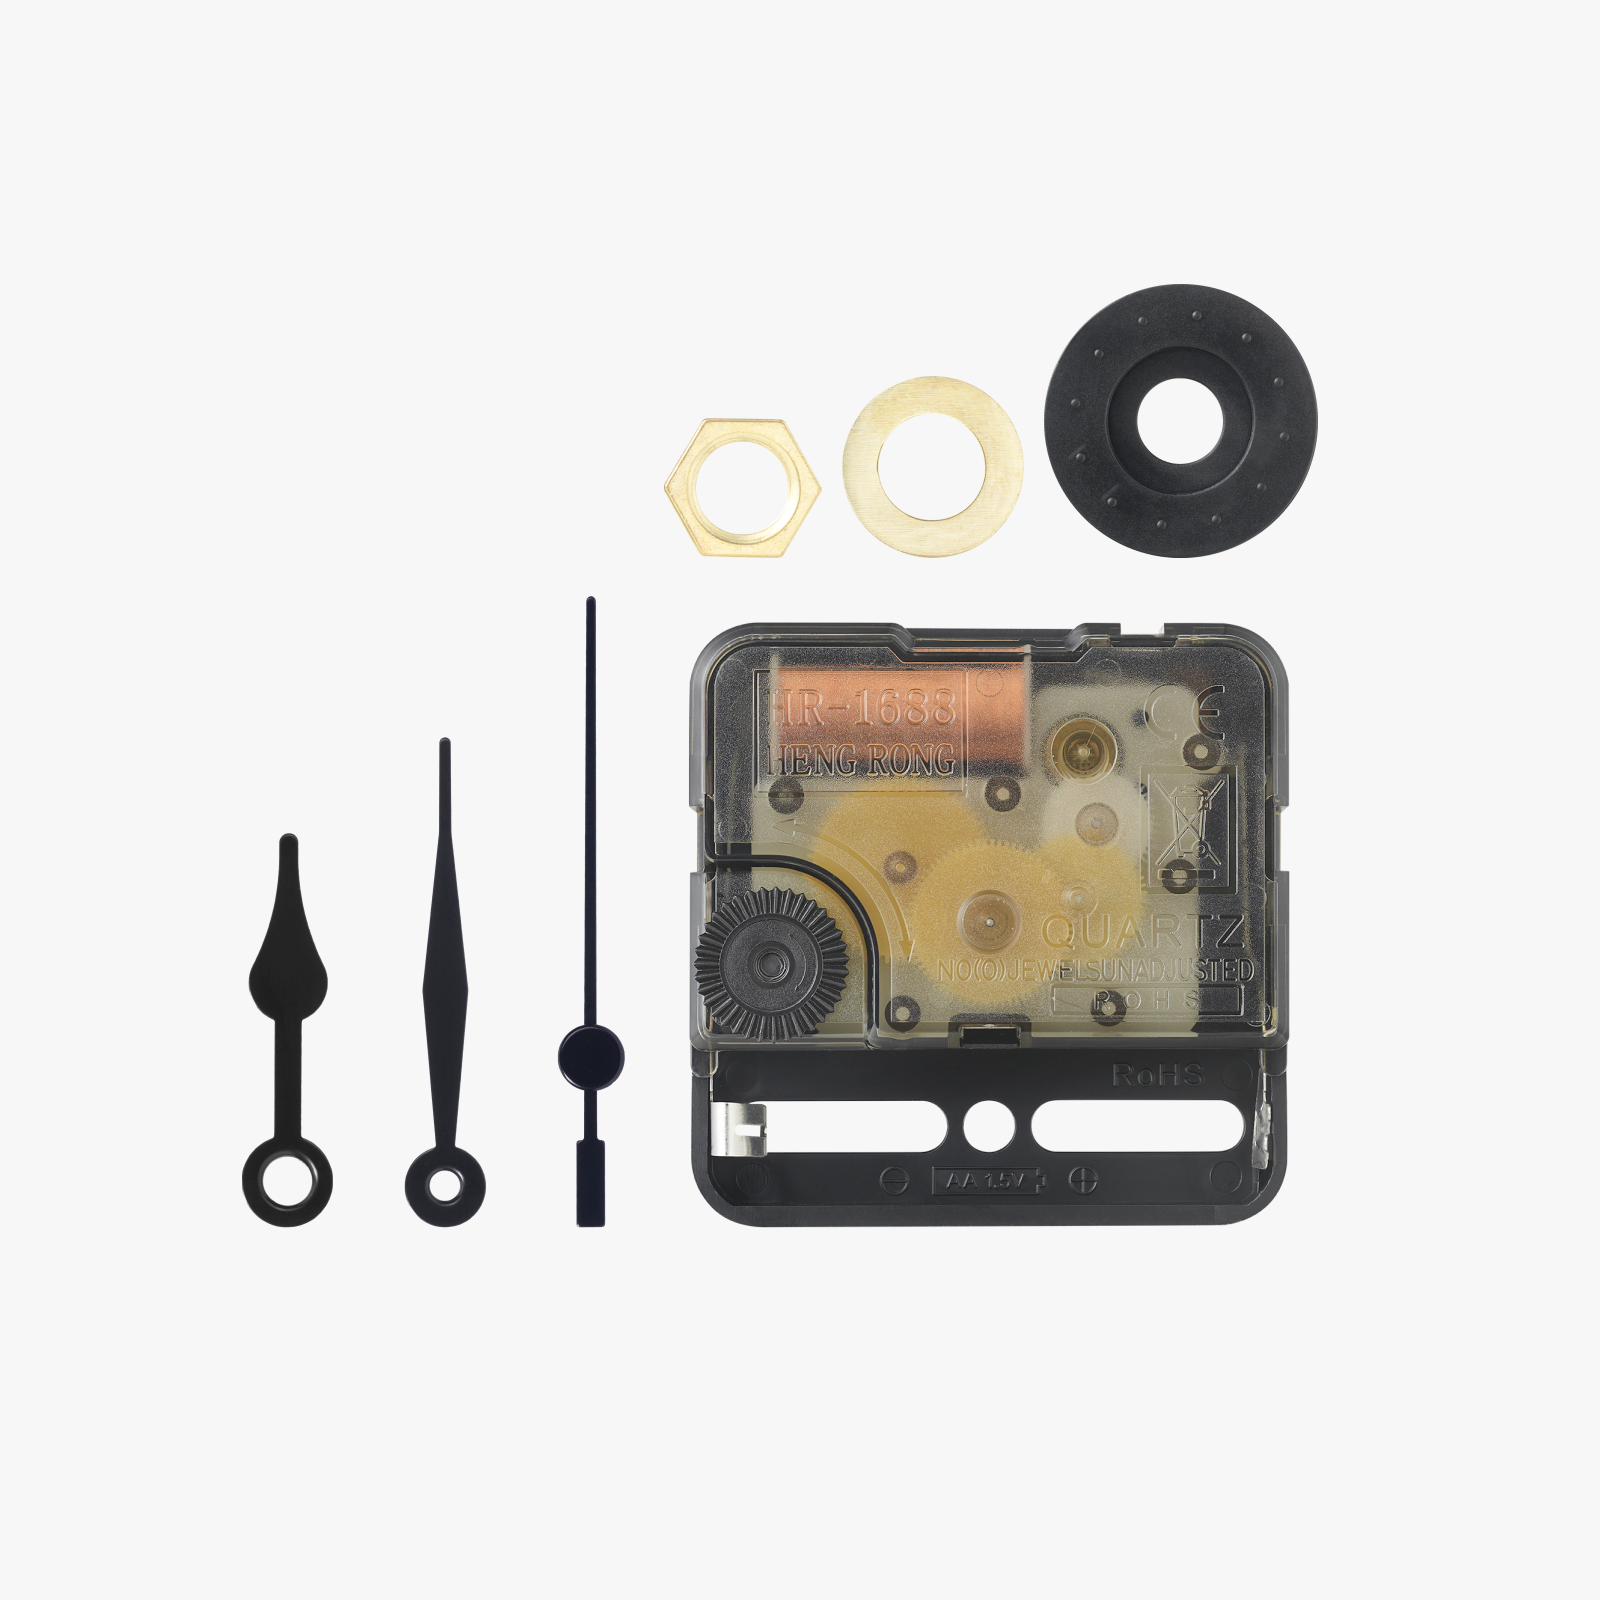
Description
Omega Speedmaster Moonwatch Professional Inspired Clock
This clock is inspired by the iconic Omega Speedmaster Moonwatch Professional, famously worn during the Apollo 11 mission. I've created a clock that pays homage to this legendary timepiece, and I'm thrilled to share it with you.
Check out my other clocks:
AP Royal Oak Inspired Clock here: AP Royal Oak Clock
Omega Seamaster Diver 300 Inspired Clock here: Omega Seamaster Clock
Hamilton Khaki Field Inspired Clock here: Hamilton Khaki Field Clock
Rolex Explorer II GMT Inspired Clock here: Rolex Explorer II GMT Clock
If you like my work, consider buying me a coffee :)
Printing Specifications
- Nozzle Size: 0.4mm
- Layer Height: 0.2mm
- Walls: 2
- Infill: 15% gyroid
- Note: Do not hit the arrange button when printing, as it will separate the pieces from their correct positions.
Recommended Print Plates
- Dial Plate: Textured PEI plate (requires support for tabs)
- Bezel Plate: Smooth PEI plate
Filaments Needed
- Black
- Silver (preferably metallic or silk)
- White
- Glow in the dark (optional for an accurate look; if unavailable, use white)
Hardware Needed
- 7x M3 x 4mm conical screws
- 1x Bambu Clock Kit 011
Assembly Instructions
Bezel and Dial:
- Line up the top of the bezel with the top of the dial.
- Use 4 M3 screws to attach the dial to the bezel through the 4 tabs.
- Insert the remaining 3 M3 screws from the back of the dial, screwing them through until they protrude slightly. Attach the 3 small chronograph hands and position as desired.
- Clock Mechanism:
- Insert the clock mechanism into the slot on the back of the dial, ensuring it is fully seated.
- Attach the thin brass nut onto the post protruding from the front of the dial and tighten.

- Hands:
- Attach the hour hand first, pushing it onto the larger part of the post as far as it will go without excessive force.
- Next, attach the minute hand similarly onto the smaller part of the post.
- For the second hand, pry the small pin piece from the second hand included in the clock kit. Push the pin through the printed second hand from the top, and insert the end of the pin into the hole at the end of the mechanism post.
- Ensure all hands move freely without contacting each other


- Final Steps:
- Insert the battery into the mechanism.
- Set the time.
Enjoy your Omega Speedmaster Moonwatch Professional inspired clock!
Share Your Work
- Please share photos of your completed clocks. I would love to see your creations!
License

You shall not share, sub-license, sell, rent, host, transfer, or distribute in any way the digital or 3D printed versions of this object, nor any other derivative work of this object in its digital or physical format (including - but not limited to - remixes of this object, and hosting on other digital platforms). The objects may not be used without permission in any way whatsoever in which you charge money, or collect fees.


Comment & Rating (1282)