
BM Aether 4 - The 4 inch unibody FPV drone frame
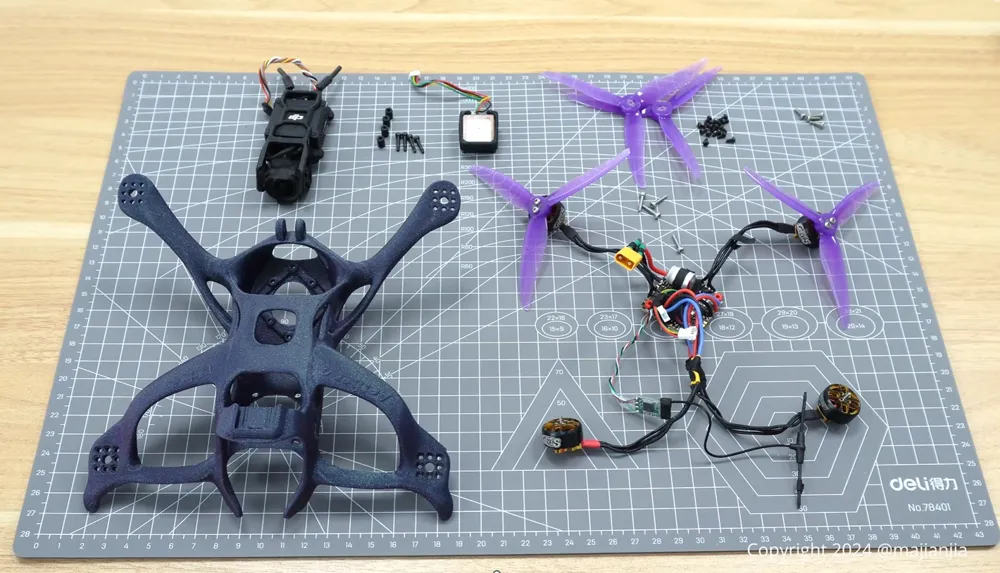

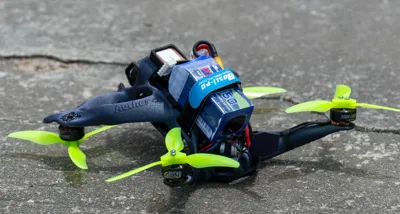
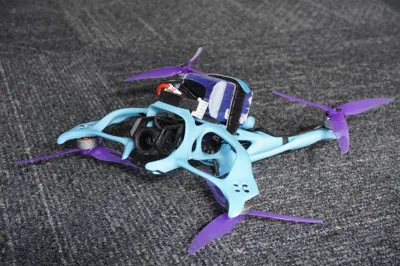
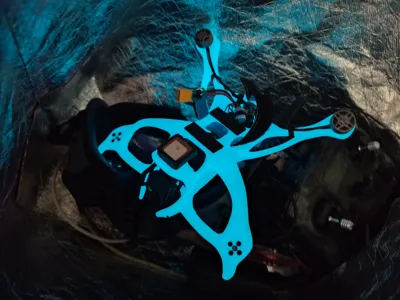
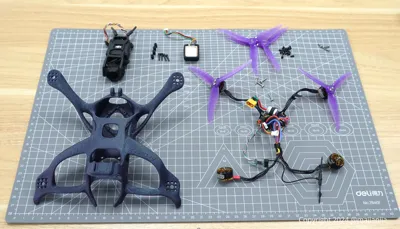
Print Profile(8)

Bill of Materials
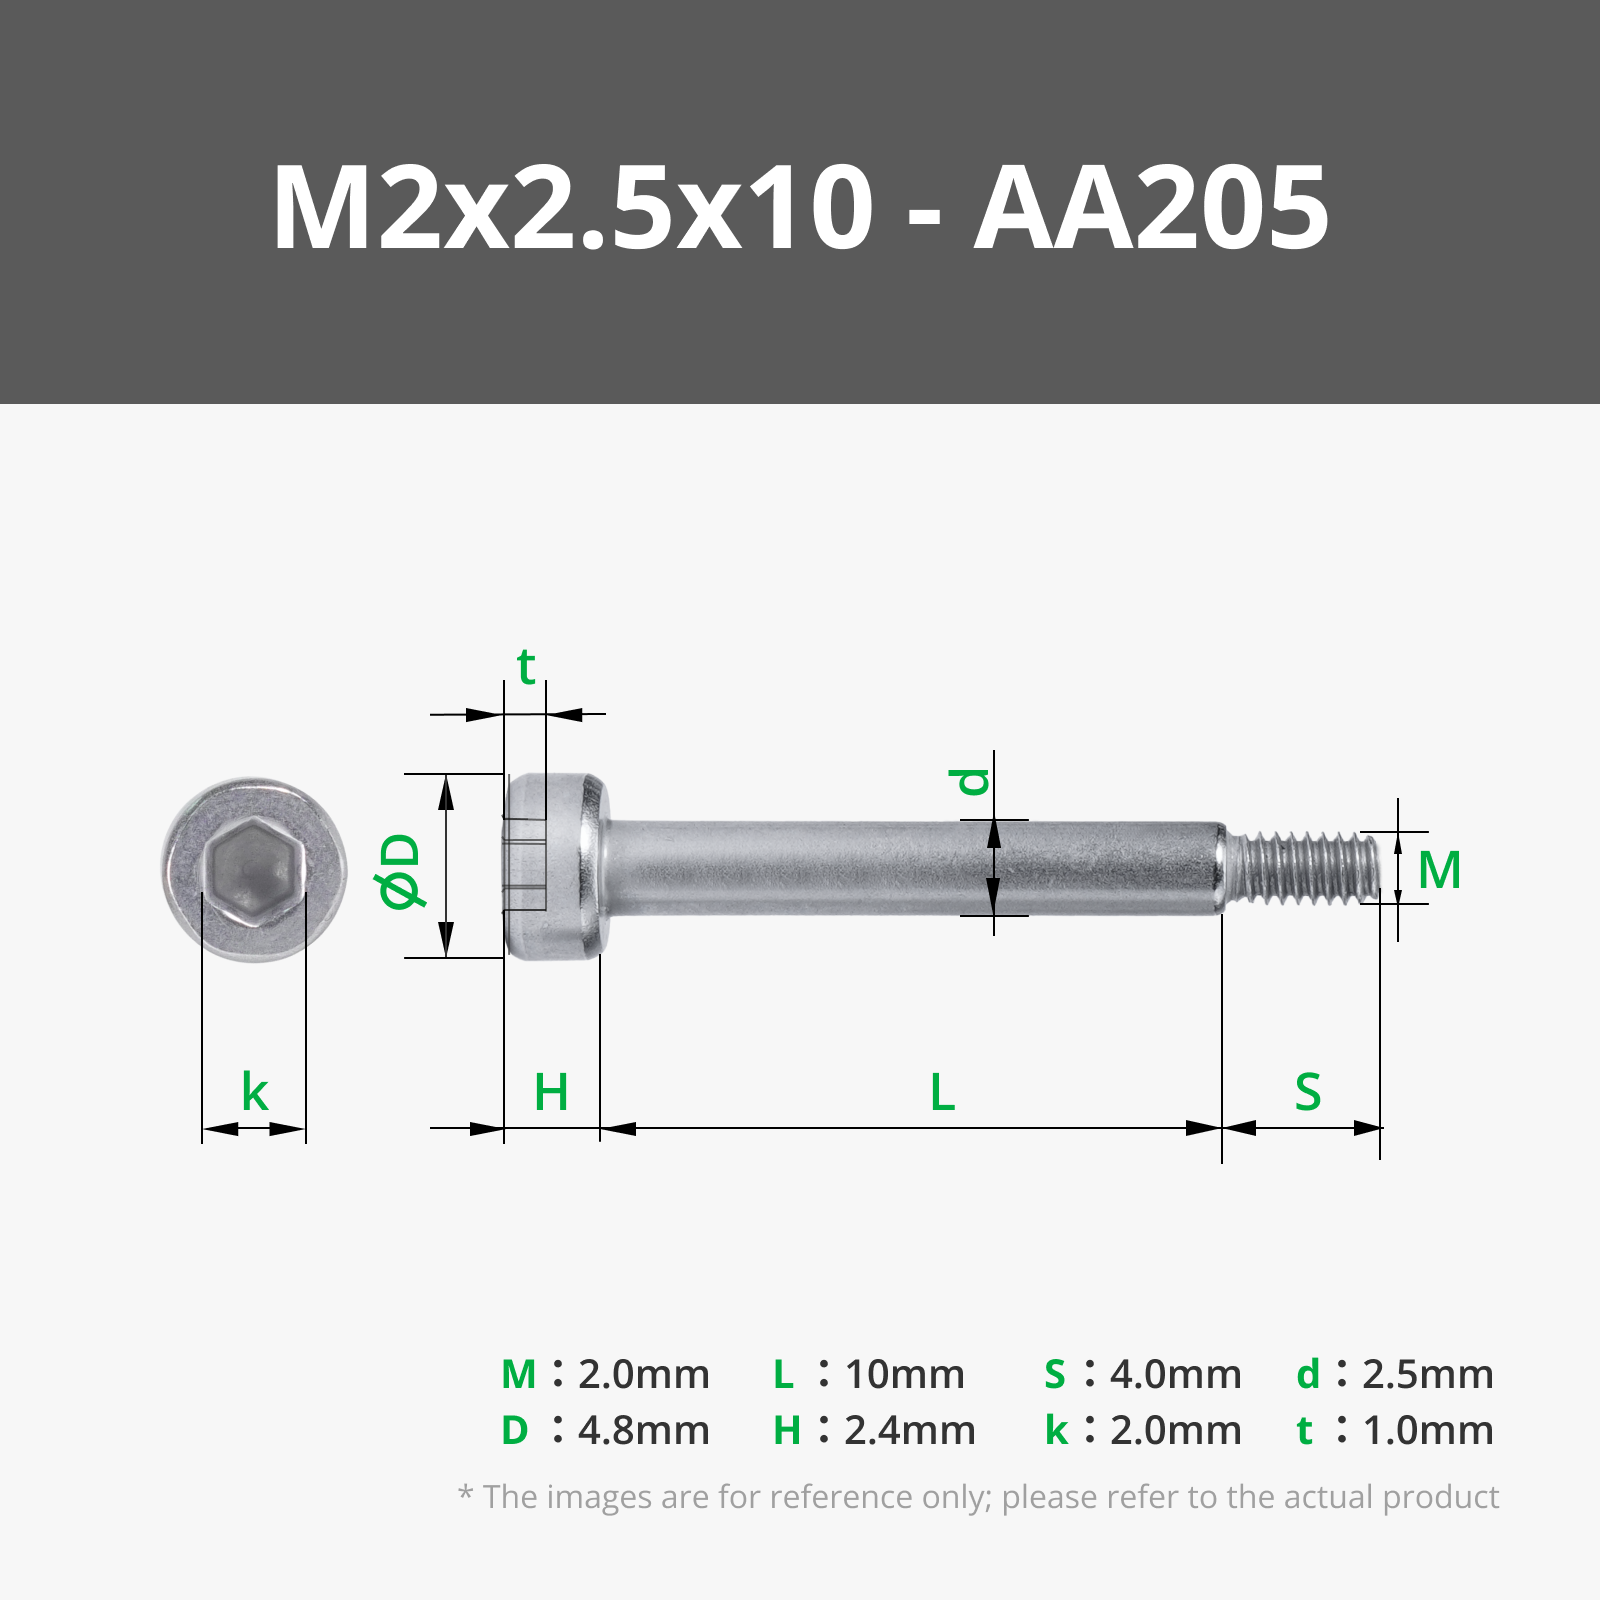
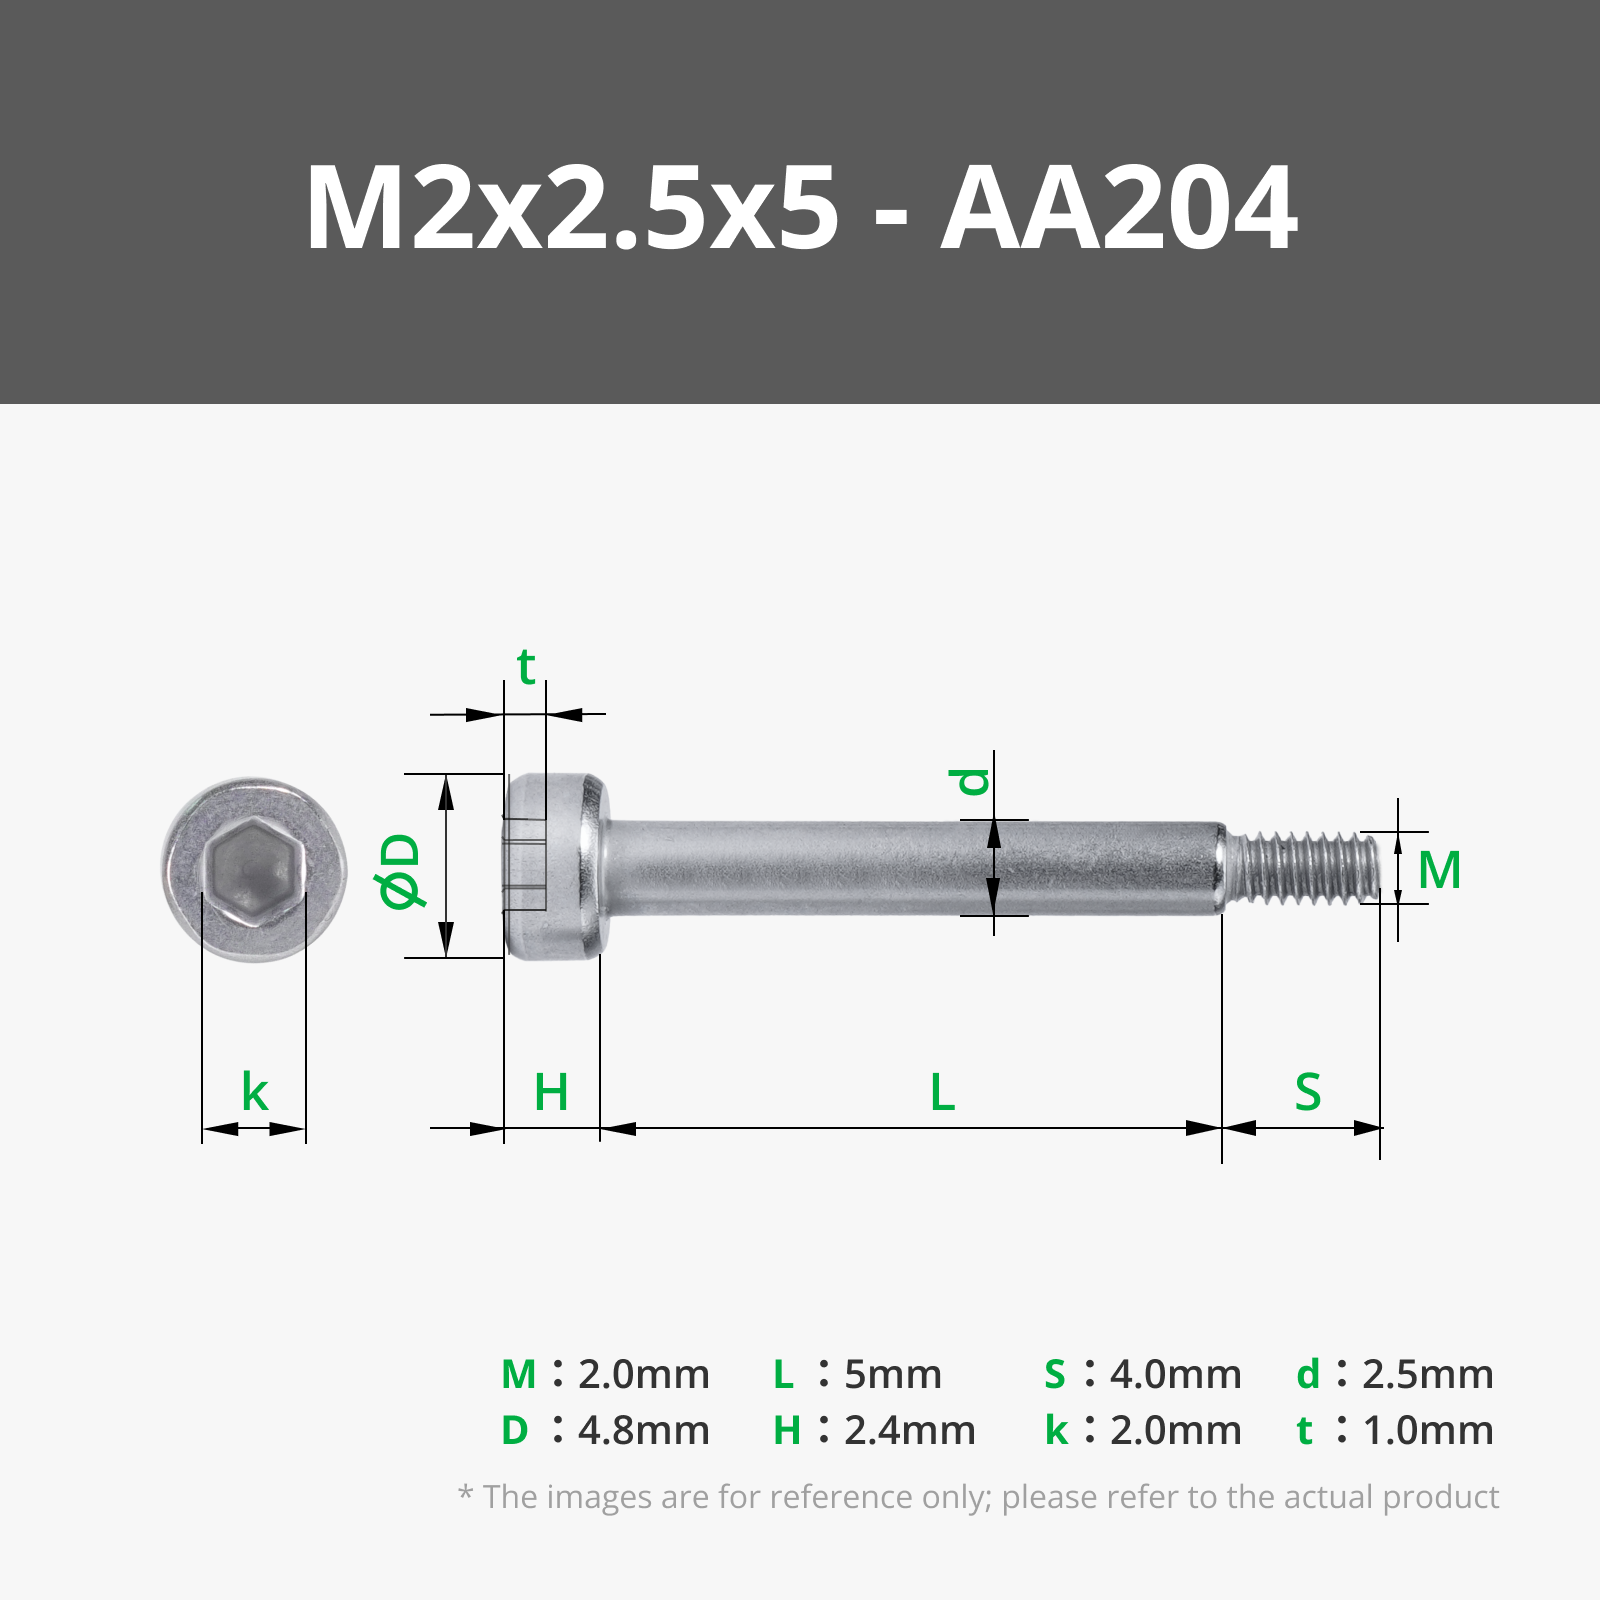


- M2 x 6.6 Damping balljoint x 4: For AIO
- BetaFPV Pavo 20 VTX Chassis x 1: https://betafpv.com/collections/brushless-frame/products/pavo20-brushless-whoop-frame?variant=40240553558150
- M3 x 12 Nylon screw (Optional) x 1:
- M3 Nylon nut (Optional) x 1:
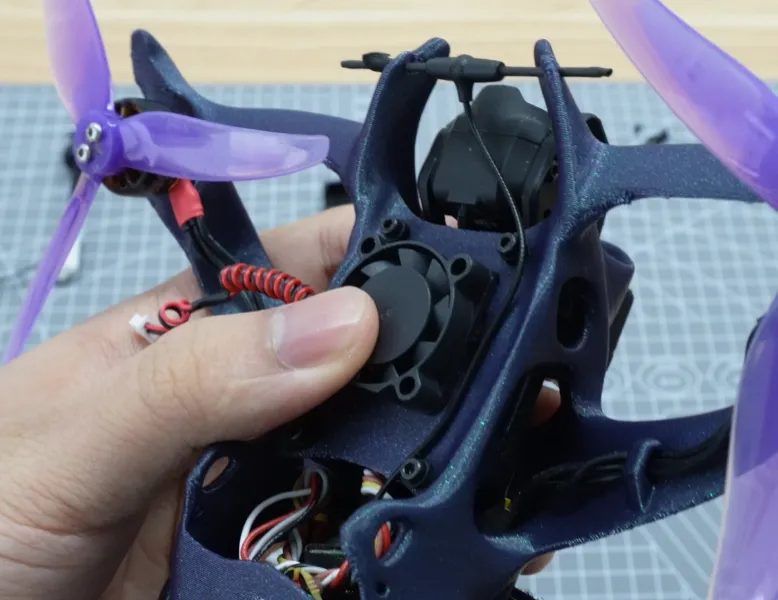
- 5V 2007 Fan (Optional) x 1: RPM>10000
- DJI O3 Air Unit x 1: or other vtx that the chassis support
- AIO Fly Controller x 1: 25.5x25.5mm
- Motor 1404 2800kv x 4: motor size 1404 - 2004, 9mm or 12mm
- Prop Gemfan 4023 x 4: or similar
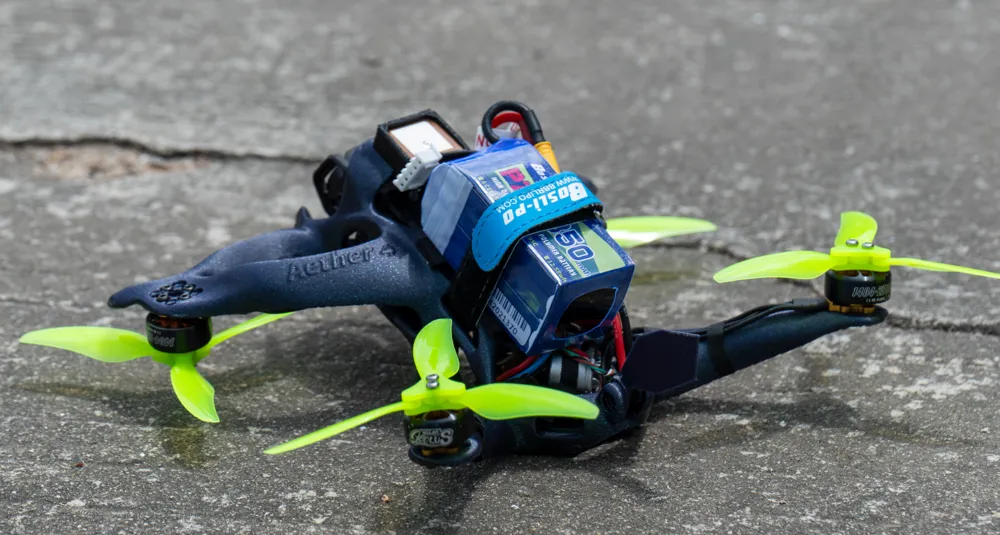
- Battery Bosi Lipo 4s 850mAh x 1:
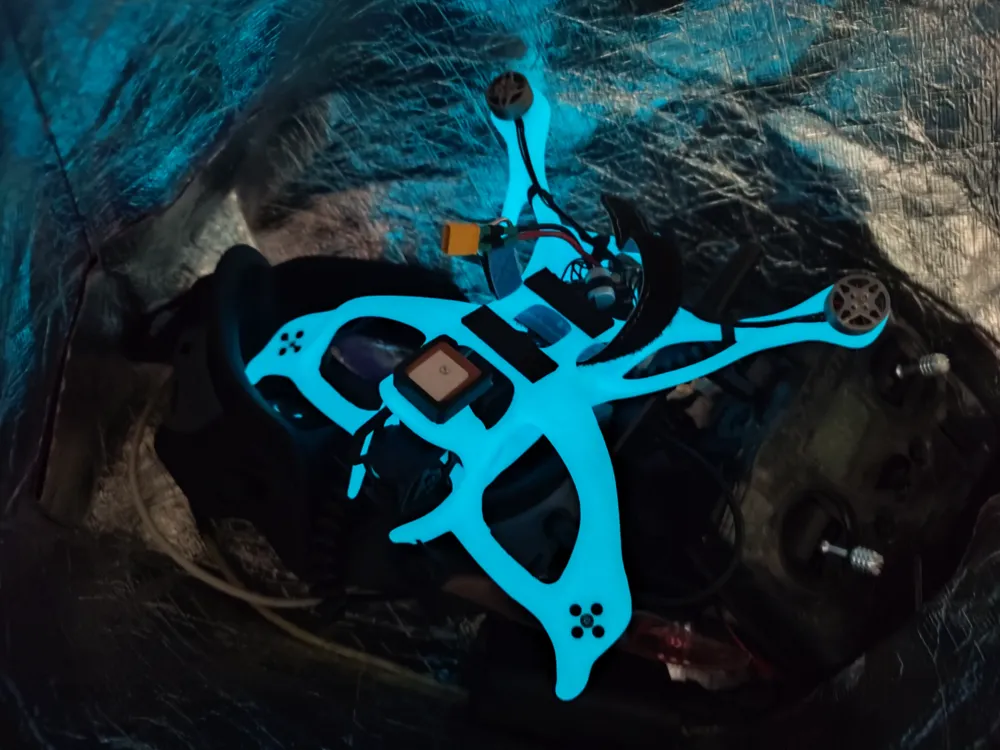
- GPS Cyclone 1018 x 1: 18mm GPS
Description
Notice: This model and the contents below is exclusive to MakerWorld. Any remixes or original copies found on other sites are not uploaded by me and may potentially be fraudulent or become outdated at any time. If you wish to upload this model to other sites, you must include an explicit link leading back to this MakerWorld page and clearly display the author's name. This is mandatory. This is also ensure everyone can download the up-to-date model as I will continue to improve them here.
License Update Notification - October 14, 2024:
Effective October 14, 2024, I have decided that this model will become part of the MakerWorld exclusive program, officially. The license for this model will transition to a Standard Digital License. You are permitted to download and use this file in accordance with the license terms; however, you are prohibited from sharing this model or its derivatives digitially on any other online resource platform, whether free or paid.
Please be advised that this change will not affect models downloaded prior to this date, which will retain their original CC-BY license. Should you require additional permissions beyond the scope of this license, such as for commercial production, we invite you to contact us to obtain further authorization.
Join Breeze Model Pilot Group here https://www.facebook.com/groups/1165452208203912
BTW: Print this to host your VTX – by GiBi
https://makerworld.com/en/models/1609574-aether-moonlight-mount#profileId-1697720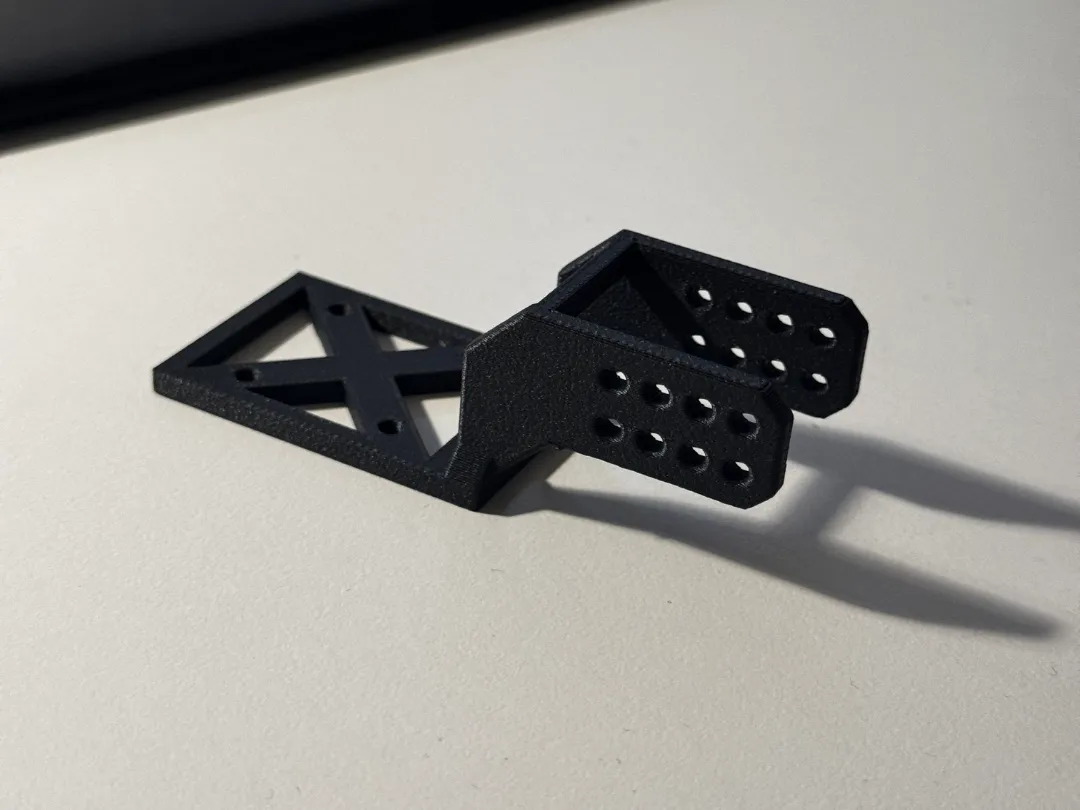
------------
Boost Me (for free)
Your support inspires me to pursue even more exciting projects! Thank you.
Introduction
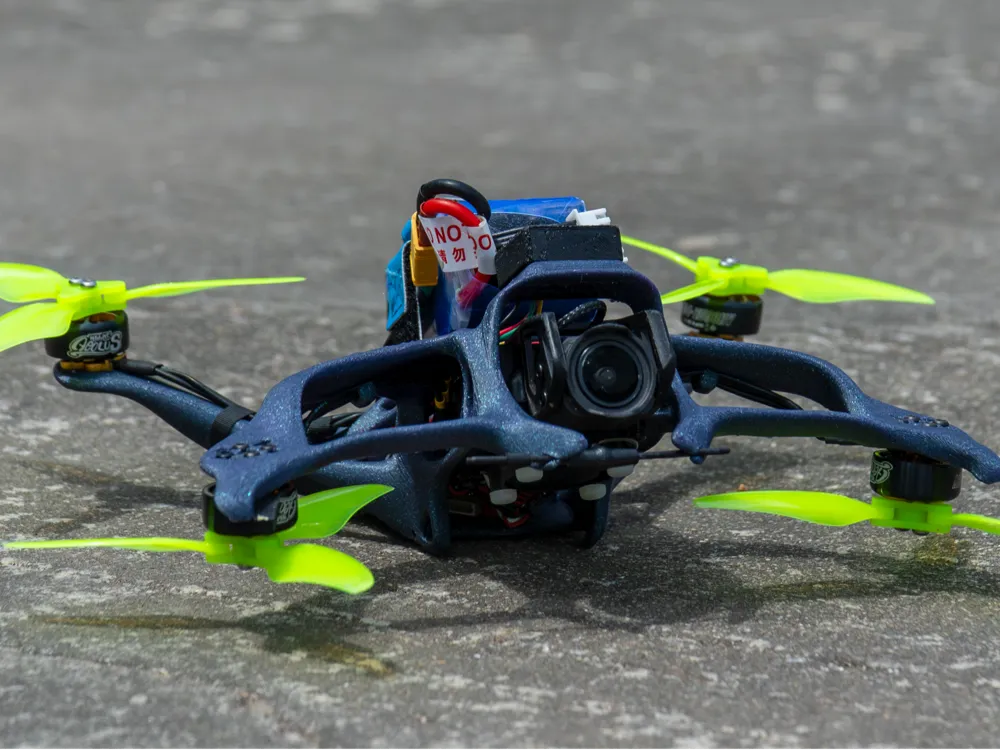
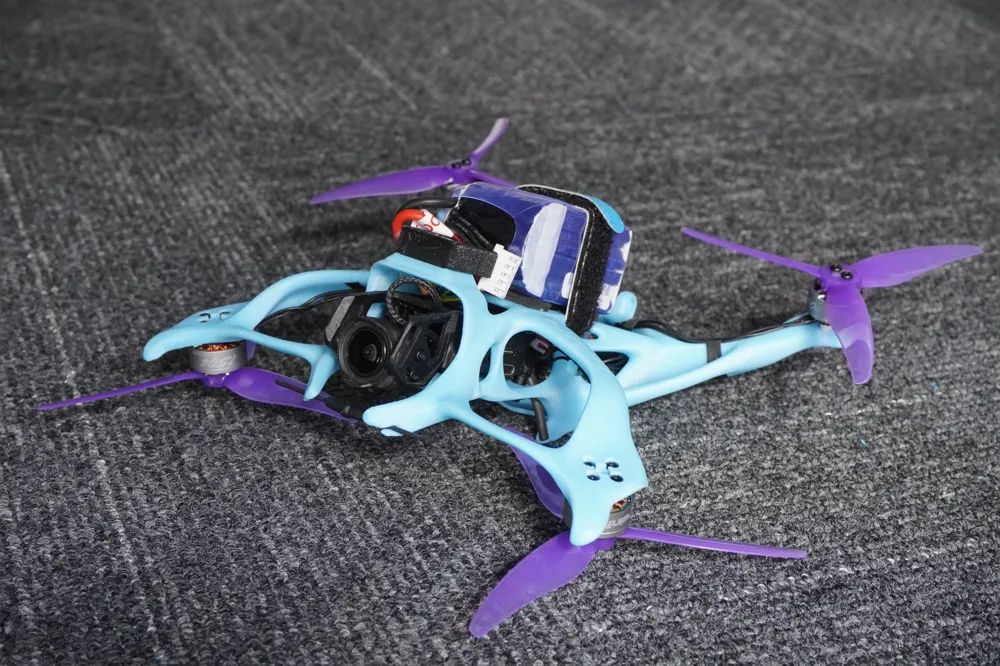
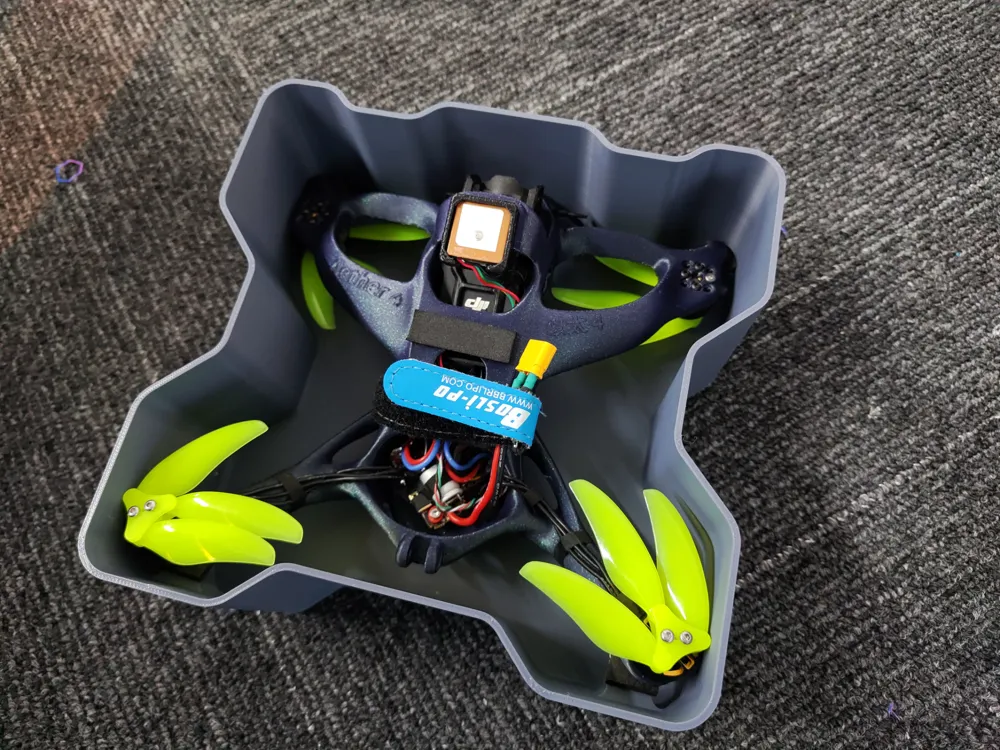
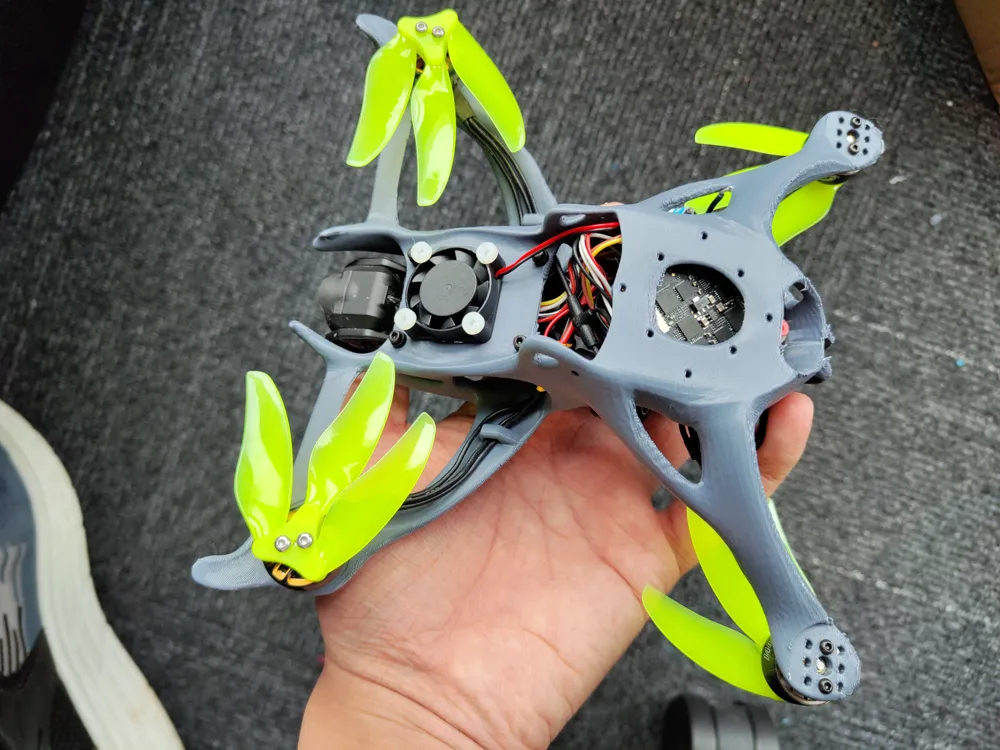
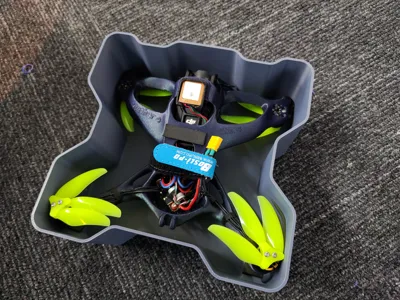
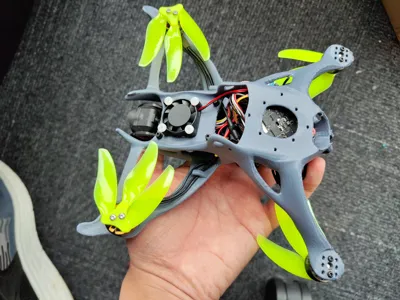
This is the Aether 以太 4, a fully 3D-printed unibody FPV frame for 4/4.5 inch drones, inspired by nature and biomimetic design.
------------
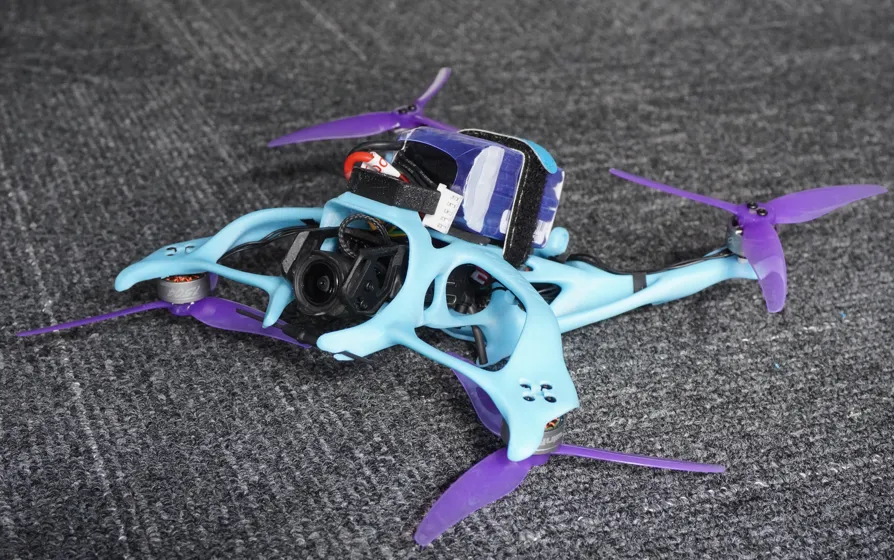
What is it good at
- No frame assembly required. Unibody design, printed in one piece.
- It's rigid yet lightweight—strong but still under 40 grams.
- True X layout, good pitch authority. Not a DC nor squashed X.
- No prop in view. (DJI O3 wide-angle mode)
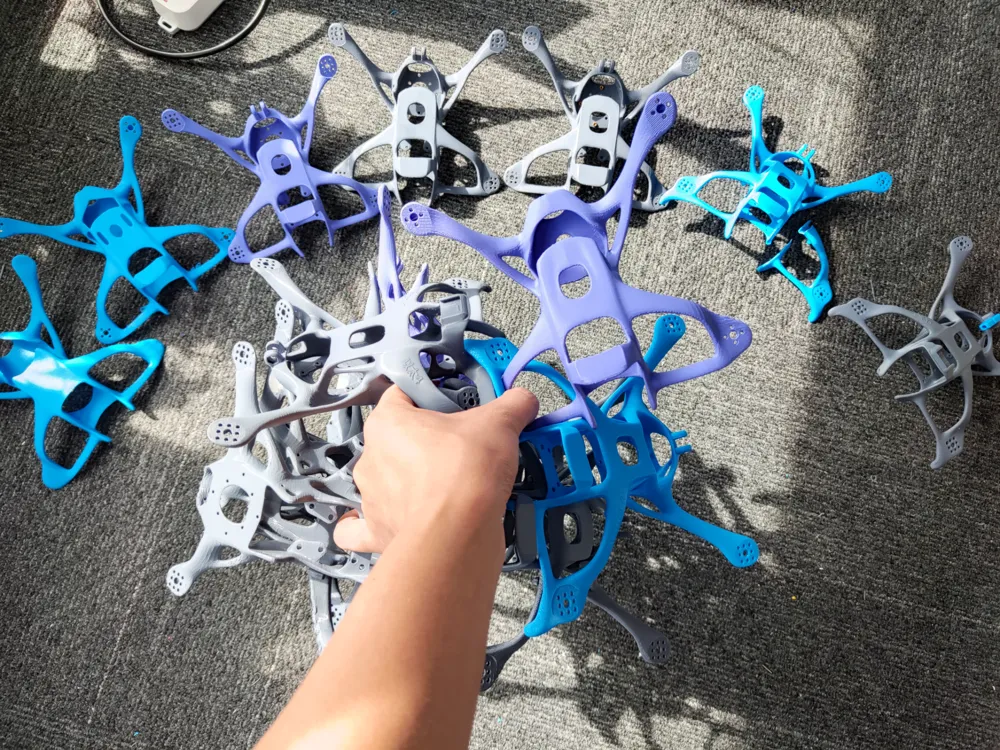
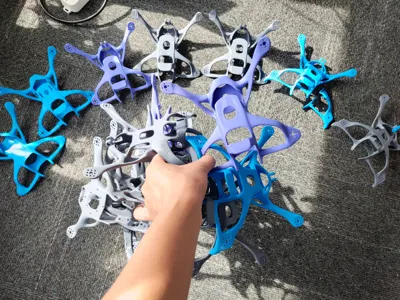
- Low-cost. One roll of filament prints up to 20 copies.
- Aerodynamic design. Efficient and low cruising throttle.
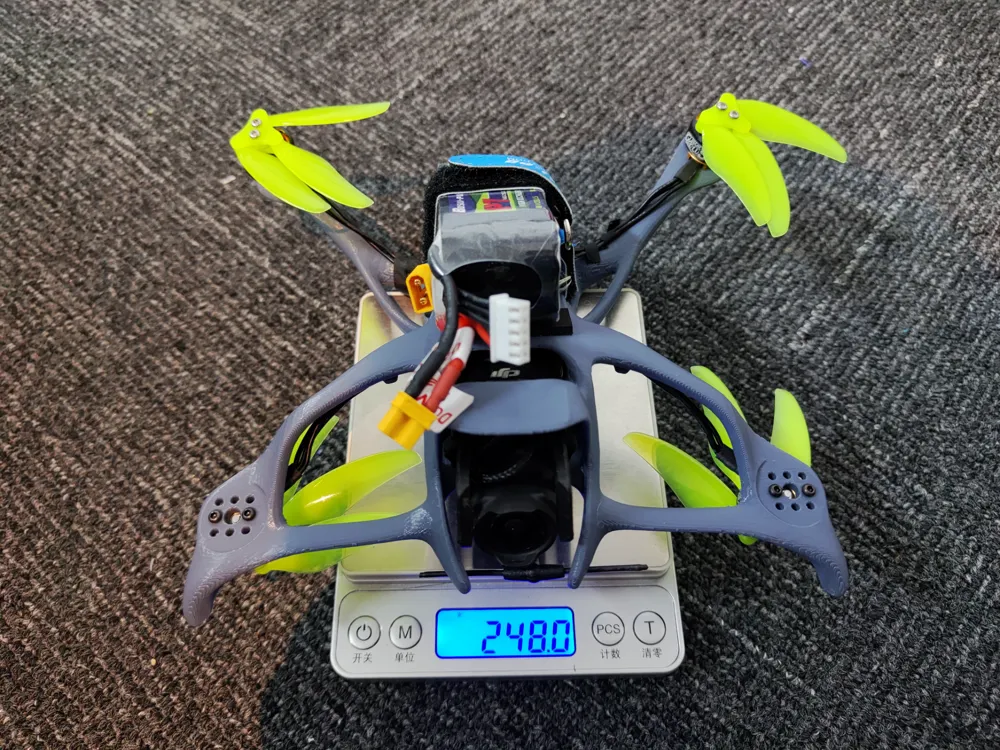
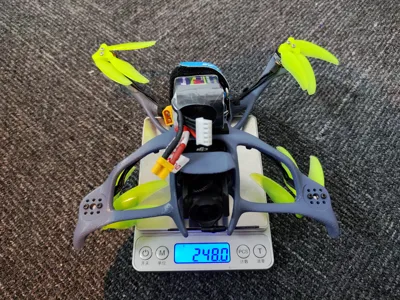
- Sub 250g with 10min+ air time.
- Modification and accessories. Find out more below.
- Customization. Choose your own print setting, materials, or modify the model.
Data you may want to know
FC and ESC: 20 x 20mm stack OR 25.5 x 25.5mm AIO
Motors: 9 x 9mm pitch OR 12 x 12mm pitch
Prop: Maximum 4.5 inch.
VTX: Any VTX that Pavo 20 Chassis supported. DJI O3, Cadicx Vista or RunCam Link.
Motor Pitch: ~185mm x 185mm - X layout.
Sweep Angle: 28deg
Frame Weight: ~40g @ 2 walls
Please see below setup examples.
Sub250 Setup (My Setup)
TOW: ~250g
Motor: Darwin 1504 kv2300 or HLG 1404 kv2800
Prop: GemFan 4525-3 (4.5 inch) or GemFan 4024-2 (4 inch)
Battery: Boshi LiPO P7 850mAh 4S, ~93g
Cruising Time: ~12 min
Freestyle Time: ~6 min
FreeStyle Setup
Frames: Printed with 3 walls
Motor: 2006 kv1900 or 2204 kv1800
Prop: GemFan 4525-3 (4.5 inch)
Battery: 6S 850mAh-1300mAh
Long Range Setup
Motor: 1404 KV2800
Prop: GemFan 4525-3 (4.5 inch) or 4 inch low pitch 2 blades props
Battery: 4S 3000mAh 18650 Li-ion
Cruising time: >30min
Freestyle
--------
How to Print
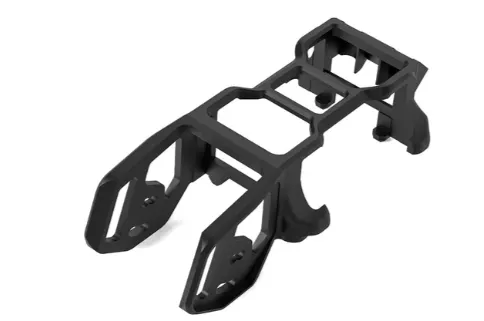
Before explaining the prints, I want to mention that the O3 unit and VTX is sit inside the BetaFPV PAVO 20 VTX chassis which is NOT provided in the print file. You need to purchase one of this to complete the drone. There maybe 3D printed alternatives but I haven't tested any of them.
Please Note:
- The frame was designed to print without infill, infill add little to no strength in this frame.
- The frame is optimzed for the placement and rotation in the print file.
- The supports in the print file are painted and are nessessary for better edges and surface finishs.
Other suggestions:
- Printing with PLA is just fine.
- Rigid filaments are preferred over a flexible one. Carbon-reinforced filament offers even greater advantages.
- For extreme uses, such as heavy freestyle or racing, using a high-temperature filament is essential to prevent the motor from quickly becoming loose due to heat building up under the motor.
- This frame is sensitive to vibrations. Please ensure that your motors and props are well balanced dynamiclly.
Fly Controller Setup (BetaFlight 4.5+)
The frame works well in default BetaFlight tuning.
However, if you still see vibrations or jellos, please check your motor and prop balance first.
If it is wabbling in lower frequency or motor geting too warm after a test flight, then I recommend to start tunning with lower D gains and heavier gyro and Dterm filters. Start with below setting.
set gyro_lpf1_static_hz = 0
set gyro_lpf2_static_hz = 400
set dyn_notch_count = 2
set dyn_notch_q = 500
set gyro_lpf1_dyn_min_hz = 200
set gyro_lpf1_dyn_max_hz = 400set dterm_lpf1_dyn_min_hz = 60
set dterm_lpf1_dyn_max_hz = 120
set dterm_lpf1_static_hz = 60
set dterm_lpf2_static_hz = 120
set d_pitch = 36
set d_roll = 31
set d_min_roll = 23
set d_min_pitch = 27
set simplified_d_gain = 80
set simplified_dterm_filter_multiplier = 80
Please make sure the motor screws are tighten before flight, plastic can bounce screws out after a flight. Or use screw locker (glue).
Avoid high load which heat up the plastic under motor, it will cause loose screws and vibrations.
This is the key to get clean flight.
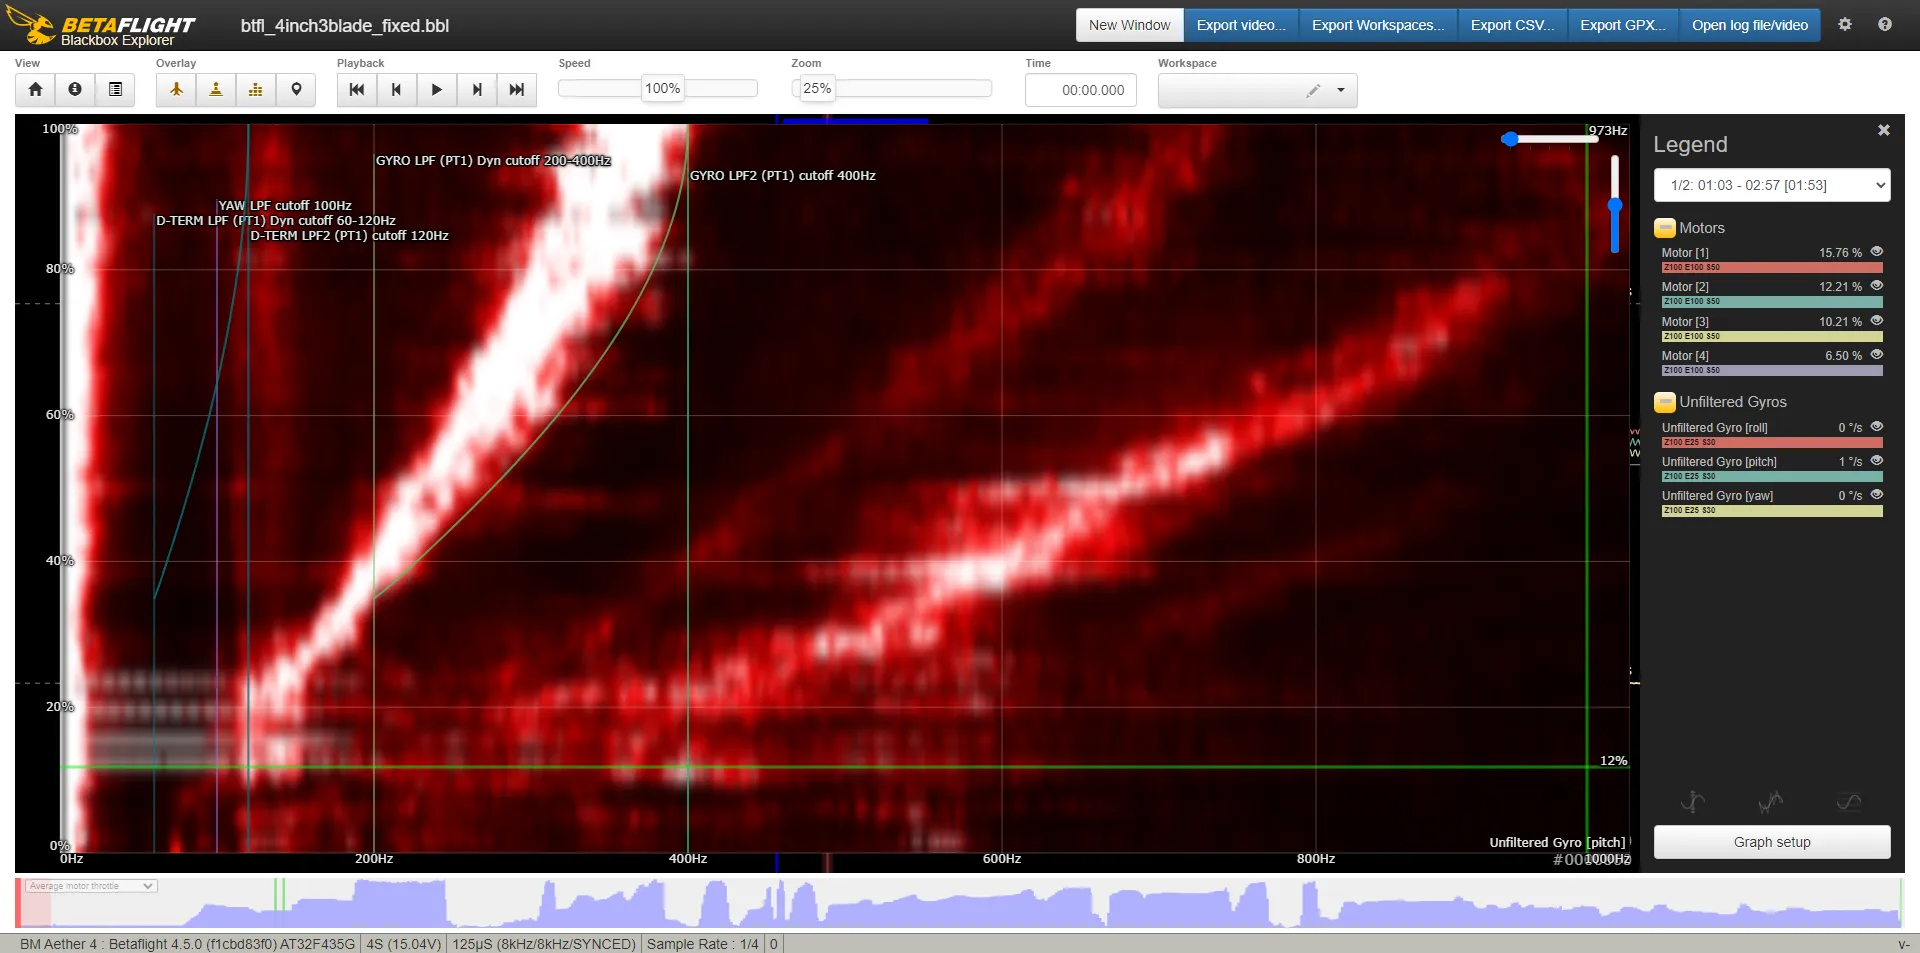
Here is the vibration analysis after a heavy loading flight. The screws are found loose abit and the next flight look much nosier. Once the screws are tightened, the fight get clean again.

----------
Assembly Videos
English
Chinese Bilibili
--------
Accessories
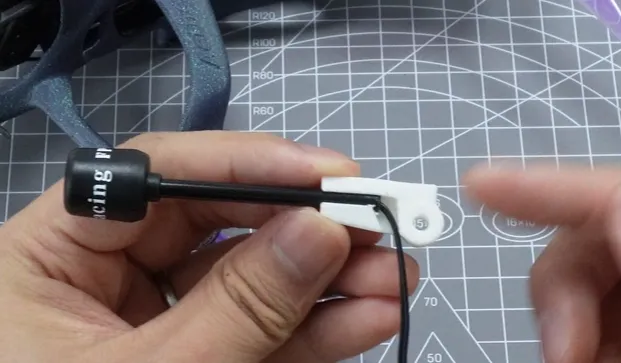
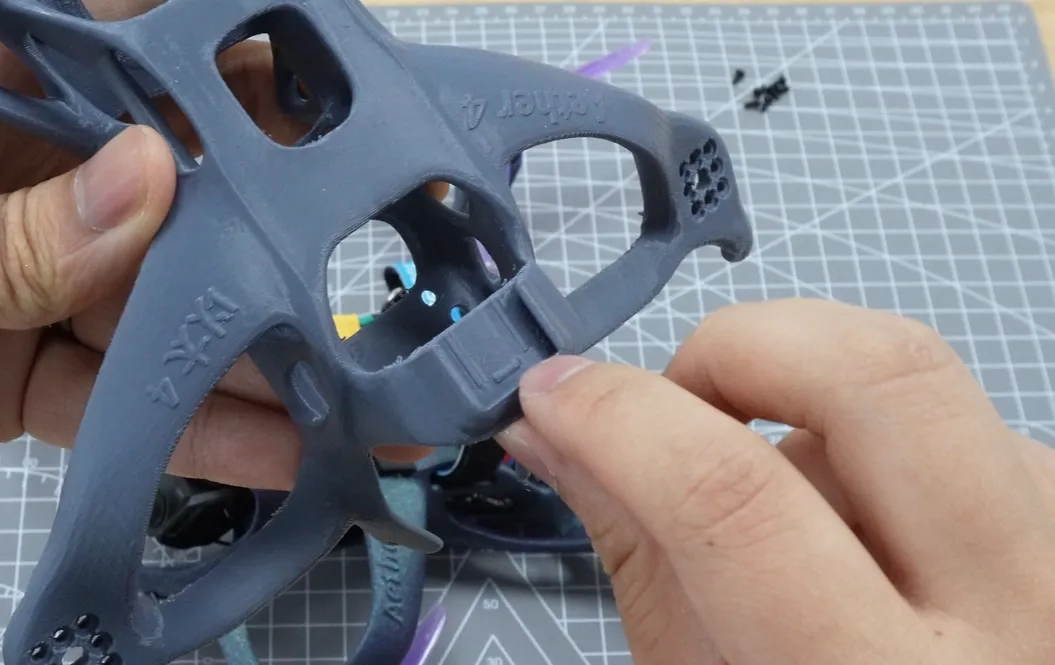
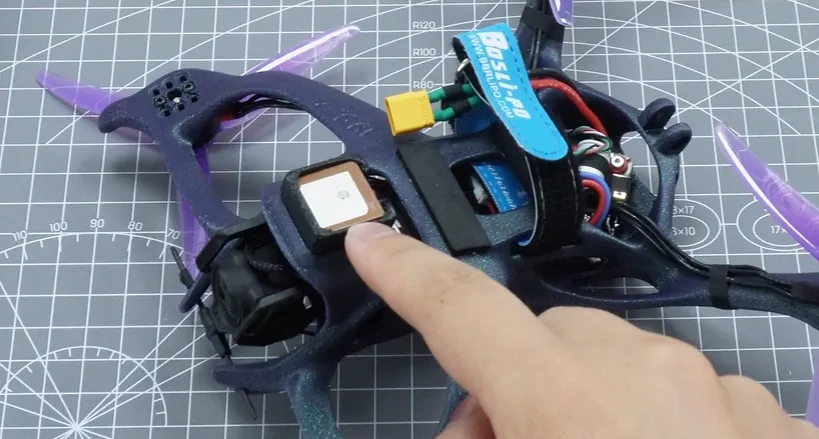
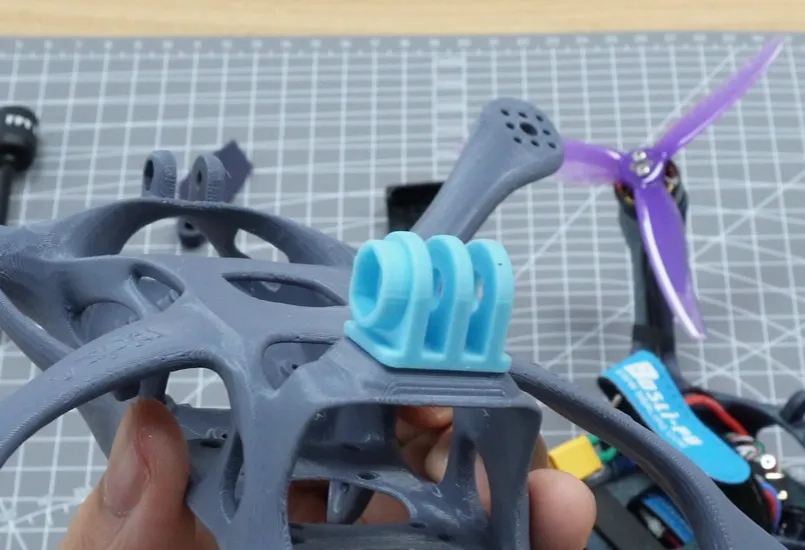
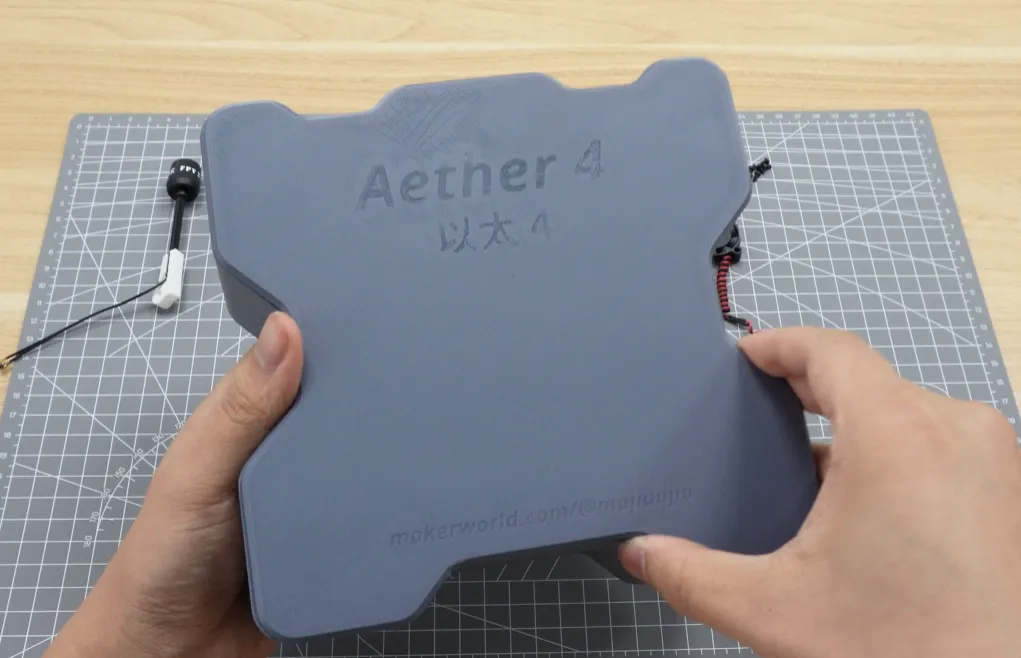
All assessories shows below can be found in the print profiles.
--------
Membership
The story behind this project
It all started when I was using a 2-inch drone to chase the Breeze MX Flyingwing, trying to shoot some videos, and realized it wasn’t fast enough. I looked around for a 4-inch Sub250g drone, but all I could find were the same types of carbon fiber frames. They all looked the same to me and had there design limitations. I think true design should involve smooth, continuous curves—like in nature.
That’s where 3D printing comes in. It lets us create things in three dimensions without the hassle of making molds, which is perfect for natural, biomimetic designs. Though, 3D printing is widely used for making small parts, like landing pads or camera mounts for drones. I started thinking, why not use this technology to make a whole drone frame inspired by nature? I was also completely new to the method of 3D modeling with Blender, so I decided to practice on this frame. I’m not saying carbon fiber frames are bad, but I wanted to show everyone something different.
This frame is designed to be lightweight for long range fly. You might be surprised—it looks sturdy, but it's actually lighter than carbon fiber frames. Carbon fiber is stiff and strong, but to build a three-dimensional structure, you need lots of screws, CNC parts, 3D printed components, and pillars, which makes it hard to optimize the structure. This frame design, though, is made all in one piece. While plastic isn’t as mechanically strong as carbon fiber, it allows for much more creative designs and structural optimizations.
Like I said, 3D biomimetic design maximizes material use, distributes stress evenly, and mostly uses curves. The weight of the material is focused where strength is most needed.
So, what are the benefits of designing in 3D? For example, traditional carbon fiber frames often have problems hiding the propellers because the camera and propellers are at the same height. But with 3D modeling, you can avoid this problem completely. Aether 4 lowers the propellers, while raising the camera position, keeping the props out of the camera’s view easily. This lets the drone have a regular "X" structure, which fly better than a DC or other configurations. There are many more benefits to this design, and I could make another video to talk about them if you’re interested.
However, the 3D-printed drone isn’t perfect. I made some adjustments to reduce vibrations. I increased the rigidity and changed the resonance frequency to match that of carbon fiber frames.
In conclusion, 3D printing shouldn’t just be a side character in drone technology; it should be a star, especially with biomimetic designs. It’s a fast-evolving field, and 3D-printed frames are a trend that’s both simple and cost-effective.
I hope this project inspires others to improve and solve some of the small issues. The design for this frame is available for free. You can download it using the link provided. If you print it, please respect the usage agreement and credit the original link.
Designs
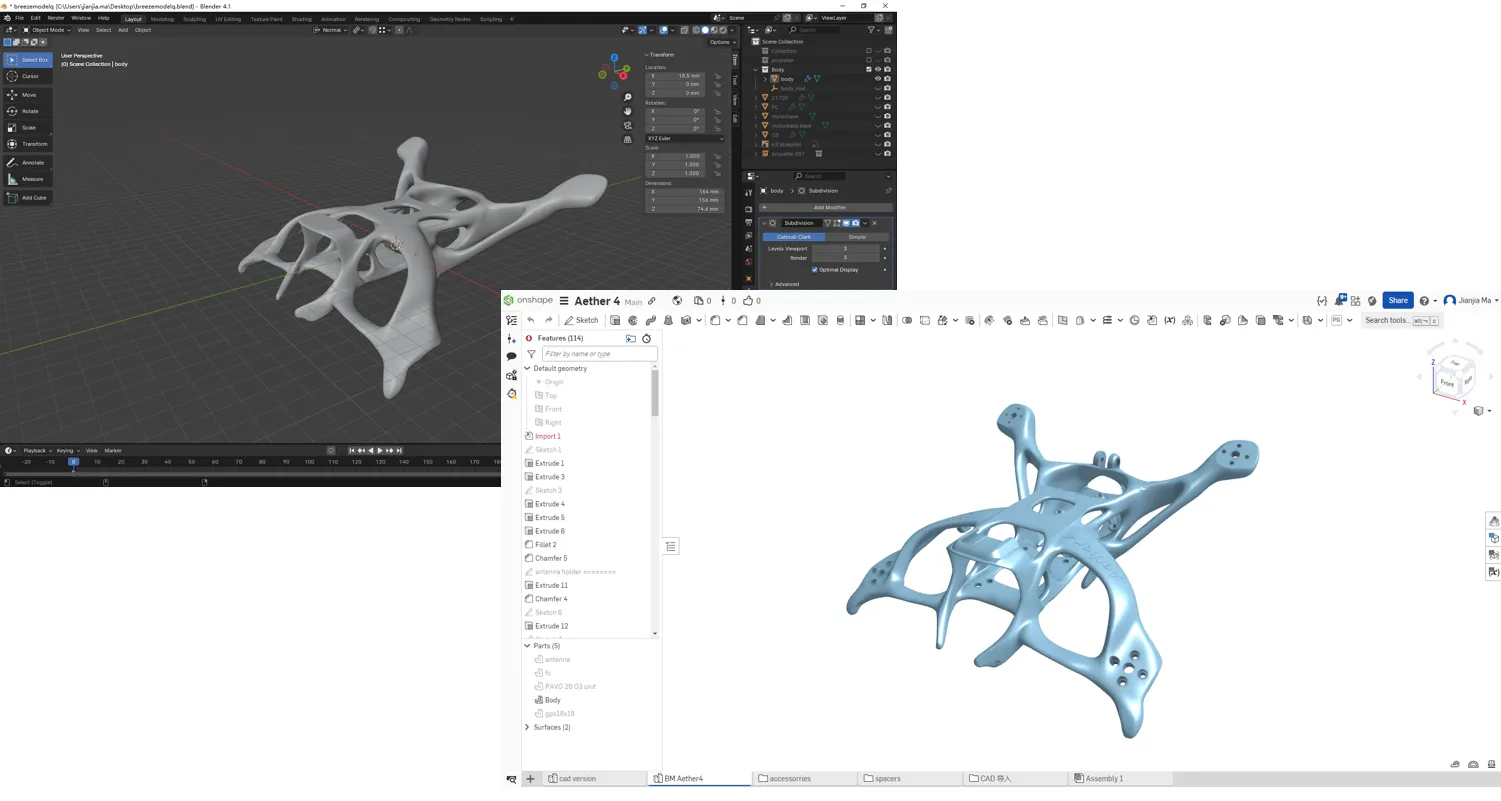
Many people have asked for stp file. However, it is not a regular CAD modeling so a stp wont help much.
Instead, here is the original design linke in onshape. You can export any format from it as you like.
https://cad.onshape.com/documents/eb659fa41c7c4220243f3fff/w/f87cbdc8360e4ee17ac58f58/e/38b4be1f959c0ede52527daf
License

You may create derivative works based on this object, provided that all such derivative works are published exclusively on the MakerWorld platform and include proper attribution to the original creator. You may not share, upload, host, distribute, or publish this object—or any derivative work of this object—on any other digital platform, marketplace, or distribution channel. Commercial use of this object and any derivative works is strictly prohibited. This includes, but is not limited to, selling, renting, sublicensing, or using the object in any context in which you receive monetary compensation or other financial benefits.


Comment & Rating (1015)