
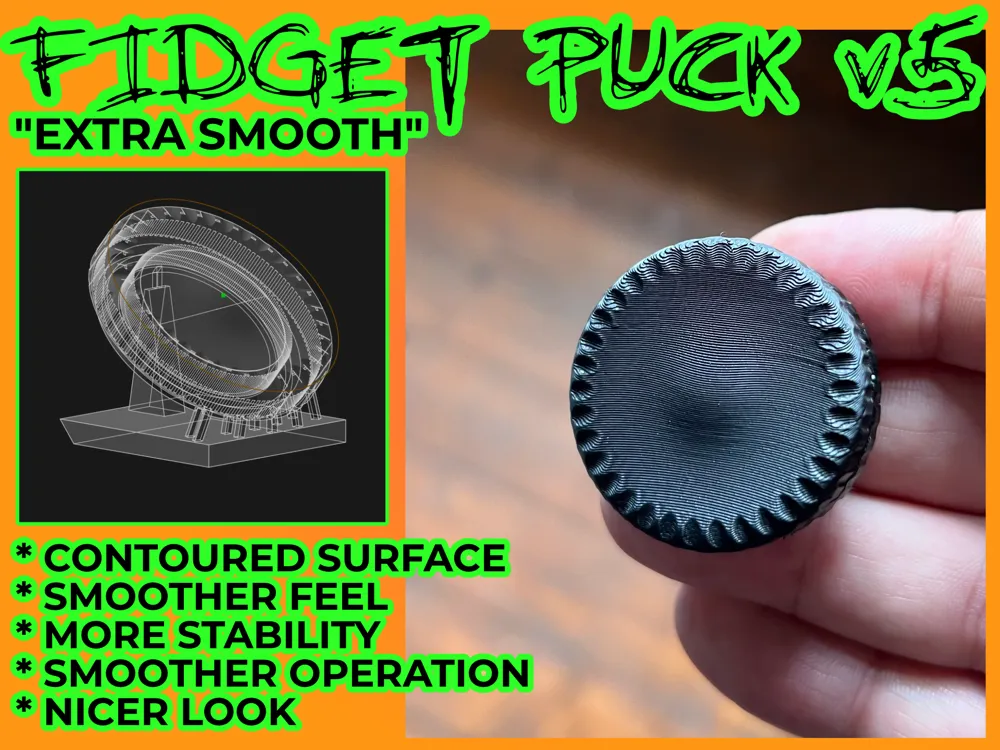
Fidget Puck v5 "EXTRA SMOOTH"
Print Profile(2)


Bill of Materials

Description
Fidget Puck v5 "EXTRA SMOOTH"
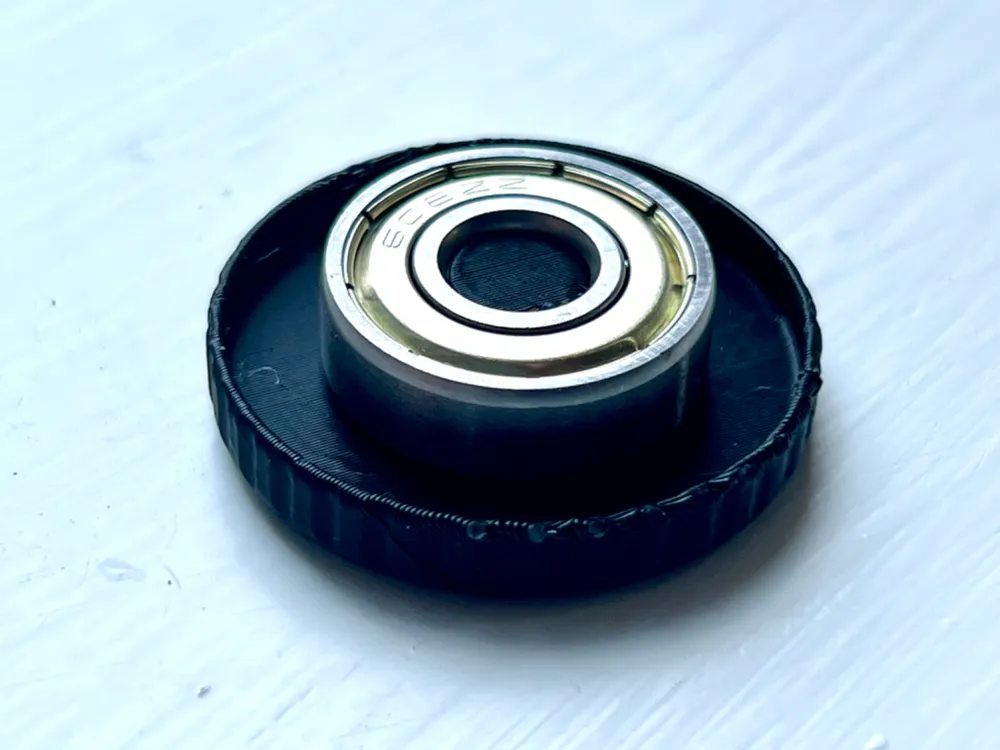
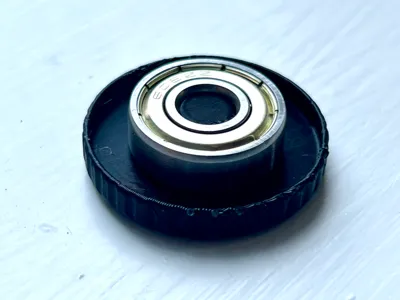
For this model you need to provide one 608 (or 608z/zz) ball bearing (aka roller skate bearing, easy and cheap to buy online)
Fidget Puck History:
- v1 - basic turntable
- v2 & v3 - never released, simple print
- v4 - smoother operation, refined edges, symmetric, simple print
- v5 - (this model) brand new surface, the best one yet, longer print, some post processing required
- v? - next version, in development
What's new in v5?

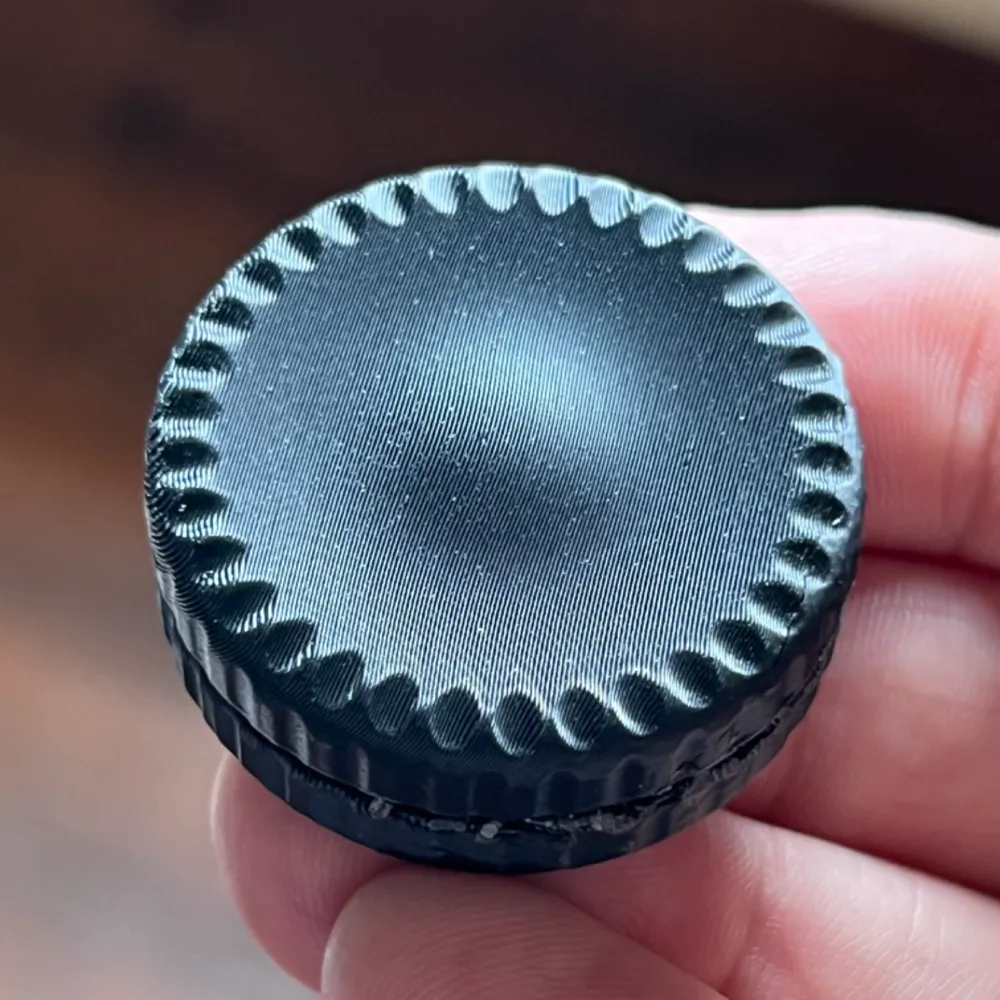
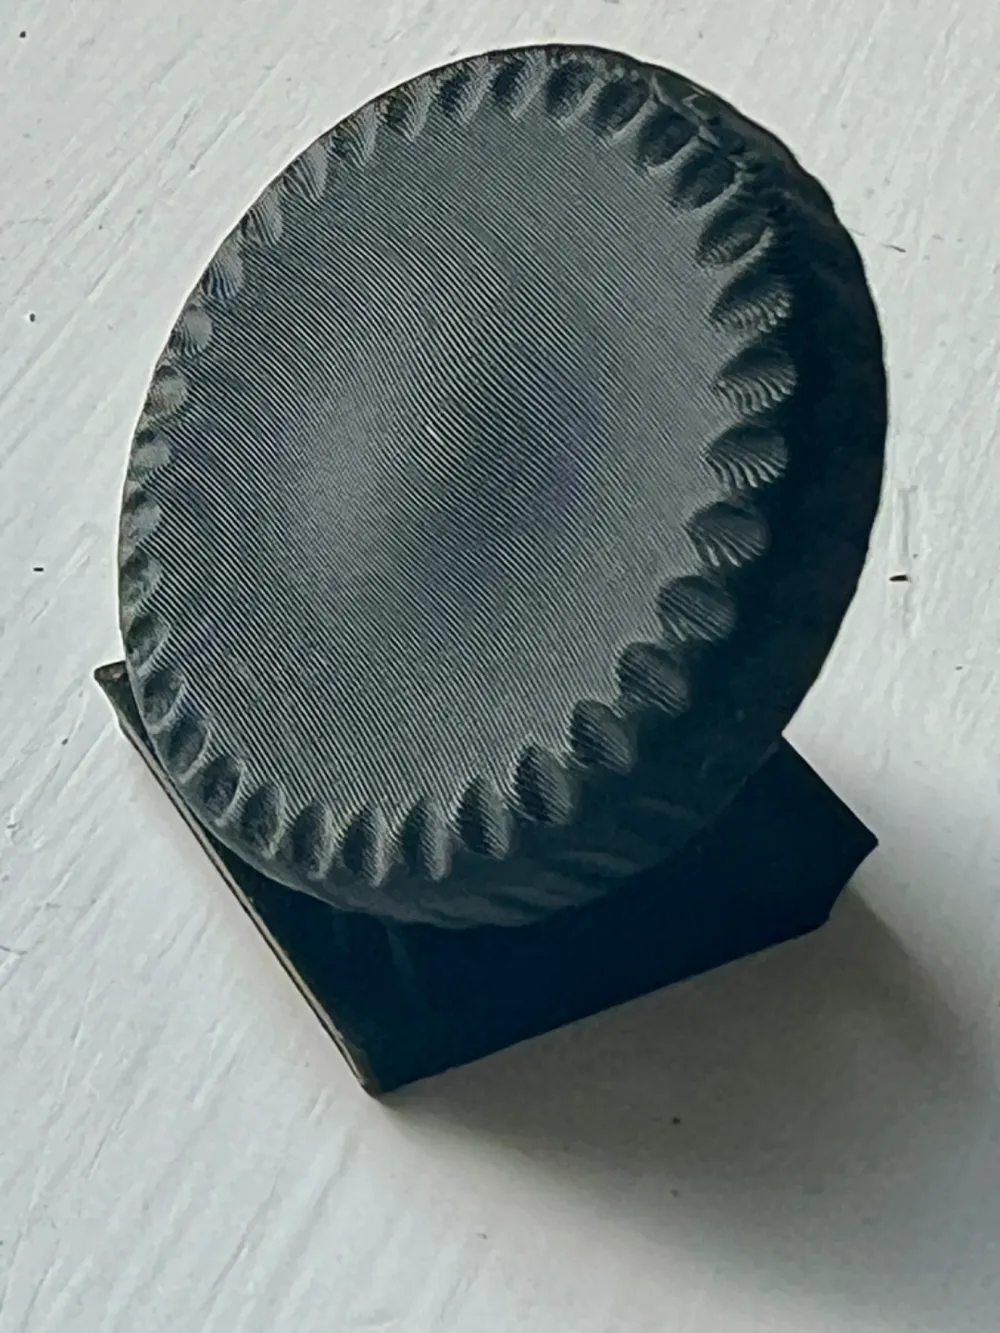
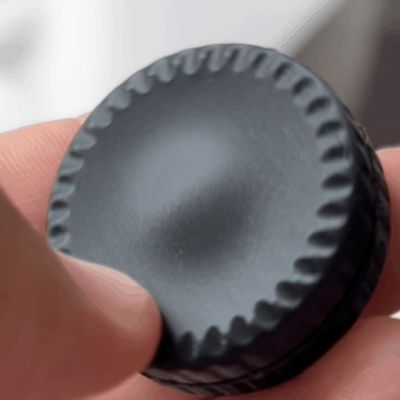
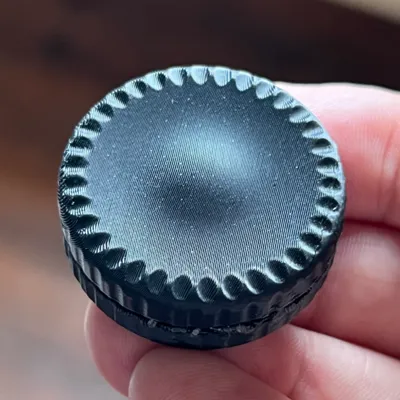
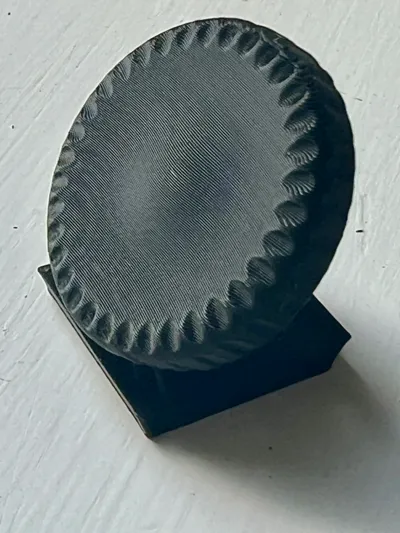

- More touch satisfaction: Contoured top surface
- EXTRA SMOOTHNESS: Outer shell is now independent from the build surface
- Finally symmetry: tiny measurement error fixed
- More stability: better infill
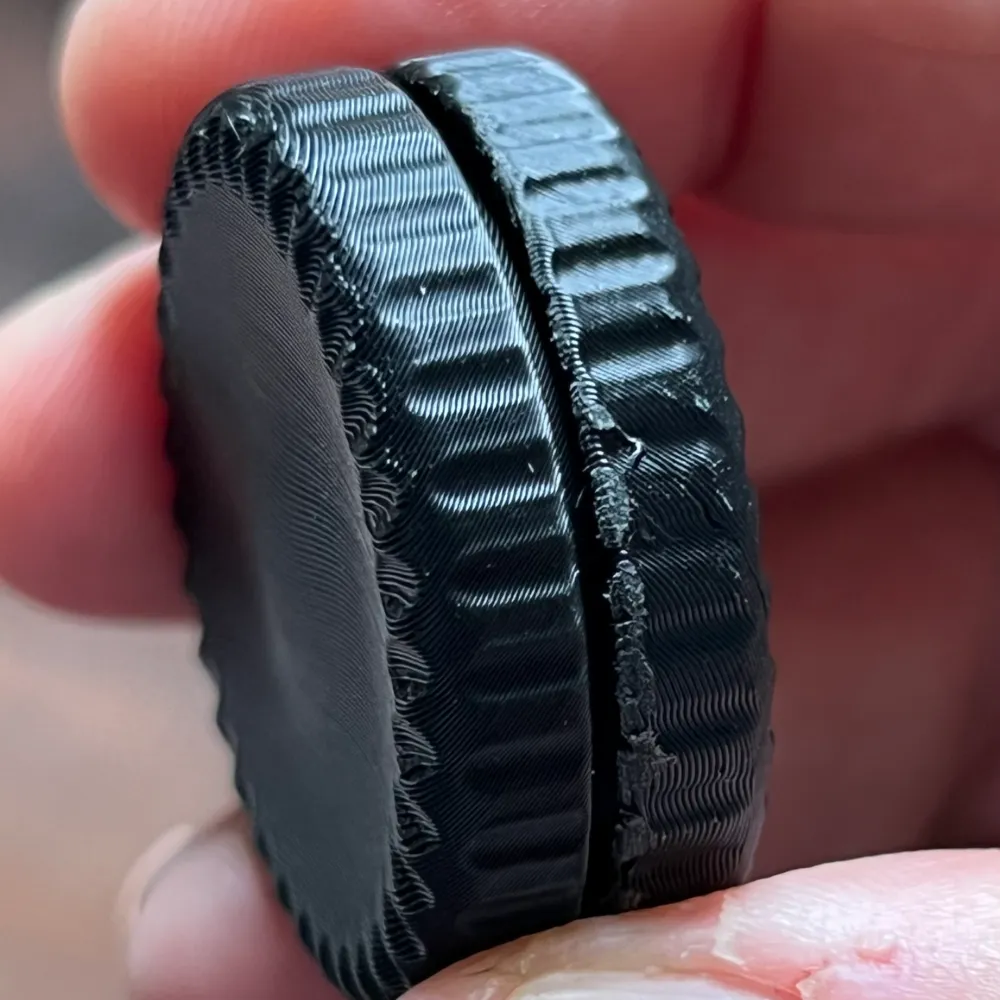
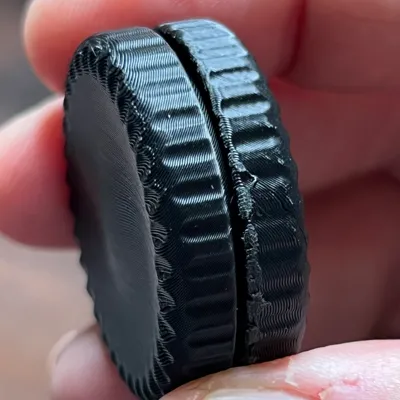
- Nicer touch and look: Side knurling added, hard edges rounded
The story
Fidget Puck is the project I'm cutting my 3d modelling and printing teeth on. Great learning experience! The first versions were rather simple compared to this new one. While v5 is a bit more complex, it is also so much more satisfying to hold and play with.
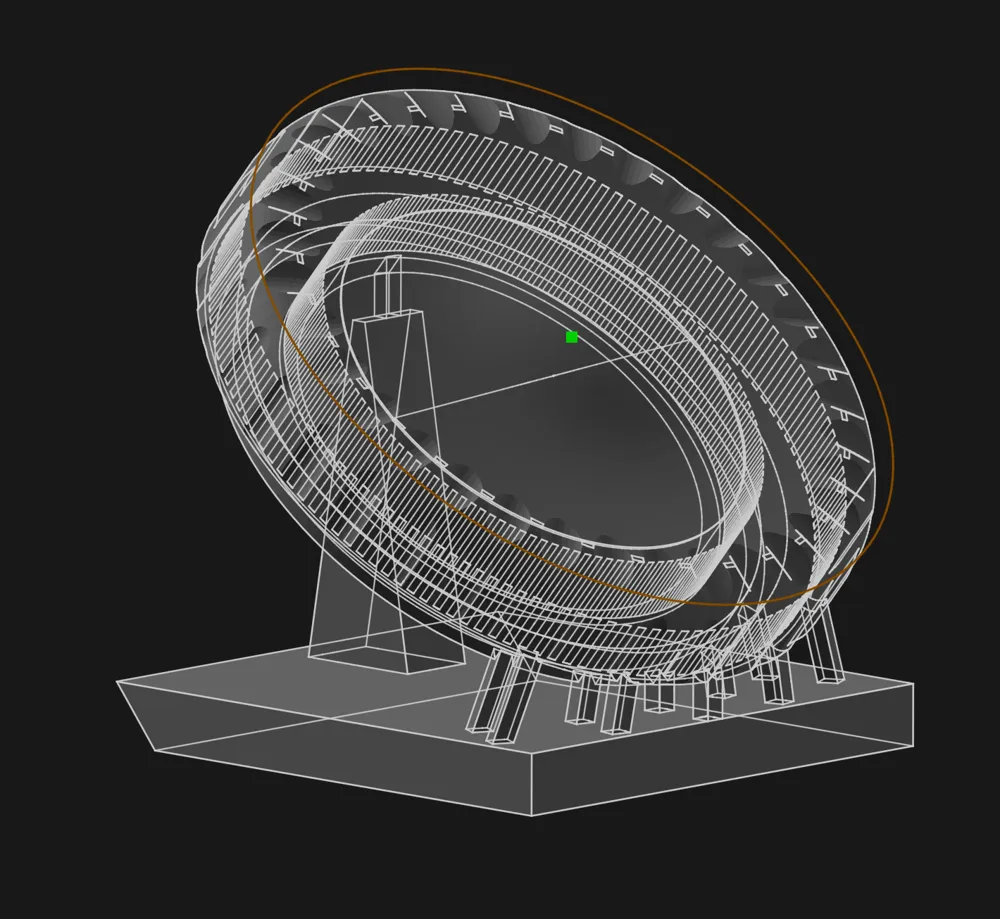
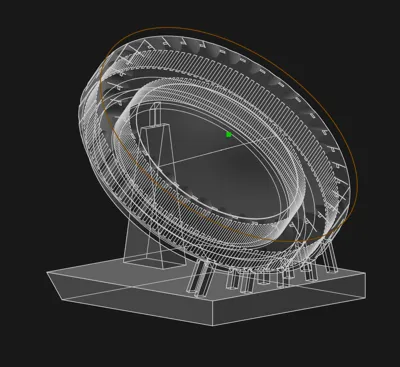
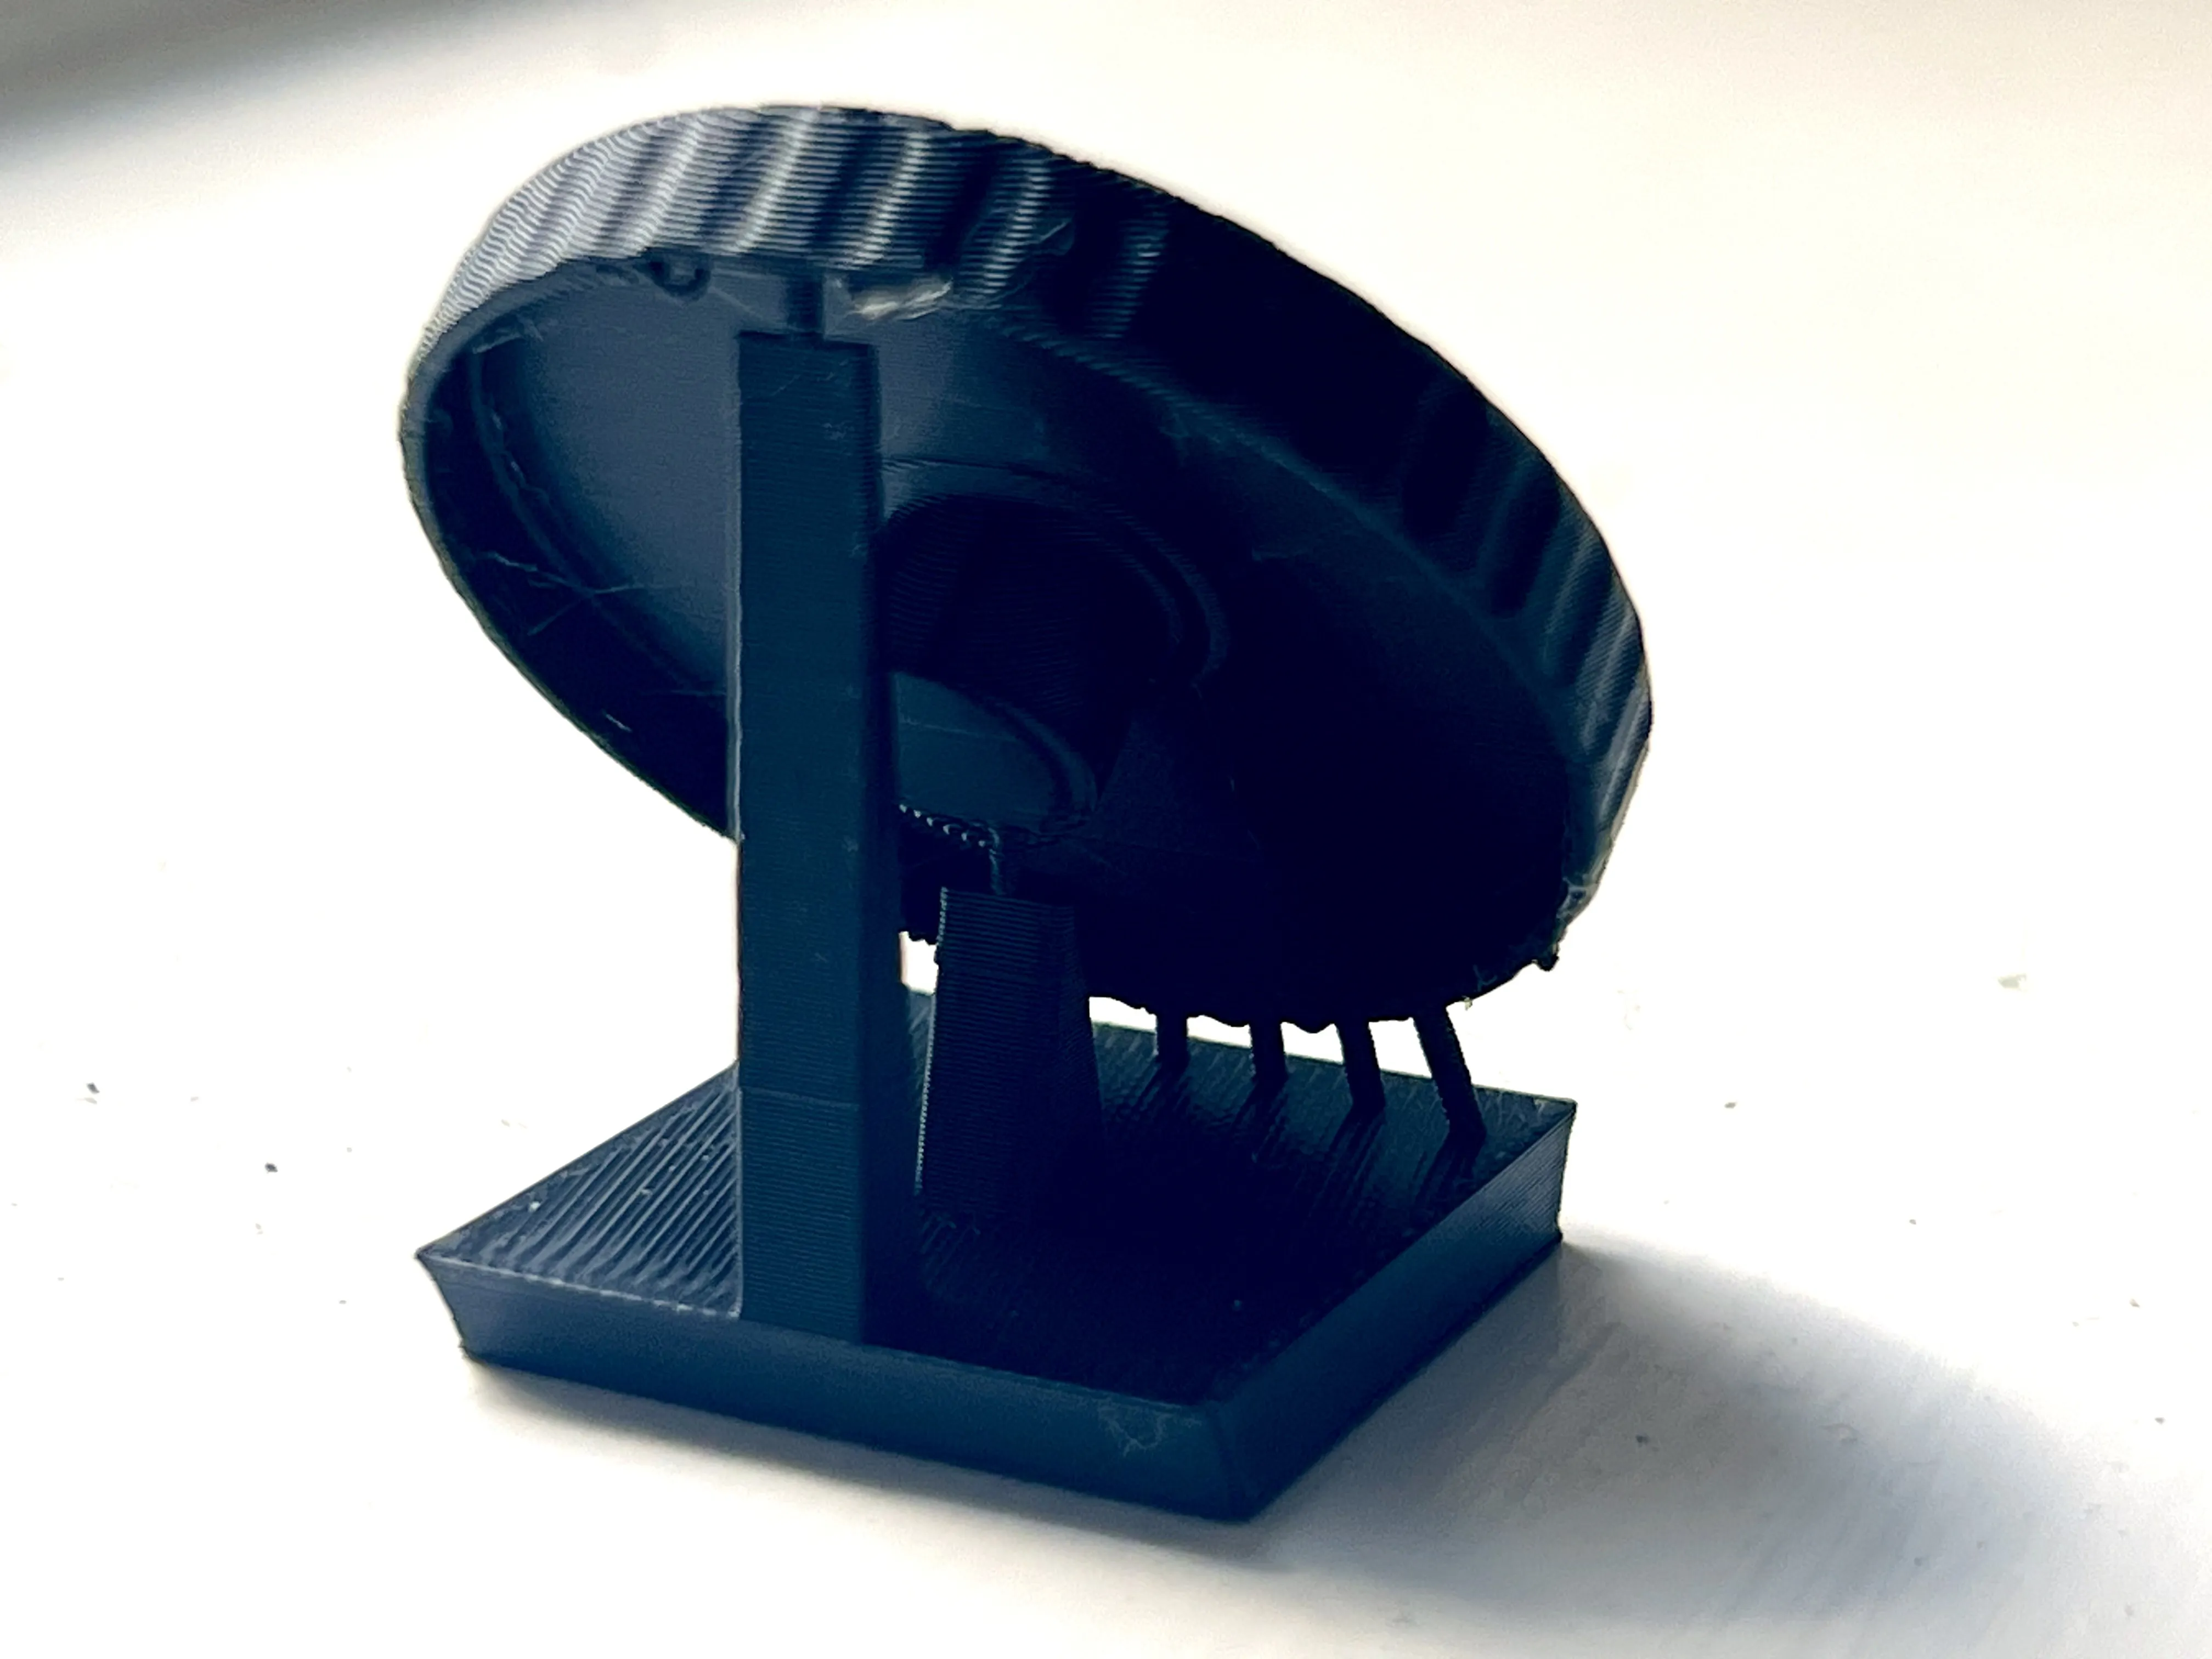
The smoothness is achieved by eliminating the influence of the print plate. I had to place the model at an angle and design manual supports that should easily clip off with a knife or some edge snips.
I wasn't super happy with the surface finish, the textured PEI plate felt too rough and the knurl indents didn't print nicely. It took me quite a lot of experimentation of print orientations and especially the support situation and print speeds to figure this out. Seasoned 3d printing pros might go d'uh but this was a great learning opportunity for me.
You can still find v1 here. v2 and v3 were too embarrassing to show. v4 is here and prints faster.
Important: this version will require cleanup
Unlike v1 and v4, this one will need a tiny bit of cleanup. It will print with some small tabs that you need to break and either sand off with a bit of sandpaper or cut with a sharp knife. Note: The sandpaper will leave some matte spots on the edge. To make those glossy again, carefully (and briefly) apply some heat. I really carefully used a lighter for that. If you're not old enough to handle a lighter, ask your parents.
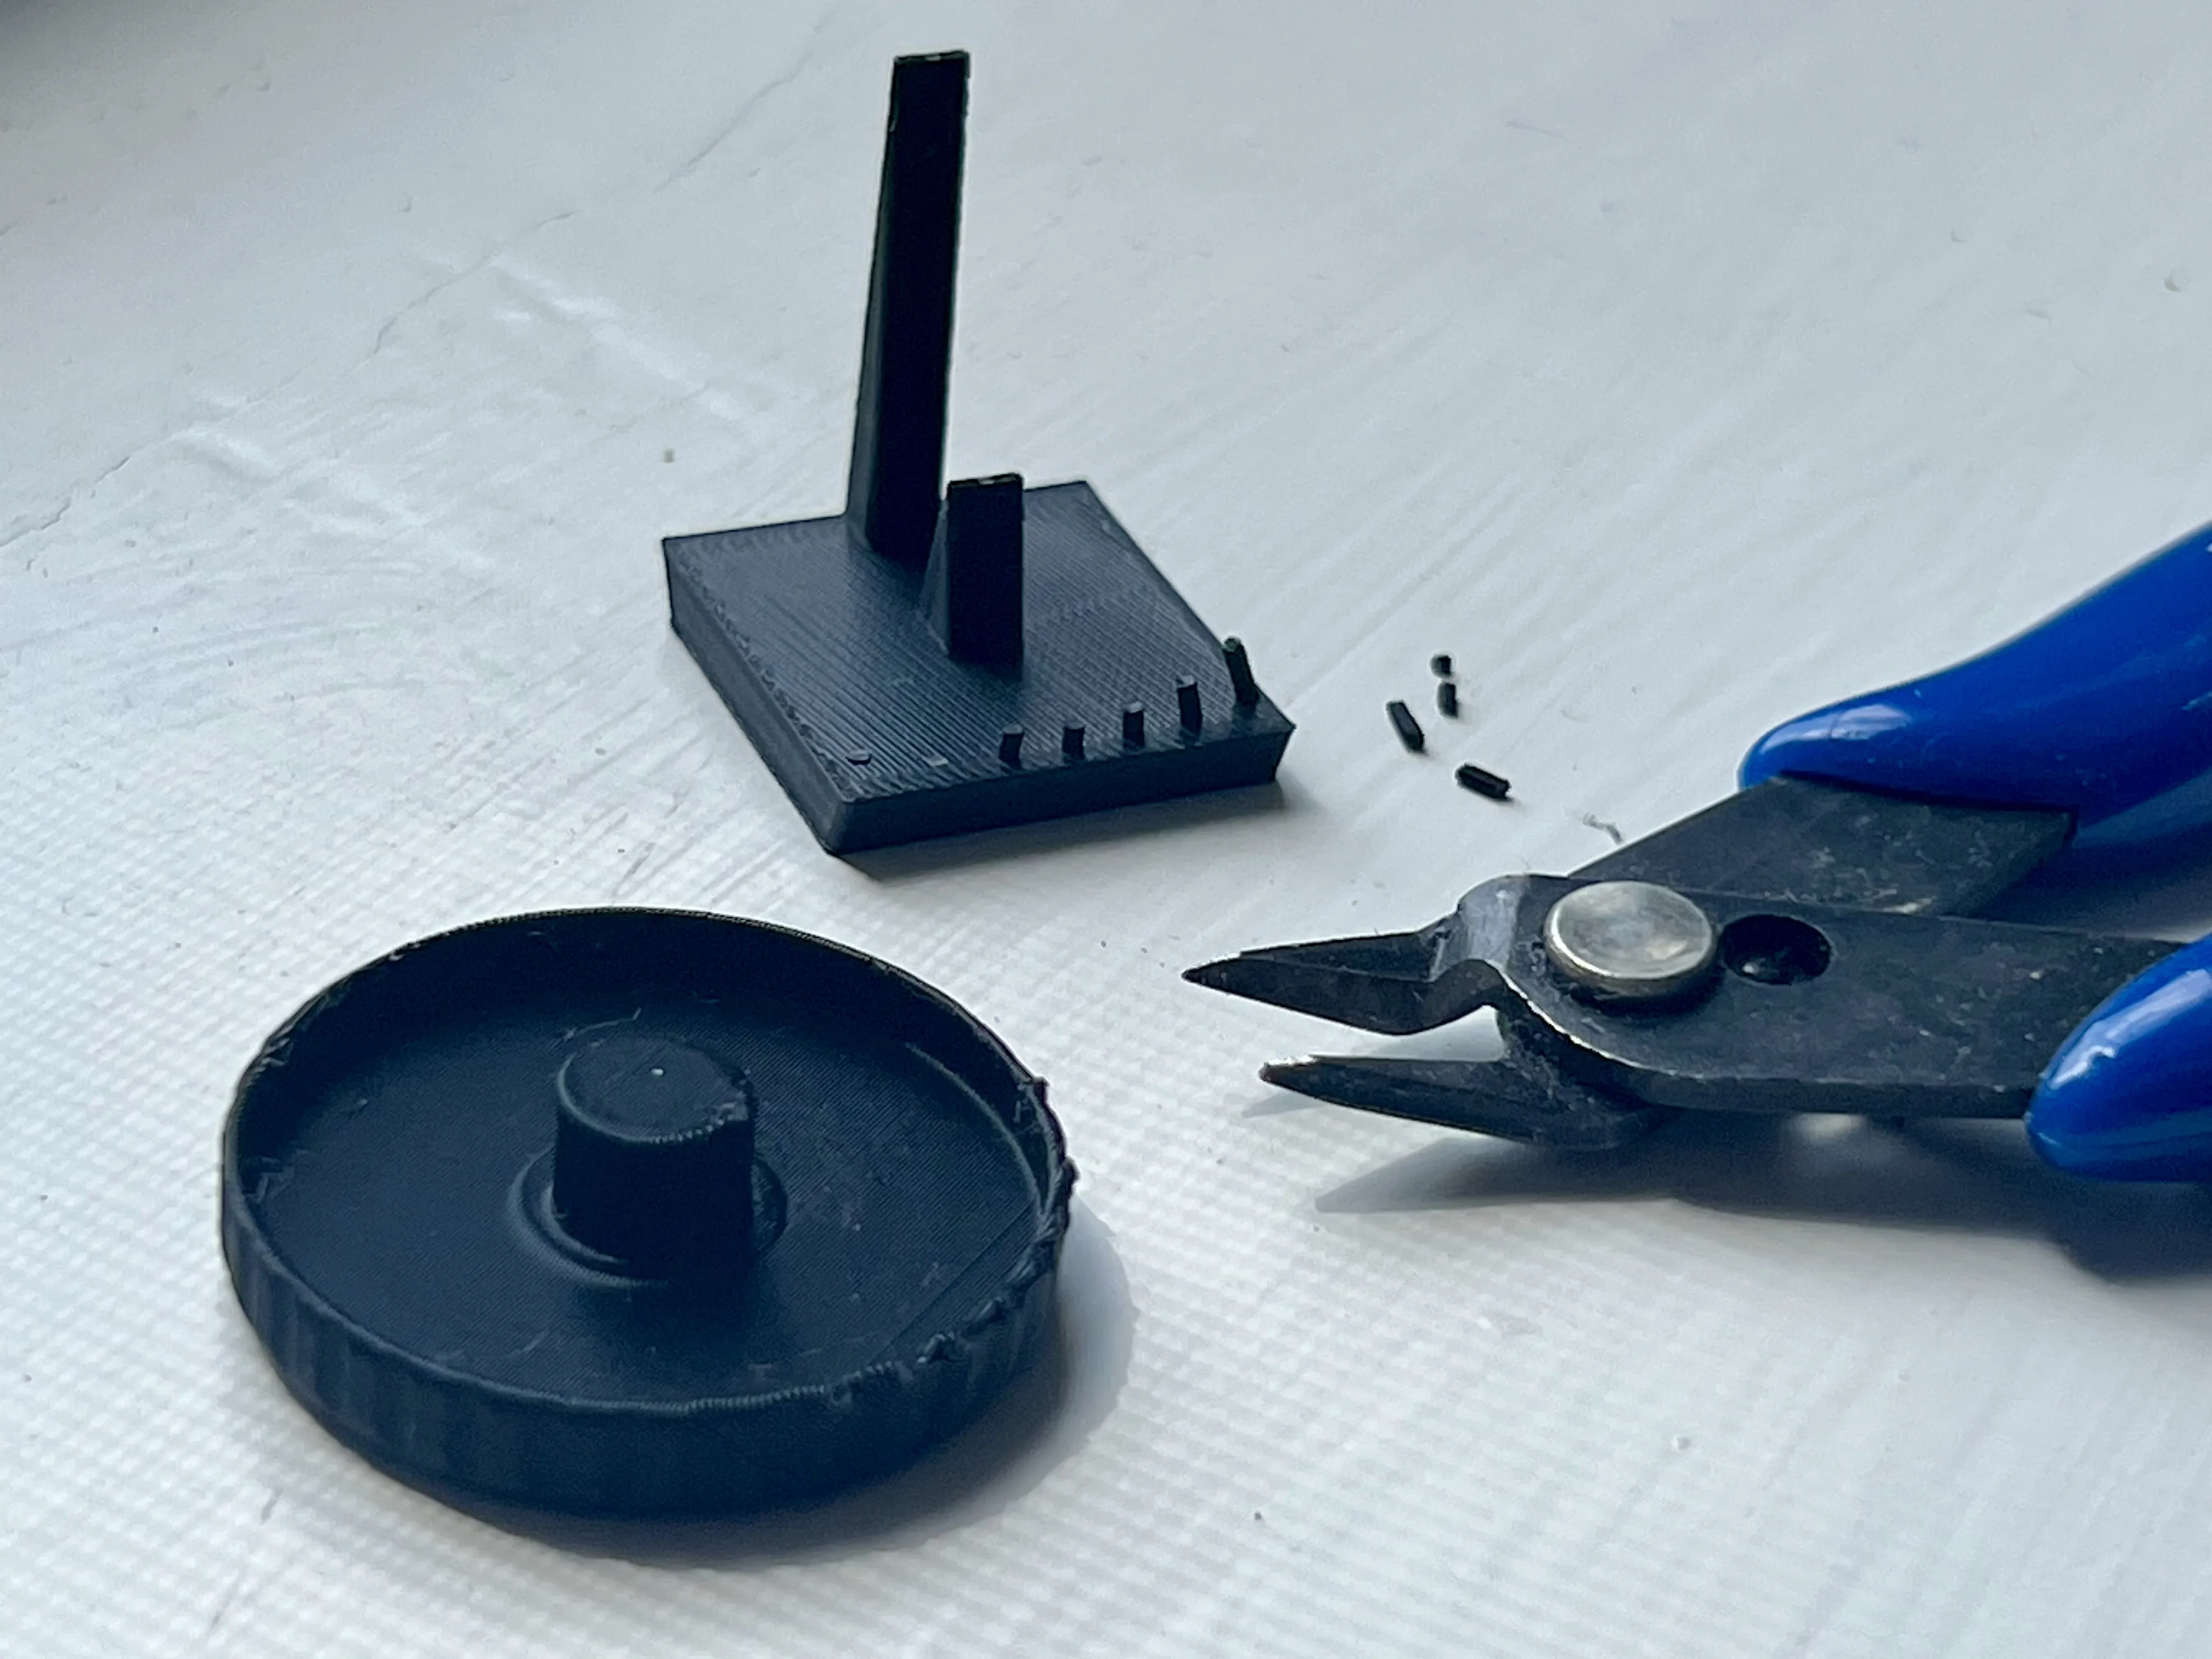
Build instructions:
- Print the 2 shells
- Break off the supports at the tabs and if the remaining stubs bother you, carefully sand (or cut) them down
- Press a 608 (or 608z or 608zz) bearing onto the stub
- Press both halves together
Tolerances / Bearing Fit:
Bearing fit tolerances should work fine if you print with the provided files. This should allow for a good press fit.
- Printer: A1 mini
- Filament: Bambu PLA Basic
- Layer height: 0.16 mm
- Nozzle diameter: 0.4 mm
What's next?
Version 6 is in the making. It will incorporate one really neat and super satisfying new element. Stay tuned!
Happy fidgeting!
License



Comment & Rating (40)