
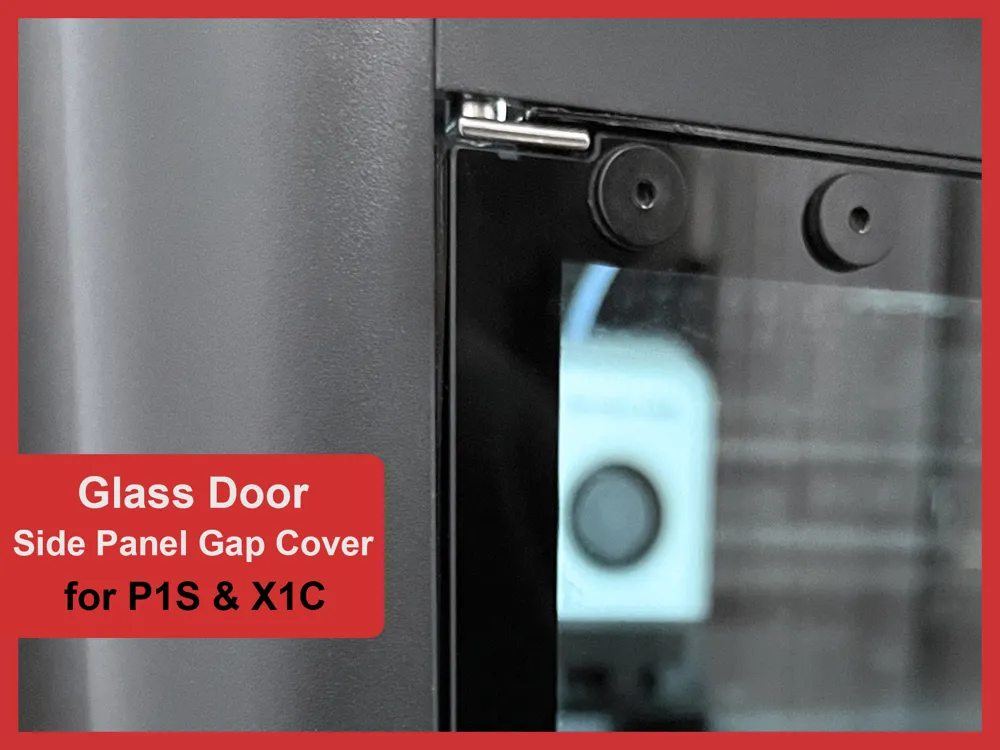
Glass Door Side Panel Gap Cover for P1S & X1C

Print Profile(1)

Description
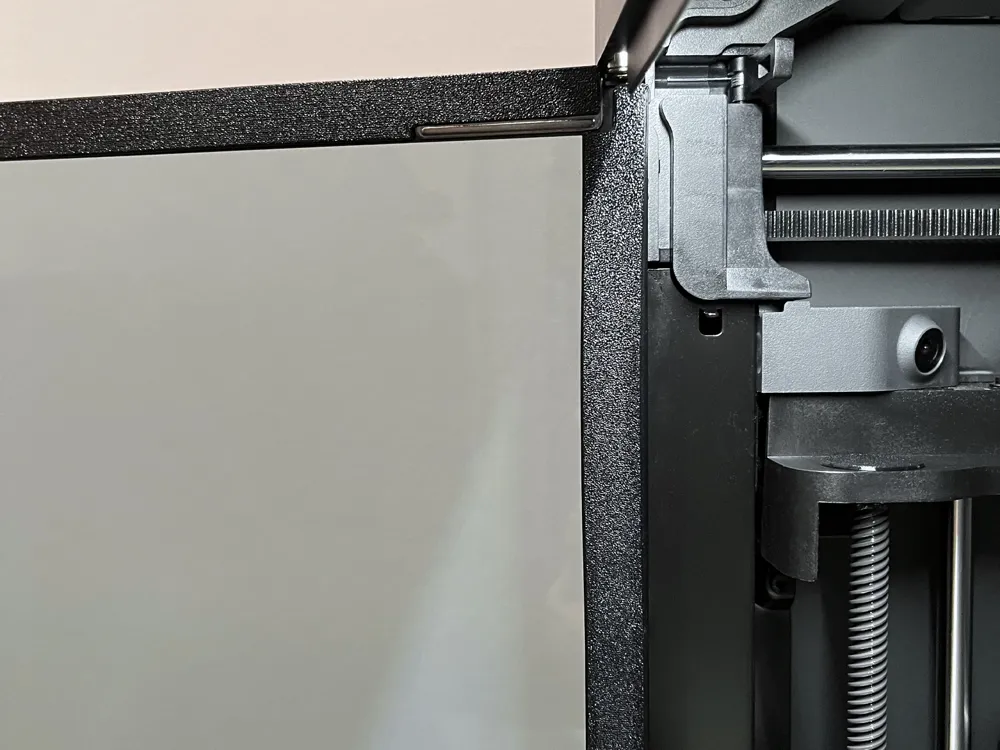
This is a TPU printed seal to close off the panel gap on the left side the P1S/X1C glass door.
Designed to be used with my top panel gap cover.
Helps keep chamber temps a little warmer and slightly reduce fumes.
Please read below - there are 2 versions to choose from.
1 hour 24 minute print time.
Design Considerations:
- Seal as much of the side gap as possible.
- Not so tight that the TPU causes issues with open/closing the glass door.
- Almost invisible with the door closed. Most of the part is hidden behind the glass panel's black border.
Print Settings:
- The print settings are very important, so please use the included print profile w/ 0.4mm nozzle.
- This part with thin walls likes to be printed slowly. I've adjusted most of the speeds to 30 mm/s.
There are 2 versions:
- Plate #1: Designed for 3M VHB tape ~1.0 - 1.1mm thickness.
https://amzn.to/3T6N2Sw or https://amzn.to/45fAsHu - Plate #2: Designed for standard (thin) double-sided tape.
Note:
The print does not create a 100% perfect seal on the door, but it works well.
There are small gaps near the hinges, and I've designed it to minimize the amount the the TPU rubs against the plastic panels.
Installation:
Some photos will look slightly different than the actual printed part.
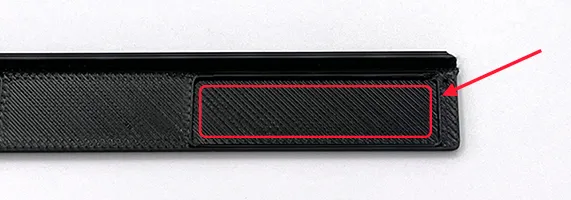
The thin double-sided tape version has (1) long slot.
You can pretty much ignore all these steps except #5 & #6.
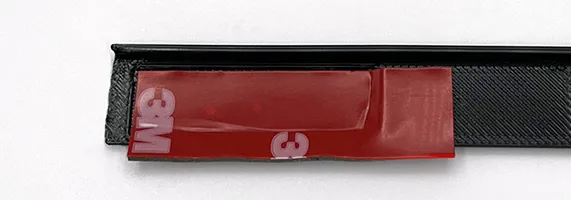
If there's no gap, the printed seal could interfere with closing door all the way.
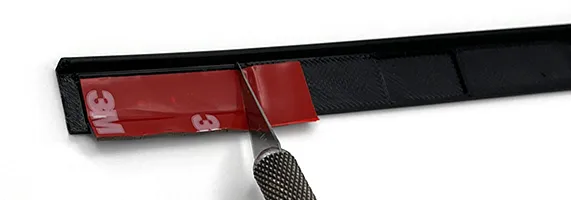
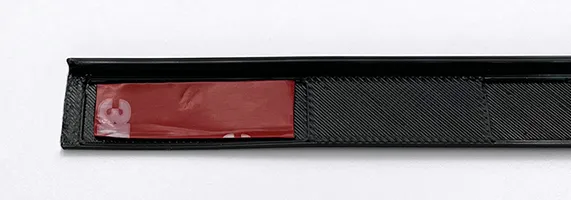
If you want to use less tape, you can cut shorter strips that aren't full-length.
Just make sure you adhere them to the far-left, middle, and far-right edges.
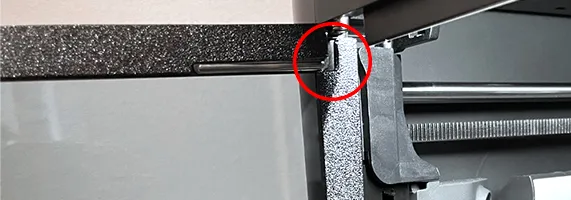
The lip seen in this photo should go right up against the hinge hardware.
(but NOT jump over it)
Tape not sticking very well to the TPU?
Try scuffing up the TPU with a knife or sandpaper and clean with alcohol.
6. Peel off the tape backing 1 section at a time and install the printed part.
Make sure the thin section of the printed part that fits in the panel gap is flush to the glass. If there is a gap, the door will not close properly.
License

You shall not share, sub-license, sell, rent, host, transfer, or distribute in any way the digital or 3D printed versions of this object, nor any other derivative work of this object in its digital or physical format (including - but not limited to - remixes of this object, and hosting on other digital platforms). The objects may not be used without permission in any way whatsoever in which you charge money, or collect fees.


Comment & Rating (233)