


Print Profile(1)


Bill of Materials

Description
Stadia Controller Holder for the IKEA SKADIS pegboard system based on the wonderful Xbox Controller Holder made by @LayerCake who helpfully shared their Fusion 360 source files.
A huge thanks also to Coopey for its contour sketch of the Stadia Controller available on Thingiverse and @lowsc0re for the creation of the screwless variant of the holder body.
Printing
This holder is available in two variants:
- Screwless Controller Holder: a new variant based on the snap-in place locking plate made by @LayerCake and an adapted holder body by @lowsc0re
- Original Controller Holder: initial version of this holder requiring 2 M3 × 6mm screws to be assembled
For any variant of this holder, you will need to download two sets of files to be printed:
- the holder body
- the hooks & locking plate mount, available in two variants (only one is required to complete the print):
- 3 Hooks Mount: allows the module to be positioned lower
- 4 Hooks Mount: a heavier duty mount
Recommended print settings:
- Layer Height: 0.2mm (tested with an 0.40 and 0.60mm nozzle)
- Infill: 20 to 40%
- Supports:
- Generate support material: true
- Auto-generated support: true
- Support on build plate only: true
- Don’t support bridges: true (important)
- Overhang threshold: 40°
- Material: PLA, ABS, PETG, … (any solid material)
A pre-configured Prusa Slicer project is available for each set of parts (body & mounts) which have the necessary support pre-configured. I would recommend using this file if you do not want to fiddle with any parameters. Make sure to select your own printer profile & filament type before exporting the GCode (custom support parameters are applied on a per object basis in the 3mf files).
Assembly
Screwless
To assemble the screwless variant of this mount you will just need some CA glue to attach the lip to the front of the holder body.
Then you should be able to slide and snap all the part of the 3 or 4 hooks mount together on the backside of the holder body by first sliding both the right and left pegs, insert the middle peg in the center of the locking part if you are using the 3 hooks variant, and finally snap the large plate between the pegs.
Original
In order to build a complete holder you will need 2 M3 × 6mm screws used to attach the locking plate to be back of the main body, holding all hooks together as well as some CA glue to attach the lip to the body.
Regardless on if you are using the 3 hooks or 4 hooks variant of the mount you will need to first slide the left and right pegs on the back of the holder. With the 3 hooks version, you will also need to insert the middle peg on the locking plate making sure to put it in the right direction, then press-fit the locking plate on in the middle of those.
The fit between the side pegs and the locking plate might be pretty tight, I found that starting by sliding the plate between the top part of pegs and forcing it down the lower part sometimes work. Another solution might be to manual sand / file a chamfer on the bottom part of the locking plate to help with its alignment.
Once the locking plate is in place, screw it down with both M3 screws. The screws should self-tap themselves directly into the plastic.
Finally, put some CA glue on the front slot of the holder and insert the lip until flush the body.
Note: Compared to the original XBox Controller Holder, the size of the recess present in the back for the head of the M3 screws has been widened a bit, making it easier to use with less “standard” screws.
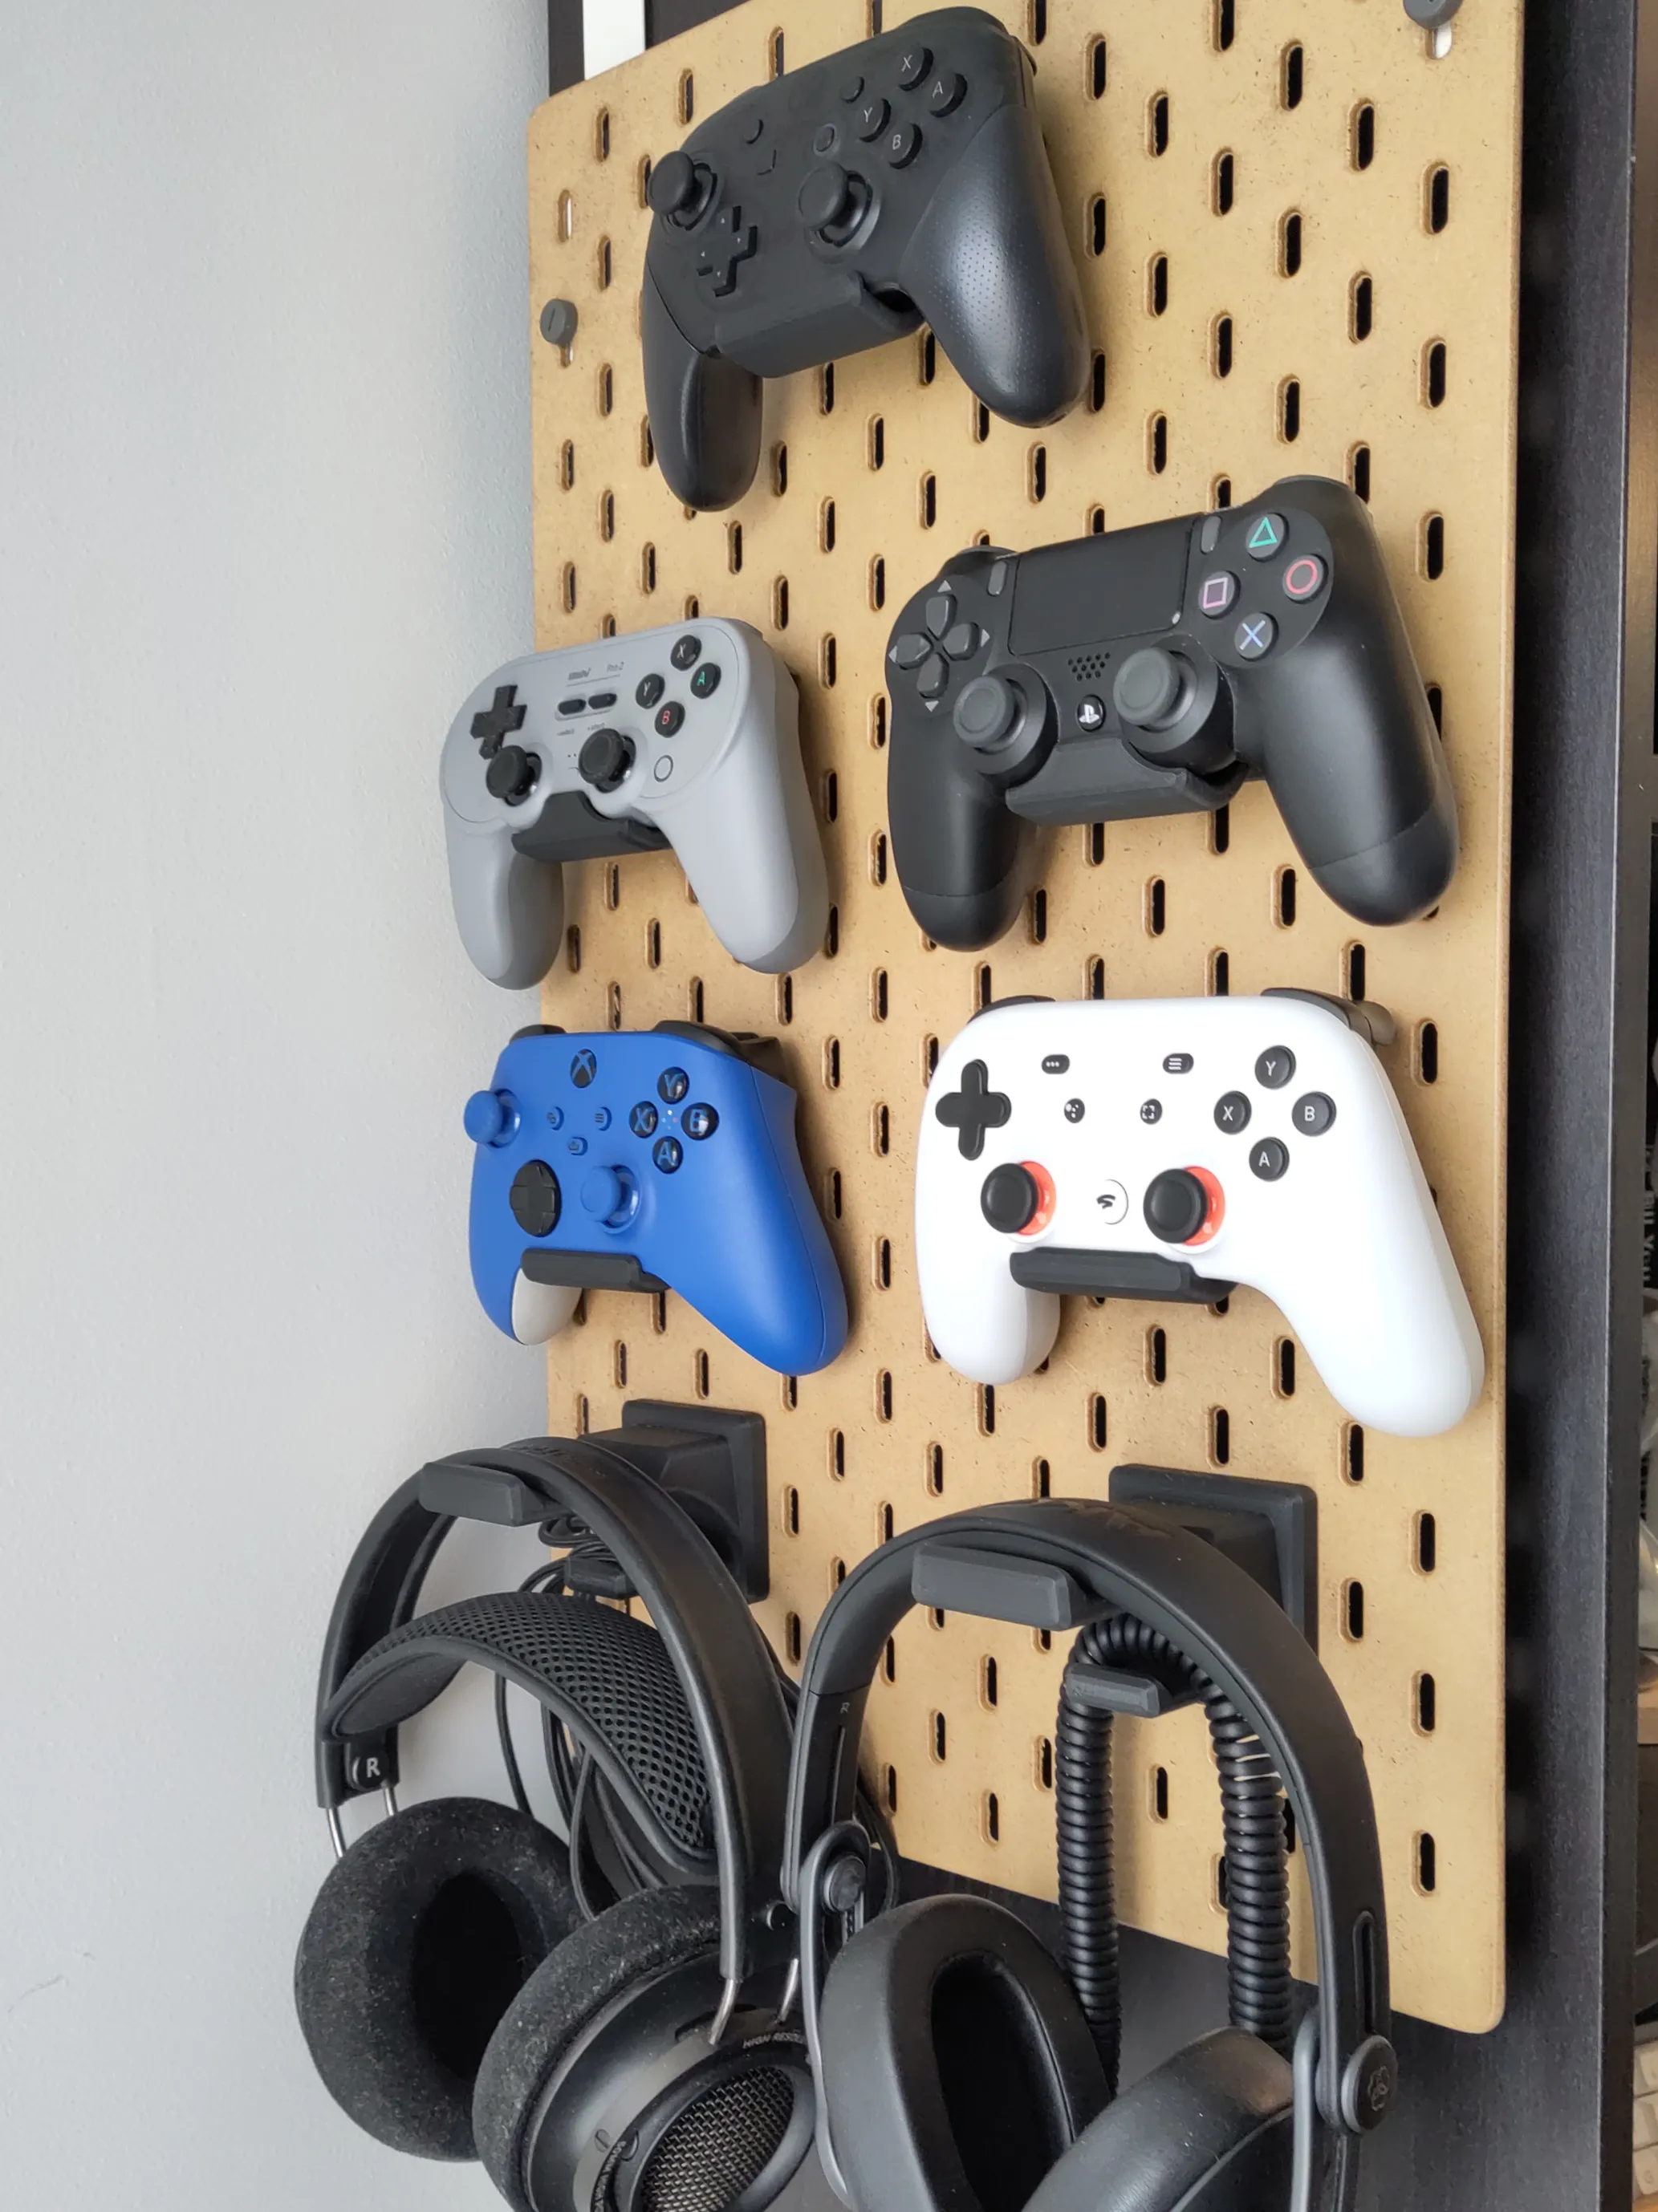
Complete the collection
- Xbox Controller Holder by @LayerCake
- Switch Pro Controller Holder by @Raddic_232010
- DualShock 4 Controller Holder by @orax
- 8BitDo Pro 2 Controller Holder by @orax
- Stadia Controller Holder by @orax
- Headphone Holder by @LayerCake
- Valve Index Holder by @LayerCake (not pictured)
Changelog
- V1.0 (2023-04-16): Initial release
- V1.1 (2024-03-23): Added a screwless variant of the month courtesy of @lowsc0re
Boost Me (for free)
🚀 Love this model? Give it a Boost!
This remix is based on

License



Comment & Rating (2)