
Bambulab Multi Filament Spool - 4 Filaments


Print Profile(3)



Description
------------------------------------------------------------------------------------------------------------------------------------------------------------------------
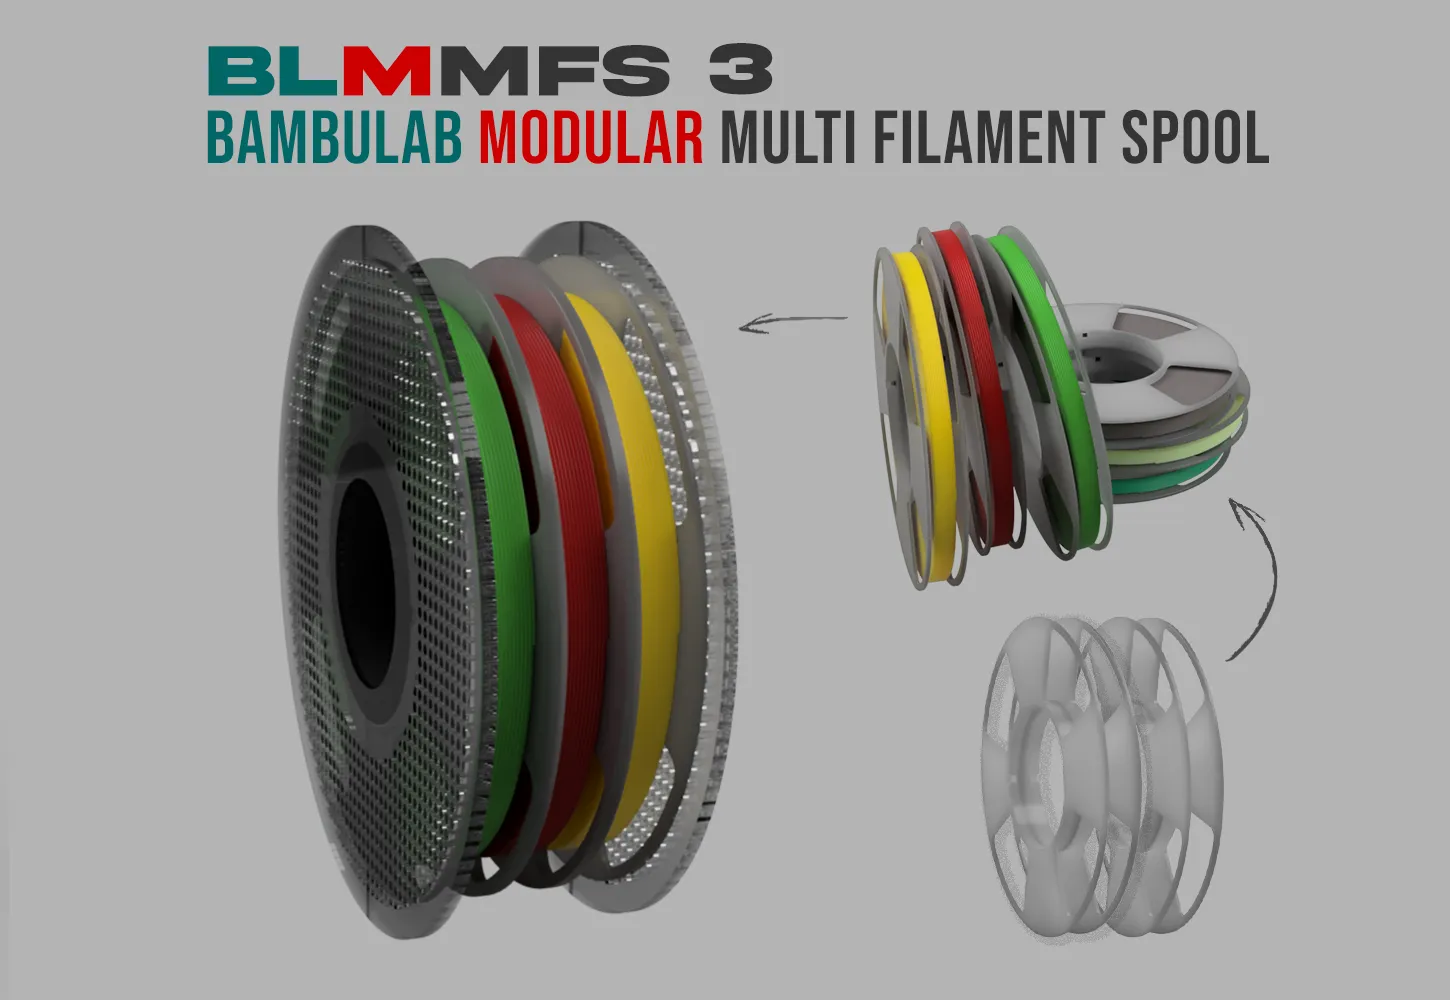
I have released a “V2 version”
Improvements:
- modular design
- easy color swap
- less pieces
- more flexible
Try it here: Bambu Lab Modular Multi Filament Spool
------------------------------------------------------------------------------------------------------------------------------------------------------------------------
Bambu Lab Multi Filament Spool
Introduction
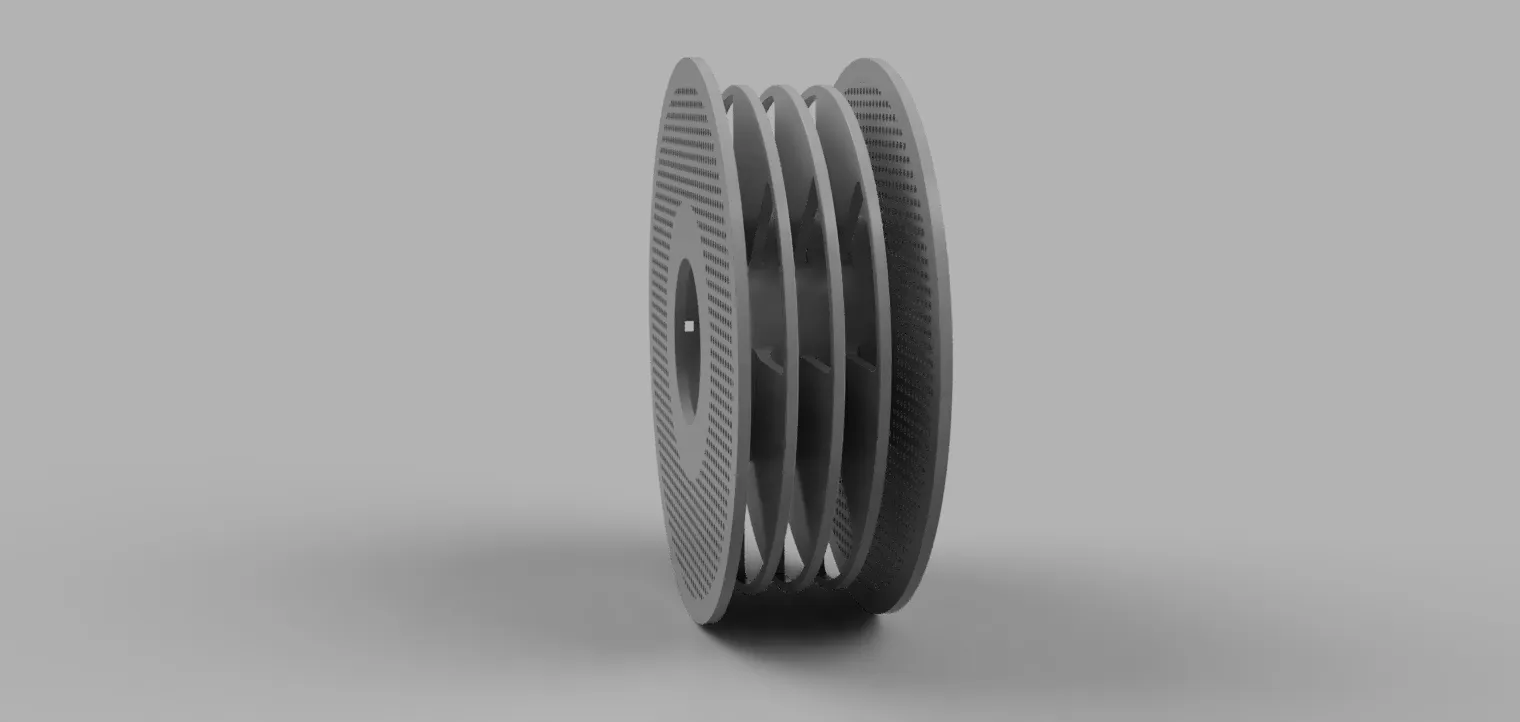
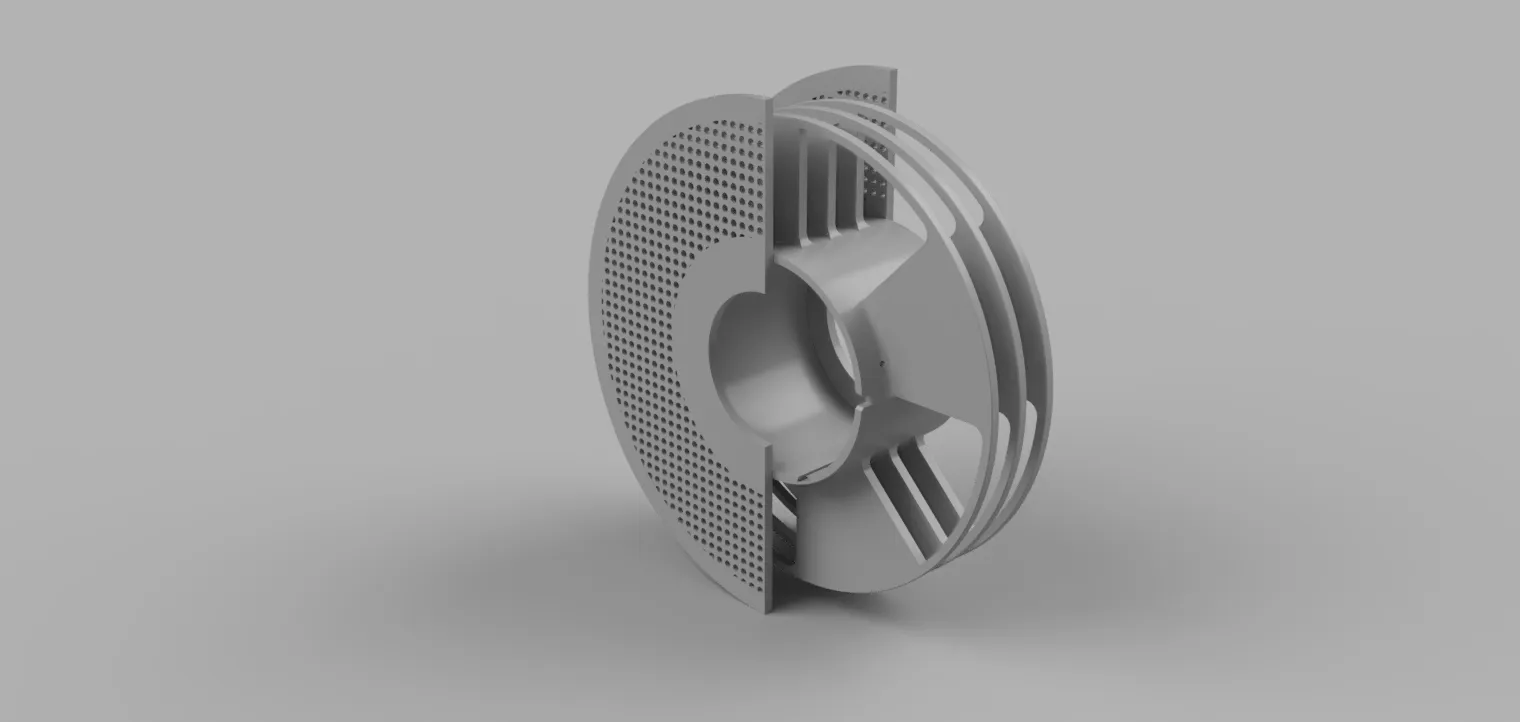
A multi-filament drop-in replacement for the bambulab spool.
You'll be able to insert up to 4 different filament in a single spool. Useful if you have samples or leftover on many spools.
It is also available a 2 Filament Spool Version here
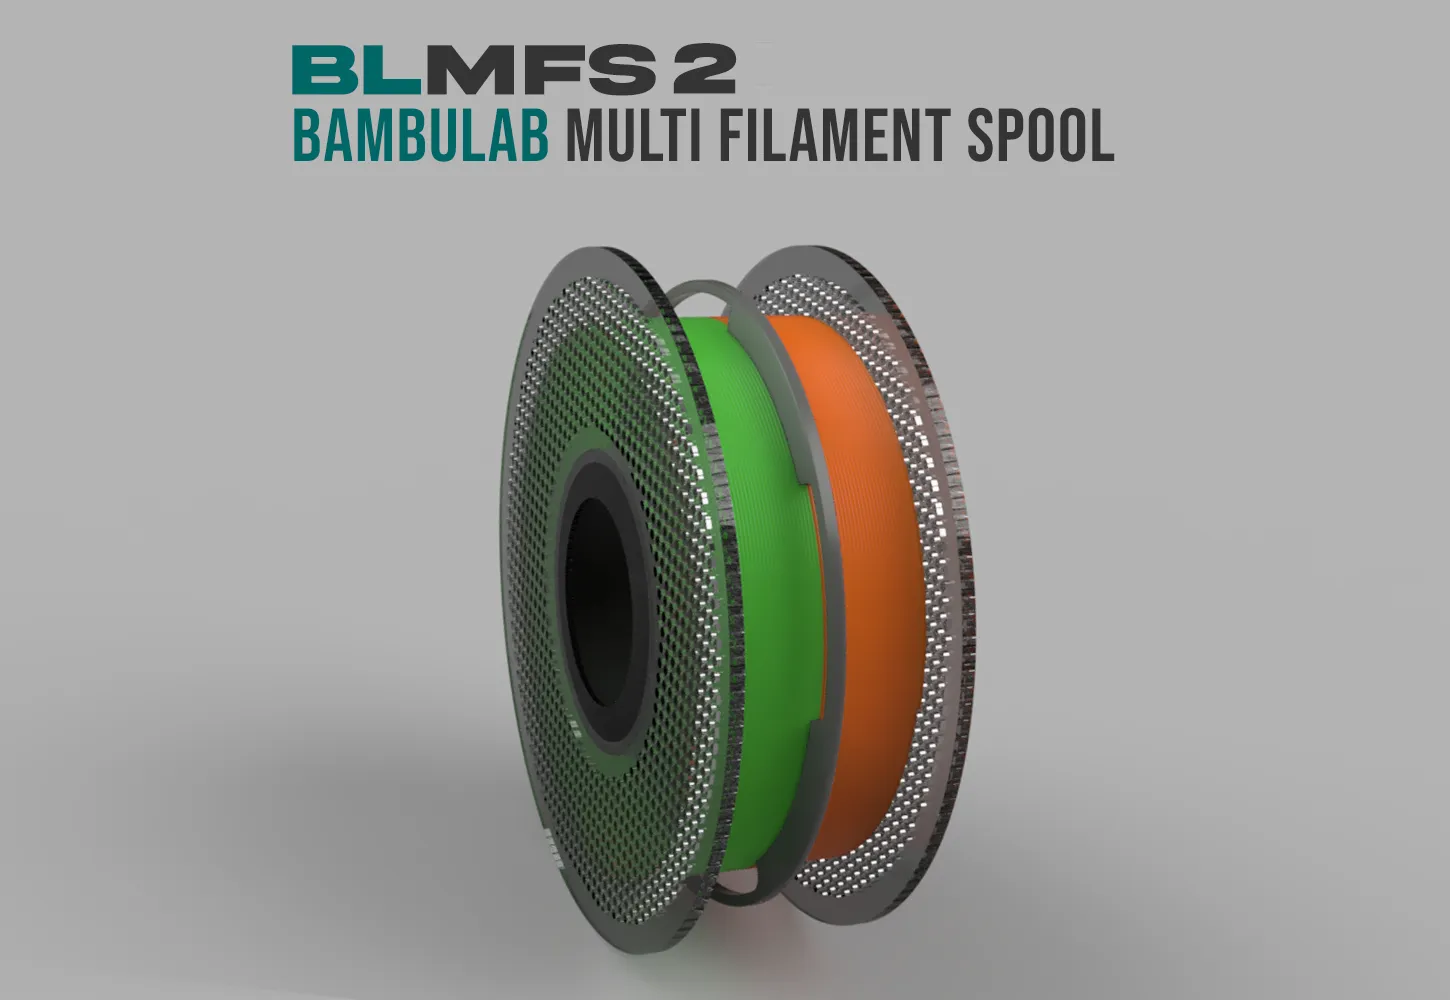
IMPORTANT: If you have a A1 Mini you must use THIS ONE instead.
What you'll need:
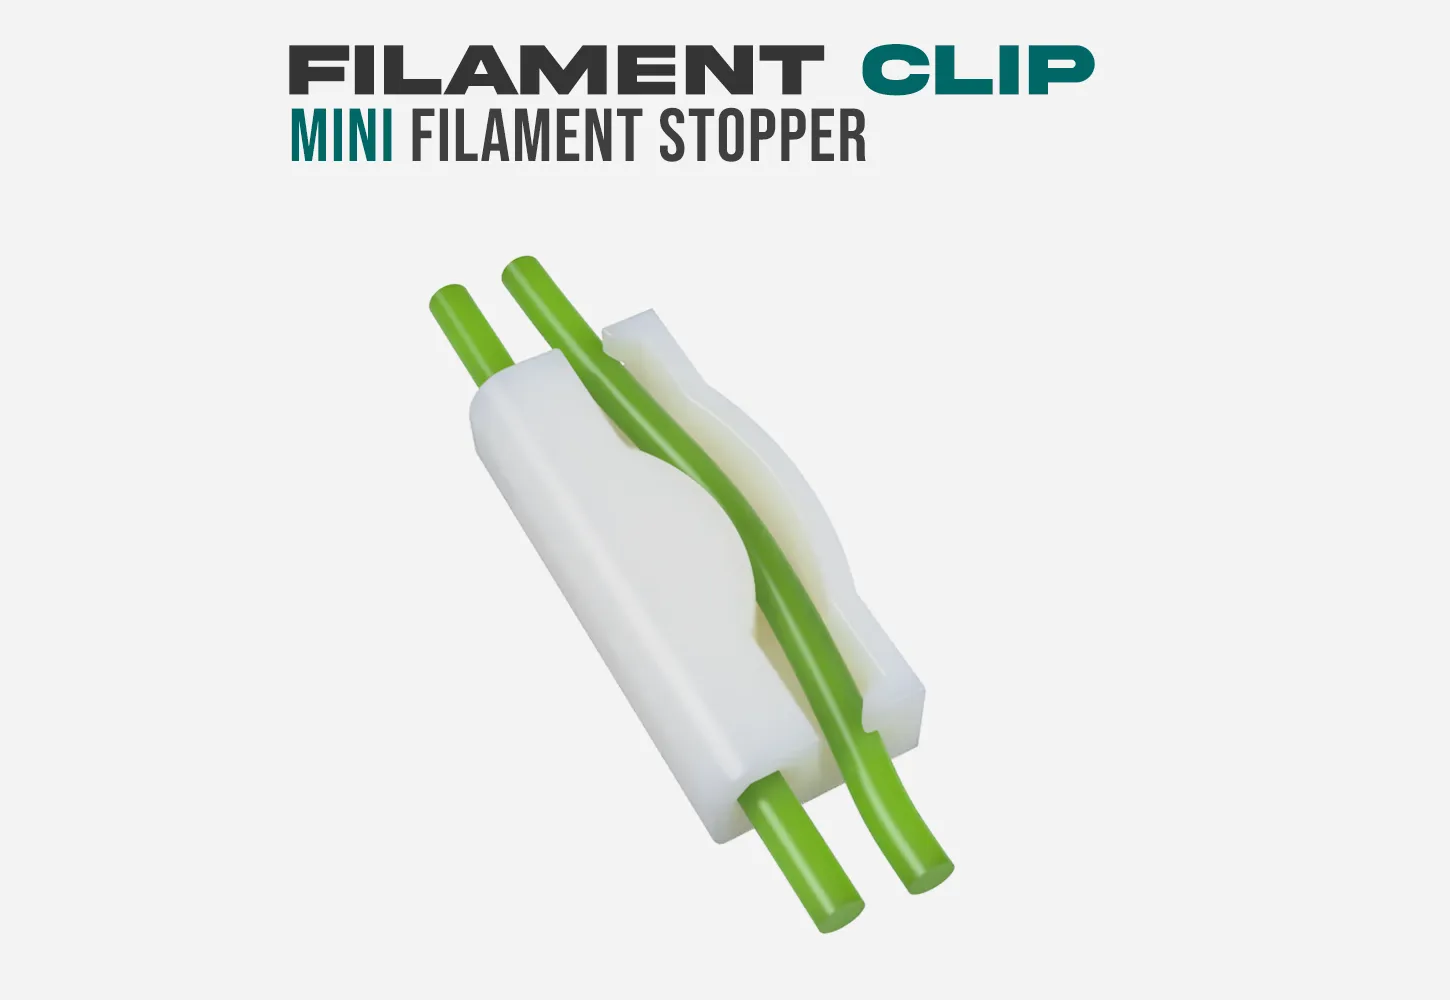
Filament Clip
To stop the filament from unwinding you'll need this filament clip:
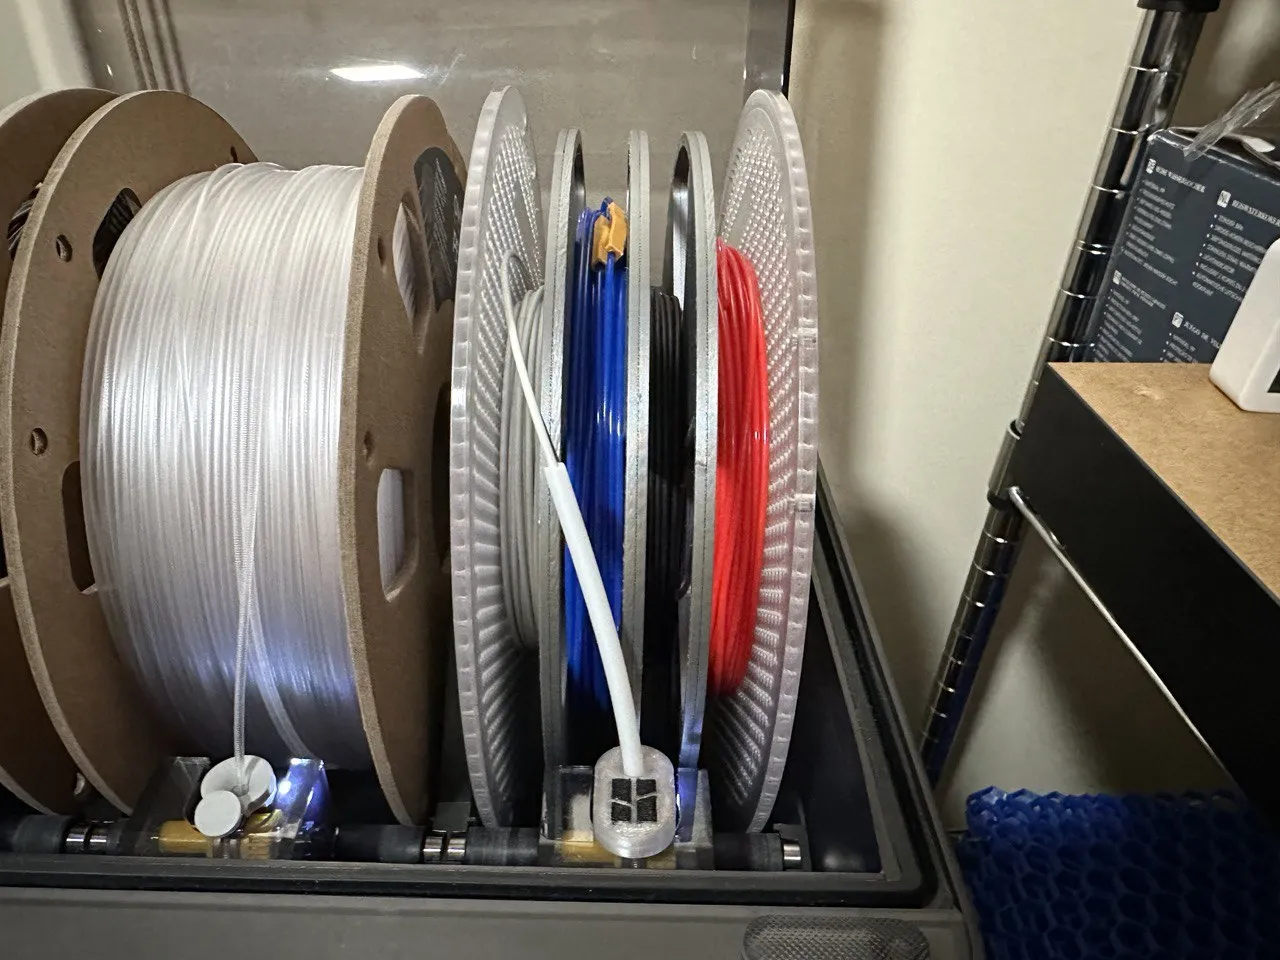
AMS PTFE Feeder Cap
Optional but highly recommended to releaf the strain on the filament during spool movements
Suggested model:
The PFTE tube should be 80mm in lenght
Assembly instructions
- twist the bambulab spool to open it in half
- align every spool disk as shown in the illustration, taking care to align the internal channels
- insert the dovetail stoppers (the 2 trapezoid pieces) inside the channels
- put together the bambulab spool and twist it back in position the 2 halves
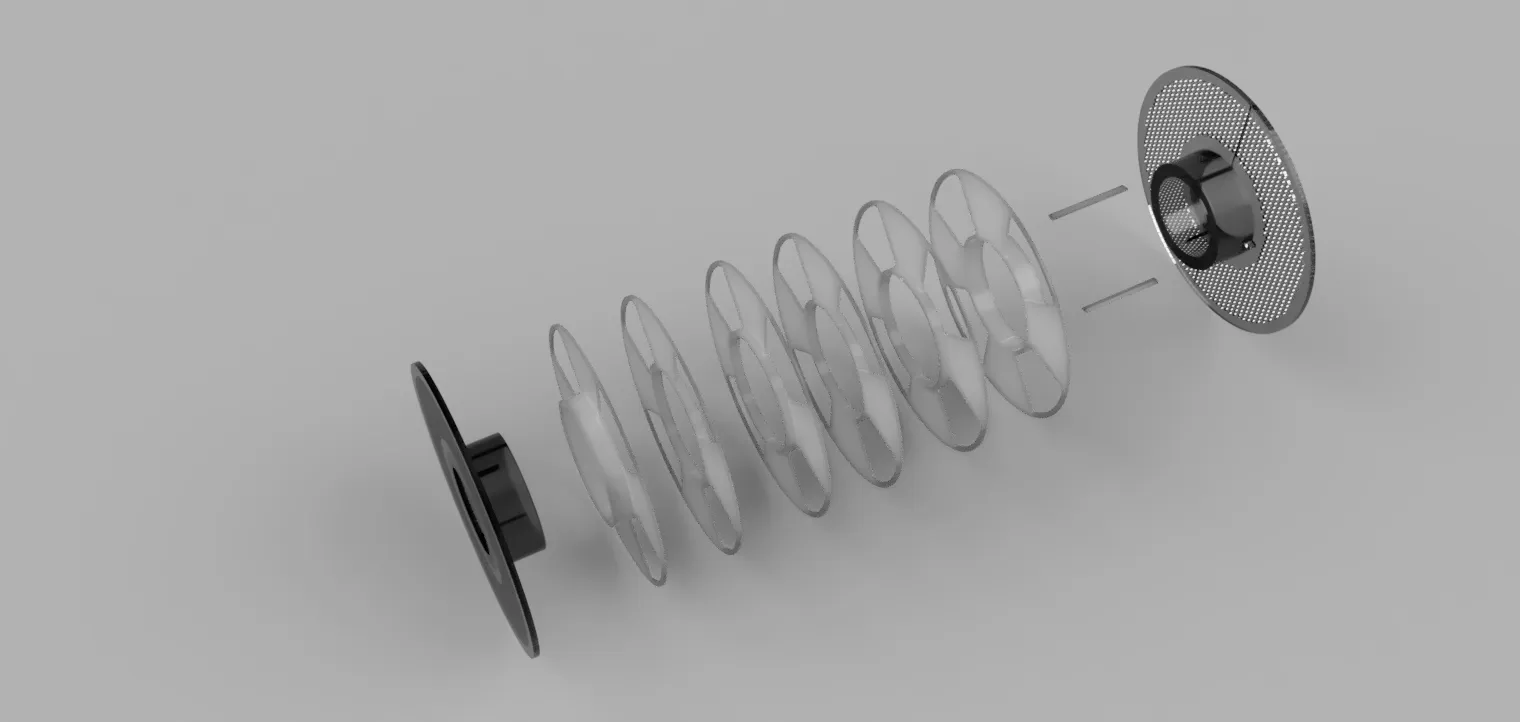
Correct order:
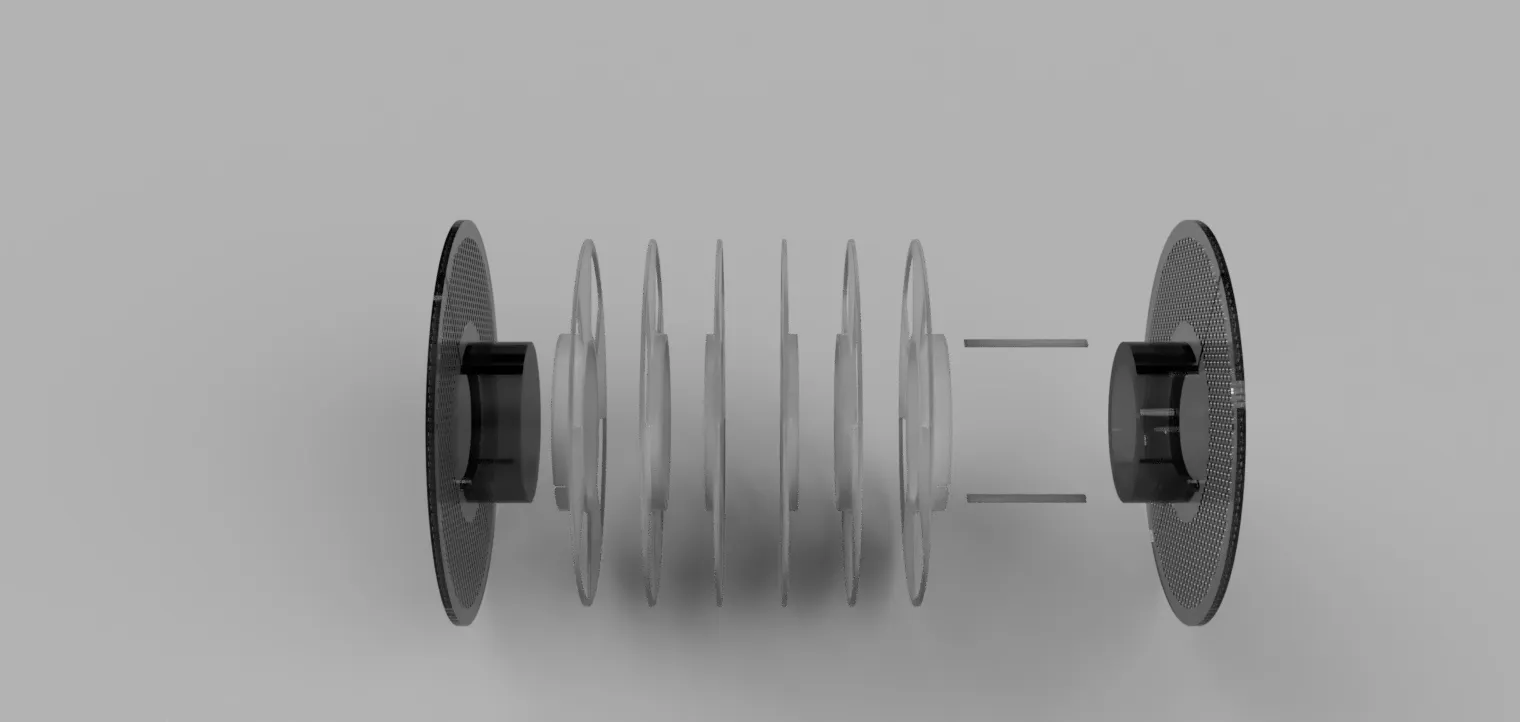
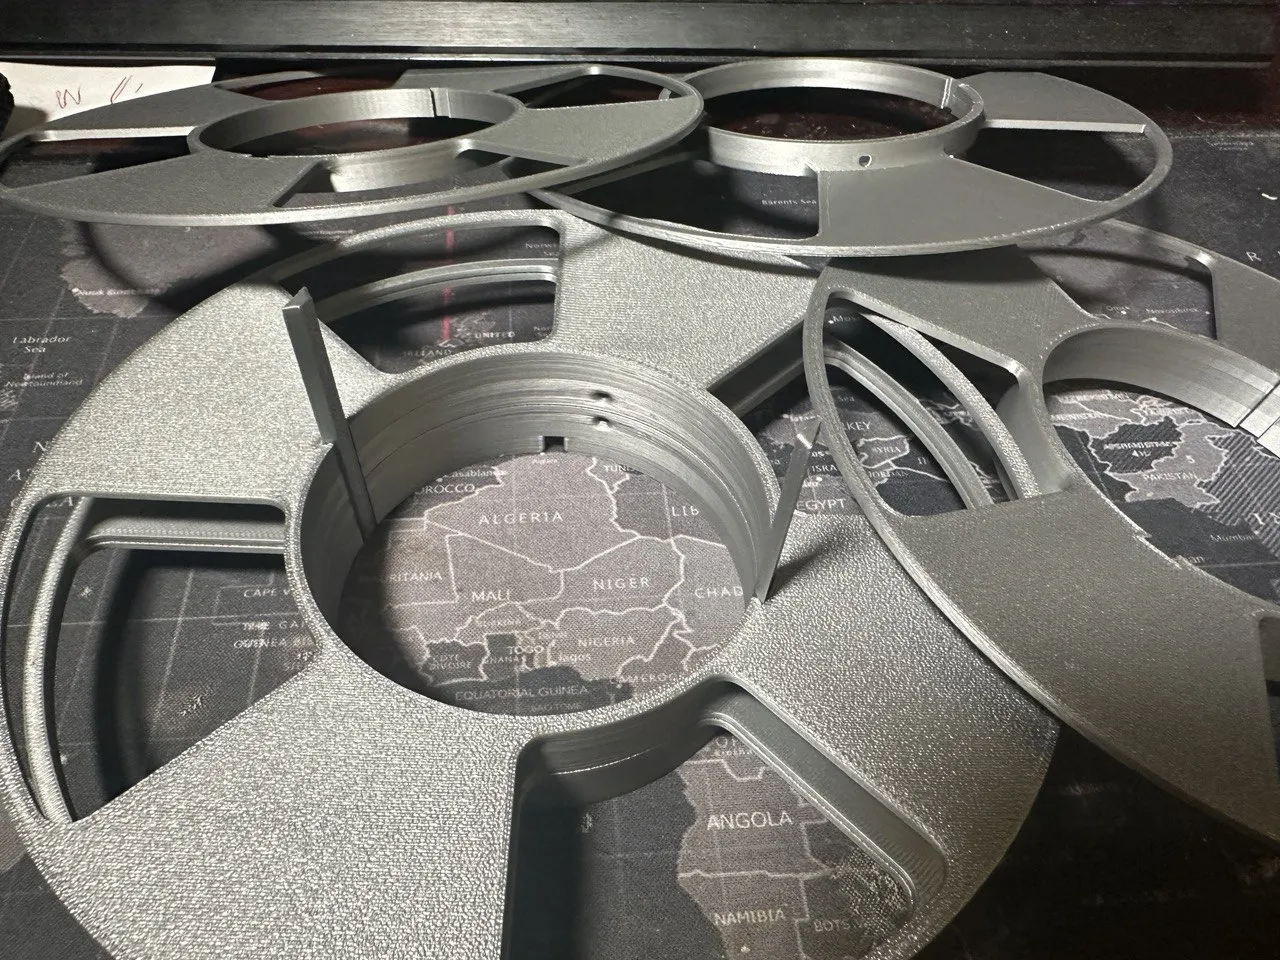
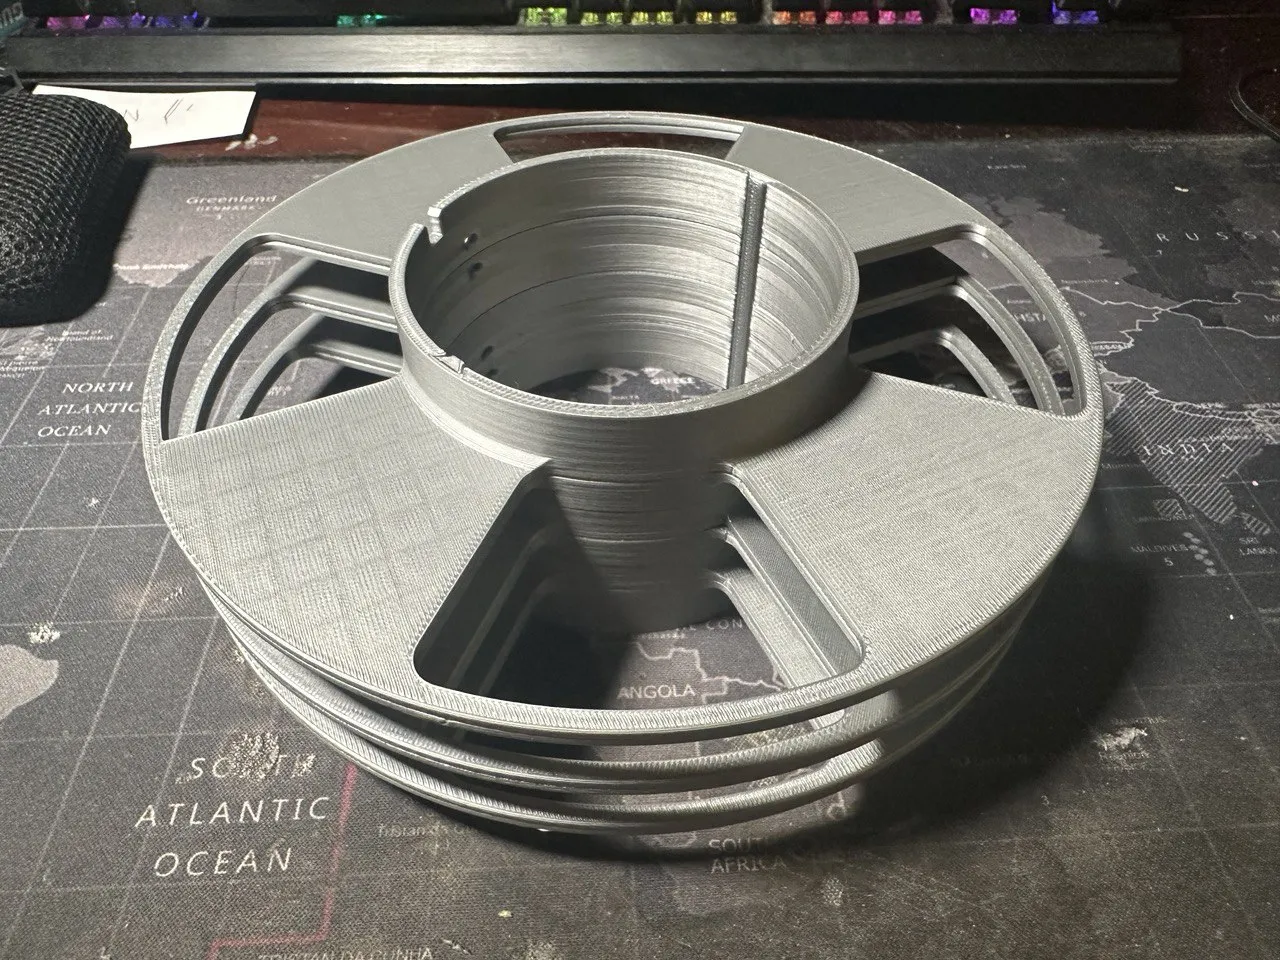
N.B. Align all the holes as shown in the figure below
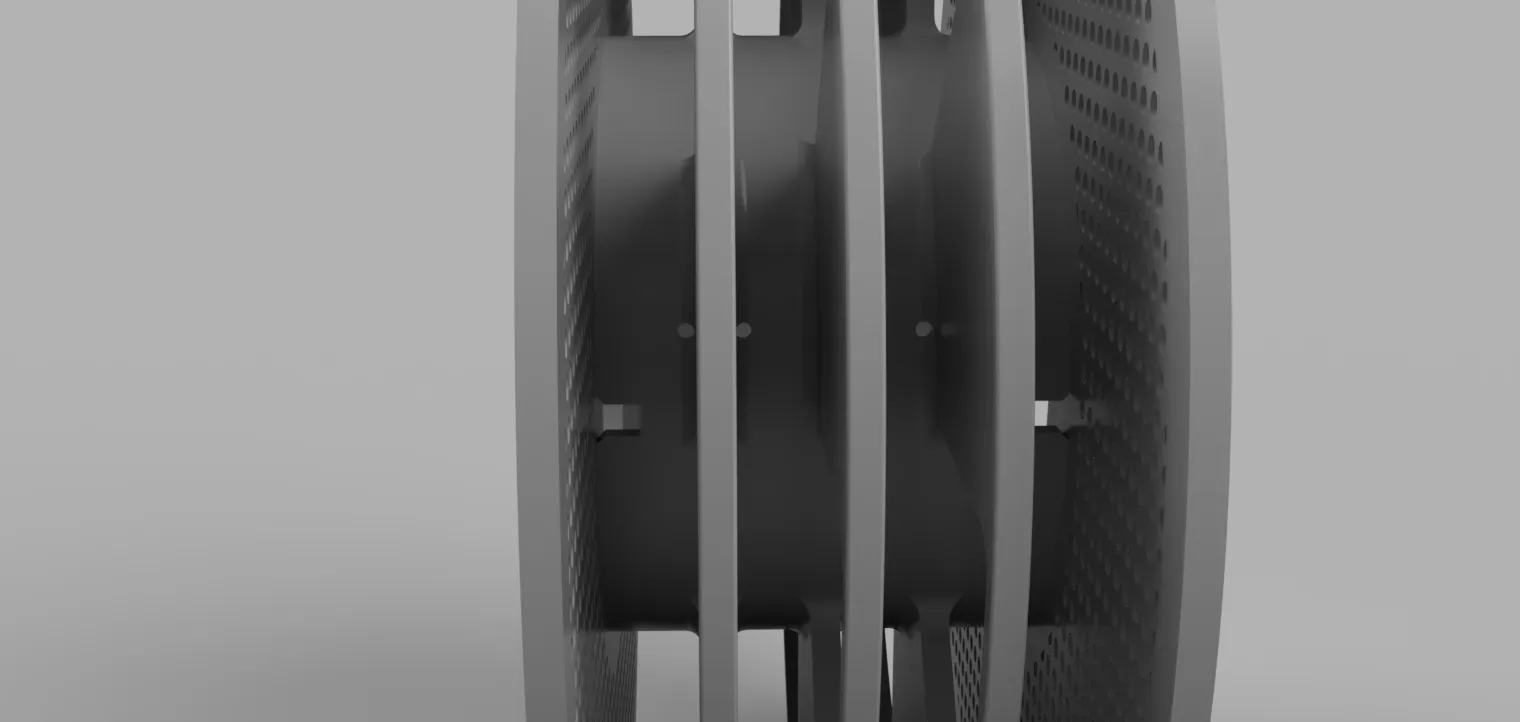
Filament insertion
- Straighten up the end of the filament
- Fold at 90 degree angle the last 2-3 mm using a plier.
- Put the curved filament in the hole
- Start winding it mantaining tension on the spool for the first couple of turns
License

You shall not share, sub-license, sell, rent, host, transfer, or distribute in any way the digital or 3D printed versions of this object, nor any other derivative work of this object in its digital or physical format (including - but not limited to - remixes of this object, and hosting on other digital platforms). The objects may not be used without permission in any way whatsoever in which you charge money, or collect fees.


Comment & Rating (126)