
How To Print Ice 🧊

Print Profile(2)


Bill of Materials

Description
🧊🧊🧊🧊🧊🧊🧊🧊🧊🧊🧊
GET YOUR ICE HERE!
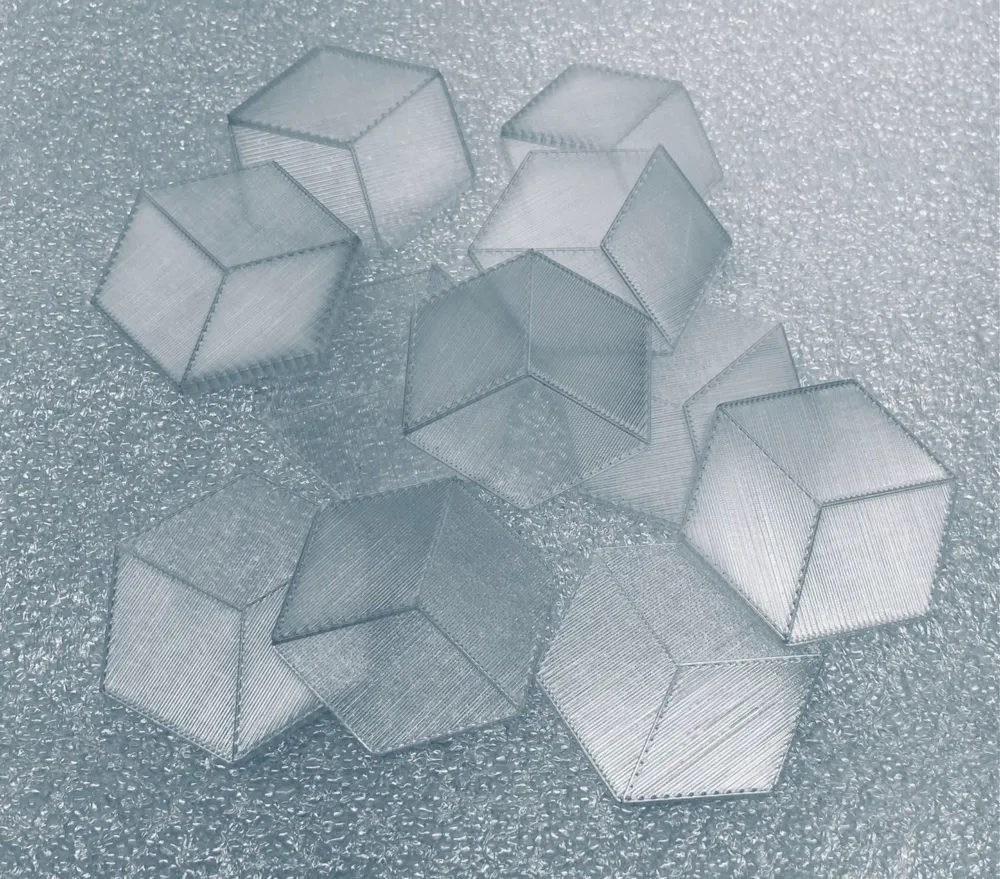
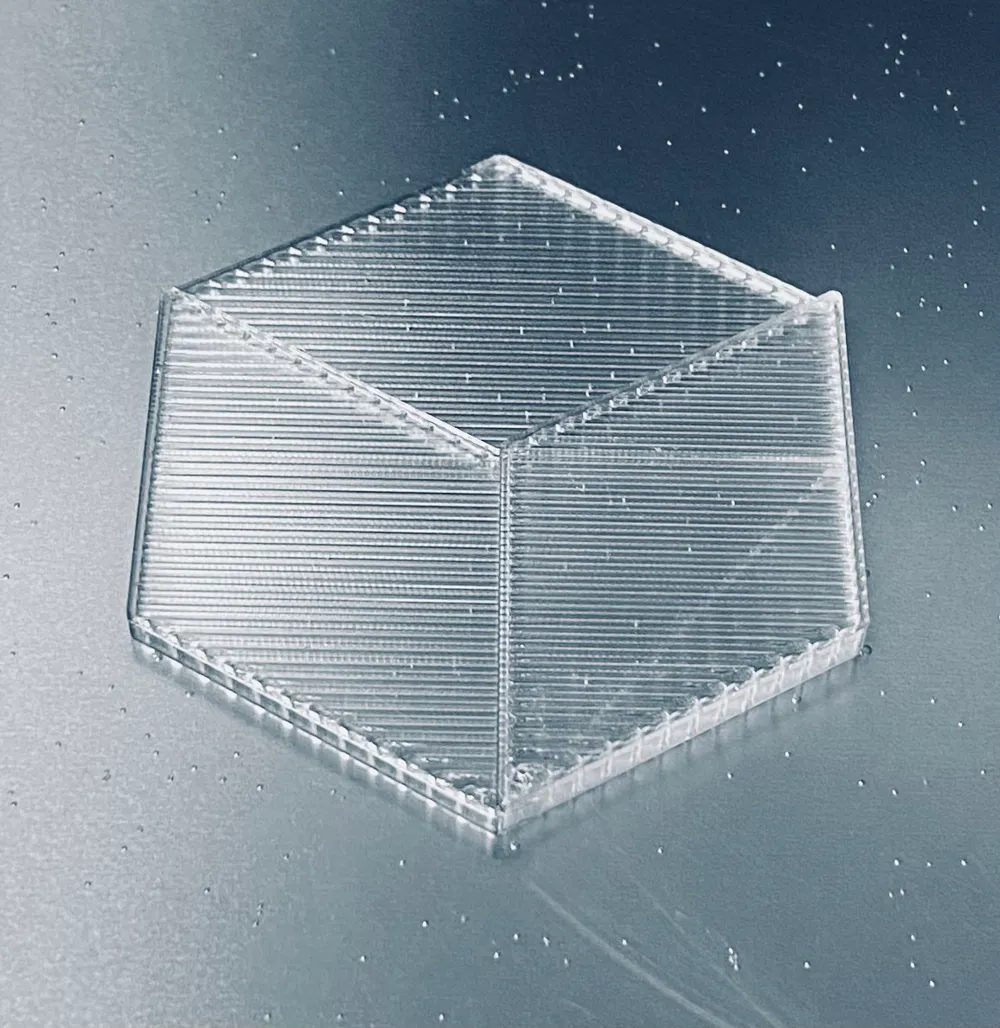
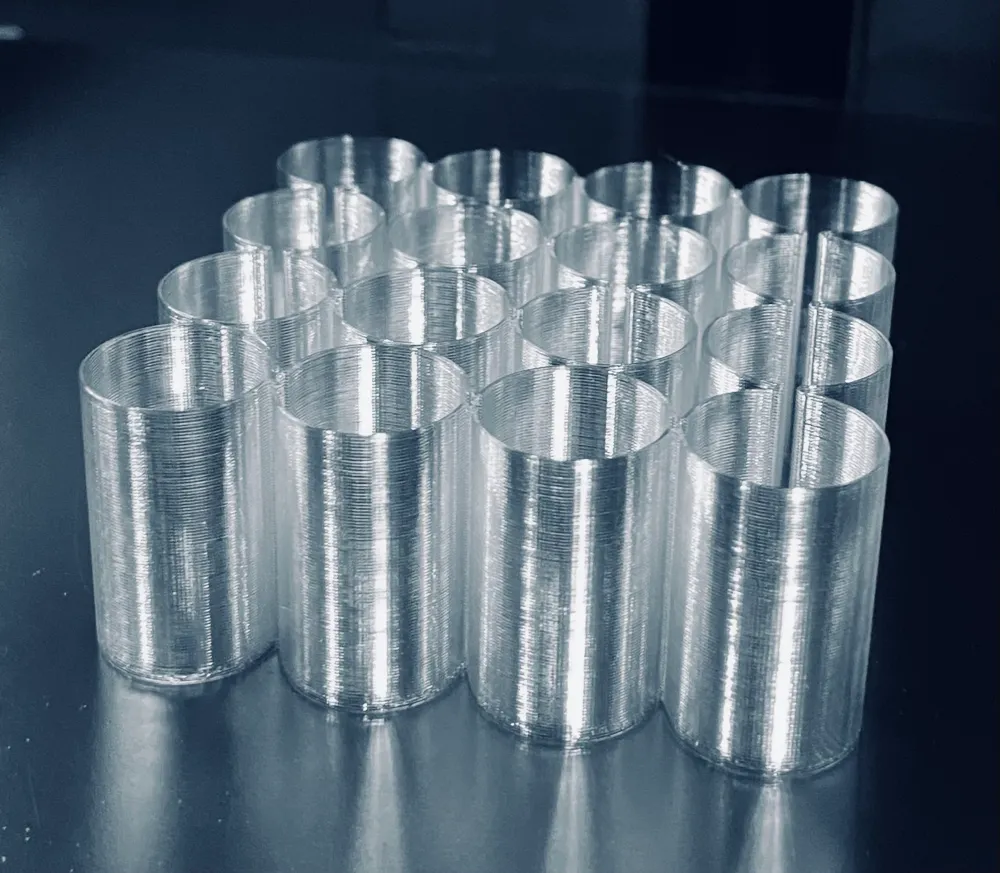
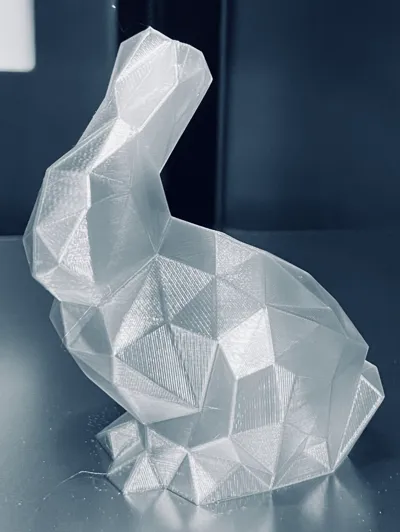
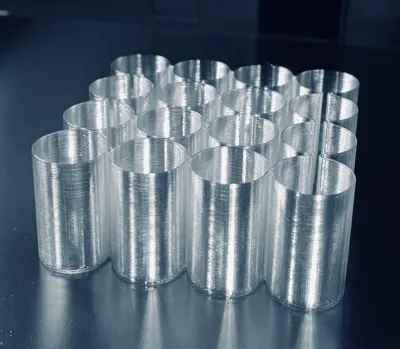
Have you ever dreamt of printing ice? Not the freezing cold ice itself, mind you, but something equally cool. And, let's be honest, saying 'printing transparent PETG' doesn't quite capture the excitement. That's where printing ice comes into play! This is exclusively for Transparent PETG and is by no means a perfect profile (yet!) and also NOT edible. I can't believe I need to mention that part… but it's a great starting point for your Ice Printing Adventure. Feel free to tweak different settings and build upon this profile.
Current Ice Printing version: 1.01
🧊If you have any questions or have an awesome “ice sculpture” you printed feel free to drop it in the comments! 🧊
🧊 FREEZE RIGHT THERE! 🧊
*WARNING*
Printing PETG on a smooth PEI surface requires a release agent or damage can occur to the print surface due to the strong bonding between PETG and smooth surfaces. Glue-stick or hairspray is recommended!
https://www.3dprintgorilla.com/can-you-print-petg-on-pei/
If you are printing the Ice Samples directly from Maker World via Bambu Handy, due to Bambu's restriction on altering filament profiles (for good reasons), you will not experience the full benefits of printing Ice. However, there are a few modifications you can make once the print begins to achieve high-quality Ice Samples. Please read the instructions below!
🧊 ALWAYS USE “DRY ICE”! 🧊
- Use transparent PETG
- Use a smooth printing surface or achieve a uniquely cool frosted appearance by using Textured PEI. (Please read warning above)
- Dry your filament first! Bambu recommends drying PETG at 60-70c for 8+ hours.
- Pick one of the 3 Ice Settings listed below depending on how cold (aka clear) you want to go.
🧊 HOW COLD CAN YOU GO? 🧊
Newer Bambu Users
- Printing via Bambu Handy
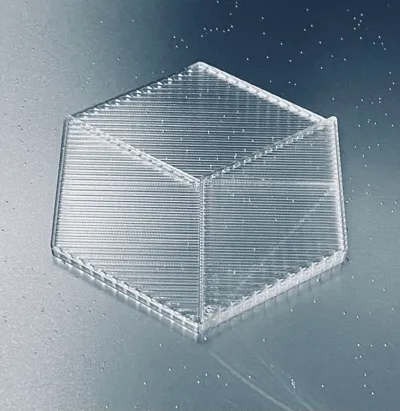
Assuming you’re using Transparent PETG simply select an Ice Sample or choose one of the impressive Ice Sculpture files, then wait for the file to print. No need to change filament type or anything. By picking a file and printing it directly from the Bambu Handy App, you'll gain a great understanding of what your ice maker (ahem, Bambu Printer) is capable of.
Advanced Bambu Users
- Printing via Bambu Handy
(This option allows for slight increased transparency)
Once the print starts, you will want to adjust the nozzle temperature to 265°C-270°C. Additionally, remember to turn off the part cooling and auxiliary fans for the entire duration of the print. That can only be done after the third layer due to stock filament profiles.
I have converted my P1P to a P1S I typically keep the chamber fan on during the printing process. Also note that because you can't adjust FLOW on the fly you won't have the same squishing effect as you would if you printed via Bambu Studio.
*For Maximum effect flow needs to be adjusted from .95 to 1.01 and that is only achievable via Bambu Studio (see Expert).
Expert Bambu Users
- Printing via Bambu Studio
This is the preferred method to printing ice! Below I will guide you through saving the printing profile.

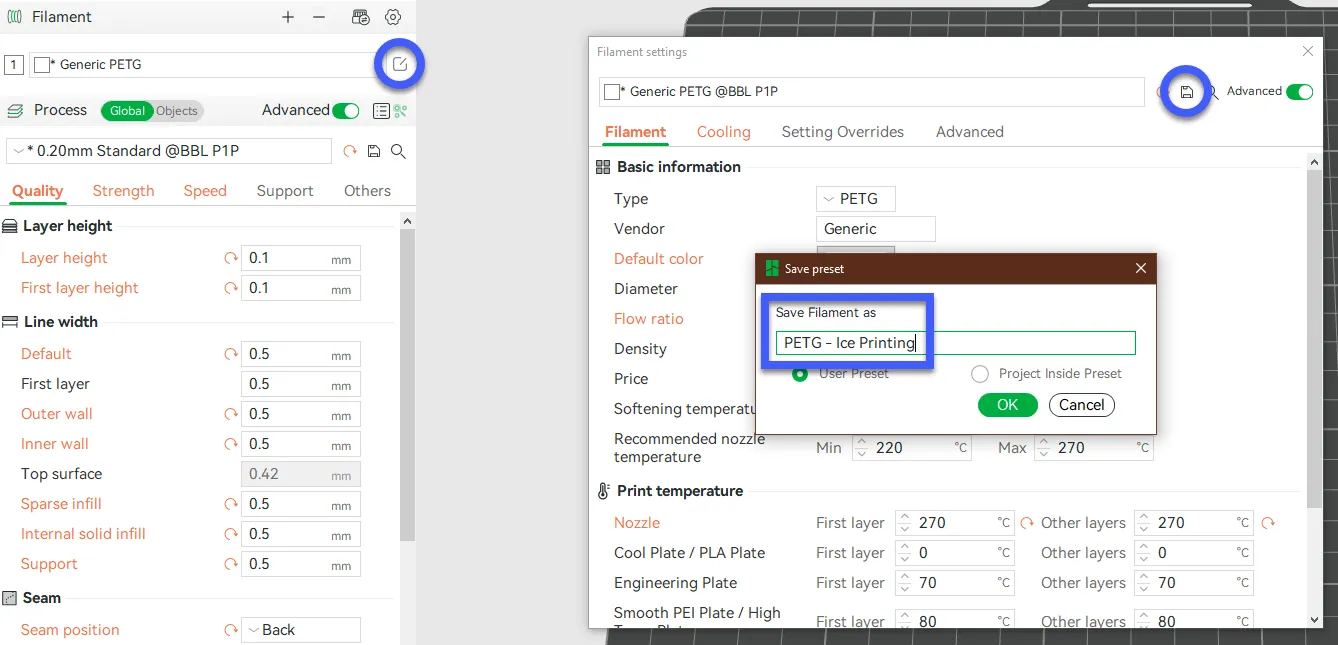
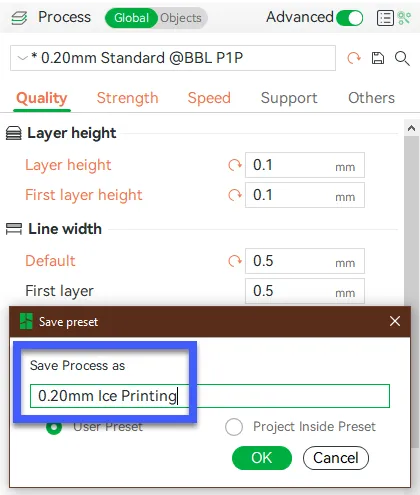
4.) Now, you are ready to either print an Ice Sample or delete it and load other objects. Make sure to select the correct profiles each time, and before you know it, you'll be printing Ice effortlessly! It's important to note that this process isn't foolproof, and you'll need to inspect each object individually. Some filaments and 3D objects may pose more challenges than others. Nonetheless, this serves as an excellent starting point on your journey to achieve the perfect ice prints.
🧊 ICE SCULPTURES? 🧊
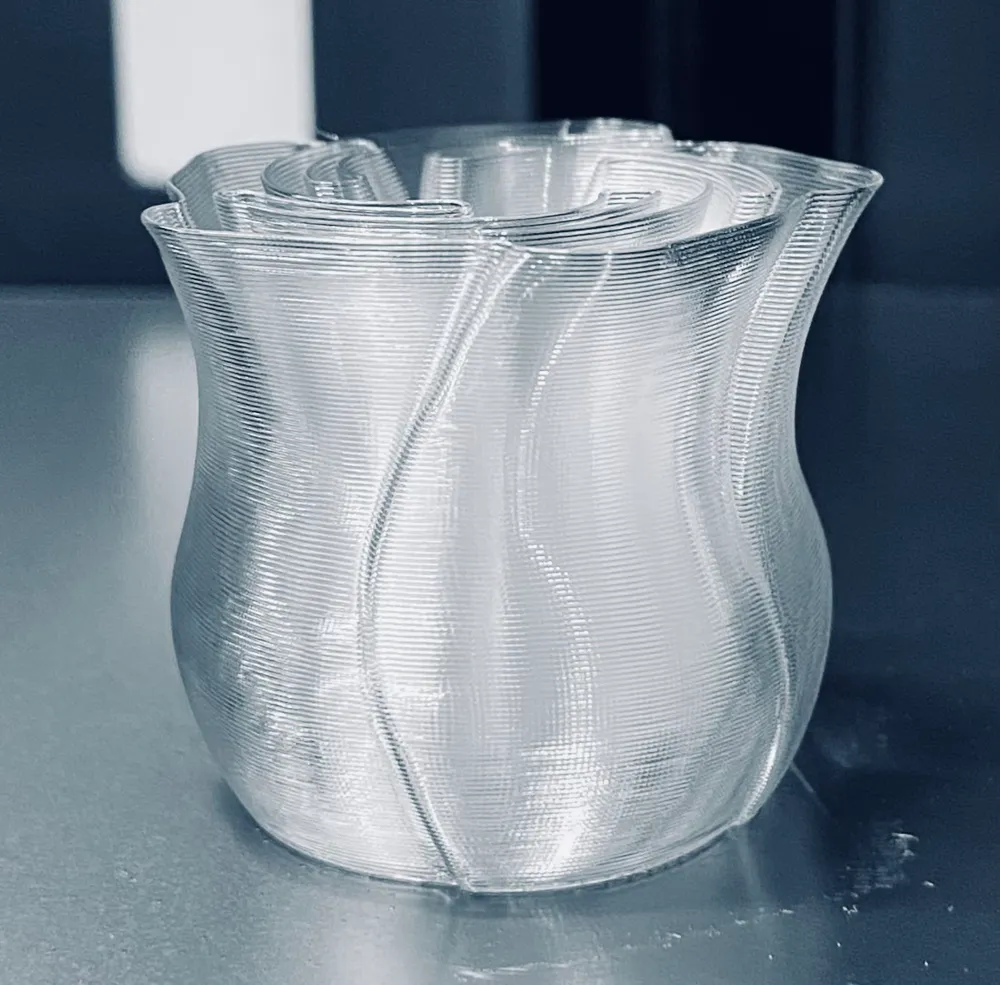
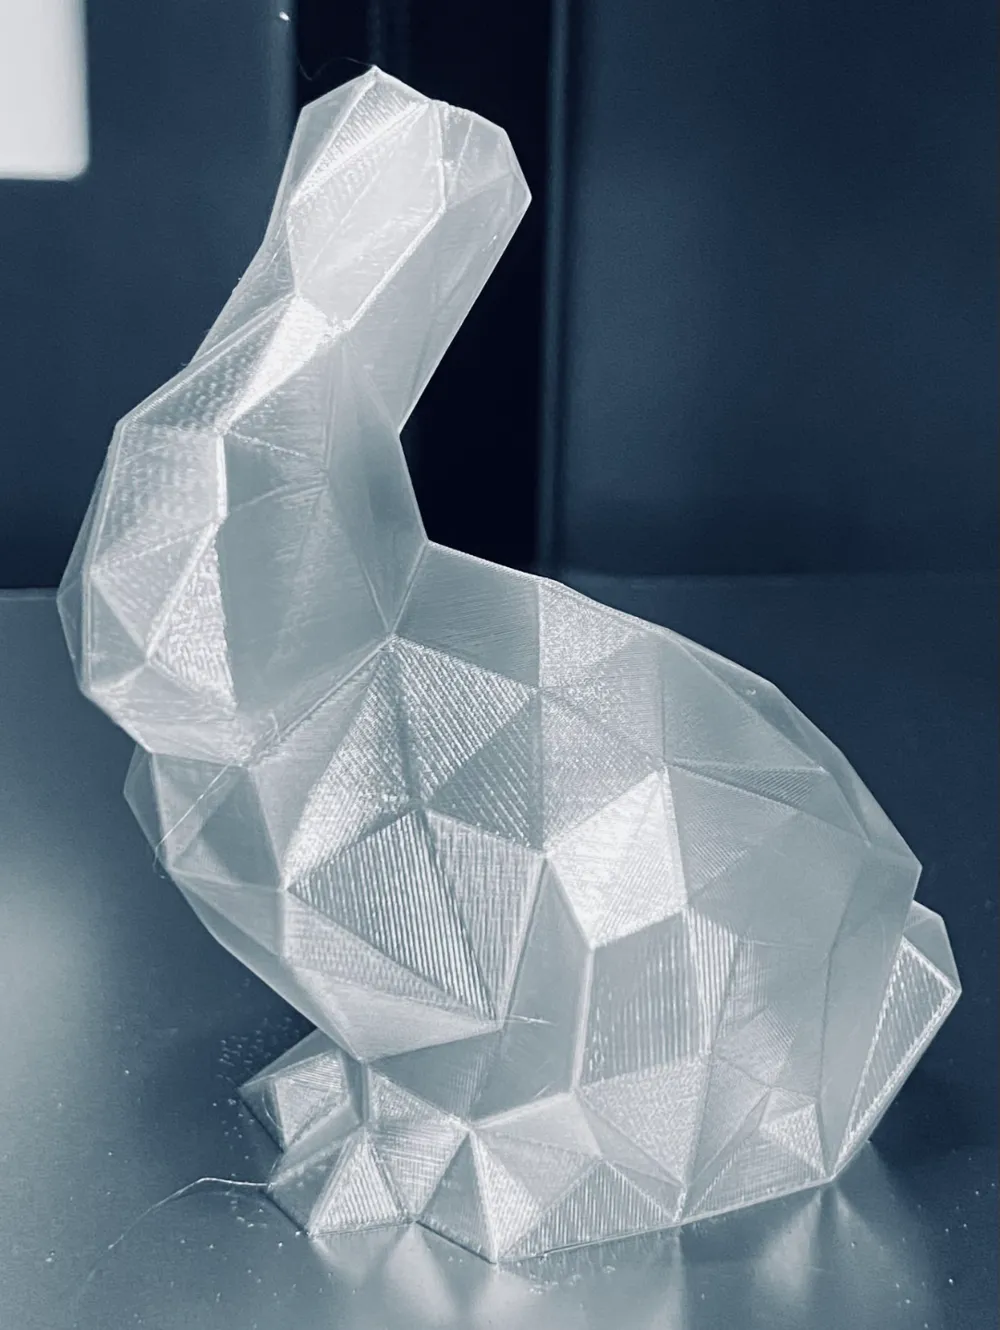
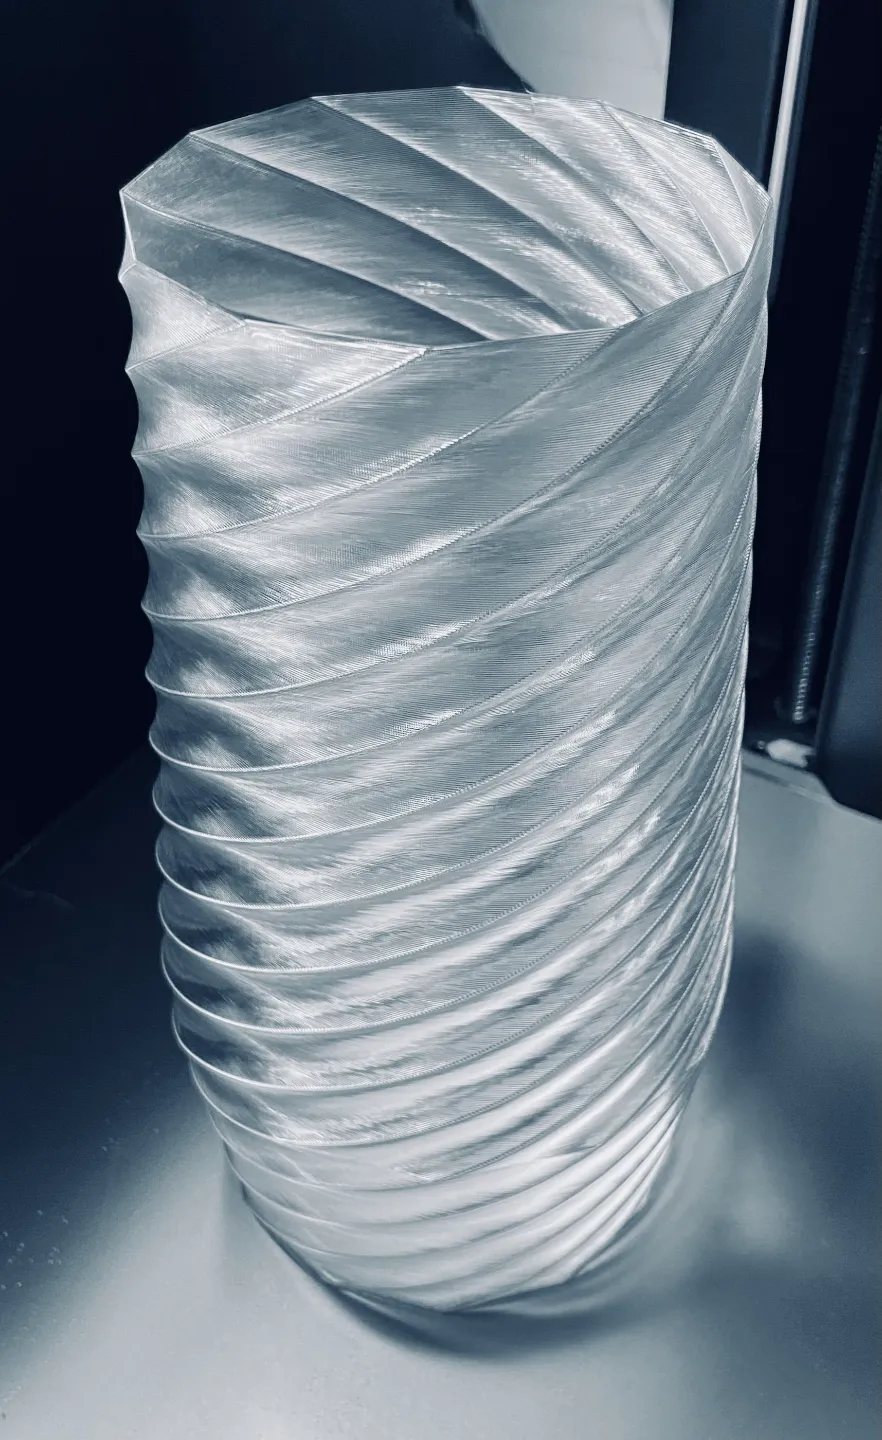
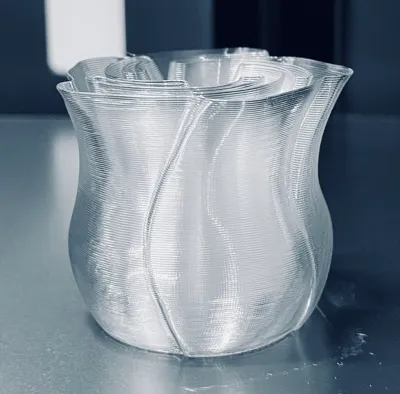
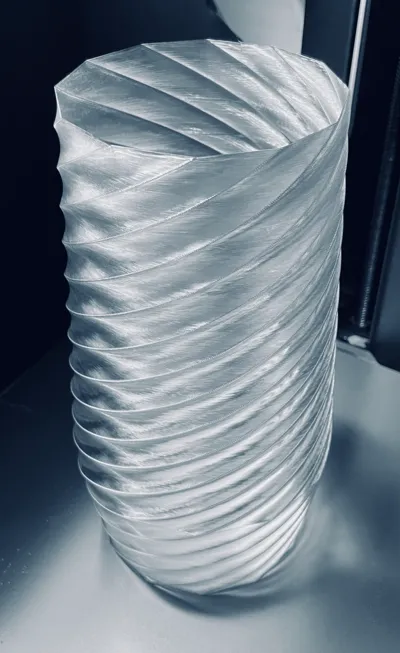
These are hand-picked vase mode prints from some amazing creators that have been adjusted with Ice Printing settings and are ready to be printed when you're ready to start diving into ice sculpting. No tools required!
Vase mode printing with ice profiles can be a bit tricky because not all vase mode prints can be successfully printed at 0.1mm layer heights, while some require it. Some appear clearer with thicker layer lines, and some need the right amount of squish to be complete. It's fun to experiment with different settings and prints, but these have been extensively tested both as standalone items and through Bambu Handy. They turn out pretty amazing printing directly via Bambu Handy with zero intervention from the user (not even adjusting temps or fans!).
Credit to sites and channels that helped me understand the Ice Printing process:
https://www.printables.com/model/15310-how-to-print-glass
https://wiki.bambulab.com/en/knowledge-sharing/transparent-petg
https://www.cnckitchen.com/blog/transparent-fdm-3d-prints-are-clearly-stronger
(288) Transparent FDM 3D Prints are Clearly Stronger! - YouTube ←A MUST WATCH!
🧊 Thank you for viewing, downloading and printing Ice! 🧊
License

You shall not share, sub-license, sell, rent, host, transfer, or distribute in any way the digital or 3D printed versions of this object, nor any other derivative work of this object in its digital or physical format (including - but not limited to - remixes of this object, and hosting on other digital platforms). The objects may not be used without permission in any way whatsoever in which you charge money, or collect fees.


Comment & Rating (745)