
Print Profile(1)
Description
Boost Me (for free)
⭐⭐⭐⭐⭐ Enjoyed this model? ⭐⭐⭐⭐⭐ This project took a lot of testing and thinking to get the tolerances perfect for a standard 22.5mm rod and make something simple with easily sourceable equipment. If this system saved you money and looks great in your home: 1. Leave a download and a review with a photo of your setup! 2. Click the "Boost" button to support my designs Your support keeps me motivated to build more premium DIY hardware for free! Happy printing!


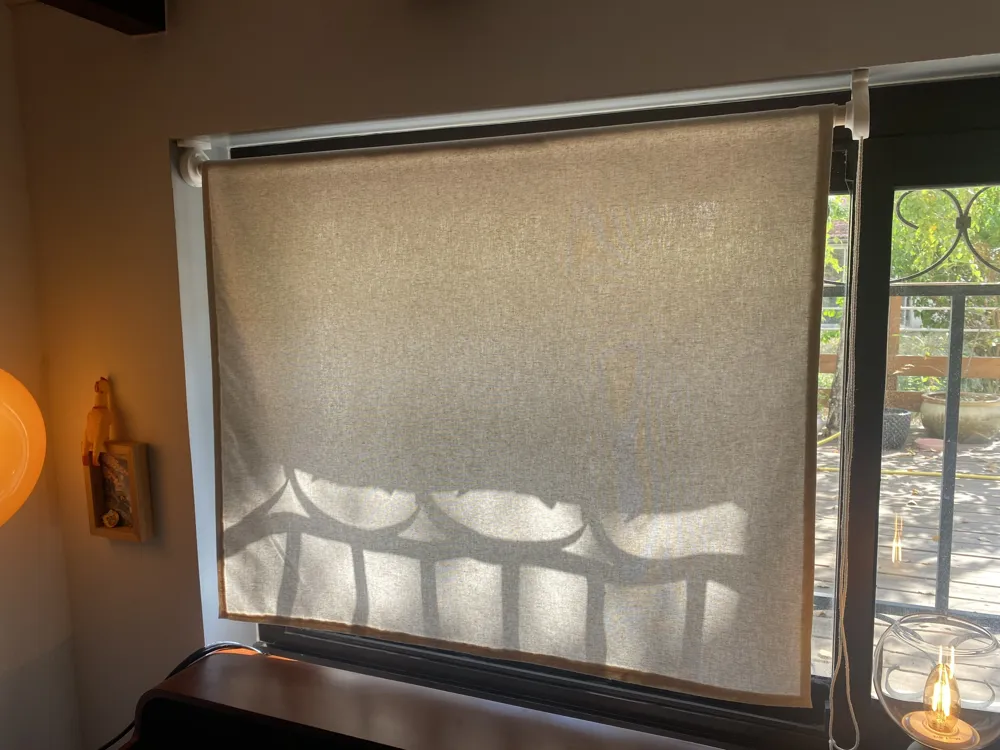
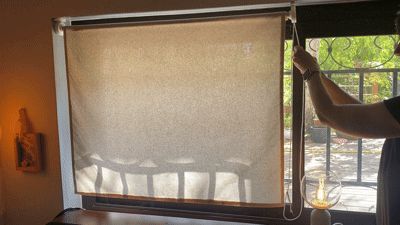
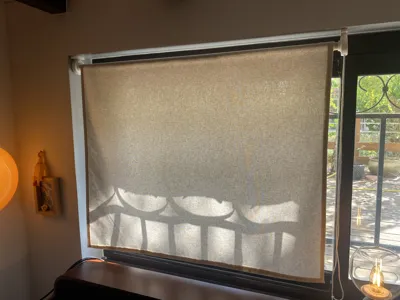
Tired of not finding a practical system to make your own roller blinds? This is a complete, robust, and 100% DIY system designed for MakerWorld!
This project allows you to create a custom roller blind at a very low cost. It uses a standard 22.5mm cylindrical wooden rod (readily available in any DIY or hardware store) and a smooth cord-pull mechanism.
Key Highlights:
- Cost-Effective & Custom: Make it exactly to the dimensions of your windows without paying a premium.
- Versatile Mounting: Supports can be screwed directly into either the ceiling or the wall.
- Easy Maintenance: The clever slider design allows you to easily unhook and remove the brackets to wash the fabric.
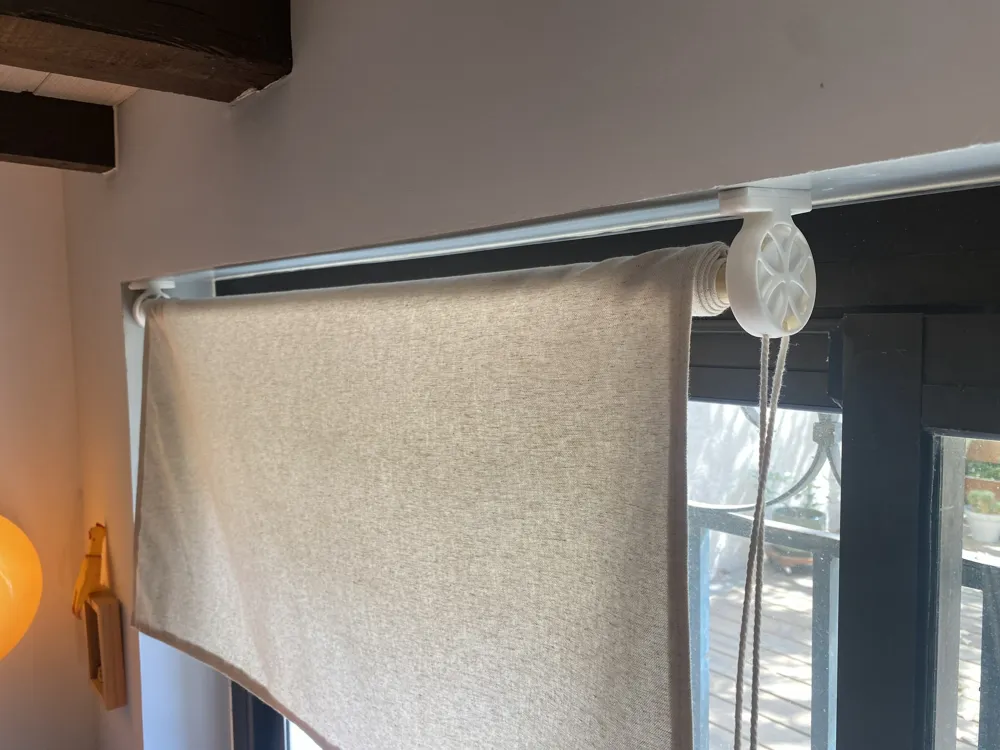
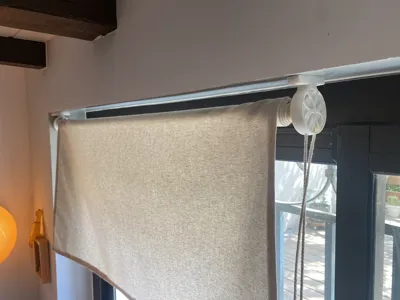
- Smooth Operation: Features a 4-roller system acting as mechanical bearings for a frictionless roll.
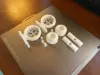
Bill of Materials (Printed Parts)
- 2x End Caps (to glue onto the ends of the wooden rod)
- 4x Rollers (mechanical wheels for smooth rotation)
- 1x Left Bracket
- 1x Right Bracket
- 2x Base Mounts (The sliding brackets to screw into the wall/ceiling)
Hardware Required (Non-Printed)
- 1x Cylindrical wooden rod (22.5mm diameter).
- 1x Fabric curtain (cut and hemmed to your window size).
- 2x Screws and wall anchors (adapted to your wall or ceiling material).
1x Cord (approximately twice the total length of your curtain).
Tools: Wood glue (to secure the end caps) and, to attach the fabric to the wood I personnally used staples but feel free to propose any alternative !
Step-by-Step Assembly Guide
- Prepare the fabric: Cut your fabric to your window's width and length, then hem the edges.
- Glue the 3D-printed end caps to both ends of the wooden rod.
- Attach the fabric to the wooden rod using staple for example
- Assemble the brackets (put the 4 rollers into their designated place, they are purposely loose but any proposal to improve that part is highly welcomed !)
- Mount the little rail to the wall / ceiling using a screw. Do a test to ensure they are properly placed with regard to the wooden rod length with their caps: Measure the exact distance needed, then screw the two Base Mounts into your wall or ceiling. Slide the left and right brackets onto them.
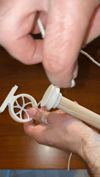
- Set up the cord: Wind the cord around the wheel (to ensure the cord doesn't slide around the cap I had to make 3 turns around the caps) of the dedicated end cap. Place the wooden rod assembly into the bracket rollers. Test the pull mechanism!
Documentation (2)
License

You shall not share, sub-license, sell, rent, host, transfer, or distribute in any way the digital or 3D printed versions of this object, nor any other derivative work of this object in its digital or physical format (including - but not limited to - remixes of this object, and hosting on other digital platforms). The objects may not be used without permission in any way whatsoever in which you charge money, or collect fees.


Comment & Rating (0)