
Triangle Microphone Flag with Swappable Panels
Print Profile(1)
Description
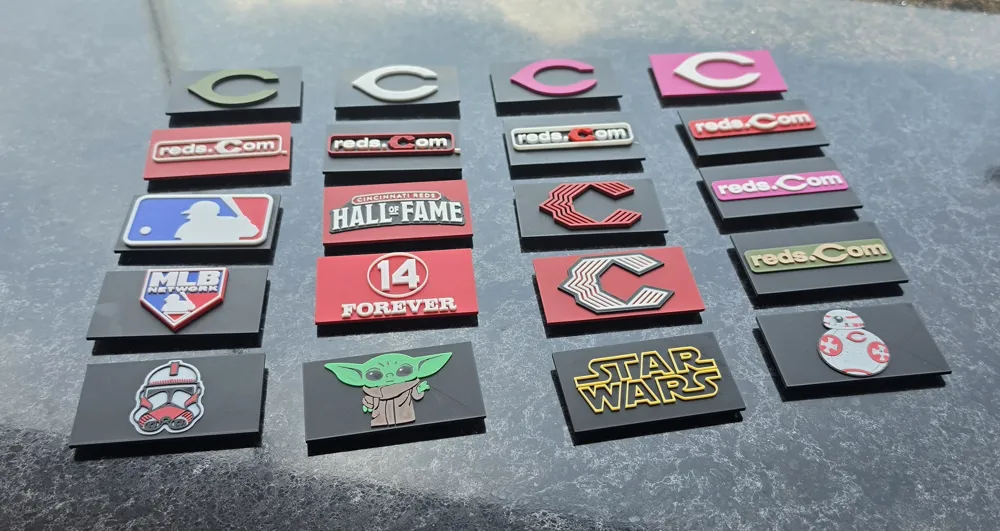
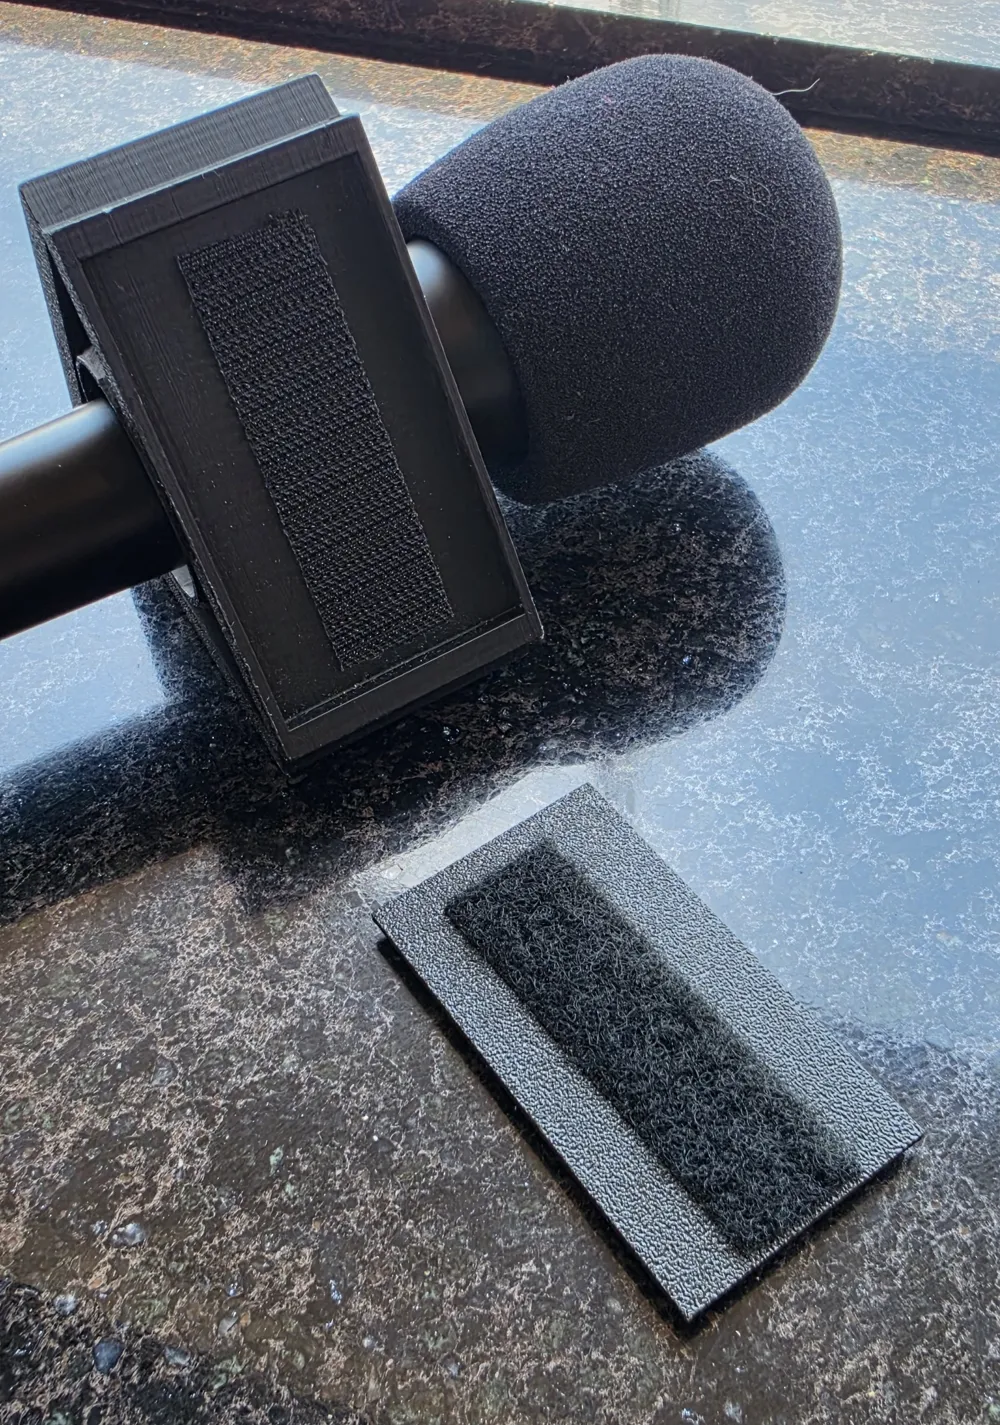
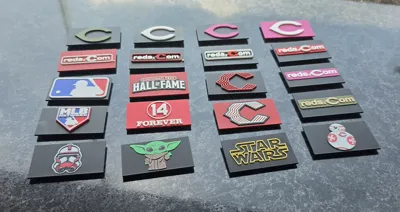
While I originally designed this for the Cincinnati Reds, I'd love to see what the MakerWorld community creates with it! Customize the removable panels with your favorite sports team, school, company, podcast, or personal logo and share your makes. The modular design lets you change branding in seconds by simply swapping the Velcro-mounted panels.
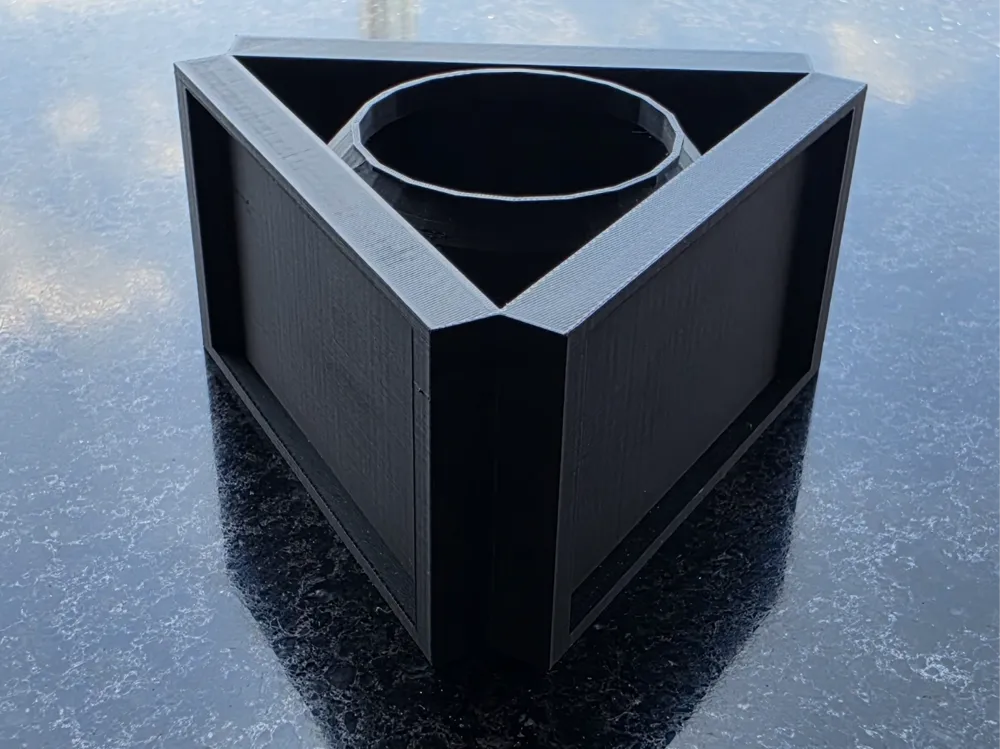
Modular Triangle Microphone Flag with Swappable Logo Panels
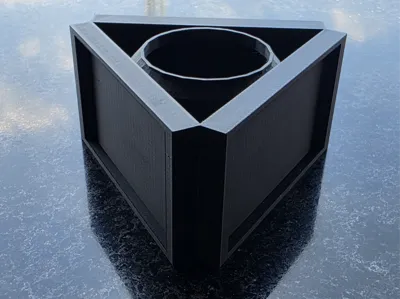
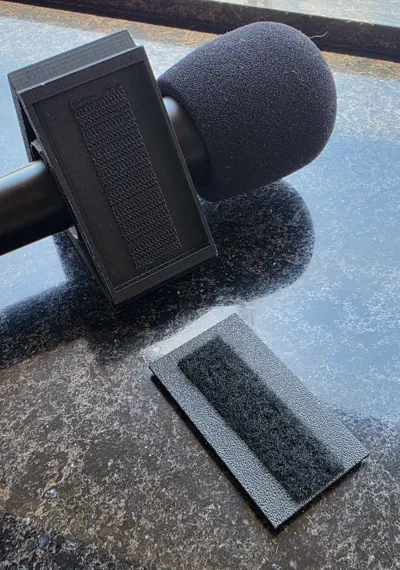
This is a modular 3-sided microphone flag designed for easy customization. Instead of printing a dedicated mic flag for every organization or event, the side panels attach with hook-and-loop (Velcro) so they can be swapped out in seconds.
Perfect for:
- Sports broadcasts
- Podcasts
- YouTube creators
- Schools
- Events
Custom branding
Print Information
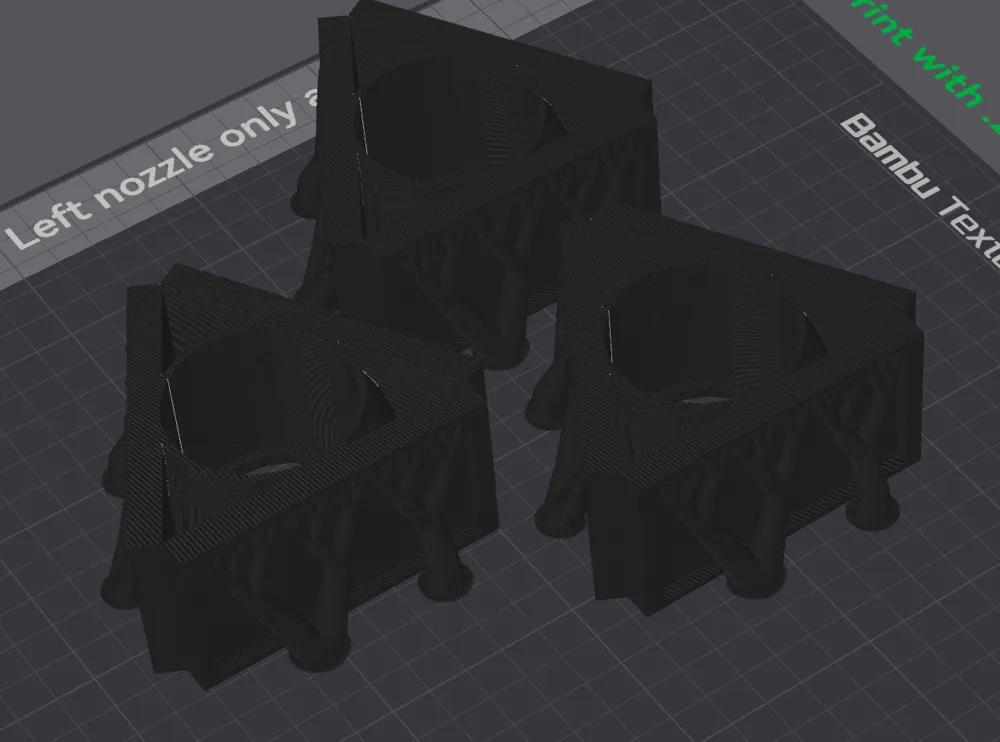
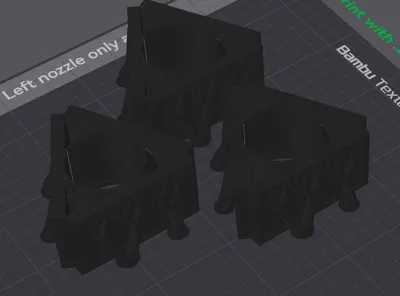
Main Flag Body
- Material: PLA
- Nozzle: 0.2 mm
- Layer Height: 0.12–0.16 mm recommended
- Use tree Support
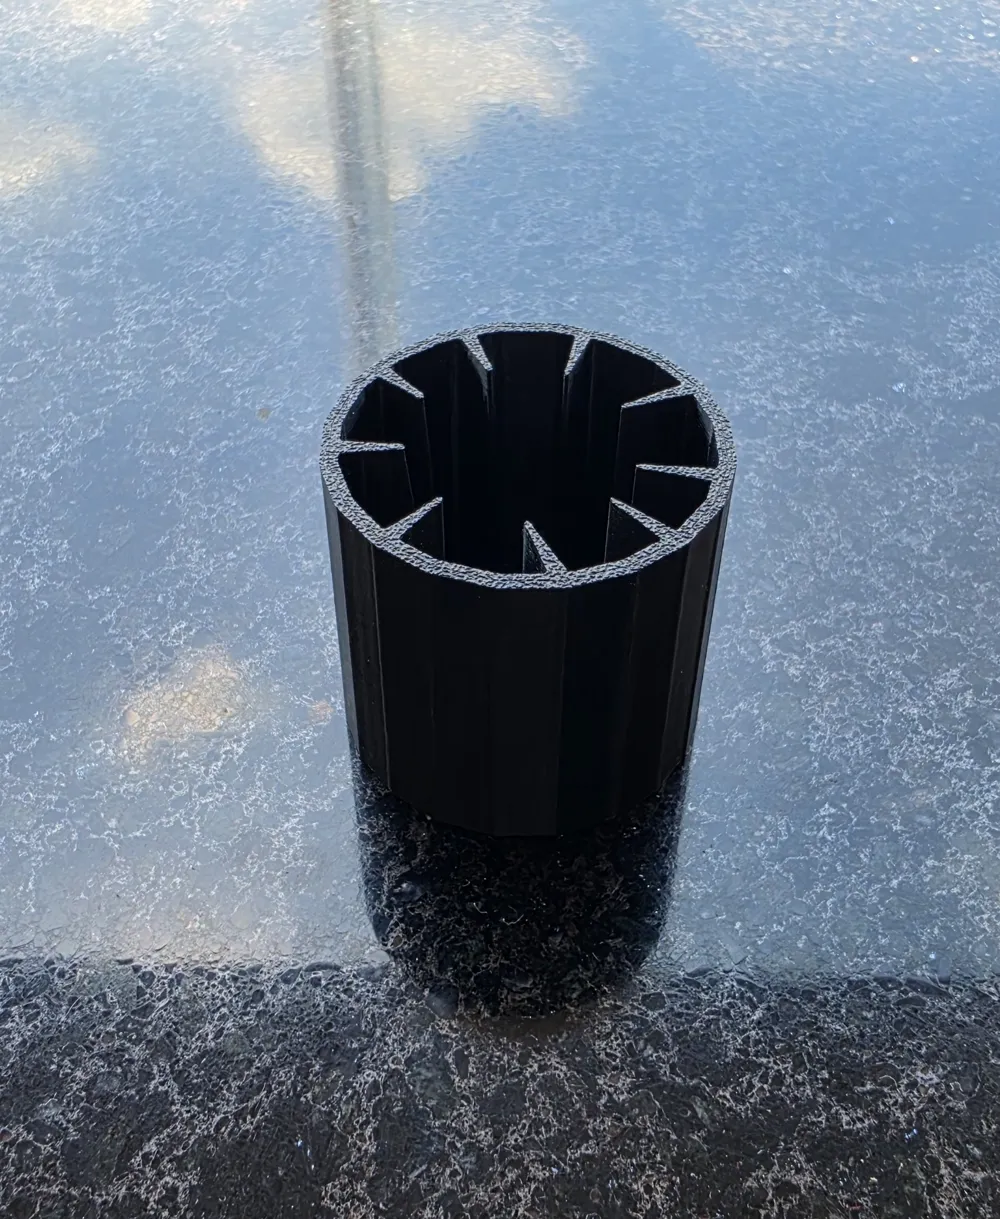
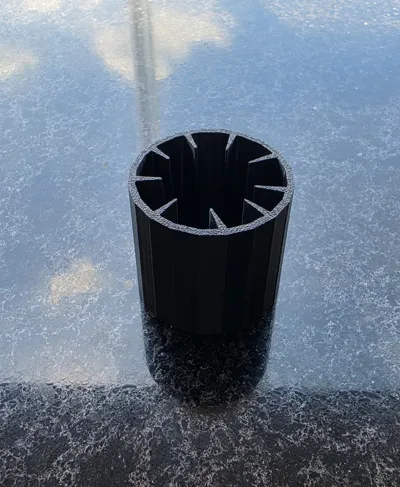
Center Grip
- Material: TPU 95A
Nozzle: 0.4 mm
Logo Panels
- Material: PLA
Nozzle: 0.2 mm
Creating Custom Logos
The logo panels shown were created using MakerWorld's Image to Keychain tool.
https://makerworld.com/en/makerlab/imageToKeychain
My workflow:
- Convert the logo into a 3D model using the Image to Keychain tool.
- Export the generated model.
- Import both the blank panel and logo into Bambu Studio.
- Position the logo on the blank panel.
- Merge the parts and slice as a single model.
- Print the finished panel and attach it to the mic flag using Velcro.
This makes it quick and easy to create new branding without reprinting the entire microphone flag.
Assembly
- Print the body in PLA.
- Print the flexible center insert in TPU 95A.
- Press the TPU insert into the center of the body.
- Apply hook-and-loop (Velcro) to the recessed panel locations.
- Attach your custom logo panels.
Notes
The included logo panels are shown only as examples of the system. Please ensure you have permission to use any trademarks or logos you create or distribute.
License



Comment & Rating (2)