
Exo - Finger Customizable
Print Profile(3)
Description
Update 18/07/2026
>
- Fixed “maker lab version” to be printed without any needed changes in Bambu Studio.
- Parameter version will work using Bambu Handy on your phone now.
>
Update 17/07/2026
>
- Updated an assembly guide.
>
Update 16/07/2026
>


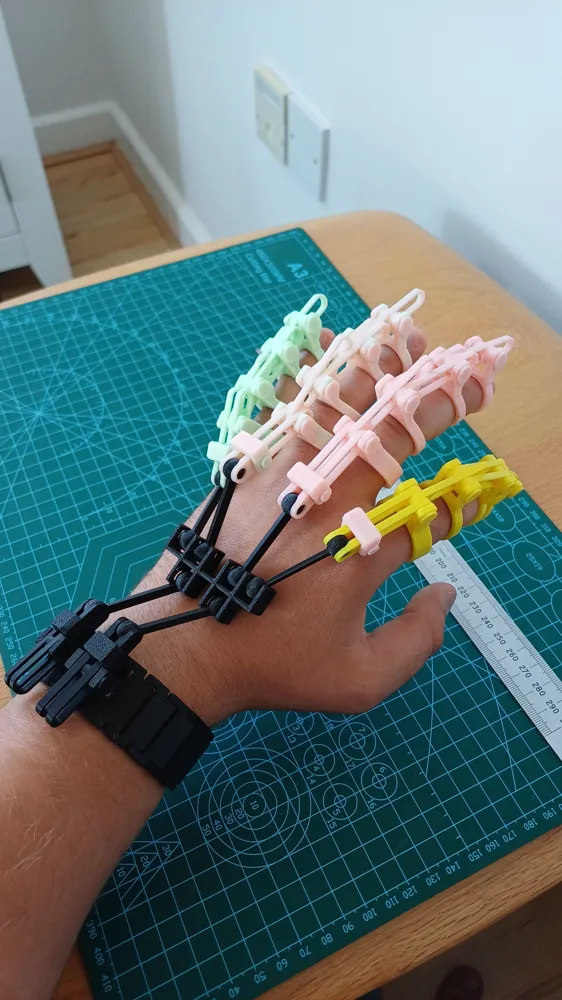
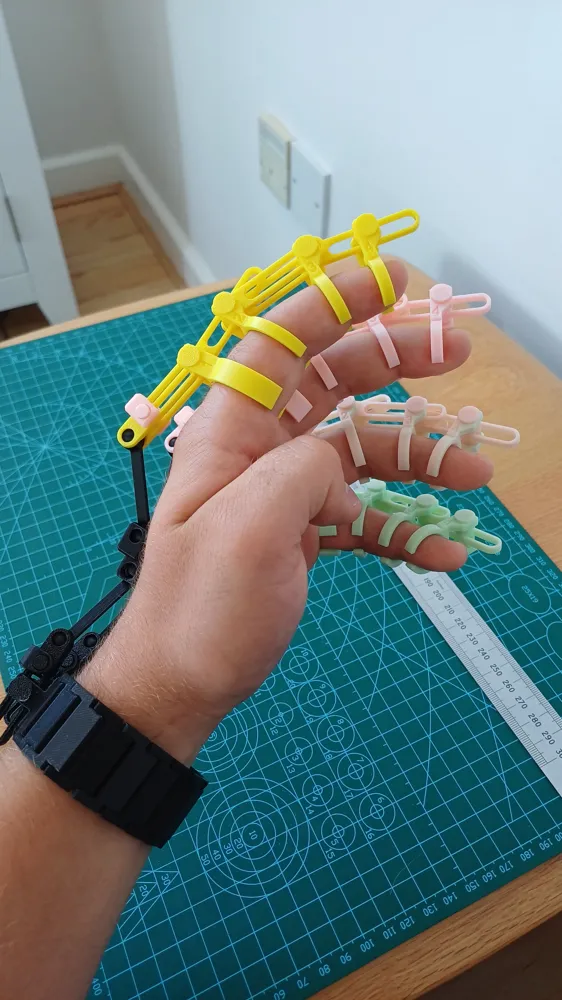
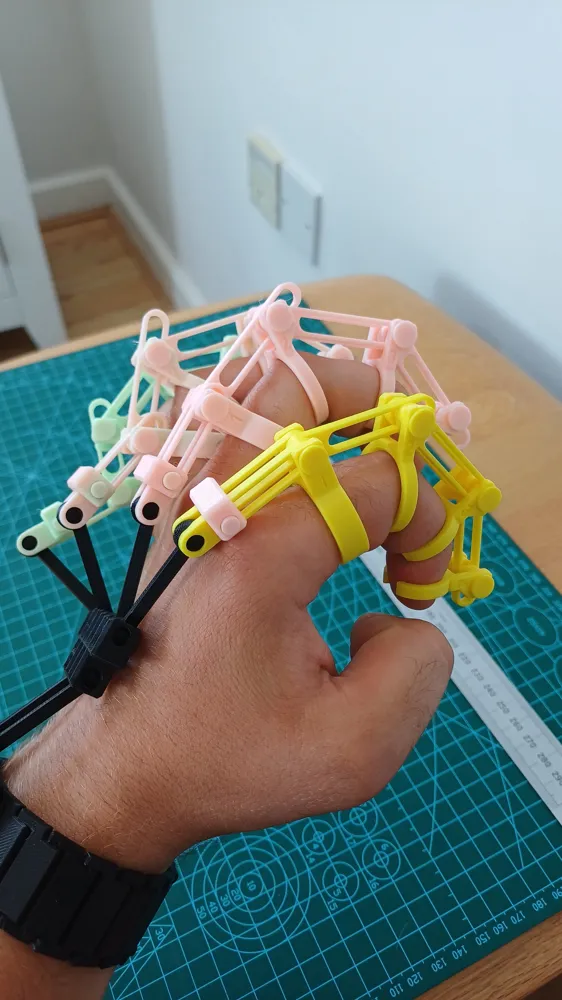
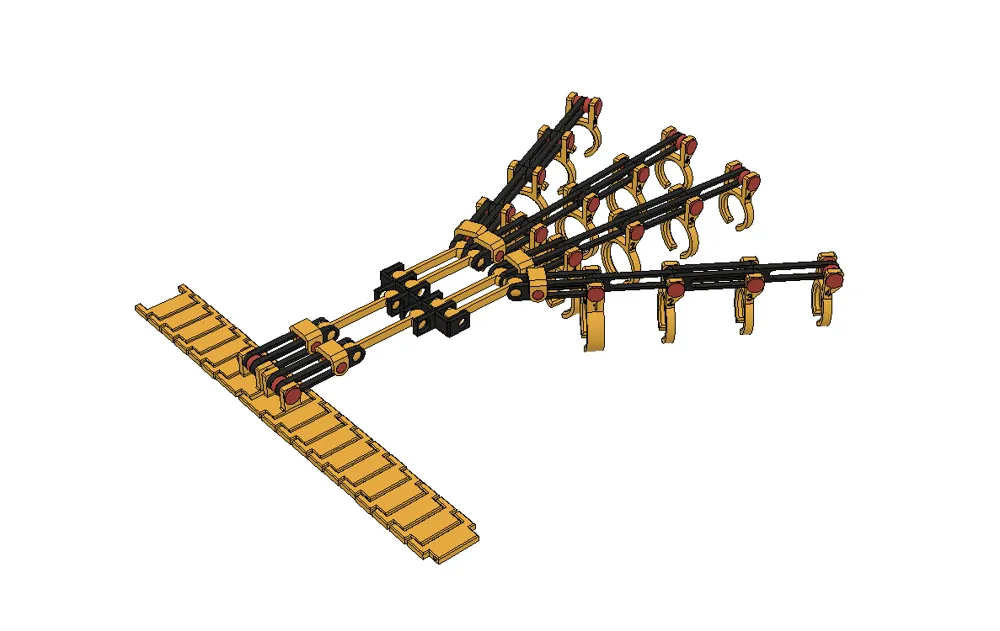
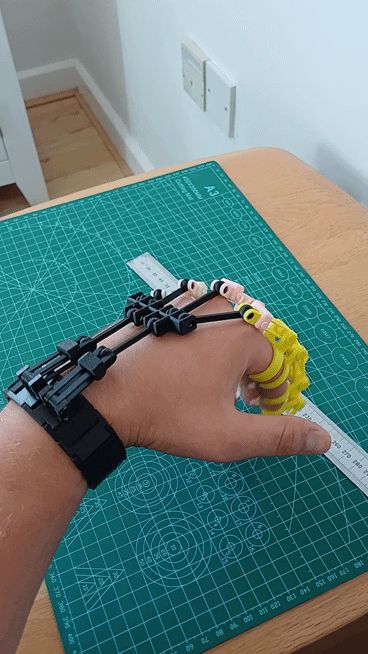
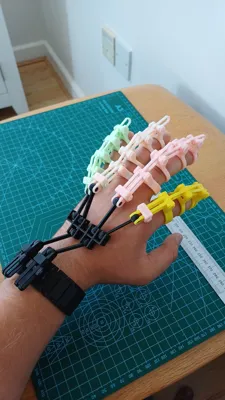
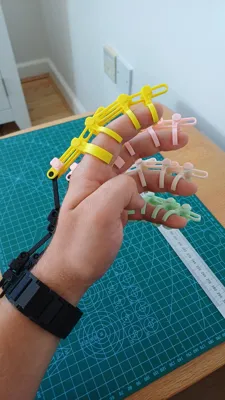
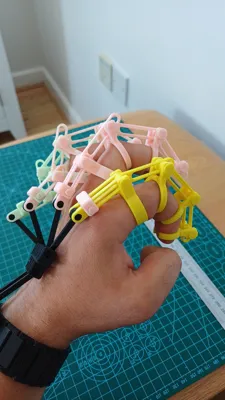
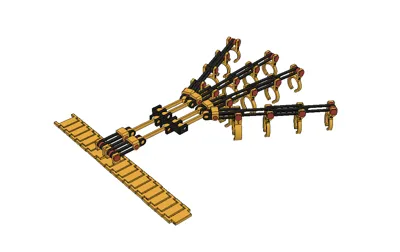
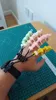
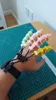
Made a fully attachable Guard for fingers to the wrist, fully mechanical and articulated.
Used for fun.
For full assembly you need :
- All fingers measurements, and customize print of them separately
( I attached a file with instruction at the bottom of the page how to measure).
- “Wrist And Hand Mount” from menu options.
>
============================
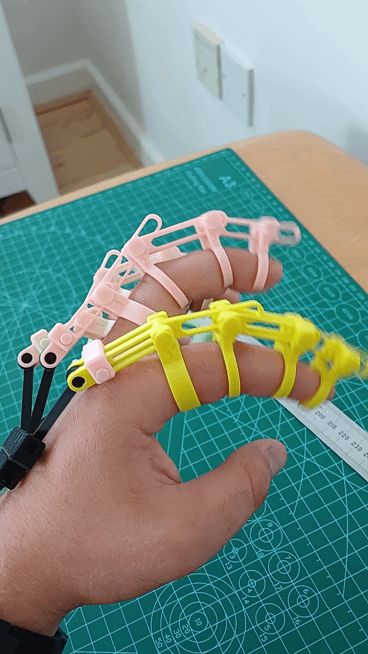
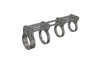
I have designed an Exo - finger that uses parameters to adjust to the finger's size.
I have included a PDF in the documentation showing where to place a ruler on the finger to get the correct measurement.
Please note that parameter “no.1” must be equal to or slightly larger than parameter “no.2” to ensure the rings can actually be put on properly without hurting your skin.
I started with a small project involving just a single finger, but ended up with a mechanical hand;
The design — featuring two extra pins between the joints — can serve to stabilize the fingers after a fracture by keeping the model rigid (Simple Splint).
(Fixed on 18/07/2026)
>
Not Required To Do Anymore
After calibrating and downloading the file, (select the MF3 version), in Bambu Studio, you need to split the object into parts, then use the "Auto-orient" function, followed by the "Auto-arrange" function to position them on the build plate properly.
In menu choose “OBJECTS” → “output_1”(OBJ NAME) → “RIGHT CLICK” → “SPLIT” → “TO OBJECTS”, on main screen: “AUTO ORIENT” → “ARRANGE OBJECTS ON CURRENT PLATE”.
>
After following those steps you will have custom fit “Exo-Finger” ready to be printed.
Documentation (2)
License

You shall not share, sub-license, sell, rent, host, transfer, or distribute in any way the digital or 3D printed versions of this object, nor any other derivative work of this object in its digital or physical format (including - but not limited to - remixes of this object, and hosting on other digital platforms). The objects may not be used without permission in any way whatsoever in which you charge money, or collect fees.


Comment & Rating (43)