
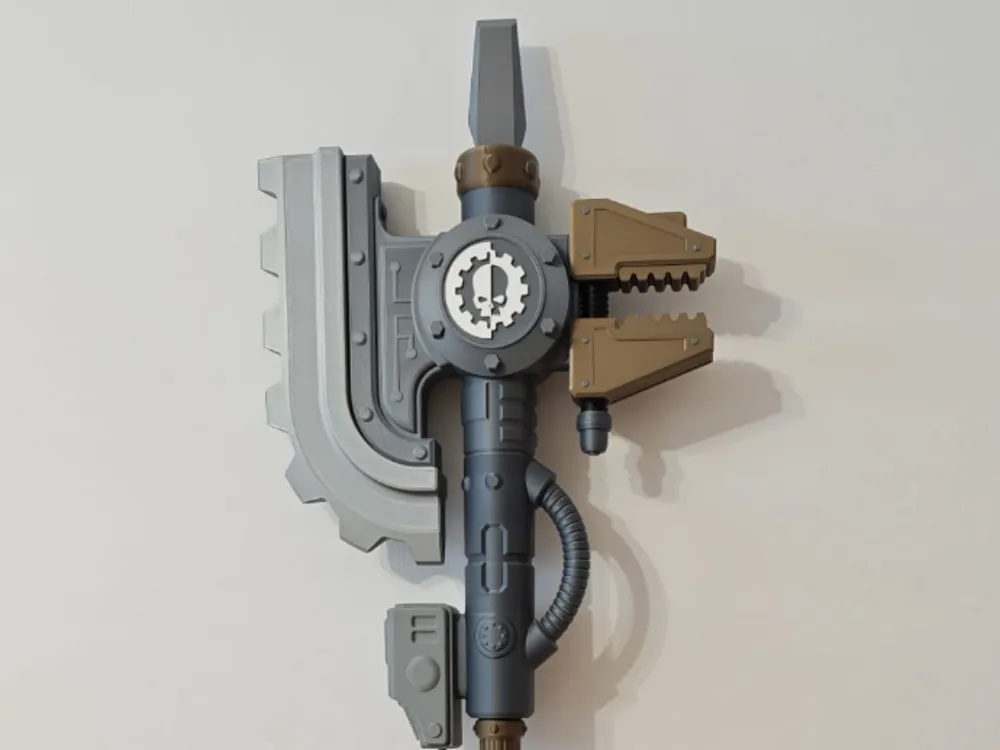
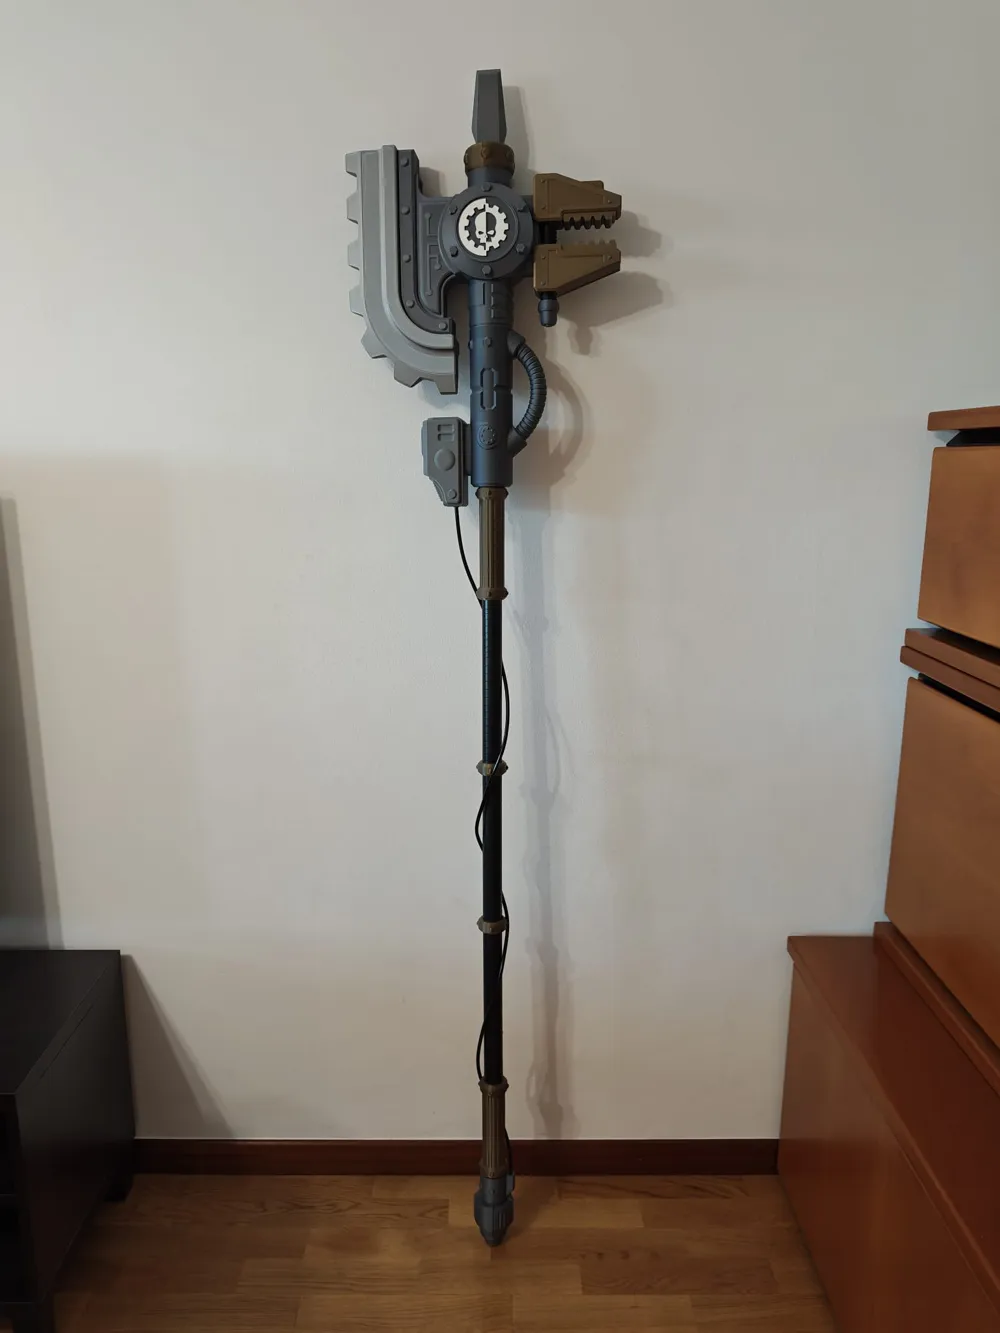
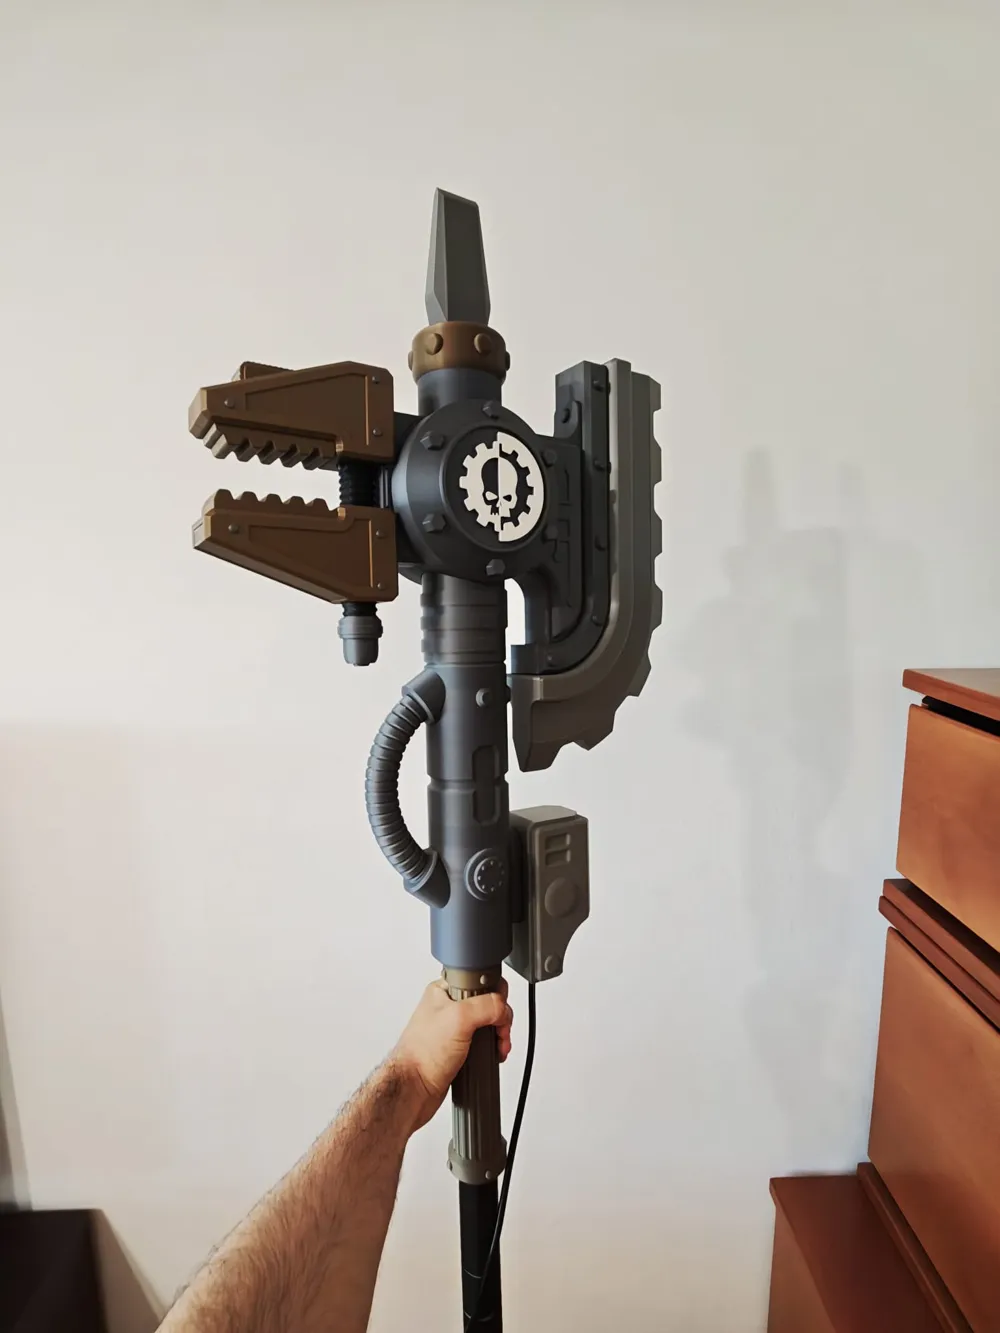
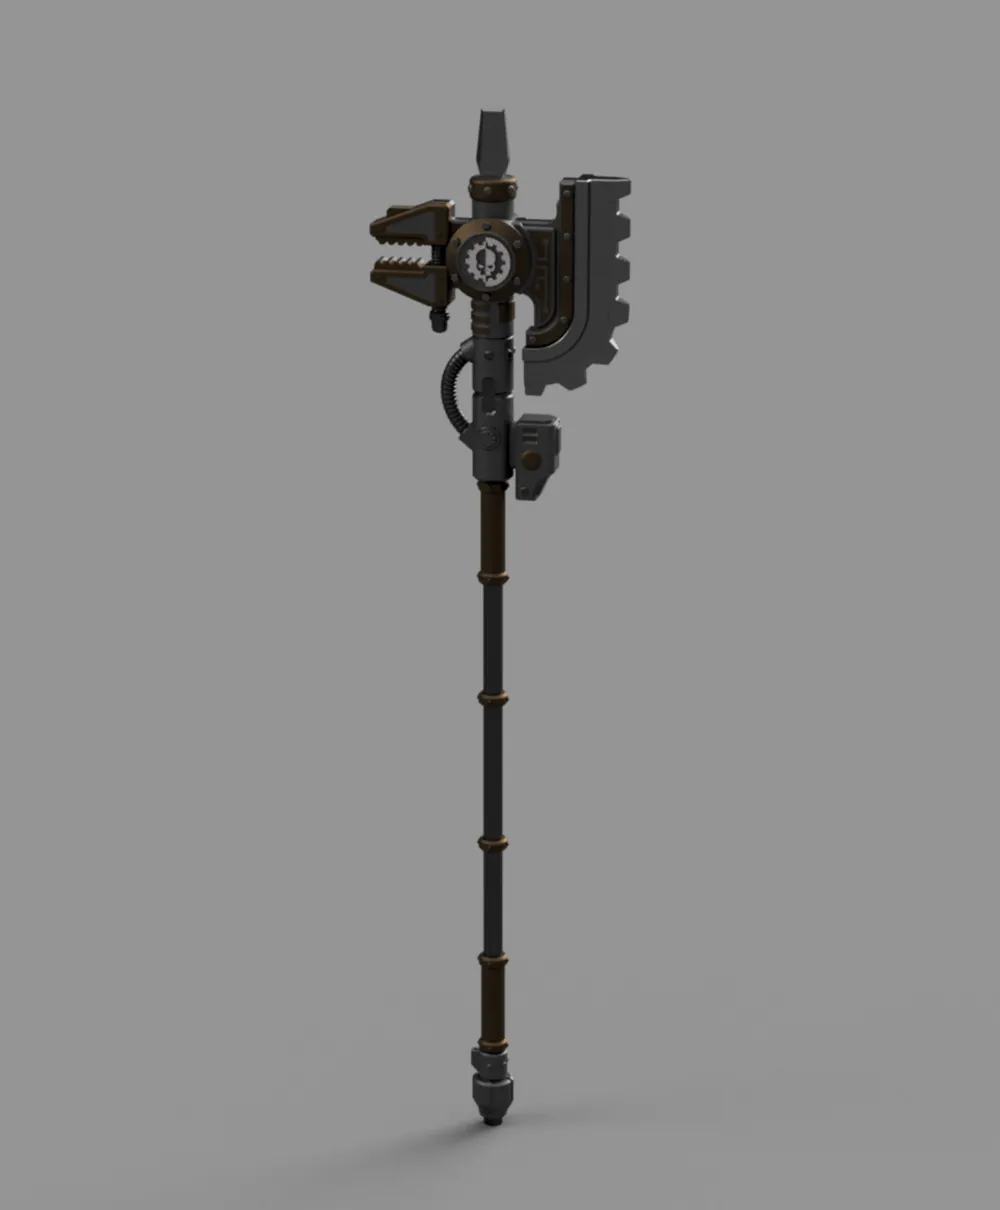
Tech marine Power Axe - Grimdark Inspired
Print Profile(2)
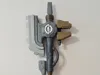
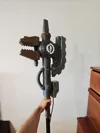
Bill of Materials





- Small tube or cables 6mm diameter max x 1:
- Glue x 1:
- Electric tape x 1: (Opcional)
- Tube/Pipe 32mm 1,8m long x 1: PVC works fine
Description
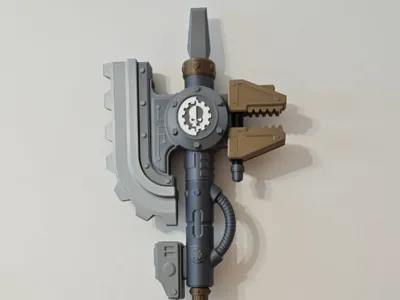
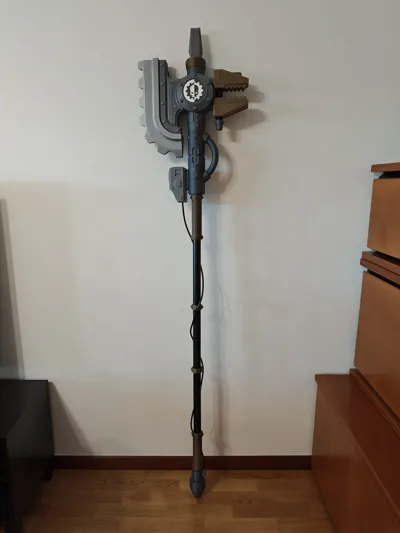
This is my biggest project so far and it was a really good way to use for the first time my new H2S, i know that no everybody has the bigger size printers so i made a 84% scale version that is compatible with 256x256mm bed sizes , the materials and the assembly is the same as the bigger variant and to be honest the bigger one might be a bit excesive.
Other thing that im not really sure if the bigger variant is going to be compatible with all the H2 series and A2L since they all have slightly diferent print sices and its all very confusing.
Boost Me (for free)
Hope you like this model
For assembly:
Same materials for big and small variants.
- You are going to need some glue (cyanoacrylate).
- A tube or stick that is 32mm in diameter and 160~180cm long, The lenght of the tube might vary depending of how tall you are and how big you want the model to be , i recomend having some lenght to spare and them cutting down if its to long with the top part of the model already assembled,i used a PVC pipe for this that was petty rigid.
- Some electric tape to wrap around the handle but that is opcional.
And some 6mm max in diameter flexible tube or cable but that is also opcional.
We are going to start ading the top part to the end of the tube and glue it in.
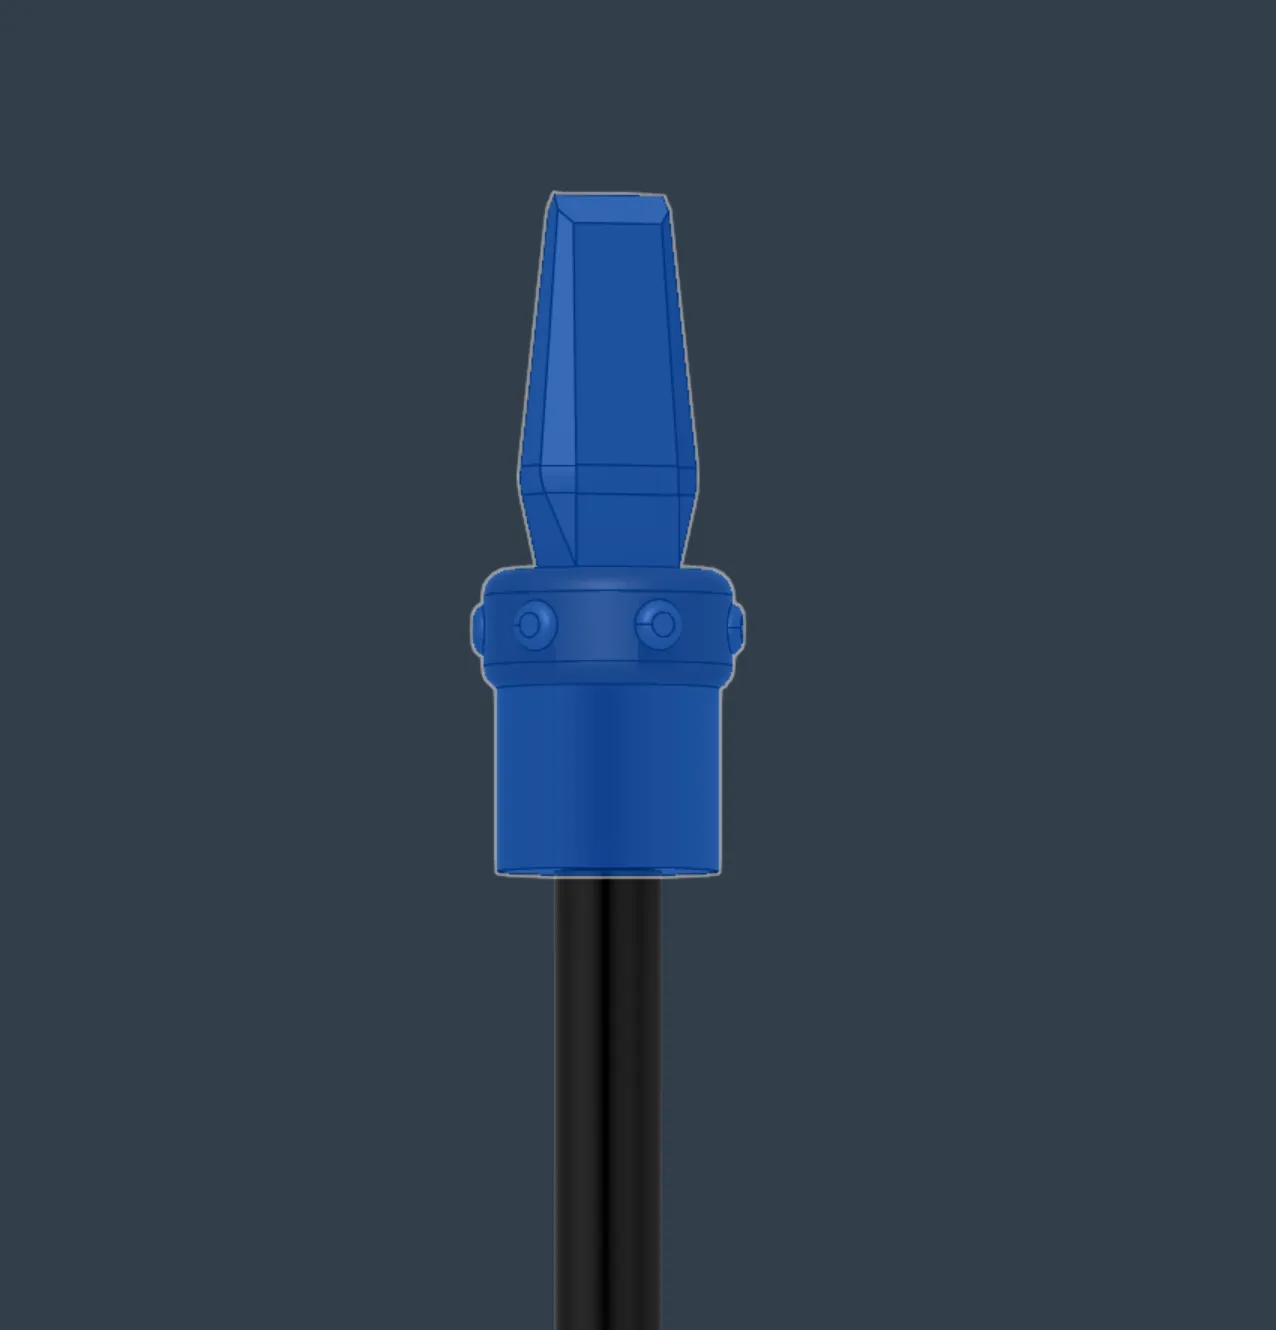
Then we are going to start joining the two central parts, they have holes for pegs but you dont have to use all of them.
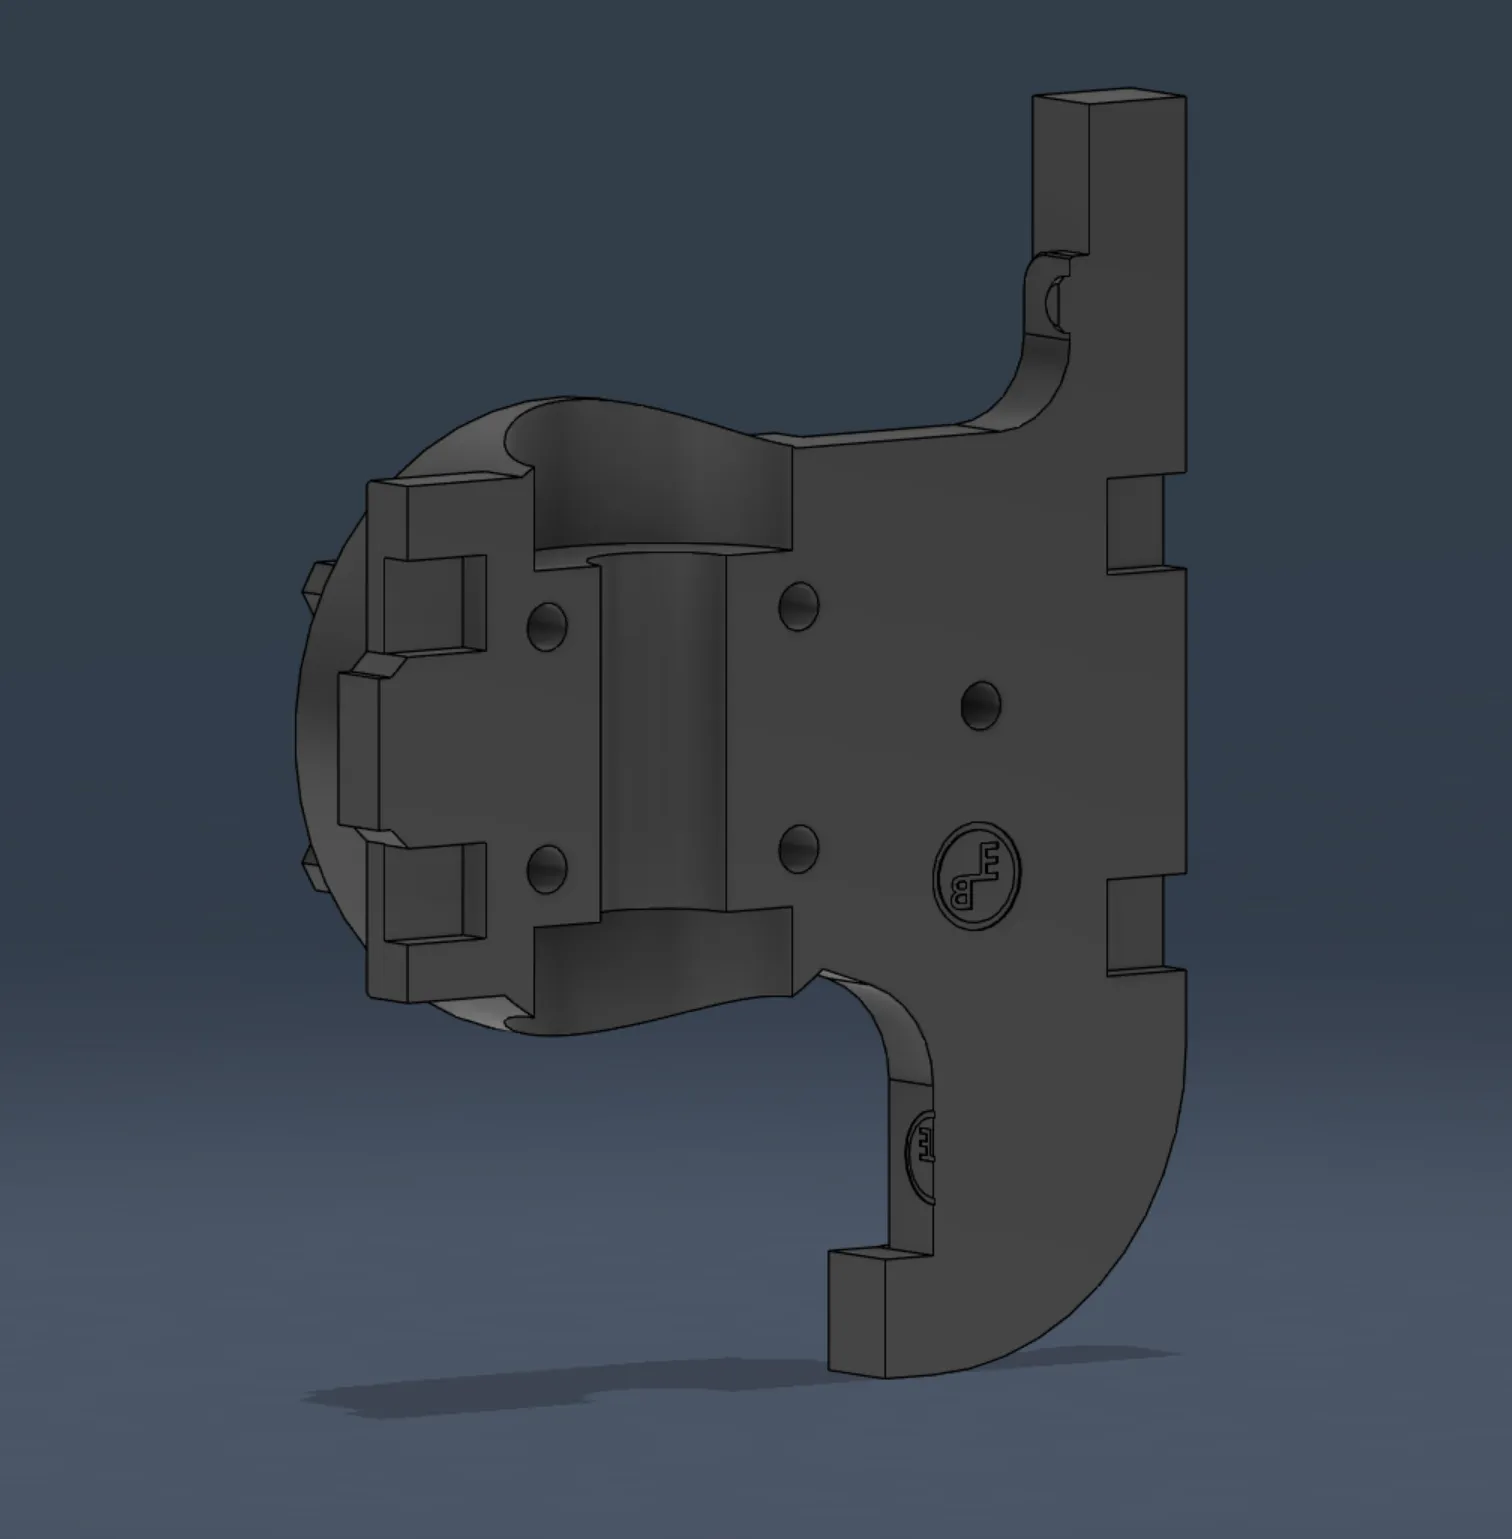
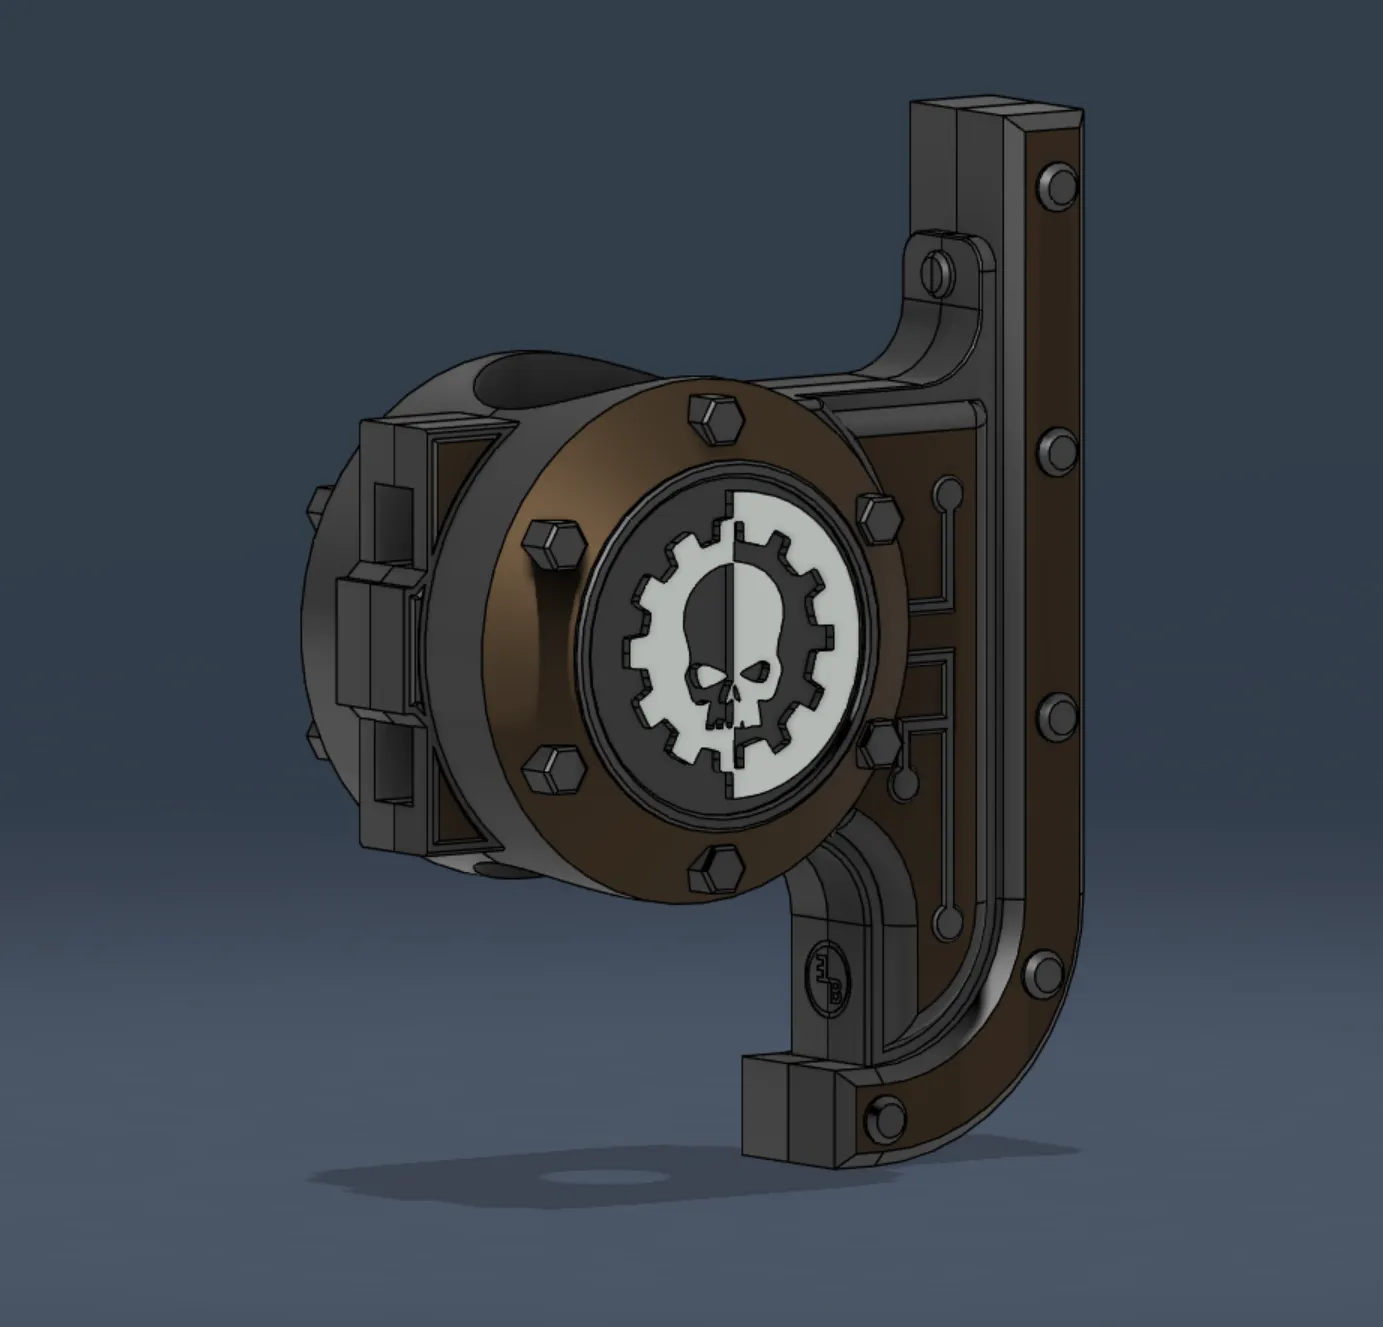
Afther that we can add it to the tube trie to add glue so it glued to the top part but also to the tube.
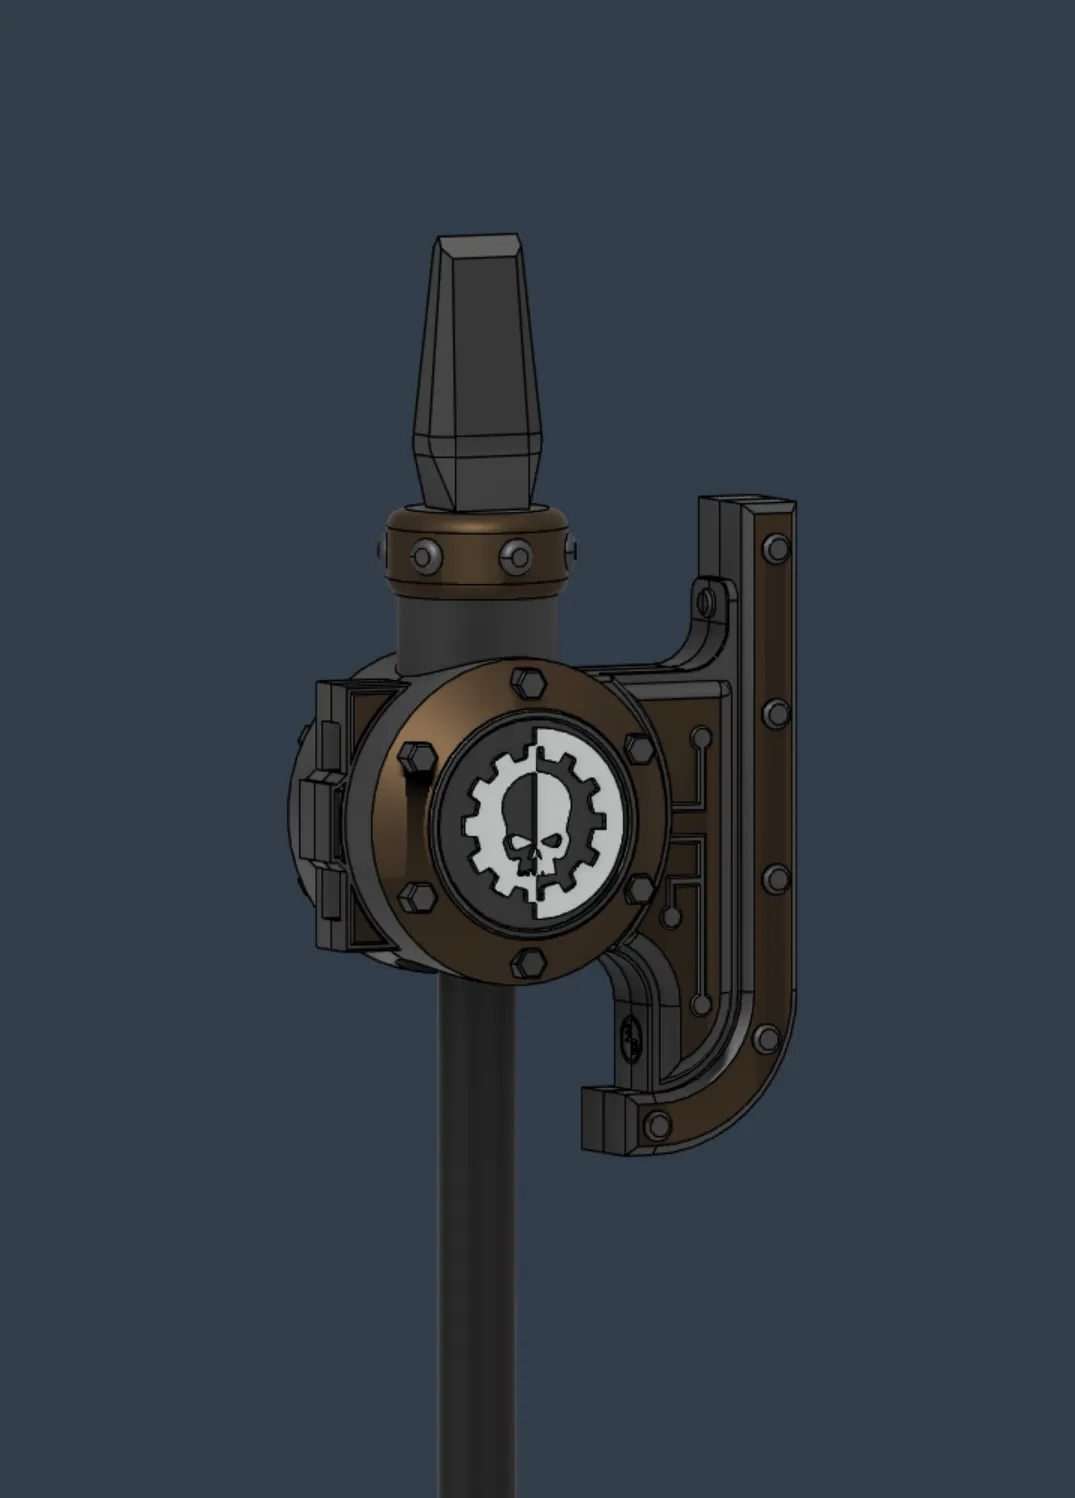
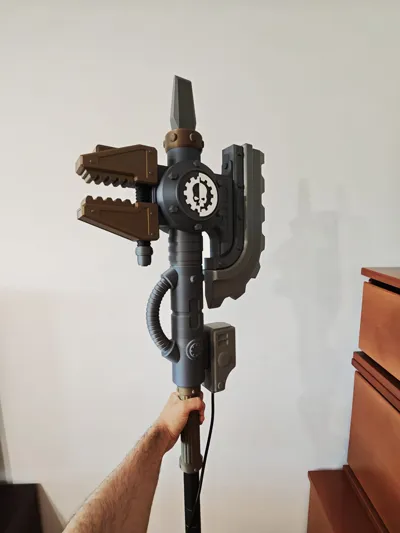
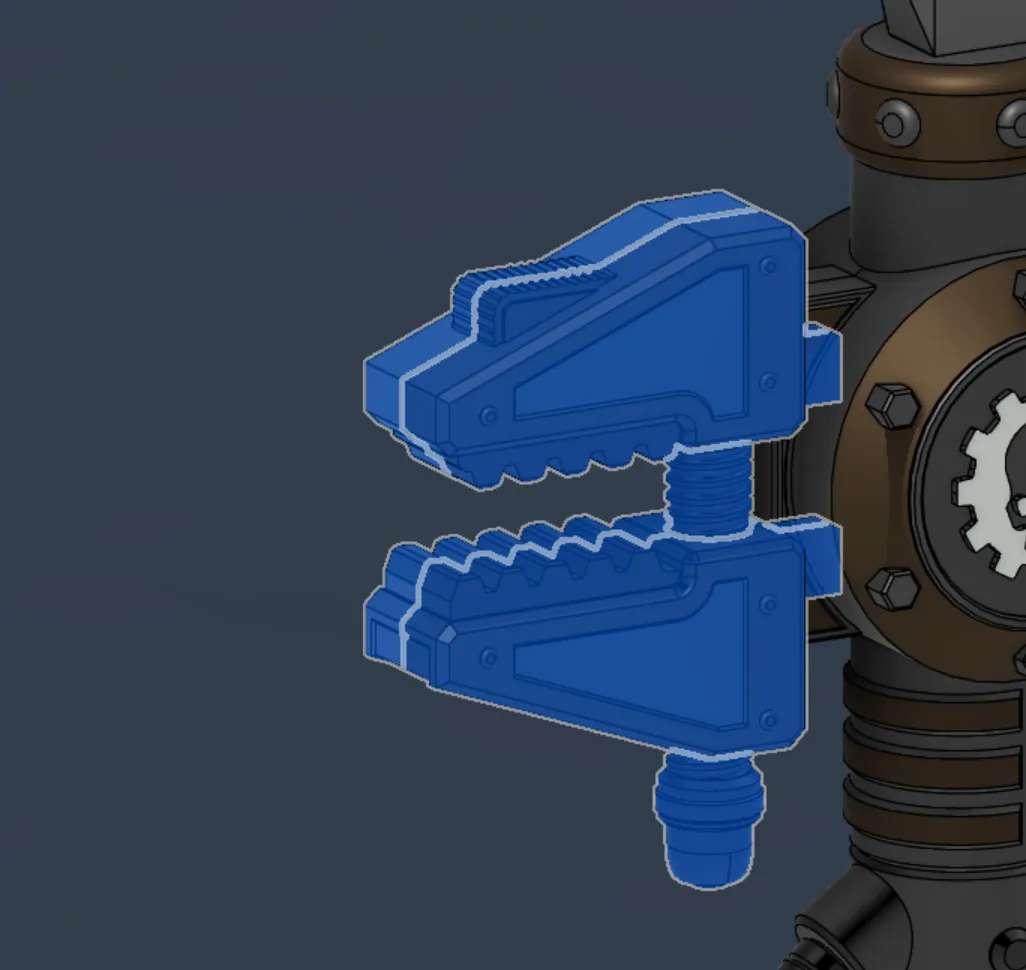
Now we can add the claws that also use pegs and the screw, is better to do this step now becuase later we are not going to have the angle to insert the screwand might get tricky.
After that we can add the two lower parts.
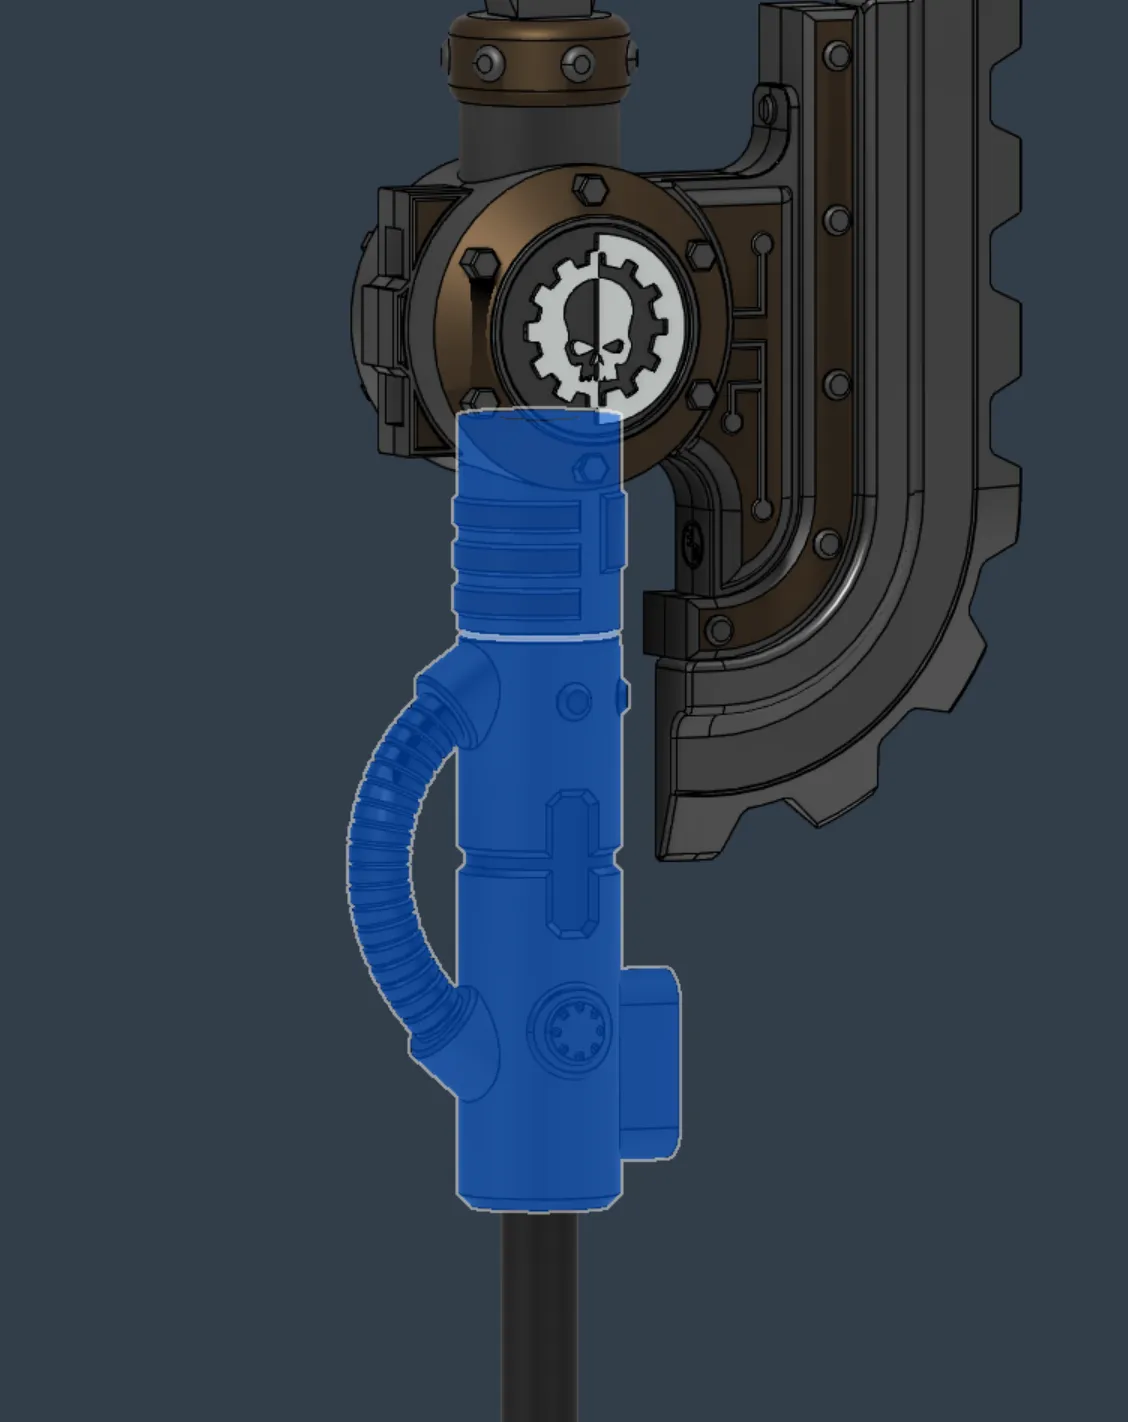
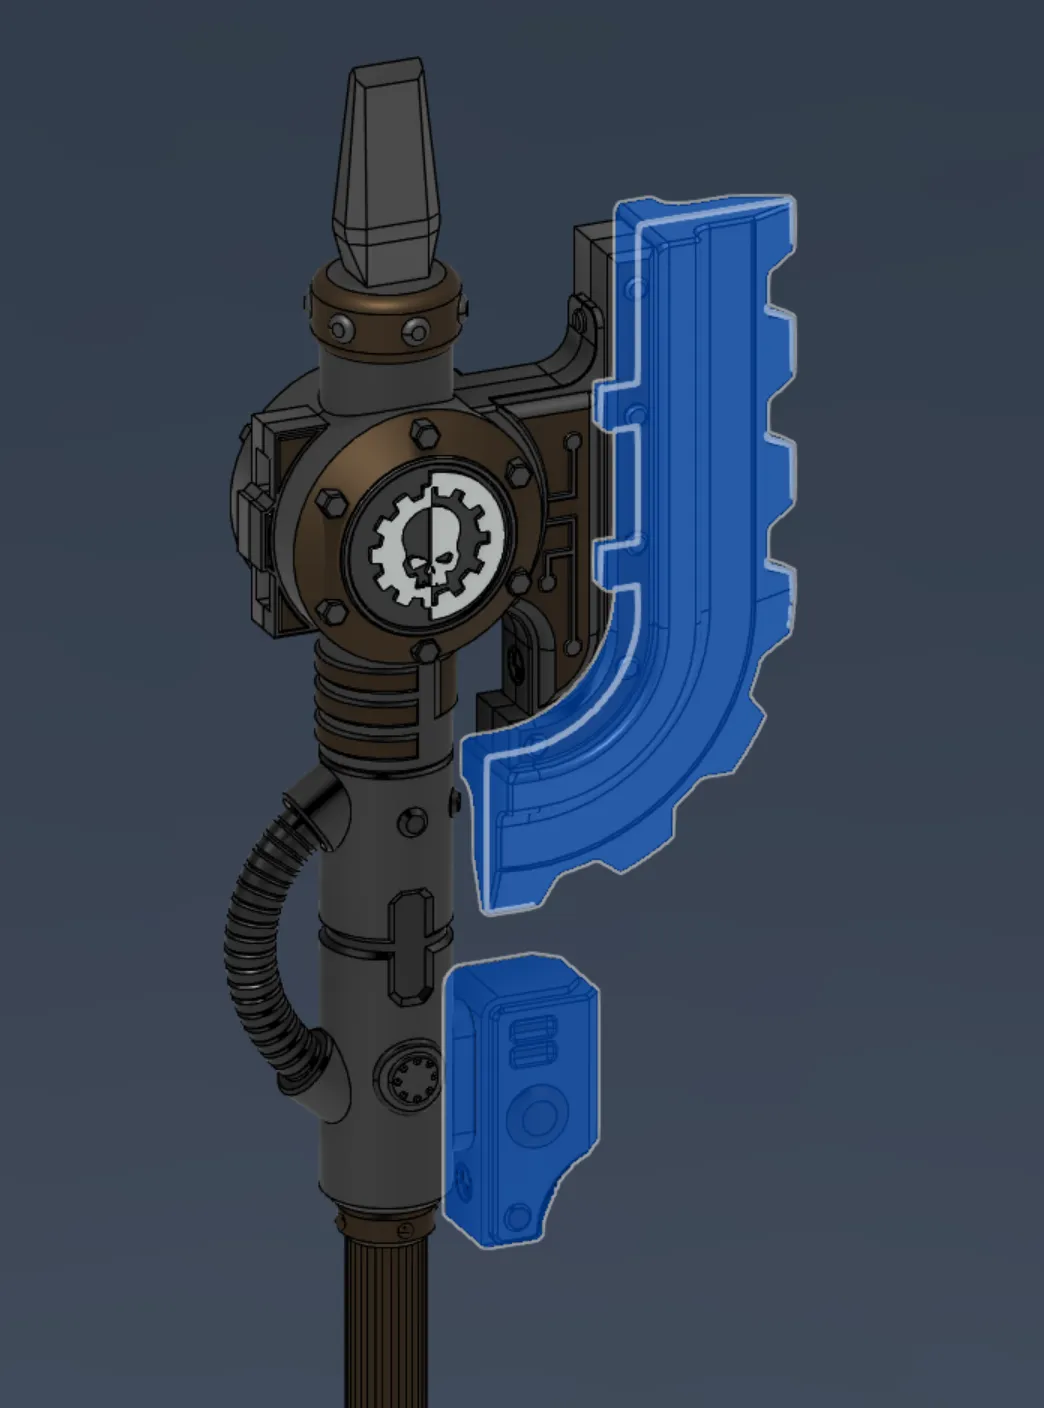
Now we can add the blades and box thingy , the blades also use some pegs.
Now that we have all the top part conected we can cut the tube if its a bit too long if not we can add the final bits, you can mix and mach the rings and the colums if you want to get diferent combinations and have for example more rings, the model its designed so the lower part of the tube sticks out a bit so the printed part not gets damage when resting the axe on the ground.
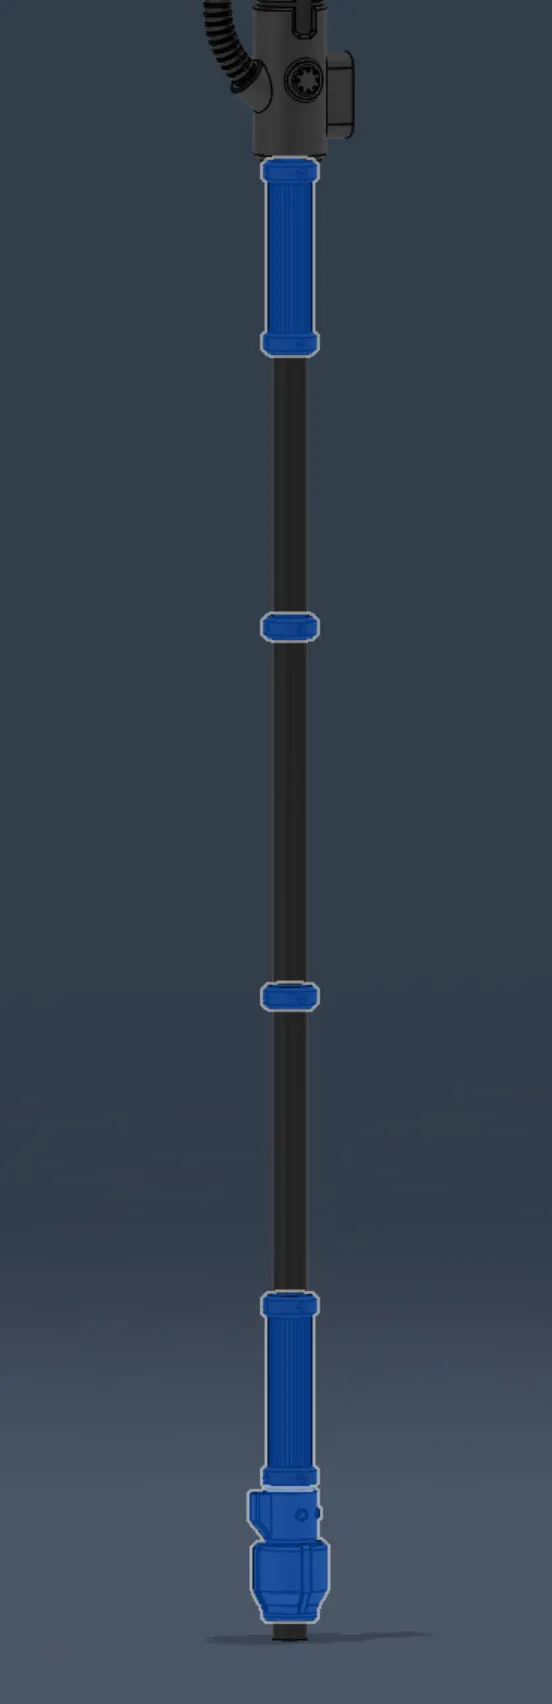
And this is petty much it, now you can add the final details like electric tape to the handle and the small flexible tube or cable can be inserted and wrap around the handle using the two small holes.
License

You shall not share, sub-license, sell, rent, host, transfer, or distribute in any way the digital or 3D printed versions of this object, nor any other derivative work of this object in its digital or physical format (including - but not limited to - remixes of this object, and hosting on other digital platforms). The objects may not be used without permission in any way whatsoever in which you charge money, or collect fees.


Comment & Rating (6)