
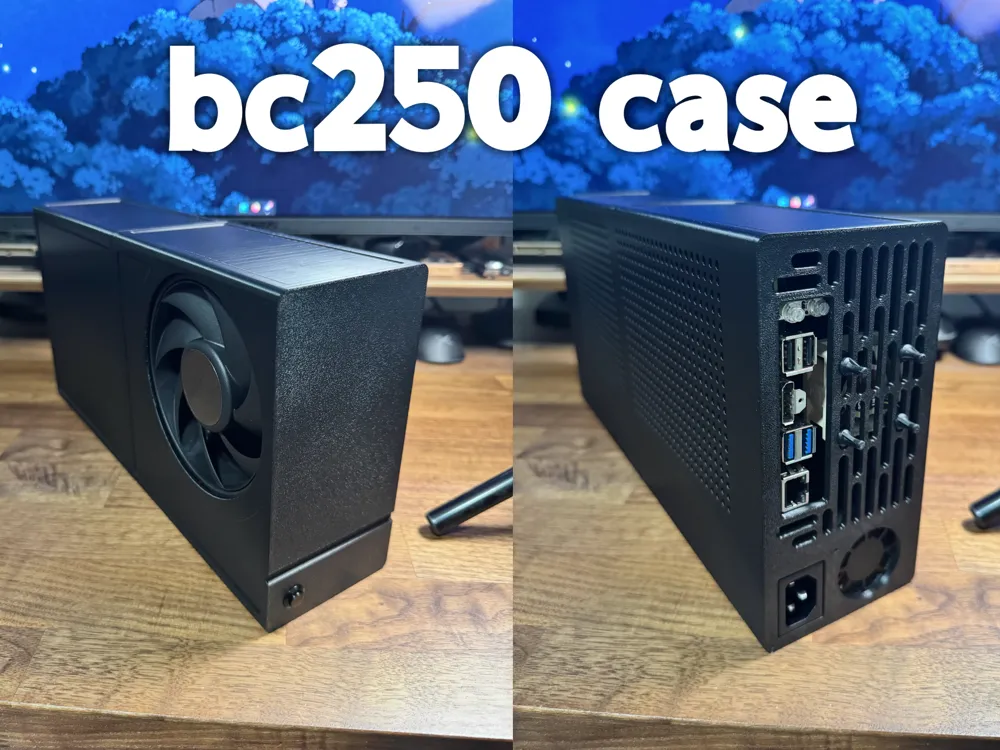
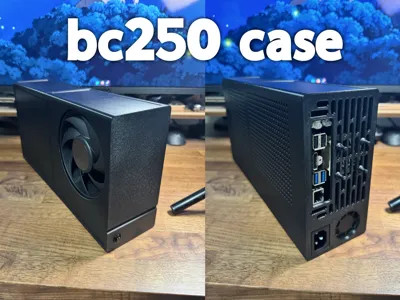
BC250 Case MKUU Plus
Print Profile(1)
Description
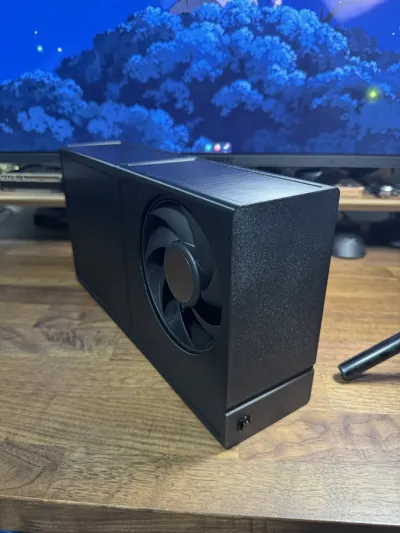
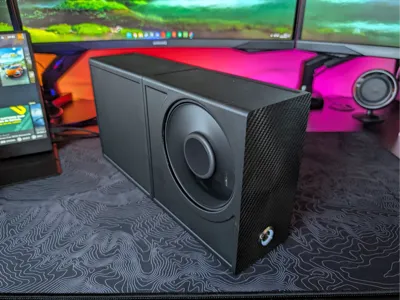
This is a remixed model originally created by the very talented morph91. Original model link: https://makerworld.com/en/models/2749412-bc-250-gaming-pc-case-mk-ultra-uno. I'm naming this model the MK Ultra Uno Plus : )
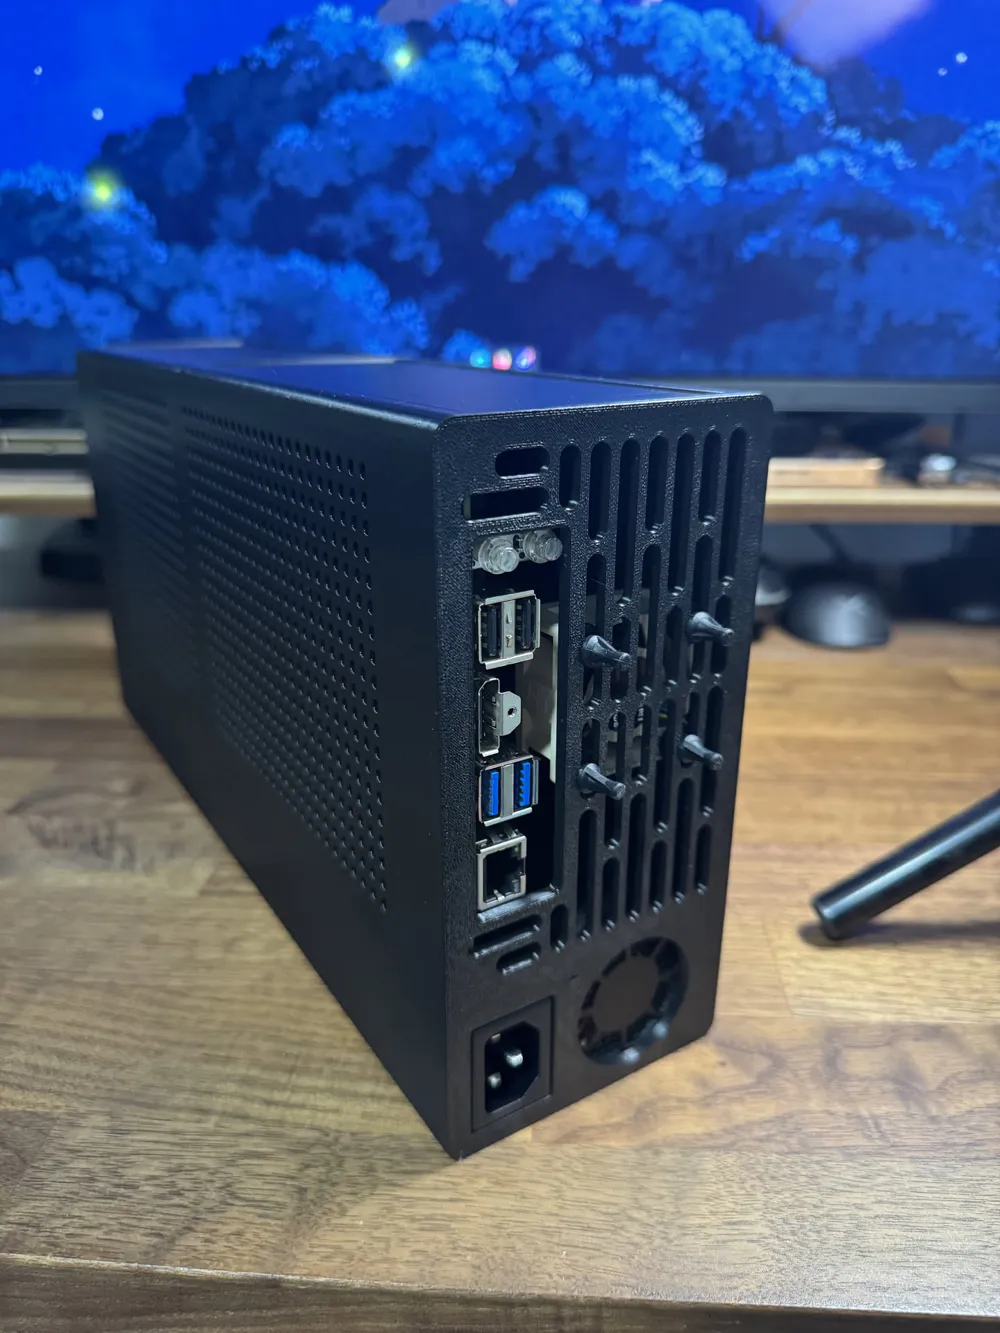
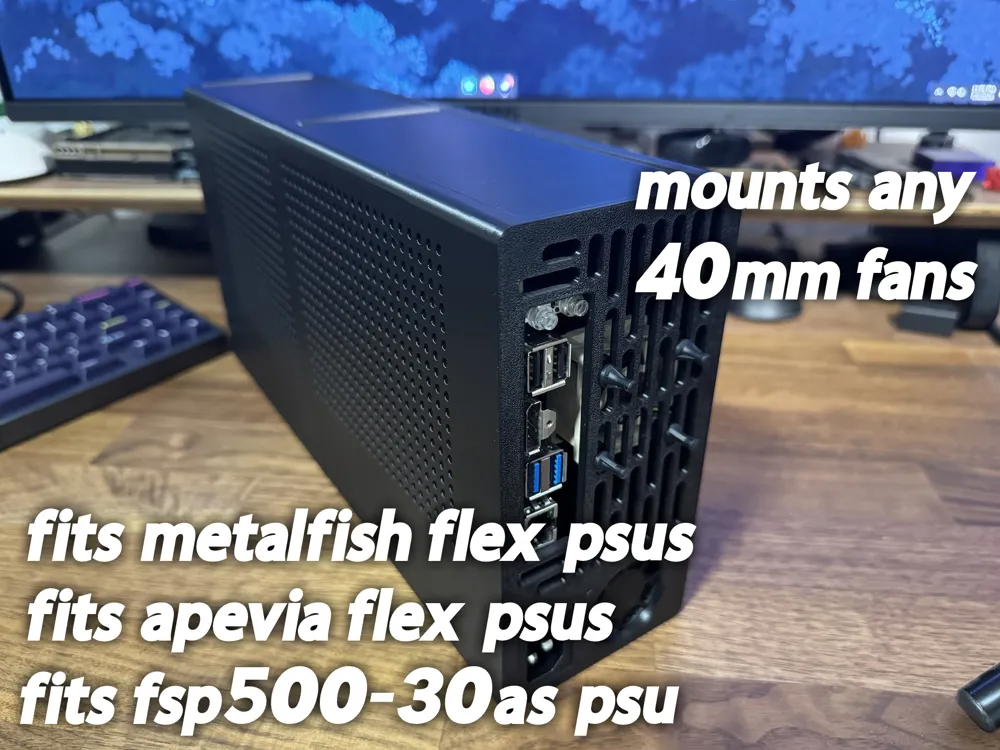
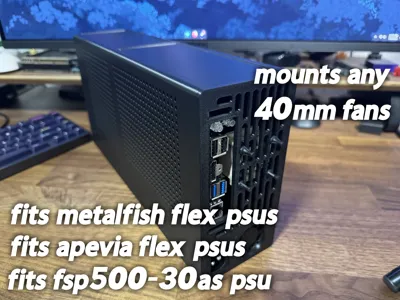
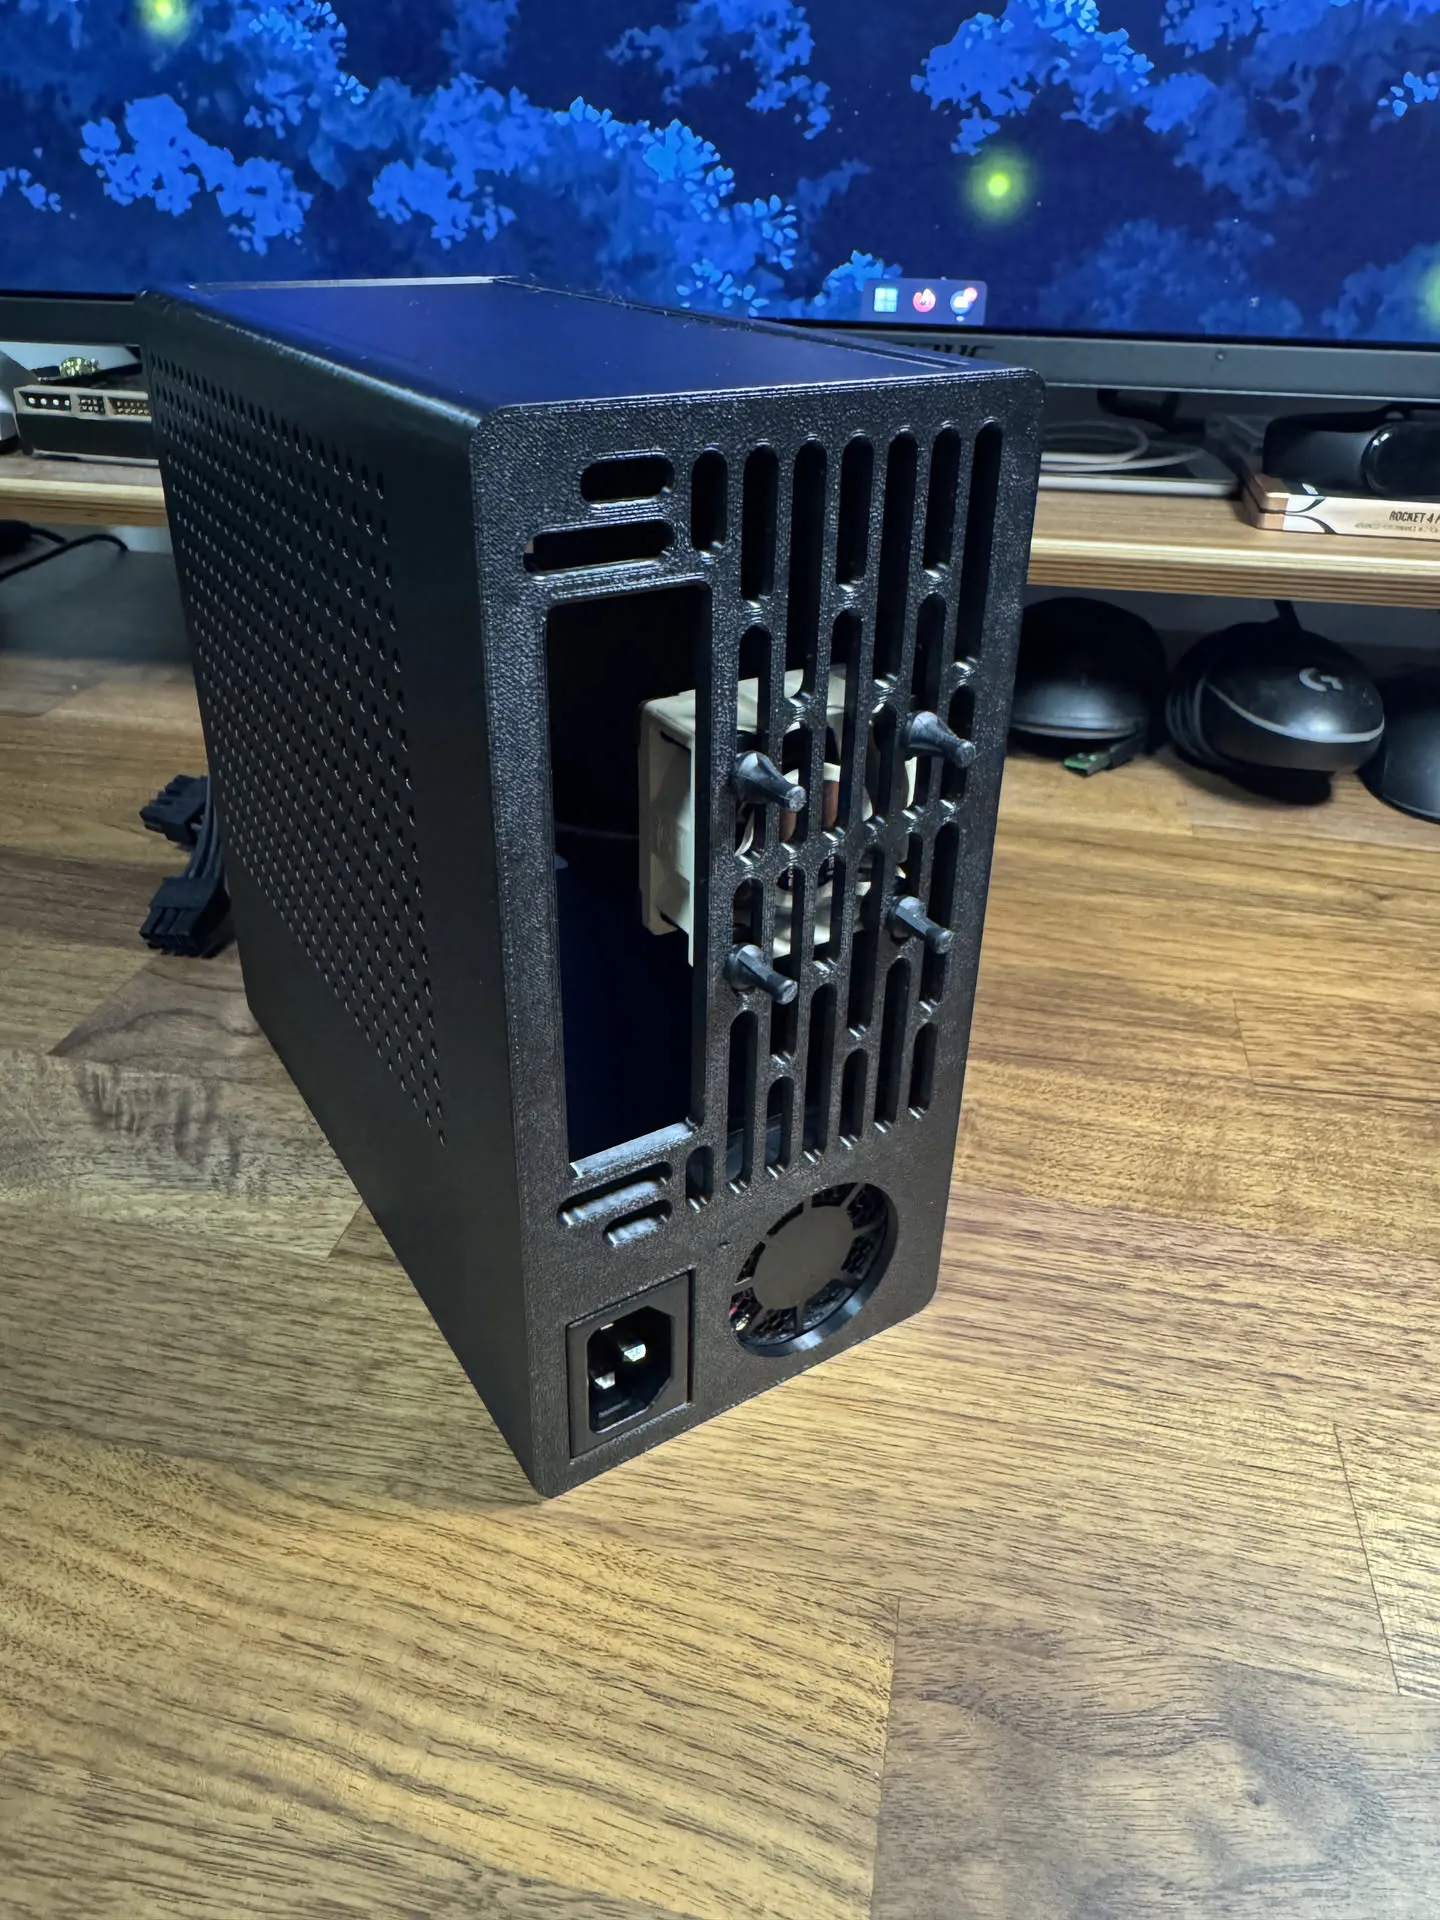
This model can be printed in three plates with less than 600g of filament, and is a completely tool-less design like the original (no screws are required). Unlike the original, I adapted the design to work with three of the most popular flex psu's for the BC250. The FSP500-30AS, Apevia ITX flex, and Metalfish flex psus are all compatible with this remix.
Important Considerations:
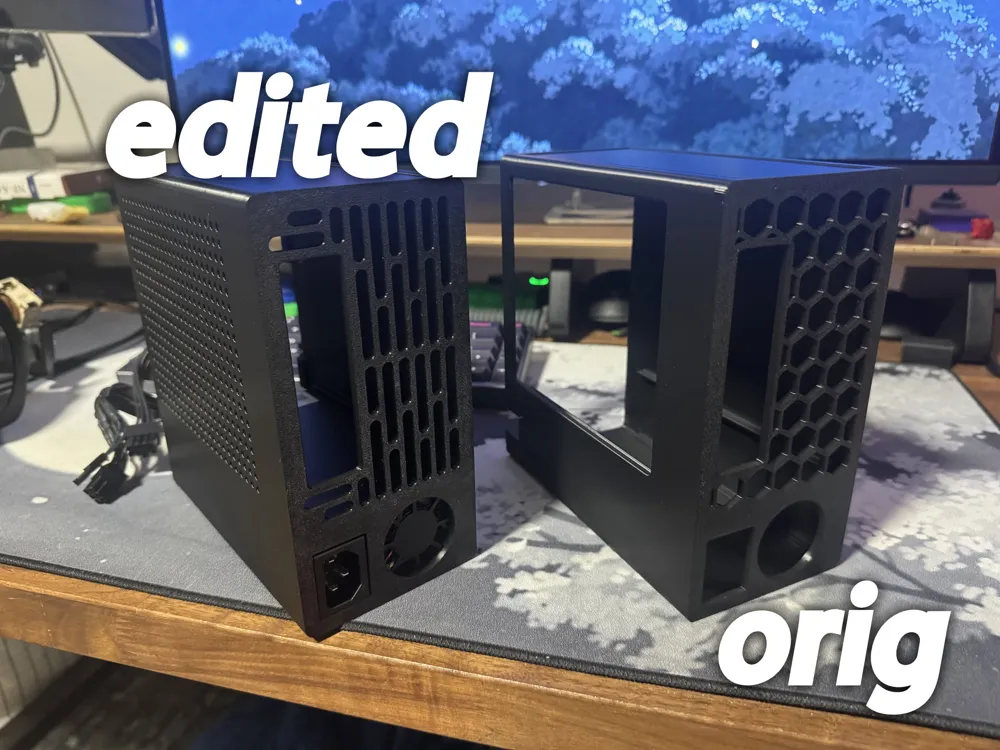
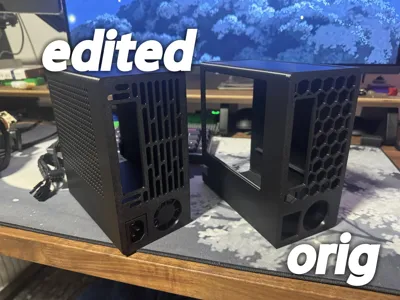
- There are three different versions of the back half of the case. Each one fits the different compatible psus. Please make sure you only print the plate for your psu!
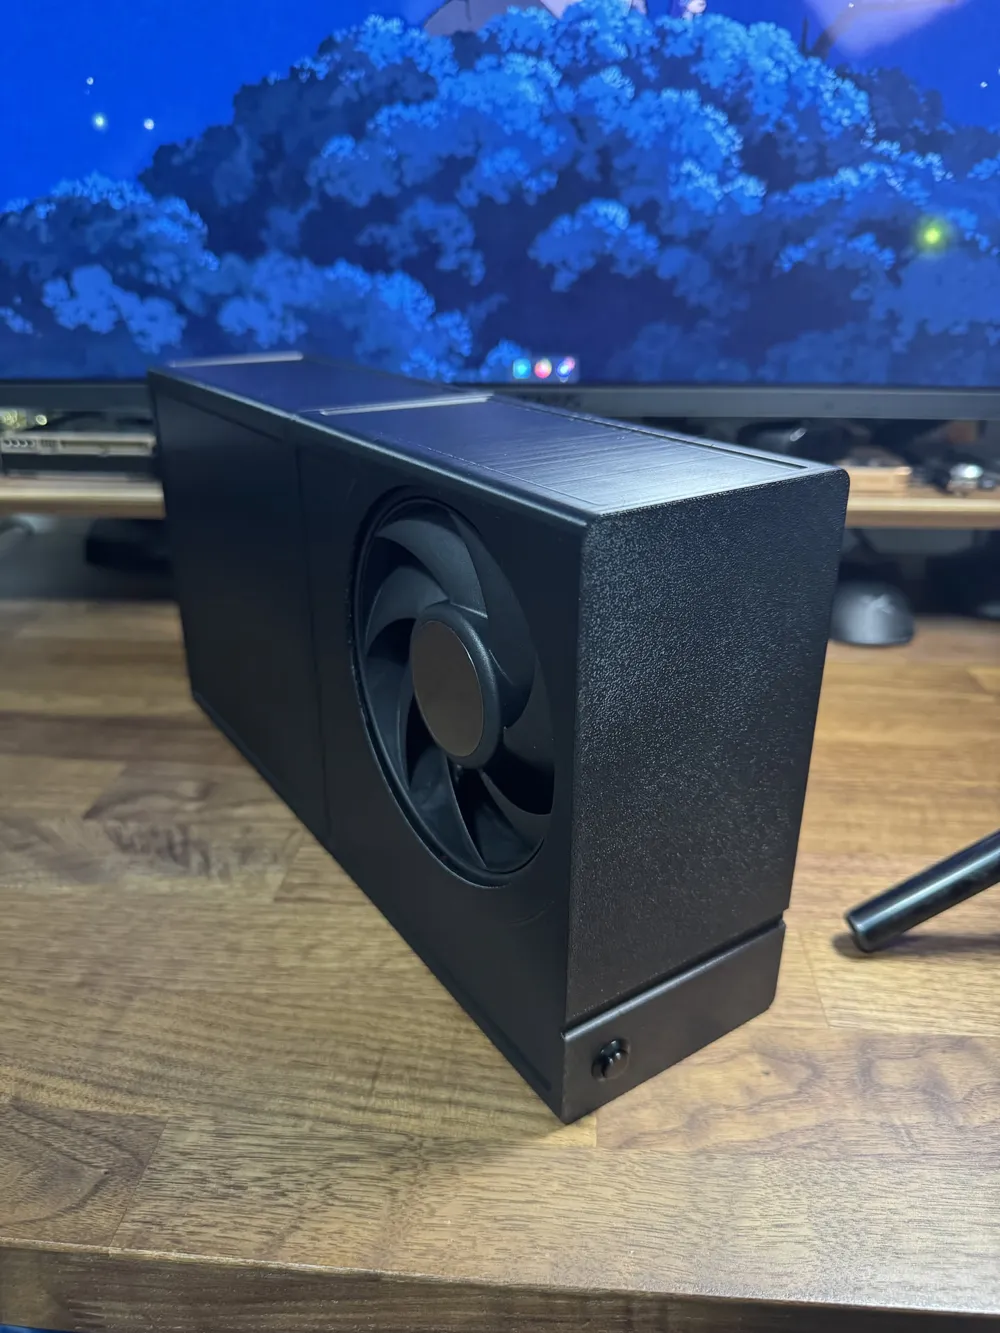
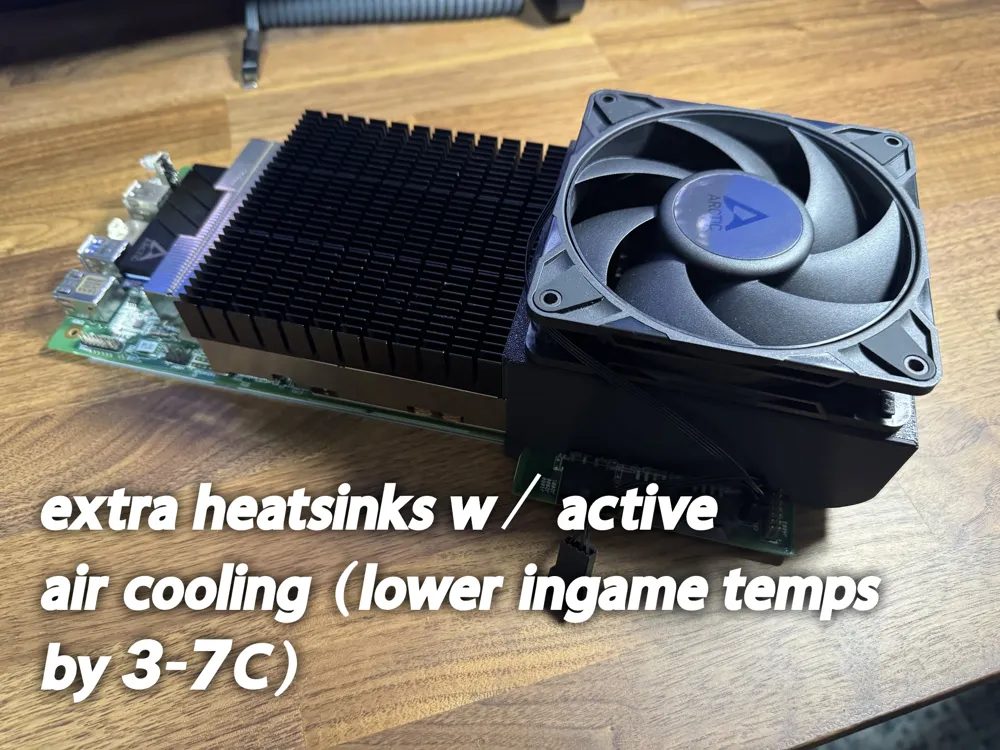
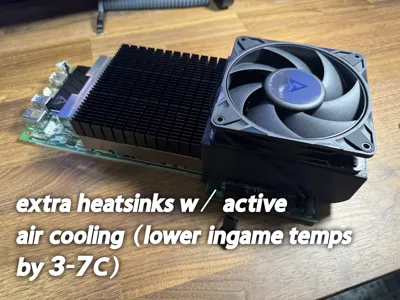
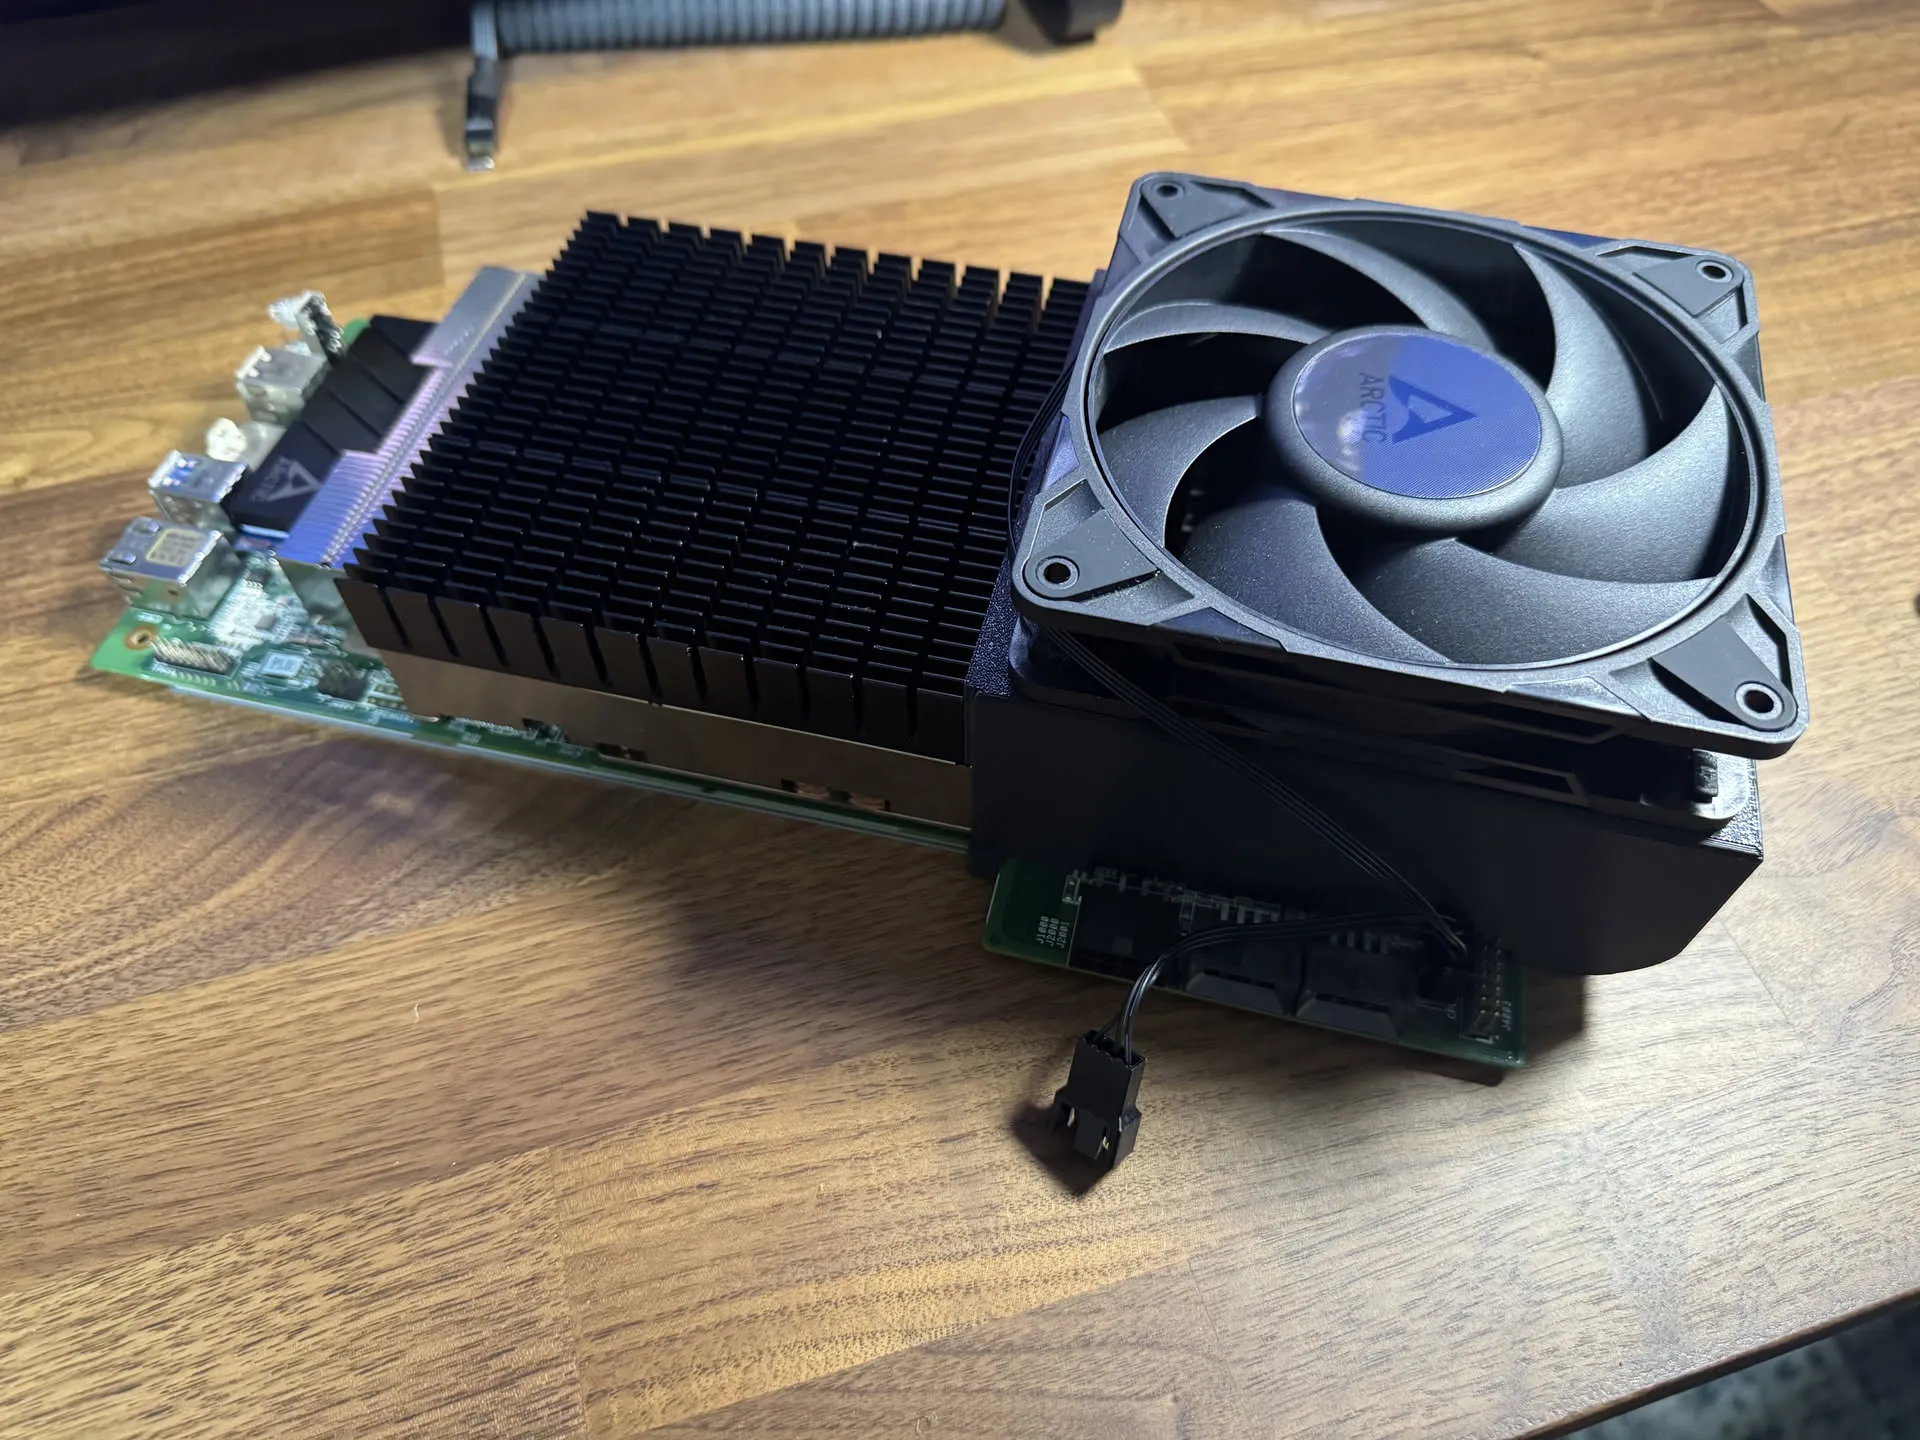
- There are two different versions of the fan shroud. One is the exact same as the original, the other is a modified version that allows active airflow to flow to stick on heatsinks that I personally made for my build. You can reference the assembly instructions for photos. Please make sure you only print the plate relevant for your build!
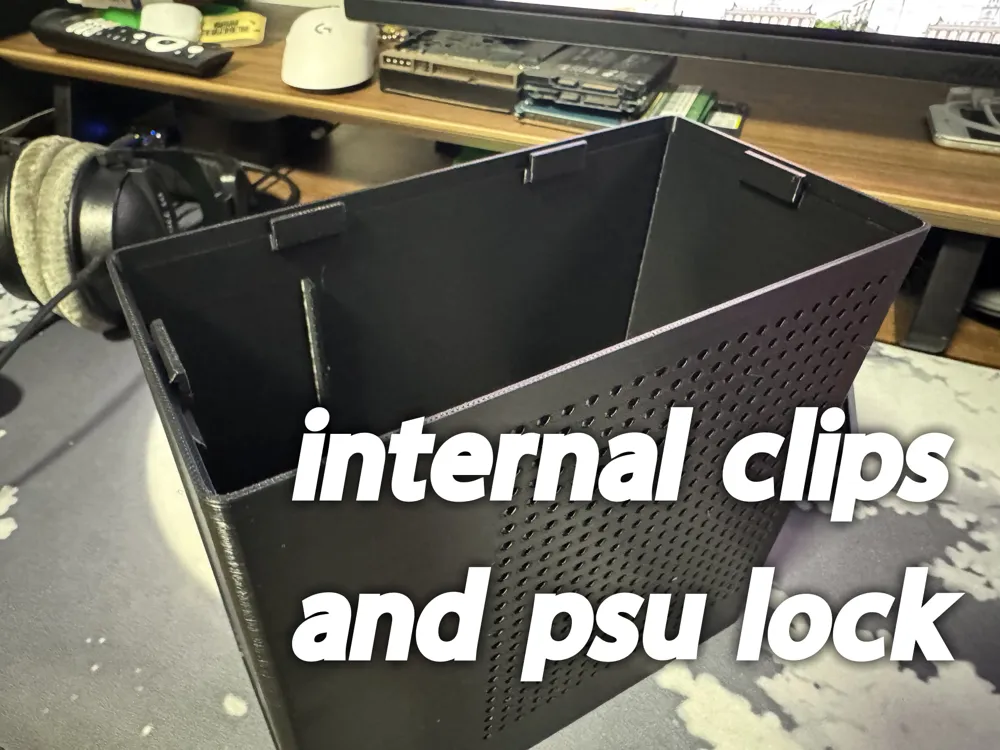
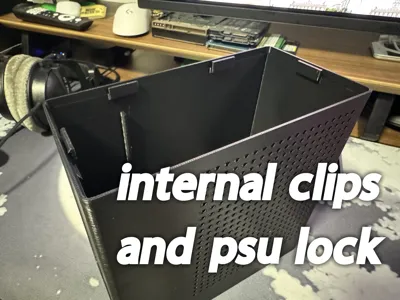
- Both the apevia and metalfish variants of the back case contain one less internal clip/latch due to space constraints. so these variants may be slightly less rigid when the two case halves are put together
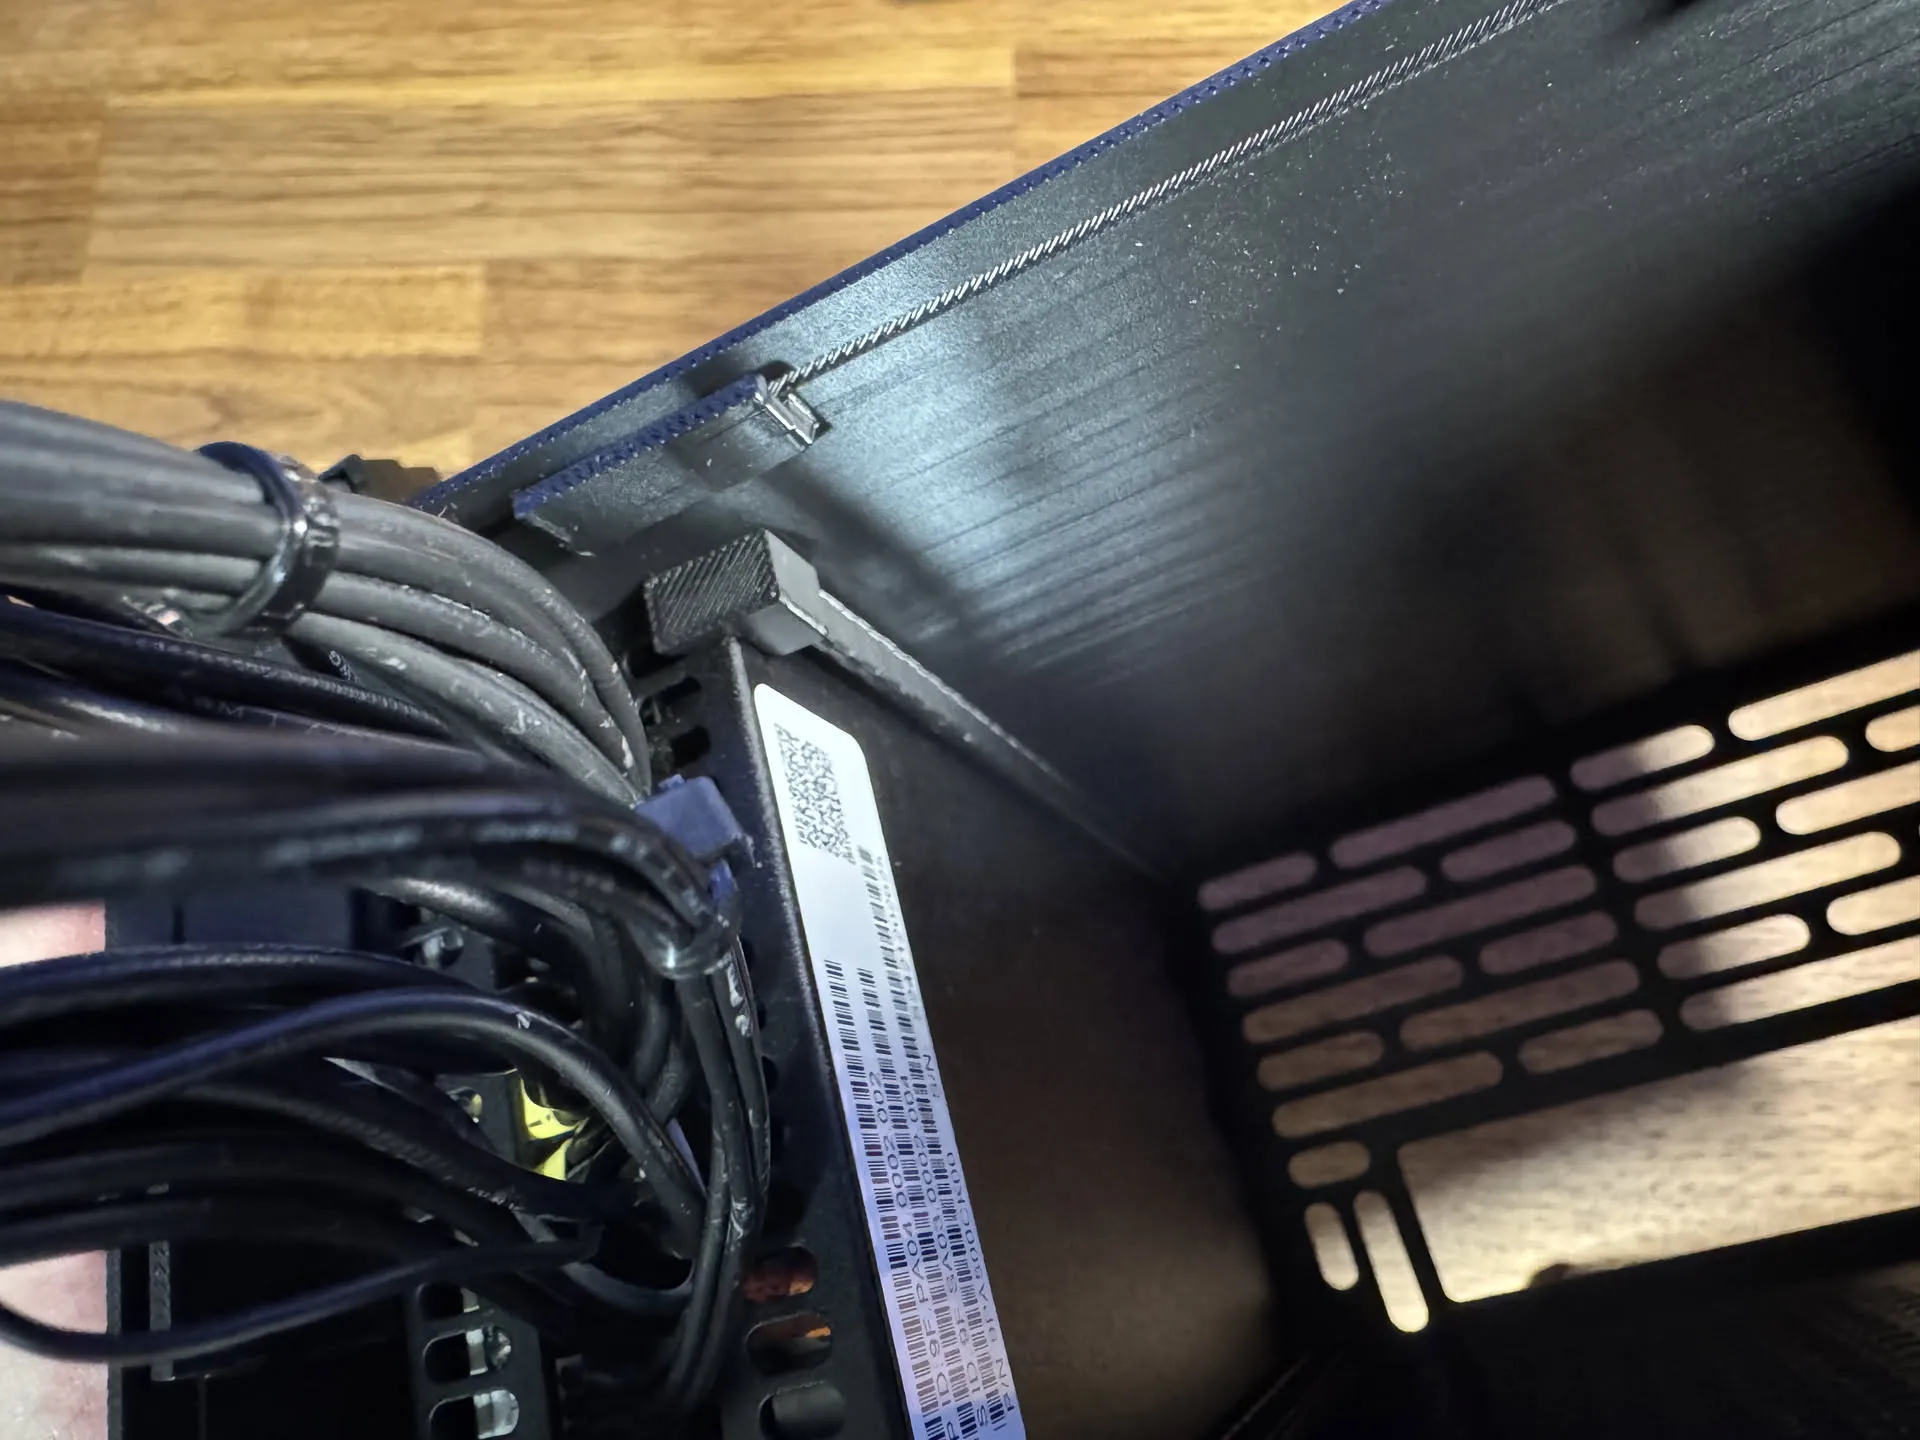
- The internal psu lock has only been confirmed working for the FSP500-30AS psu. You may need to modify/create your own internal psu lock for the apevia/metalfish psus
If anyone ends up printing the apevia or metalfish variants, please let me know if anything needs to be adjusted! I used morph91's measurements for the metalfish variant and also lolheyaj's measurements for the apevia variant, since I do not personally own either of those psus. Also, I welcome anyone to create internal psu locks for those two variants : )
Here's a list of all the modifications I did to the original:
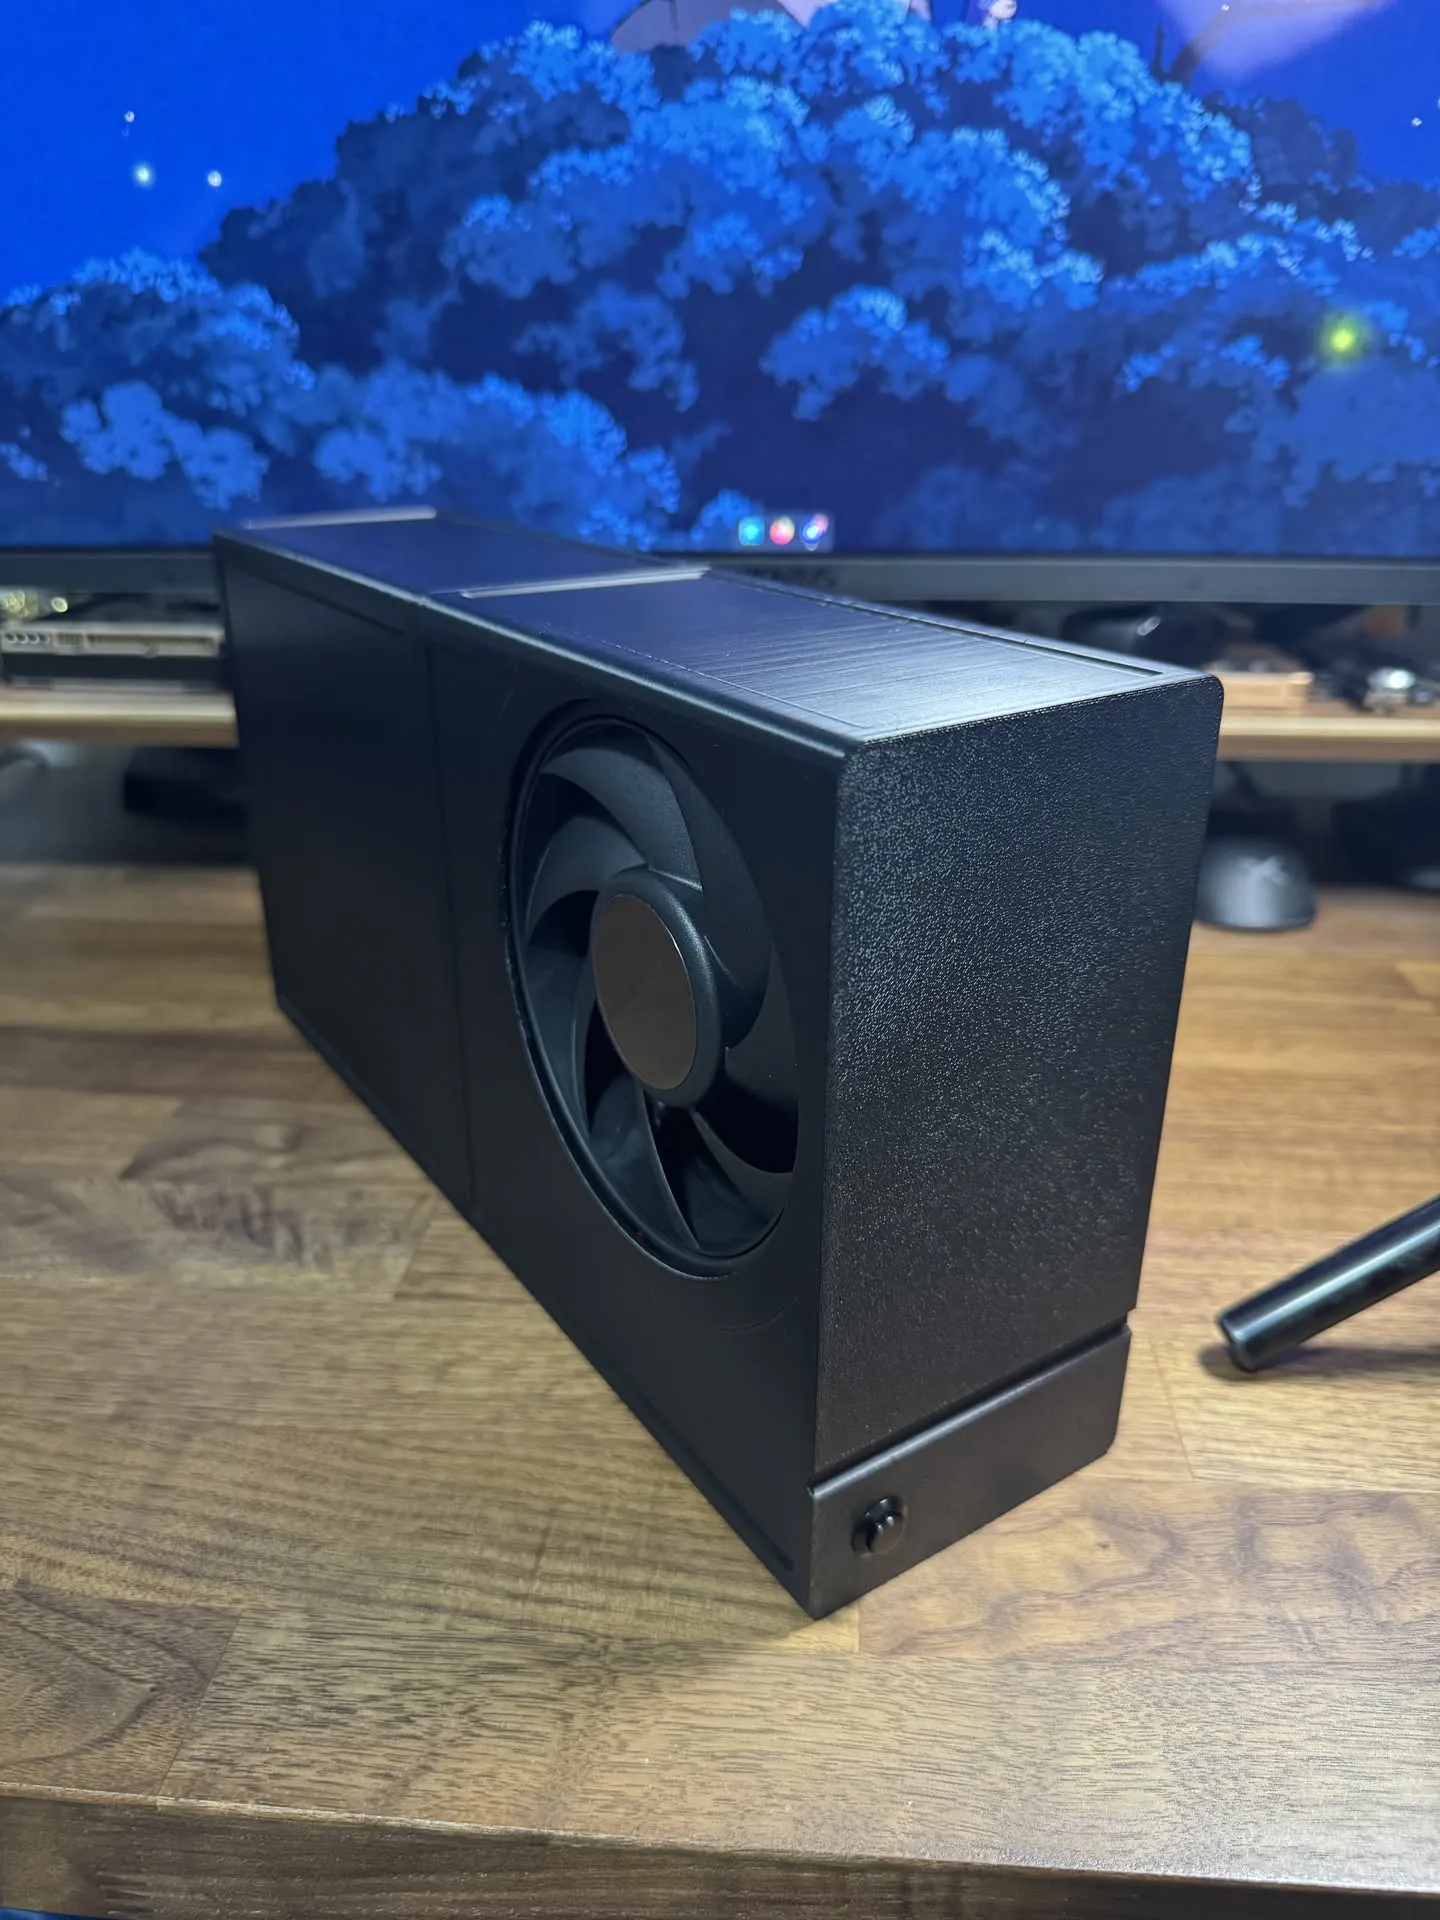
- Changed front face design
- Changed front to use 12mm button
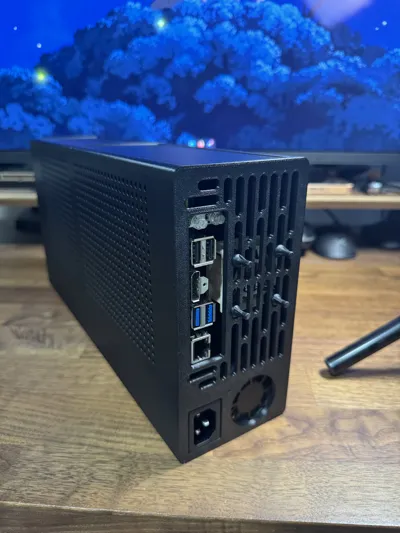
- Changed rear side design (small holes similar to actual pc cases)
- Removed rear side external psu latch and changed to internal psu lock instead (confirmed only for fsp500-30as so far)
- Changed back design to fit FSP500-30AS
- Created another variant of back half of case to fit apevia flex psu
- Created another variant of back half of case to fit metalfish flex psu
- Changed back design to fit 40mm exhaust fan(s)
- Added interior clips/latches to connect the two halves of the case more securely
- Added stick on heatsinks next to fan shroud
- Changed fan shroud to have a small slit allowing for active airflow to the added heatsinks (this improved temps by 3-7C ingame with 40CU unlock and 2000MHz GPU OC)
Expected Thermals:
WIP. So far it's mostly been in the 60C range in games like crimson desert, portal 2, hogwarts legacy, and hades (gpu 40CU 2000MHz undervolted to 900mV, cpu stock).
My Part List:
- BC250
- PSU (fsp500-30as, apevia itx flex, or metalfish flex)
- makerworld.com/en/models/2527214-bc-250-scooper fin scooper to straighten fins
- https://a.co/d/0hZ28ifs for 12mm latching button (you may need a wire stripper, wire crimper, and dupont connectors if you copy me 1:1)
- https://a.co/d/0jdT5jNV arctic p12 pro pst
- (optional) https://a.co/d/063cMg66 noctua NF-A4x20
- (optional) https://a.co/d/00RnzoEo stick on heatsinks, I bought 2 of these kits and used 3 out of the 4 heatsinks
- (optional) This looks to be a cheaper alternative: https://a.co/d/038s6cPO - it would be the same size as what I used, but as one large piece instead. Based on reviews, it looks like a thermal pad of some sort is already preapplied. If you end up buying this one, let me know how it fits!
- (optional) https://a.co/d/066uYDJ8 rubber anti vibration screws used to mount noctua 40mm fan
Print Instructions:
Print in PETG, and dry filament for 8 hours before printing (reduces stringing). Make sure to print only one of the fan shroud plates, and one of the back case plates. For more information read the important considerations at the top. The front case fits all the back case variants.
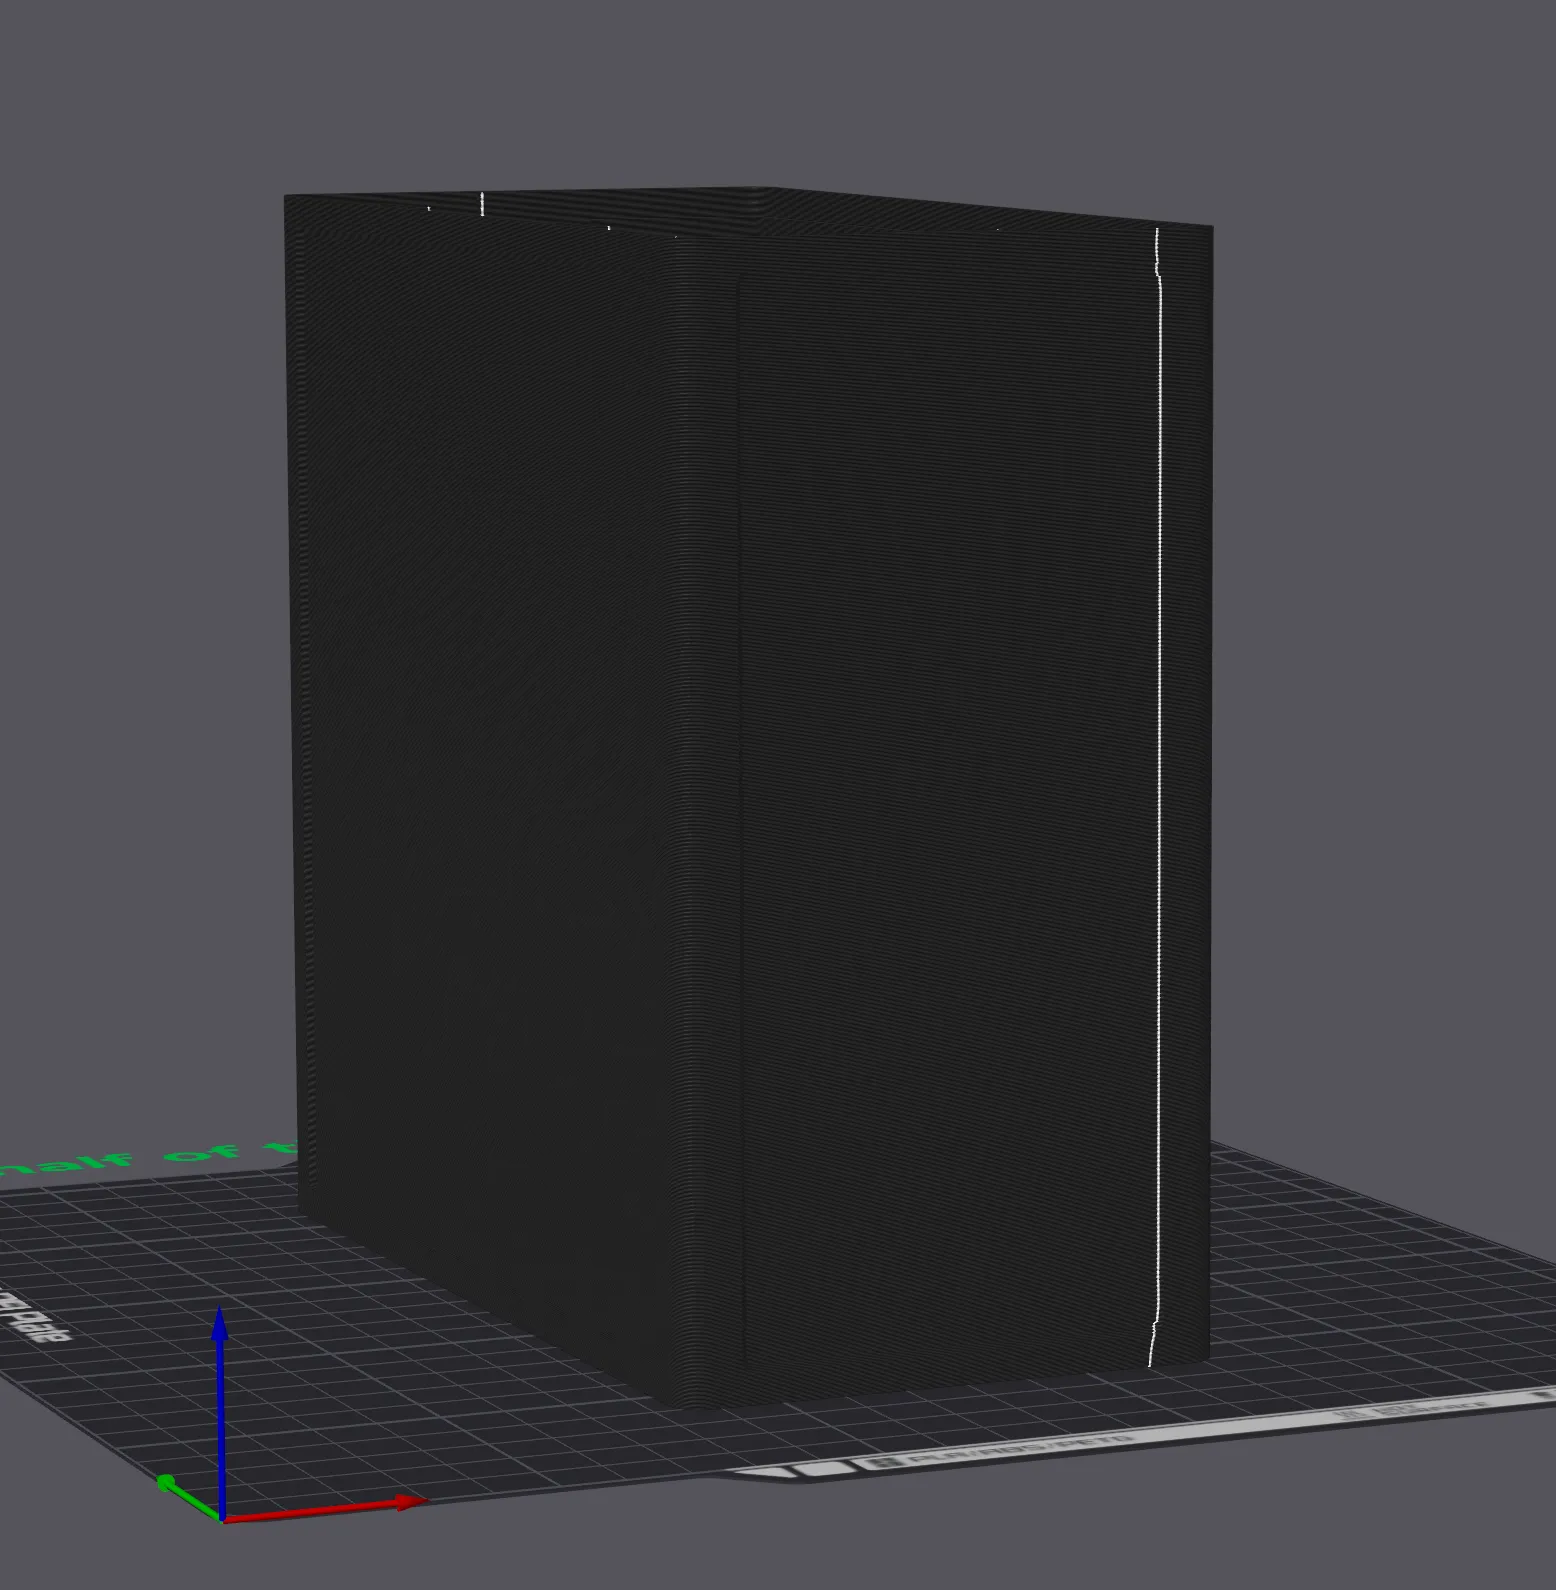
If you are downloading the model to modify or use with a different slicer (and not bambu studio), then make sure to paint a straight line seam on the bottom part of back half of the case. This helps reduce VFAs:
Assembly Instructions:
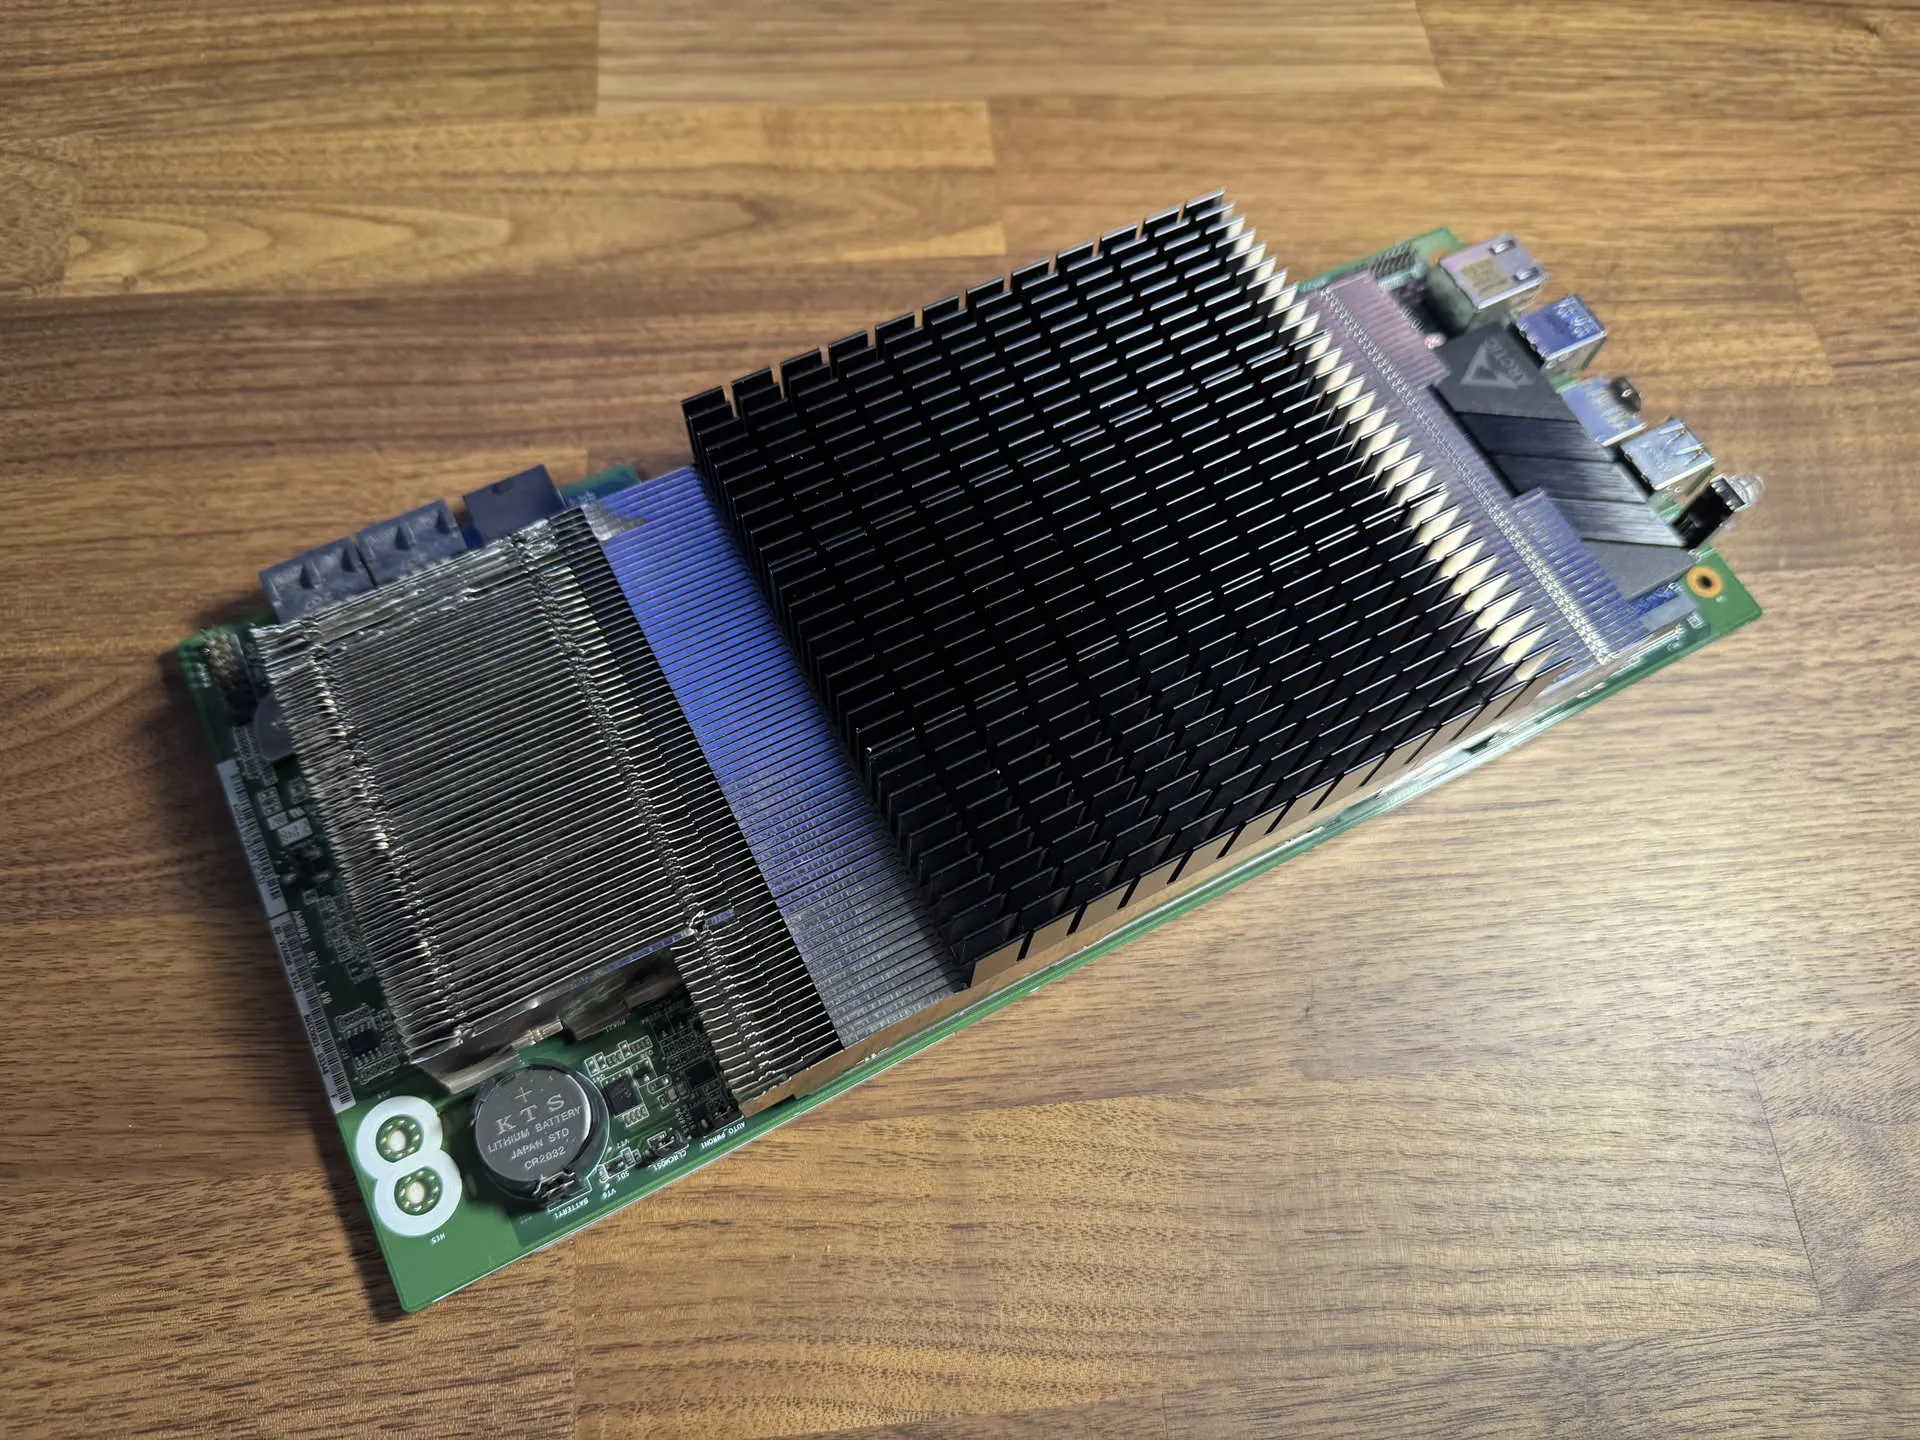
- Take off the IO shield and the small bracket next to cmos battery
- Use the fin scooper to straighten the fins underneath where the fan shroud is gonna go. After straightening the fins, use an air duster to make sure any debris is blown off. Also if you haven't already, repaste the chip - it lowered my temps by 5C!
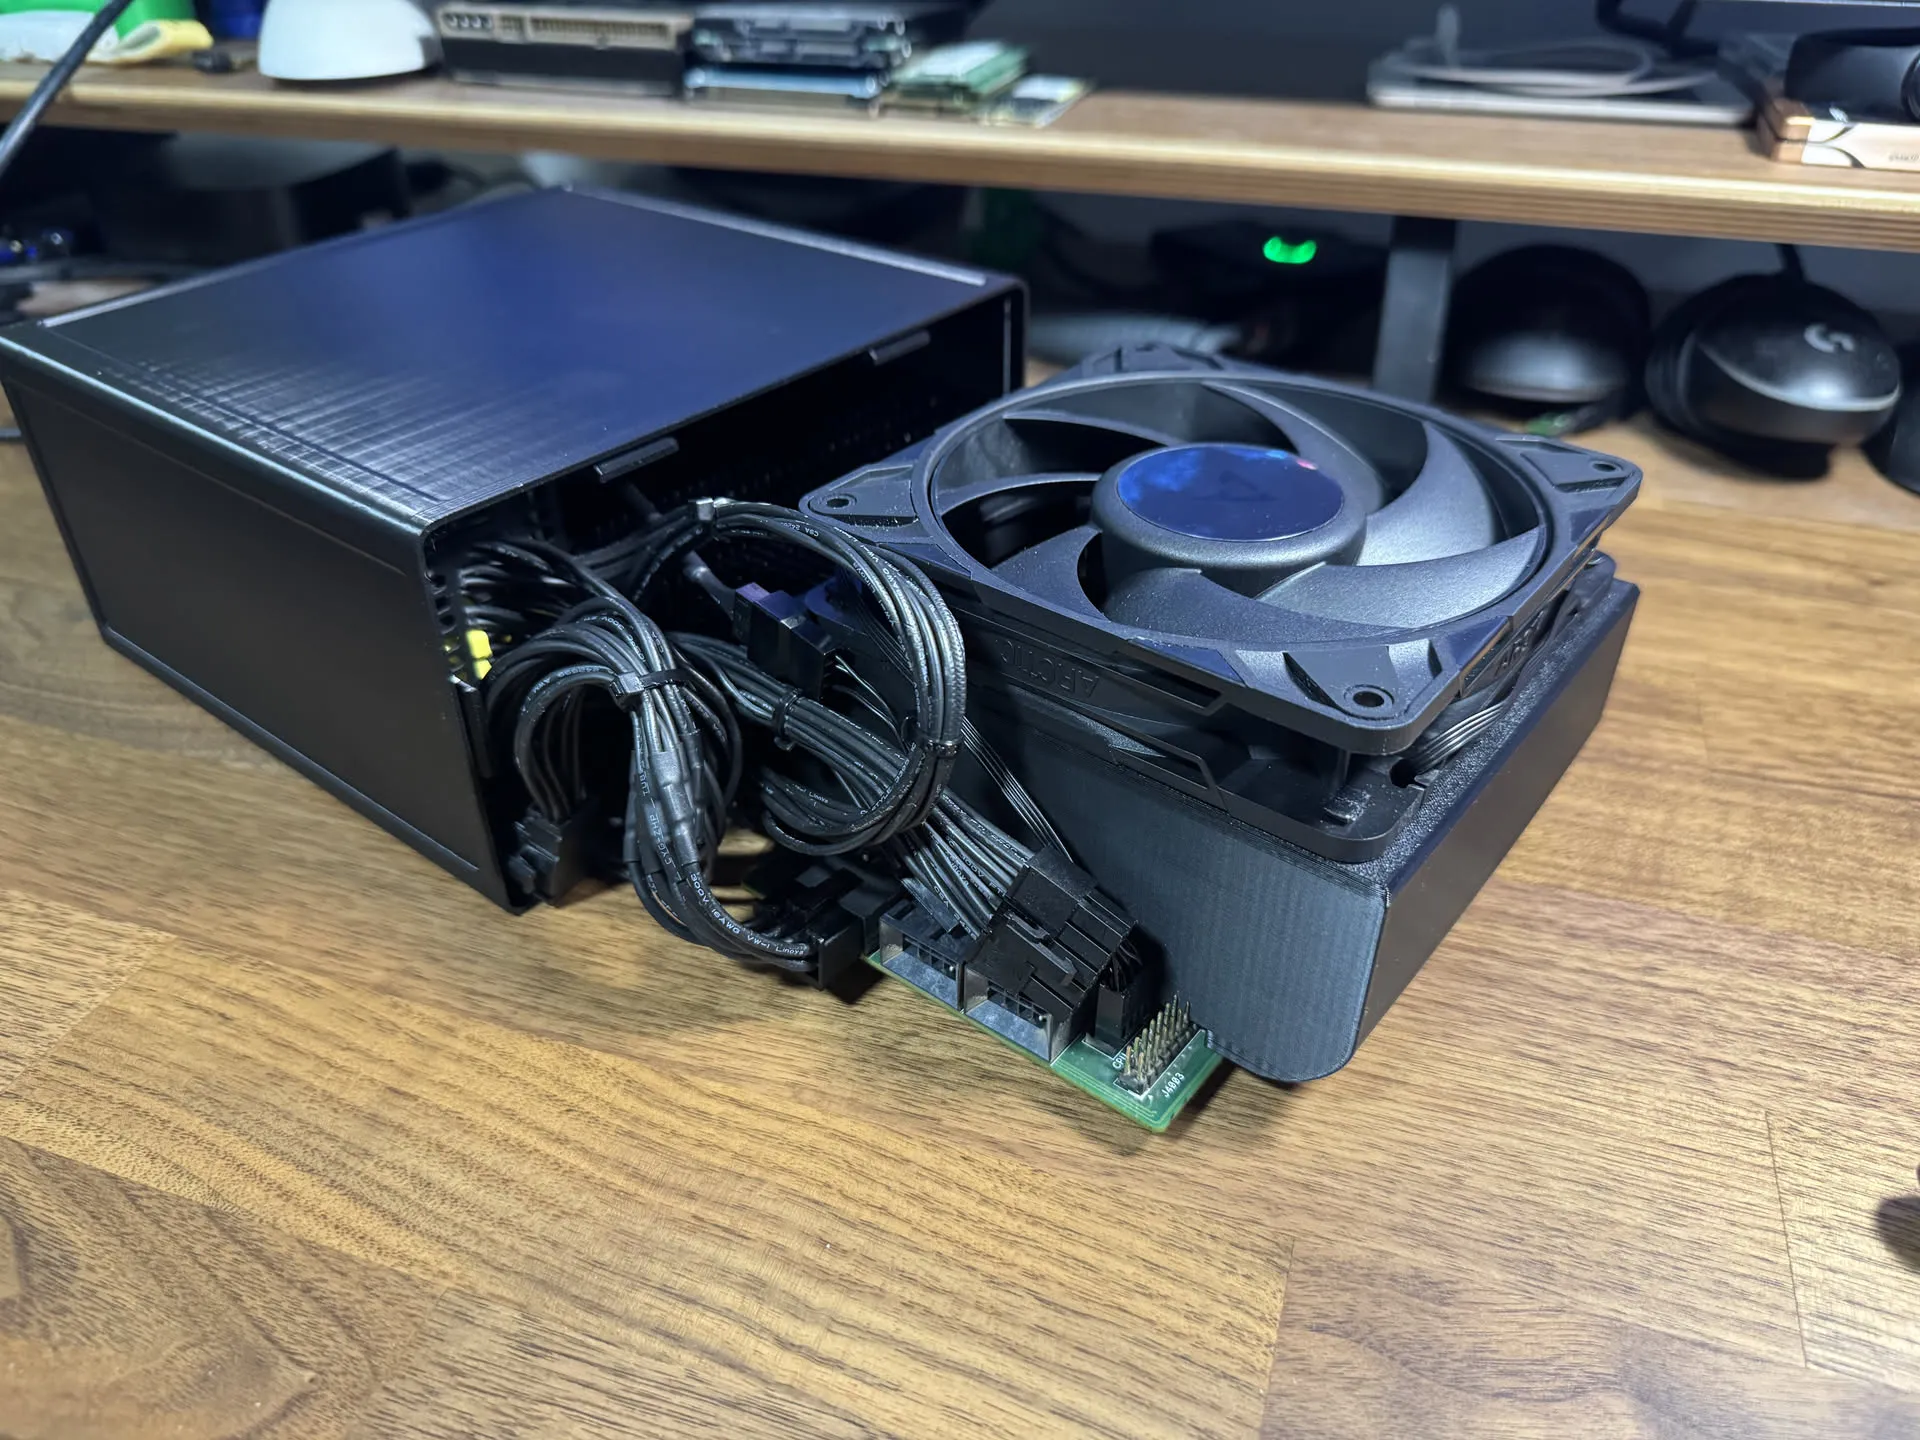
- Attach fan (recommend arctic p12 pro pst) with pins to fan shroud. Then attach fan shroud to pcb. Make sure the two small latches are pushed as far up as possible (in pic below you can see the one latch is in the corner of the pcb). Optionally here, if you have the stick on heatsinks (120x40x20mm), you can stick them right next to the fan slit. Doing this mod helped my ingame temps by 3-7C. VERY IMPORTANT NOTE: If you do not have/don't plan to use stick on heatsinks print the plate with the original fan shroud instead!
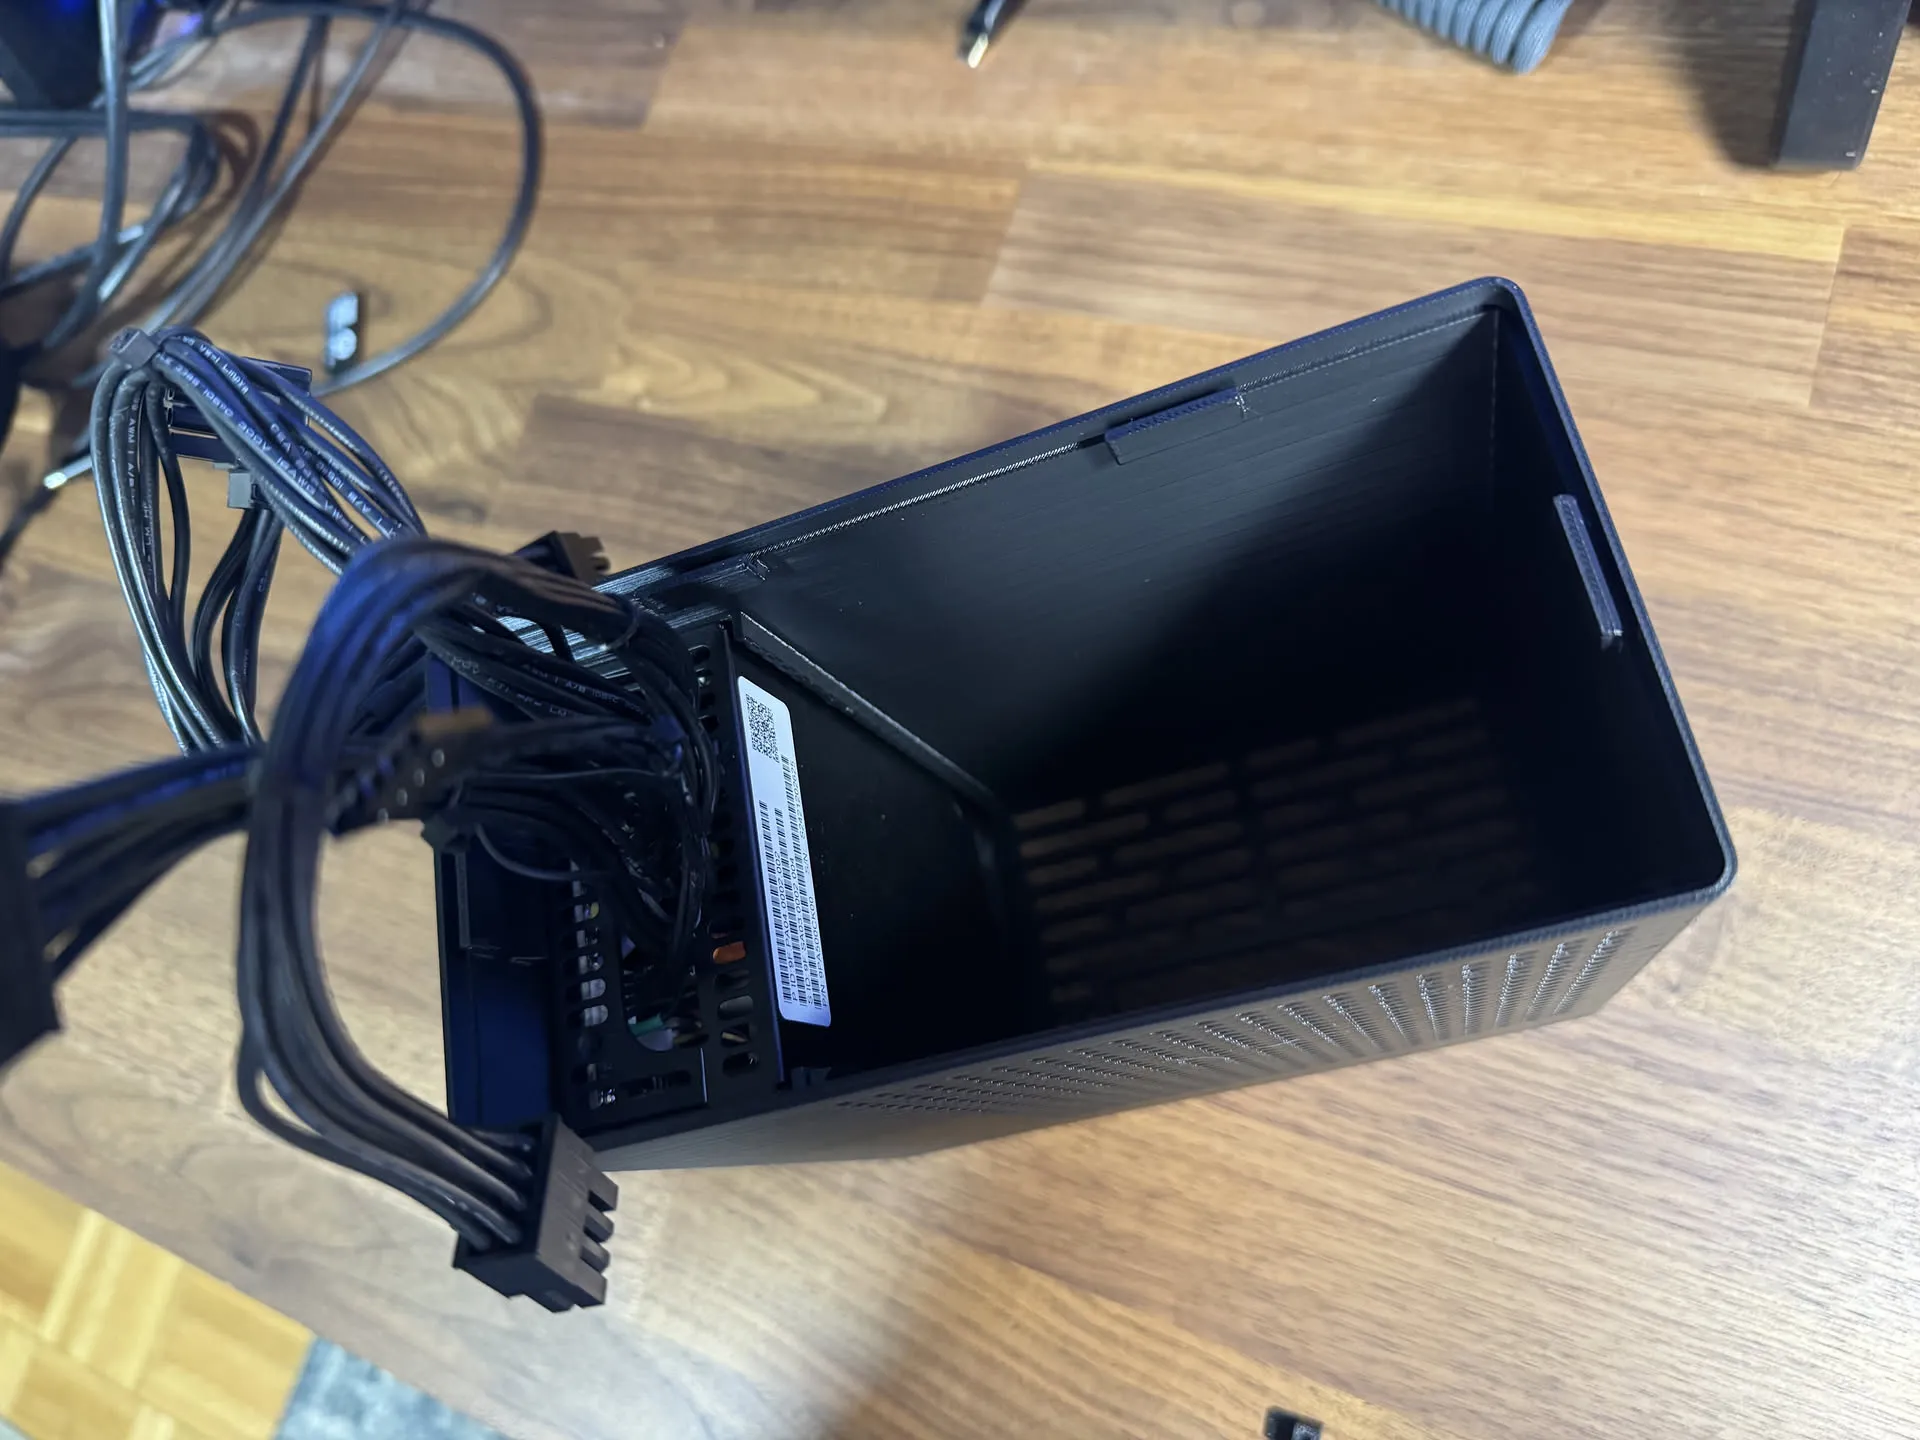
- Put PSU into back half of case:
- Add psu lock on left side (currently only known compatible for fsp500-30as):
- Mount any 40mm fans now (both screws or rubber mounts work):
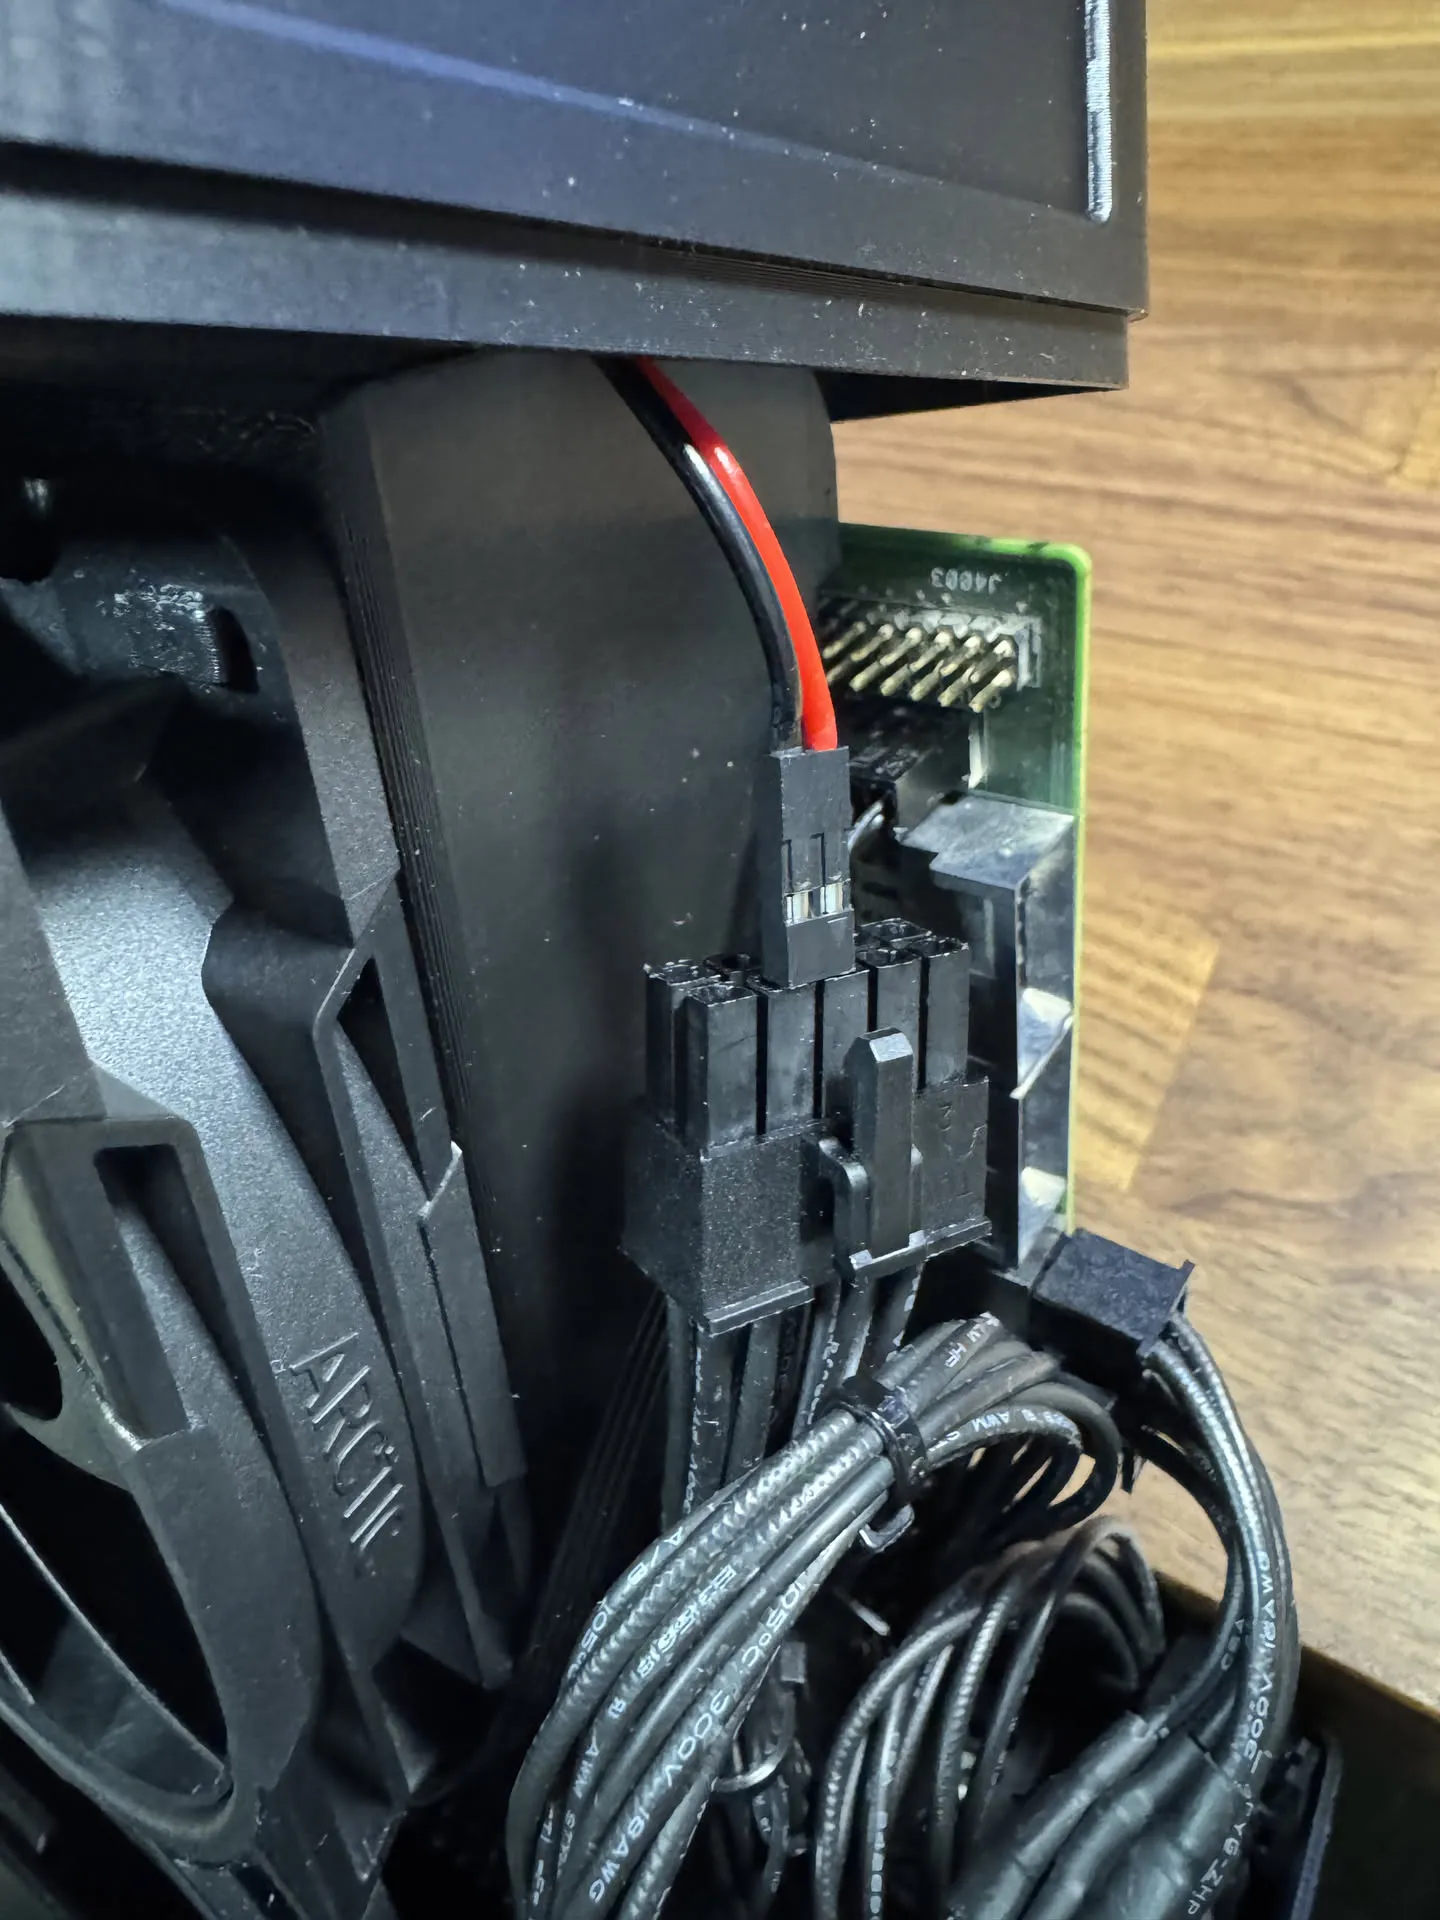
- Slide bc250 on alu backplate onto the back half of case. Plug in exhaust fan to the Y splitter of main fan. Plug in the 8 pin power cable:
- (This step is for FSP500-30AS psu, idk what pins to short for apevia/metalfish psus but you can probably find out on reddit) Plug in latching button to PS_ON and GND. I crimped the wires into two male dupont connectors and put them in a 2pin housing. I slightly have to bend the metal pins to fit into the psu which creates enough friction where the pins don't fall out. There's probably a better solution for this…
- Attach front half of case, and slide until both halves attach together. Enjoy!
This remix is based on

License



Comment & Rating (10)